2019 POTD Thread Archive

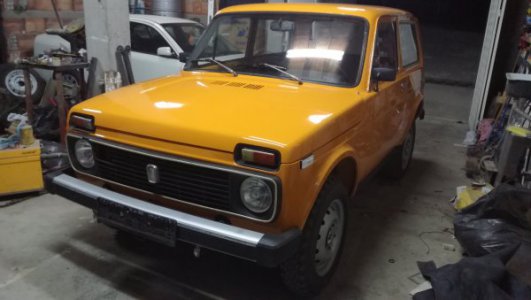
I pull an allnighter working on the Little Niva. First thing i installed was the chrome trim on the roof rails then the chrome trim around the door windows, i had to remove both windows wich was a task in it self but got it done. Then i stood back and look at it and the oversprayed rockers and grill needed paint, so i put a plastic sheet over the entire car and just masked what i wanted to paint mat black. After half an hour the black paint was dry but i keep the plastic on the little niva so i can paint the bumpers, i had painted them together with the wheels but i had lot of runs and fish eyes so an hour each with a some sand papire i got them prepared cleaned off and painted with base coat and clean coat, by this time sun come out and i had to go to work.
View attachment 300291View attachment 300293View attachment 300295View attachment 300294View attachment 300292View attachment 300296
I'm not a car guy (in fact I hate working on cars) but I'm really enjoying seeing this project come to fruition!
 
+1. I'm not a car guy either, but have thoroughly enjoyed your saga. I thoroughly admire your dedication and talent ... plus the sheer amount of knowledge you must possess! I can't think of a single part or subsystem of the Niva that you haven't had to work on ... and taken care of brilliantly. I have this crazy notion that you could start with a random pile of pots, pans, paperclips, and rubber bands, and end up with a nice looking, working car.
 
have this crazy notion that you could start with a random pile of pots, pans, paperclips, and rubber bands, and end up with a nice looking, working car.

Thank you guys. This was a bit longer project then i thought but now is coming together quickly. I've done much harder in complexity like RWD conversions but this is my first 4x4 off road build. hman, you forgot duct tape, too bad there is no reality show where i can build one from scratch in a deserted place.
 
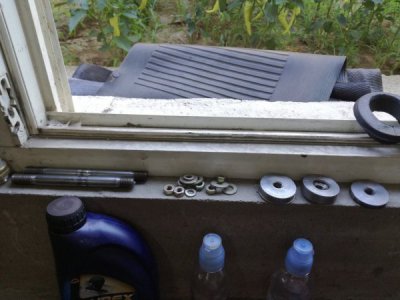
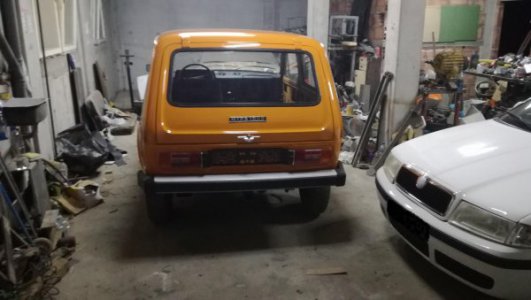
After work i've started back to work on the little niva. I remove the masking and started assembling it. I installed the grill, side mirrors, front towing hooks, front bumper. Then come time for the rear i wanted strong bolts to hold it and the trailer hitch on the frame, i did not have anything that big so i made me some on my lathe. I also made big threaded washers for both sides and assemble it i also install license plate holders, and the rear badge, don't mention that is crooked, so is my life, haha. This completes the exterior except the aftermarket wheel liners.
IMG_20190812_122940.jpgIMG_20190812_210305.jpgIMG_20190812_21033055.JPG
 
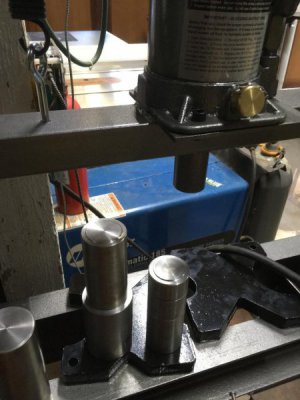
I recently added a Harbor Freight 20 ton press, used it for a couple of projects, and decided that it was relatively hard to adjust the workpiece for the proper vertical position. So I had a few 2" and 2.5" round rods not doing anything. and since the Takisawa really does well on steel parts, I machined a small protrusion on one end of each rod and a recess on the other, and the diameter (a very loose fit) also matches the press ram. This lets me stack up a collection that fits closer to whatever work piece is involved. I can hold the lowest block in position and not have to balance/juggle the stack if I tip a little bit. .

Also, per others suggestions, I made a knob to eliminate flipping around the jack handle to work the hydraulic release valve. That's faster too. :)

Press blocks.jpg
 
I recently added a Harbor Freight 20 ton press, used it for a couple of projects, and decided that it was relatively hard to adjust the workpiece for the proper vertical position. So I had a few 2" and 2.5" round rods not doing anything. and since the Takisawa really does well on steel parts, I machined a small protrusion on one end of each rod and a recess on the other, and the diameter (a very loose fit) also matches the press ram. This lets me stack up a collection that fits closer to whatever work piece is involved. I can hold the lowest block in position and not have to balance/juggle the stack if I tip a little bit. .

Also, per others suggestions, I made a knob to eliminate flipping around the jack handle to work the hydraulic release valve. That's faster too. :)

View attachment 300356
 
Short for Wellington boot, in this usage it means putting the boot down on the accelerator.
The expression "Give it some wellie" means speed it up or use more effort.
Sometimes it was used "Give him/them the wellie" where wellie replaces the word "boot" and means "Give him the boot or sack ie termination of employment.
Its an English expression from my teens so I doubt if its used as much today.
I also love slang and believe it adds colour to a language.
If you like the differences between the three forms of English what about "Root"
USA, root for your team - cheering them on
AUS, root through your drawers - searching for something
UK , a good root - the sex was excellent
drag yer plates a meat down the apples and pears along the frog an toad to the rubba-dub for a pigs ear.
I could add a couple more for the meaning wellie top i am Australian but have worked with Gordies and many others from UK over the past 15 years and wellie or wellie top can be used in a variaty of sentences .I will just leave at that
 
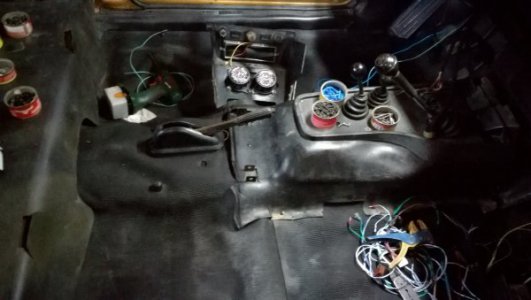
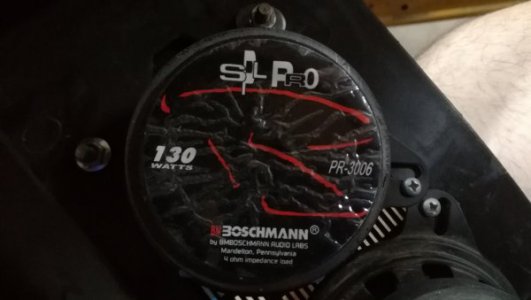
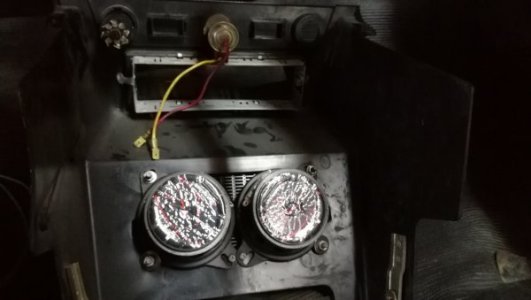
Today after work i found out my daily driver has multi stage ABS brakes, which is a good thing, it helped me avoid a major accident, i manage to stopped nearly 3 tone automobile in a very short distance at decent speed. New tires and heavy right foot. Any way this did not determined me from working on the little niva, so i started on the interior, started by washing the inside, and wiping everything, then i measured the rubber floor rubbers and cut them and lay them down and started installing the side plastics. Because the floor pan is been welded on almost nothing fits so i had use screws to hold everything, after i install the transmission tunnel covers i started on the wiring for the centre dash i also run wires for speakers in the back and installed those boschmann speakers in the factory speeker spot, i also run wires and install tweeters in the upper corners of the front windscreen. I installed euro connectors for the stereo and put together the centre dash. i'll look thru my radios for a CD player, something from a 18 wheeler, something that can take the bumps and still keep working.
IMG_20190813_183033.jpgIMG_20190813_183737.jpgIMG_20190813_183714.jpg
 
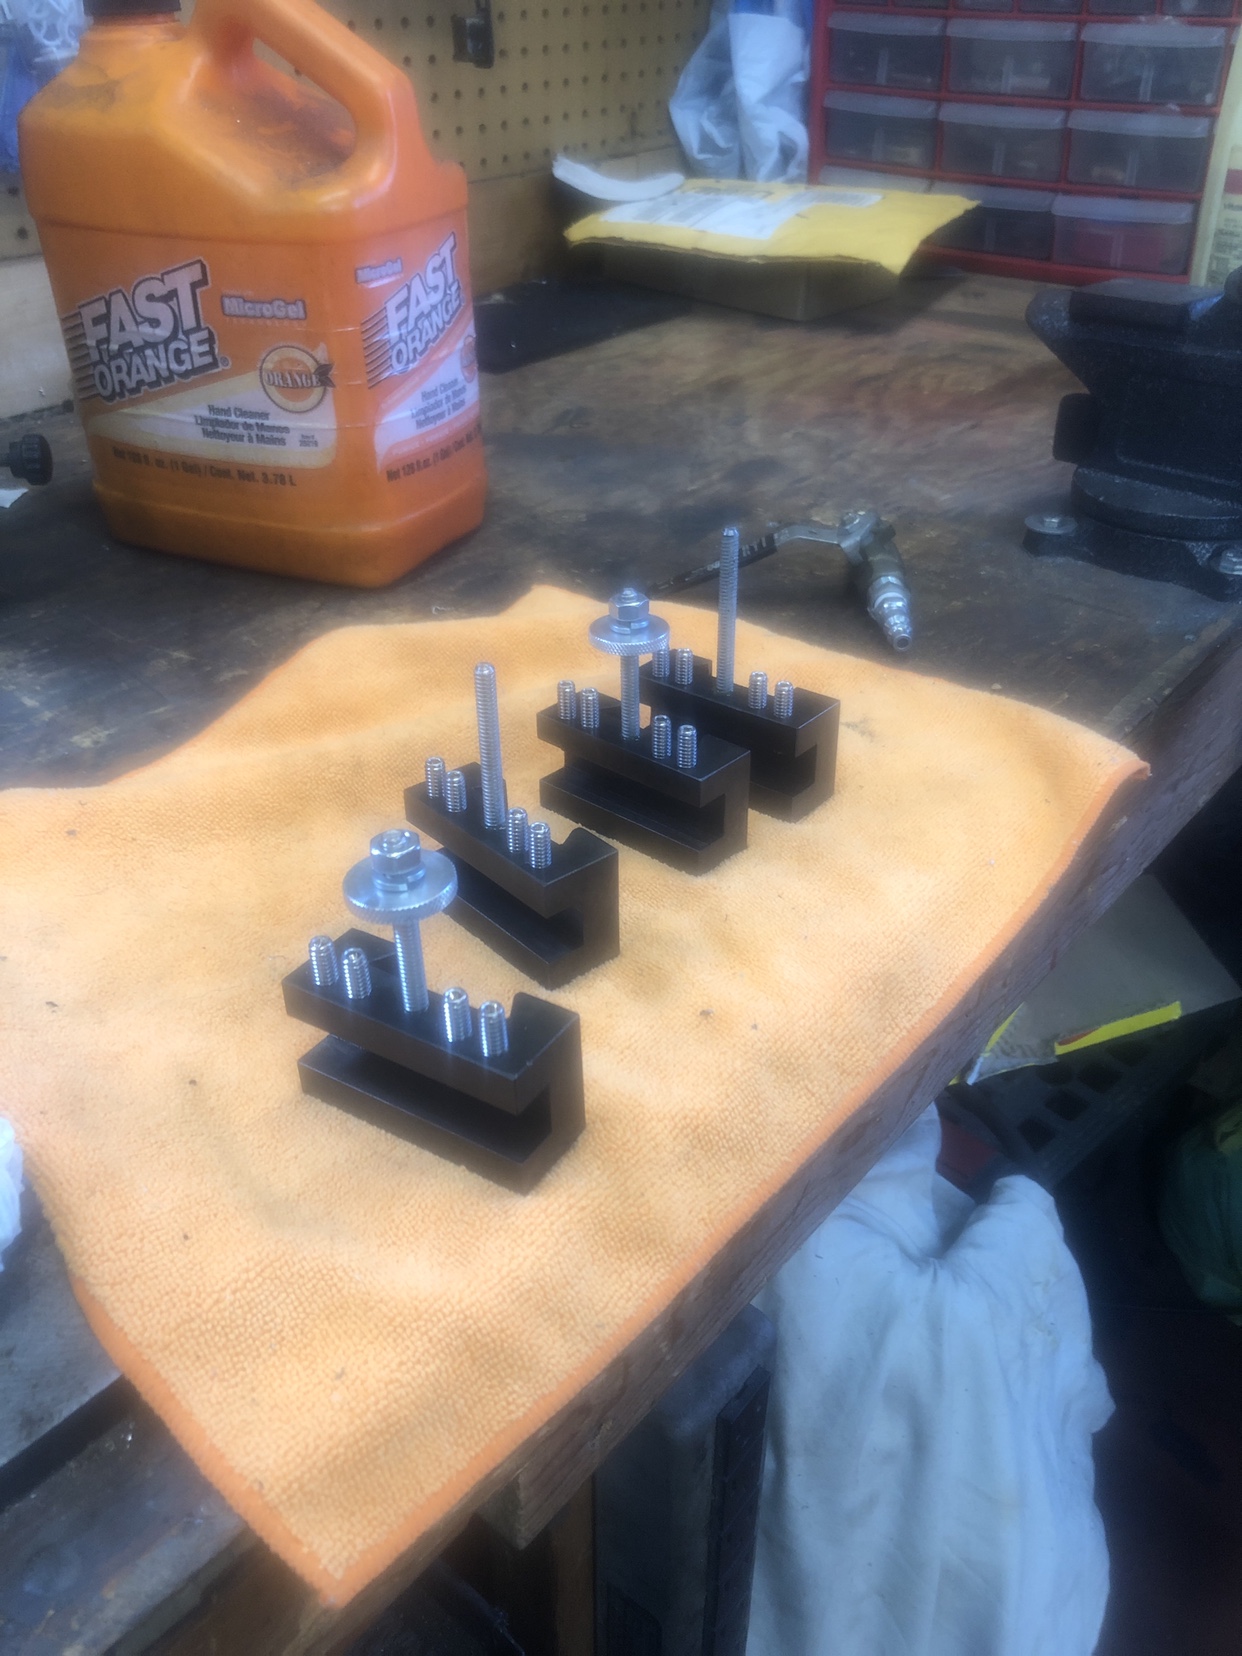
Been helping friends with QC tool blocks, got to looking and I needed some extra blocks for my self. So I’ve been working on these in between other projects. Yes I know I could have picked them up, but what fun is that.
17baf0833f15e0b328972a845391d093.jpg


Sent from my iPhone using Tapatalk
 
Back
Top