Quarantine Projects!

I don't generally use plans. I gather ideas looking at others builds or commercial samples. I don't know if there is a name for what I call the pivot. It's the round thing the cutter and handle mount to that rotates the cutter in order to cut the radii. All the similar type of BT I've seen the pivot when mounted would be in the center of carriage.

Oh I see what you're sayin'. You design hangs the cutter out over the carriage to get a bit closer to the spindle, right? As long as your mounting plate is pretty thick and rigid you should be fine with a little cantilever. What's the benefit of the offset?

Thanks for that pic @Tio Loco! I always assumed 3D printed parts are solid plastic but it makes a lot of sense to use internal ribbing like that. I've never dabbled in that world yet so I'm very uninformed about it.
 
The main reason I went with the offset was I wanted to use 3/8" shoulder bolt for the pivot so it would be precise and heavy duty. The head on a shoulder bolt is thick and huge so if I was going to counter sink it would have totally messed up the shoulder bolt idea as I would have needed a thicker base plate and would have had to make the pivot and cutter mount shorter to maintain clearance and who knows what else. I think that's why Jere did it. Simple fixes for a simple guy. :)
 
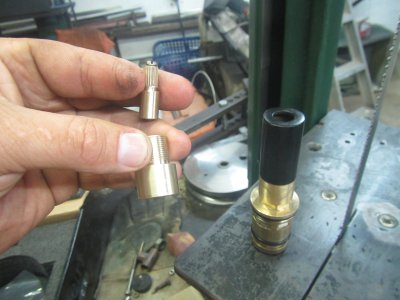
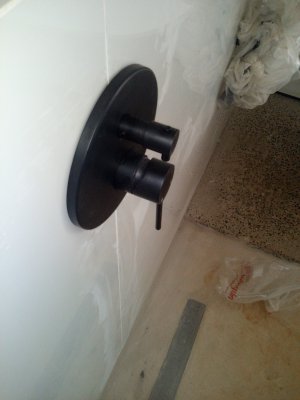
Today because S Africa is in lock down I did some plumbing from home. Another plumber put four shower mixers to deep in the wall and cant get the covers on. It means he has to chop all four showers out and repipe and retile.
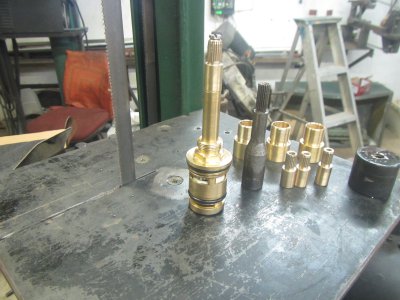
I came up with an easier solution. I extended the diverters for him by making extensions to the spindle.It involved making some adapters which I single pointed and then it involved some broaching to make splines. I had to make an female and male broach.
It can only be fitted once the lockdown is over. Hopefully there will be an economy left.


div2.JPG
 
Nice job, brother! That type of thinking outside the box can save big money for someone. Just make sure you charge for your shop time! Figure out what it would cost to demo, re plumb, and re tile, then charge a few dollars less than that.
 
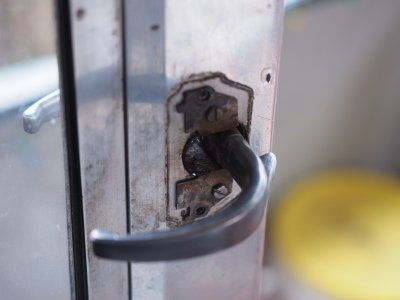
Fixed the limp handle on my screen door today!

The spring inside broke and the handle went floppy a few days ago. Since I've got time...

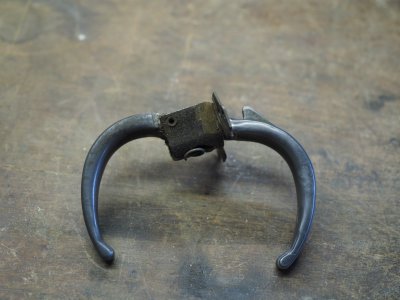
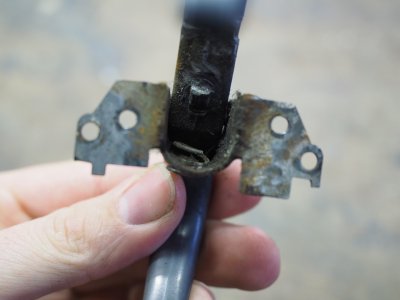
Here it is extracted from the aluminum screen door.

EM520616.JPG

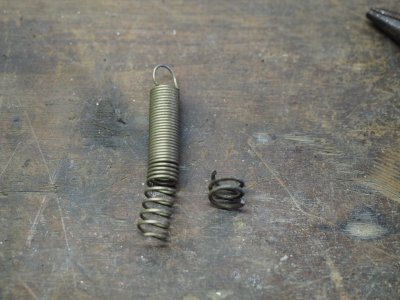
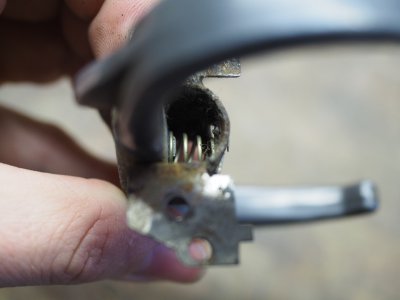
See the broken spring? It's supposed to be a coil or two longer than this.

EM520617.JPG

I don't have any compression type springs, only tension ones. So I found one with a similar diameter and stretched it out some.

EM520619.JPG

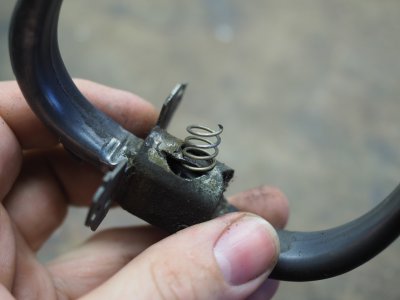
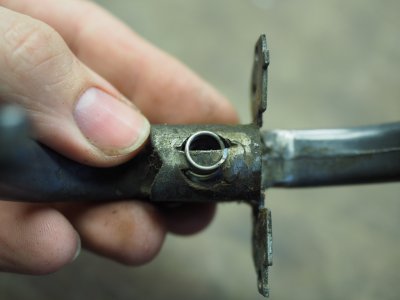
The spring threads through the opening and toward the handle.

EM520620.JPG

Introduce a bit of preload and nip off the excess. You may notice some grinding marks on the stamped metal part. Probably 18 years ago one of the ears broke off and I welded it back on.

EM520621.JPG

Back home.

EM520622.JPG

Screwed onto the door, before the escutcheons go on.

EM520623.JPG

It was a little weaker than the old spring. I could use a heavier gauge probably.

View attachment door handle.mp4


It actually tightened up a little with the escutcheon plates on. Introduces a little more preload I guess.

View attachment door handle 02.mp4


Job done!
 
Did a little lathe maintenance today as well.

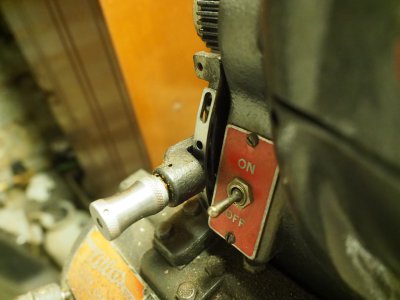
I've been unhappy with the gear mesh for the power feeds on my old Atlas. The selector has an adjustable plate such that when I adjust it to a good mesh for the left carriage feed the right carriage feed just barely meshes at all. This has led me to rarely use the "right traveling" power feed. This isn't really a big deal but unfortunately the right carriage feed is also the cross slide "in" feed so I rarely used that either.

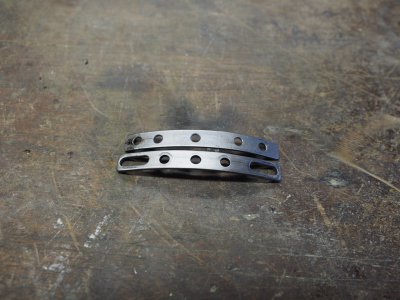
What I had to do was make a new plate with new holes so that I had good mesh in both settings. The old plate is on the bottom
and my newly made one is on top. Mine has no adjustment possible but since I drilled the holes to allow for good mesh I don't think it will matter.

EM520634.JPG

Here's the old one mounted. The screws are not in but you get the idea. Notice on the above pic how my new holes are spread farther apart from center. I'm guessing this is because of wear in the gears. I'm sure when it was new the old plate was just fine.

EM520635.JPG

I couldn't really get a good pic of the gear mesh but the way I set them both was to bottom out the teeth using the selector then back off a bit so they had some little bit of backlash.

It seem to run well. All the feeds work and now I can use all the feeds without worrying about gears slipping or striping out.

What do you guys like for lubing gears? I heard automotive gear lube is good, the 90W to 140W variety. I didn't have any so I smeared some heavy grease on 'em.
 
Back
Top