Red

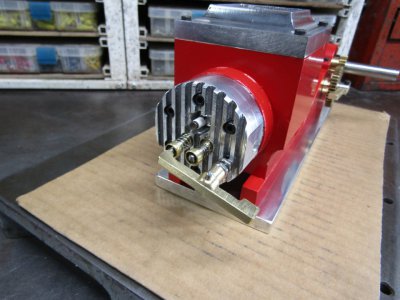
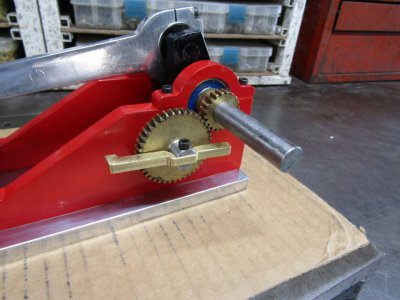
Brian thank you for the kind words but I do have an advantage. I try to design my engines in such a way as to use some parts I have already made for other engines for this engine. Take the cylinder head as an example. Except for some minor changes it is the same head as I have used on two other models. The timing gears and cam lobe is the same as three other engines I have built so it saves a lot of time.

Robert and frankly2 the top hat is mainly for cosmetic purposes. It will help to keep the water from splashing out and it does hide any mistakes I may have made when I milled out the water jacket.
But actually I just like it!

Lapped the valves and pressure tested them with shop air in a test plate.
Made the valve spring retainers and the intake valve spring from 0.010 music wire.
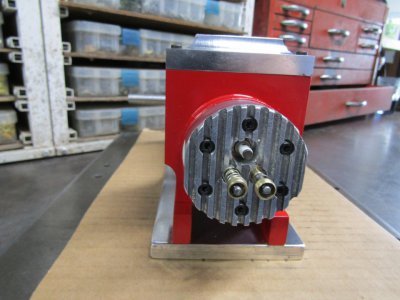
IMG_0753.JPG

Thanks for looking

Ray
 
Thanks Chris

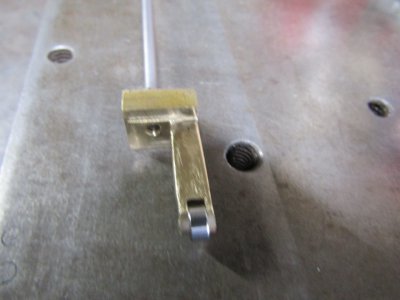
This is the valve lifter for the exhaust valve with a little roller bearing in the end. This and the lifter bracket took me almost all day to make. I didn't have any major errors but there was a lot of fiddly machining to do.

IMG_0764.JPG

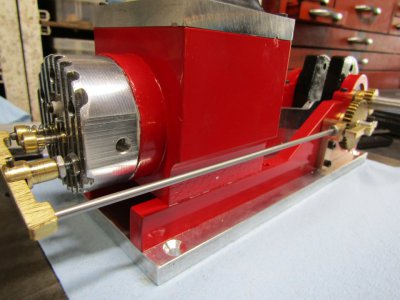
A close up of the lifter and bracket installed and aligned.
IMG_0755.JPG

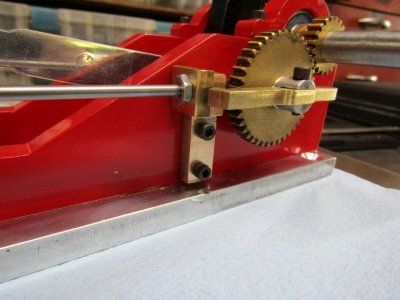
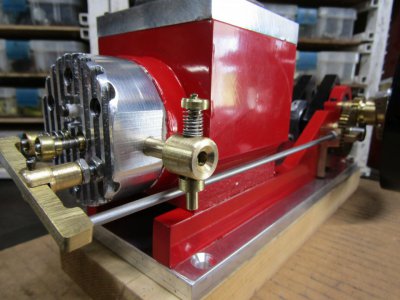
And a full side view with the push rod installed.
IMG_0761.JPG

Thanks for looking
Ray
 
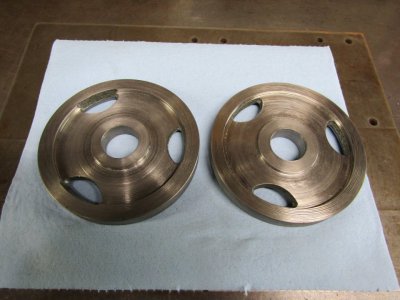
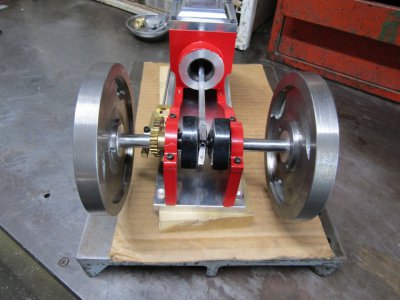
These are my cast iron fly wheels courtesy of Walmart. They are body building weights that are 5" in diameter, and weigh 2.5 pounds. At a little over $5.00 each you can't beat the price and they have been very nice blanks to work with. They had no hard spots and no voids.
IMG_0695.JPG

This shows the roughed out yoke for the governor that will be attached to the fly wheel.
IMG_0767.JPG

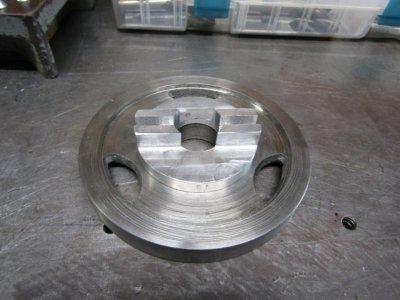
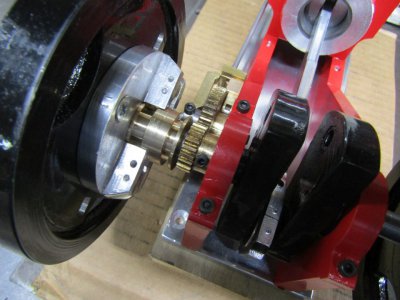
I like to use a split tapered bushings to attach the fly wheels as they are secure, the flywheel can be removed easily, and can be mounted any where along the crank shaft you want it.
Here are a couple of pictures.
IMG_0768.JPG

IMG_0769.JPG

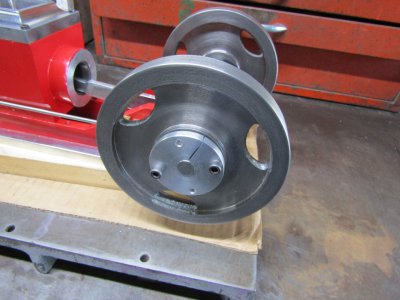
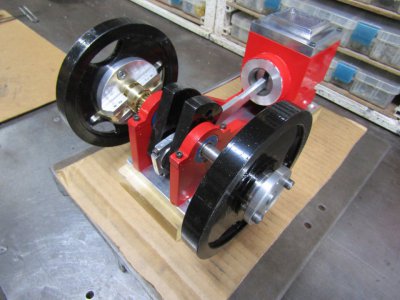
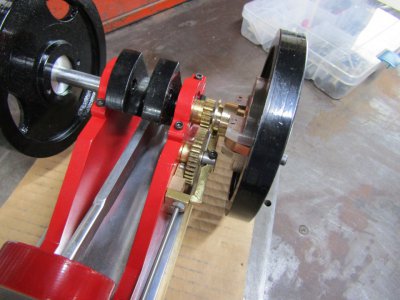
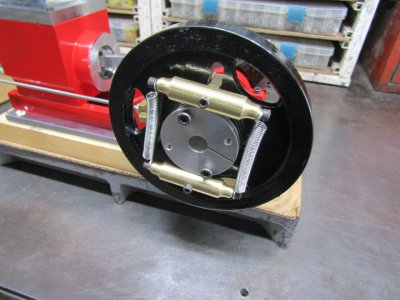
The fly wheels painted black and most of the governor assembly completed. I still need to make the fly weights , springs, and get it all adjusted.

IMG_0774.JPG

IMG_0775.JPG

Another view of the governor.
IMG_0777.JPG

Thanks for looking
Ray
 
These are my cast iron fly wheels courtesy of Walmart. They are body building weights that are 5" in diameter, and weigh 2.5 pounds. At a little over $5.00 each you can't beat the price and they have been very nice blanks to work with. They had no hard spots and no voids.

That's a good reuse of material..... also means they are available everywhere.
Great idea.
Brian
 
It looks like we have some new followers to the thread and over 500 views so a big "Thank you" out to every one.

I have been working on the governor fly weights and finishing the Hit-Miss mechanism today. This is a new style for me and I am hoping to get a longer miss time with this design.
IMG_0781.JPG

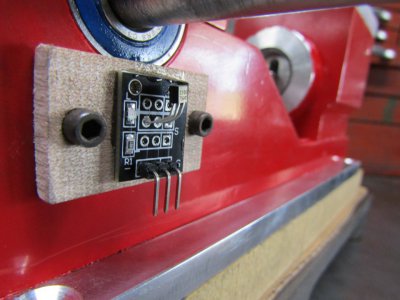
This is the hall effect sensor for the ignition module. It is a little circuit board with the hall sensor and an indicator led that flashes when there is a spark. The wiring plug pushes right on to the board with no modifications which makes it easy to connect and disconnect. Oh and at $1.25 each whats is not to like. I glued this to a piece of wood so it would not short out against the engine block as the back has the solder joints.

IMG_0786.JPG

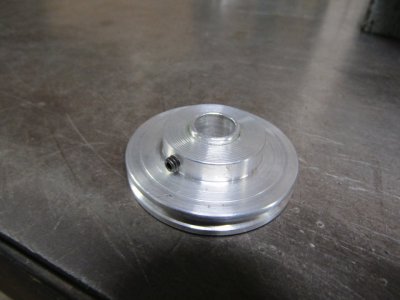
This aluminum disk has the magnet inbeded (glued) on the other side and that is what trips the hall sensor.
IMG_0787.JPG

Thanks for looking
Ray
 
I spent the day making the carburetor and happy to report there were no boo boos.

IMG_0790.JPG

I also cut the groove for the oring on the piston and the compression feels very good but we will see.

It's time to get the engine mounted on a base for stability and a place to mount the electronics. I will be working on that next as there isn't much left to do. The electronics, the exhaust, and the gas tank still remain to be done and then tuning and adjusting.

Thanks for looking
Ray
 
Back
Top