- Joined
- Jun 7, 2016
- Messages
- 361
What a pain! I thought this was a new crank set. And if so that it should be ready to go. Well at least you have the equipment to deal with it. And the machine tools to make what you need. I never had a lathe or mill to make what I needed I just had to bodge something together and try to get a precision result. Thinking back the only shop I worked in that had a real press was in college.
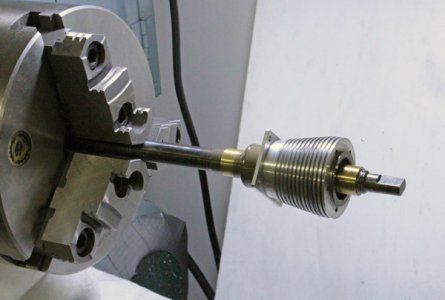
Yes this is a reproduction crankshaft. Nicely machined but not nicely assembled. I am confident if this had been a genuine BMW part, it would have been ready to fit. But the days of those cranks being available are just a fond memory.
Let me tell you, I could have bought an R69s out of the US sent it to Barringtons for a full rebuild, paid freight and import duty and I would of had money to spend left over Vs setting up the workshop.
But then again some things are not about money. I don't want a pristine bike that is an advertisement for someone else's restoration finesse. I want a bike that I know inside and out. The bike may not be perfect but at least I will have a pretty good idea of why it is less than perfect.
I hope that makes sense.
Mal