- Joined
- Oct 14, 2014
- Messages
- 1,964
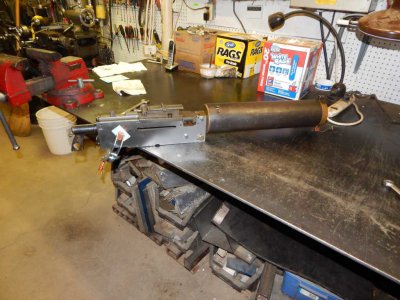
I'm building a 1928 Colt Browning machine Gun (semi auto only) from a parts kit. Look on the lower right on this web page to see a finished item. http://browningmgs.com/Images_1919A4/Brownings.htm
This thread shows how to make the right side plate from scratch. FYI, this part is considered the receiver and is always destroyed when buying a parts kit.
The first job is getting a piece of stock ready. It has to be 14.47 long by 4.07 wide by .250 thick and FLAT. One side needs a mirror finish. The flat requirement has proven to be a real problem in the past, machine metal off and the part becomes a banana due to relieving stresses in the metal.
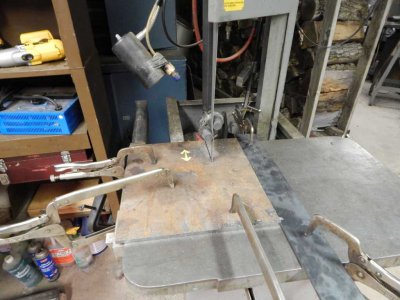
1) started with 3/8 HSLA plate stock and ruff sawed
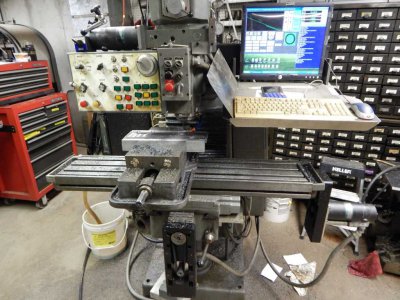
2) Cut both edges parallel in the manual mill.
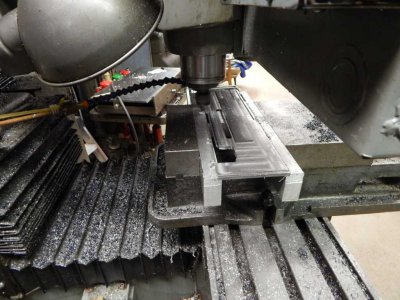
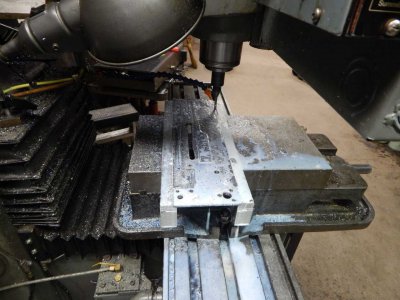
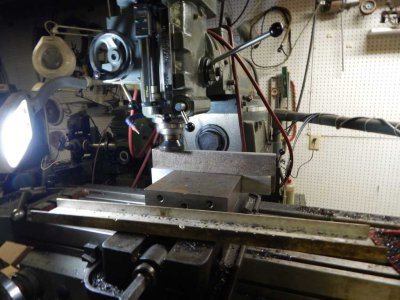
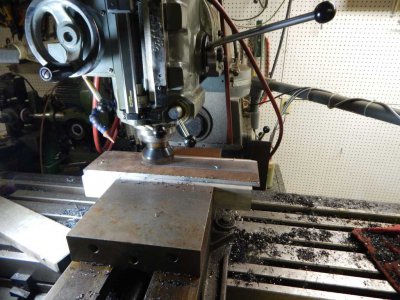
3) mount part in soft jaws and face 0.040" off both sides, gets rid of nearly all stress. Unclamp part and you have a banana. With this stock, bow was about 0.010"
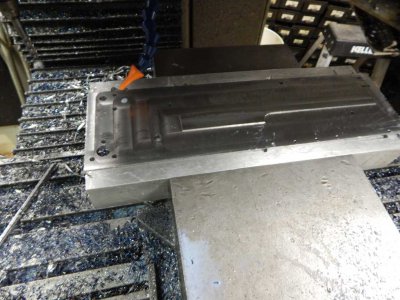
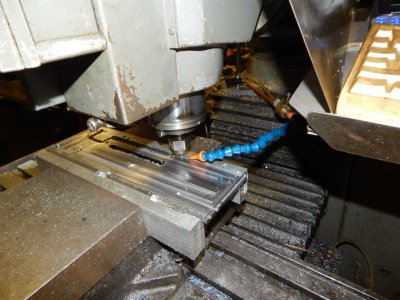
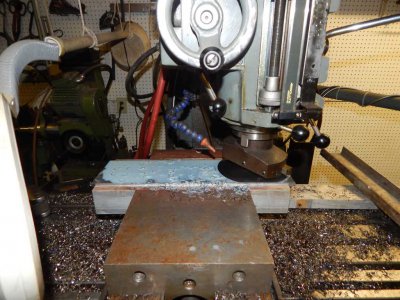
4) remove 0.005" at a time with a fly cutter. Flip part and repeat until metal is flat and perfect on at least one side. Not shown, final cut uses the face mill again to get to 0.250 thickness.


Last edited:


