- Joined
- Nov 27, 2012
- Messages
- 7,852
Another quickie planned years ago that I finally got around to. Centering tool for quick setups. Will be good for 90% of the stuff I do. If I need higher accuracy I'll indicate.
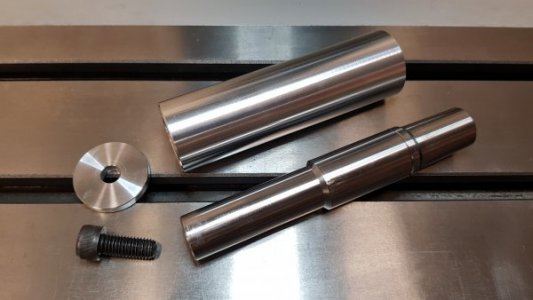
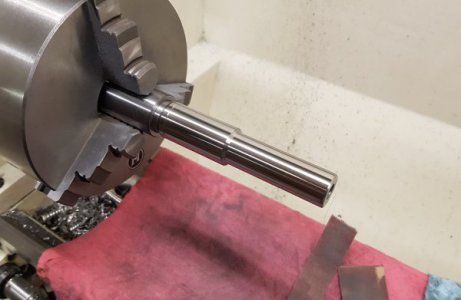
Here's what I started out with. A threaded drill chuck arbor purchased years ago, (luckily I didn't loose it), a piece of 4140, & a piece of 6061.
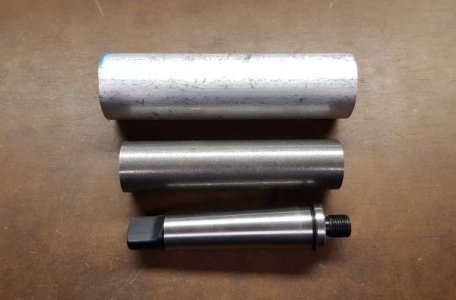
Tapped the 4140 to thread onto to the arbor, machine, & sand/polish to final size.
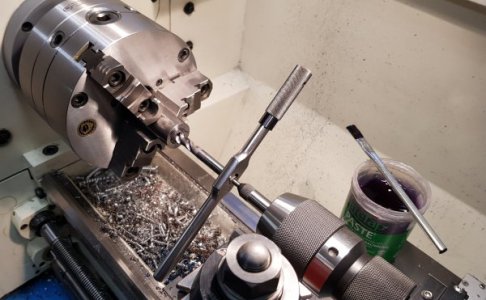
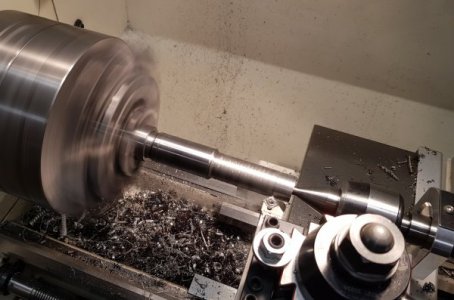
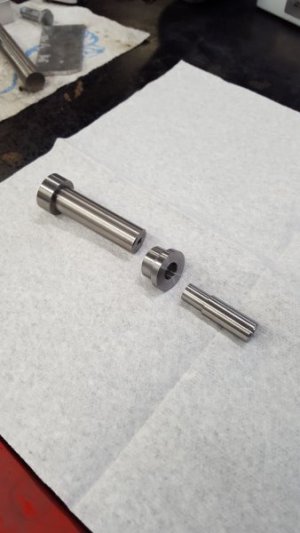
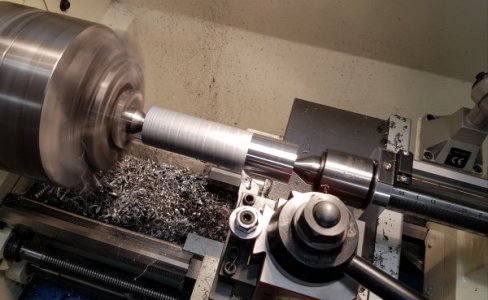
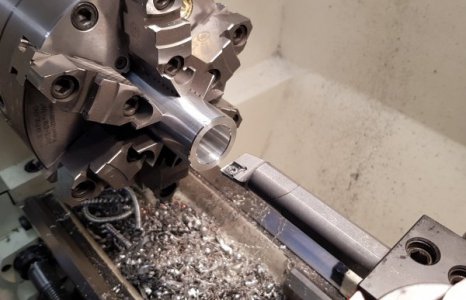
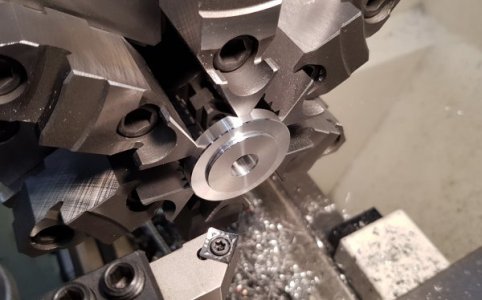
Making the "emergency" sleeve & washer.
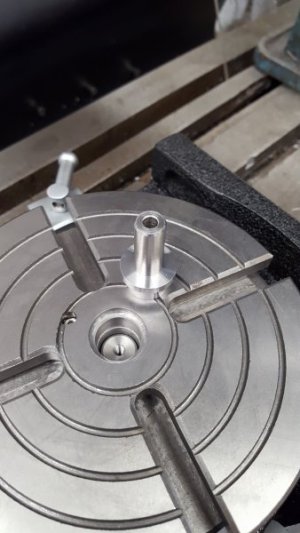
Here's how I use it. Mount the mandrel in a collet. Rotary table bolts are loose. Drop the the quill to seat the mandrel in the RT MT taper, then snug the RT bolts.
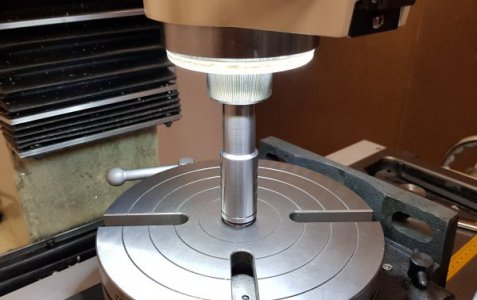
TIR of the mandrel in the mill spindle is .0004"-.0005".
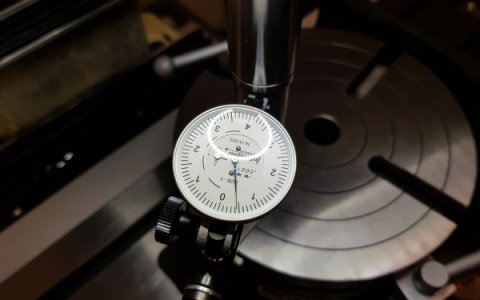
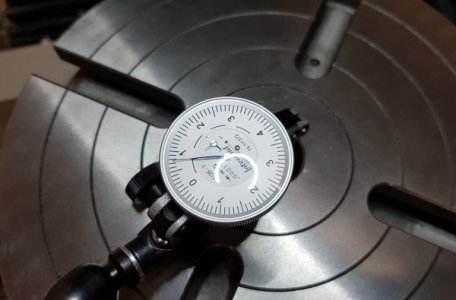
TIR of the RT after simply using the mandrel to center is .0007"-.0008", this was on the very first try. If I'm more careful about it I can get it lower but the point of this tool is for quick & dirty centering which will be fine for me in most cases.
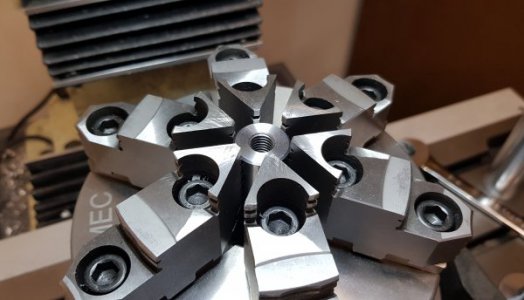
The reason for the long mandrel is after centering & snugging down the RT, with the mandrel seated in the RT, I can quickly center my chuck. Tighten the jaws on the mandrel, then snug down the chuck. Again, if I need higher accuracy I'll indicate the chuck in also.
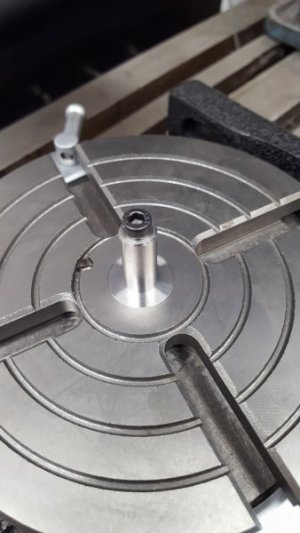
To eject the mandrel I use the washer & bolt.
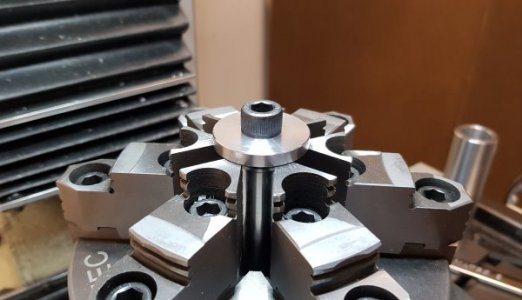
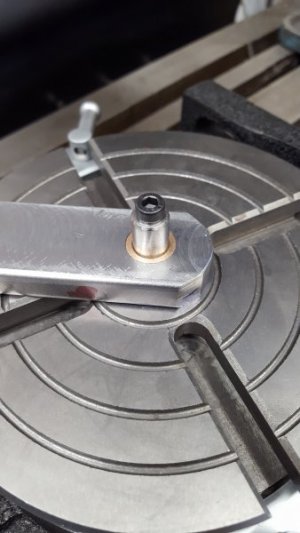
And in any case the mandrel might get seated to where I can't simply pull it out by hand, I use the sleeve, washer, & bolt.
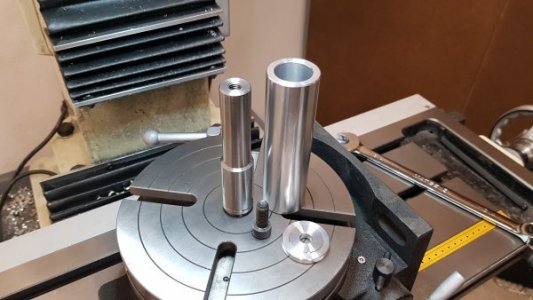
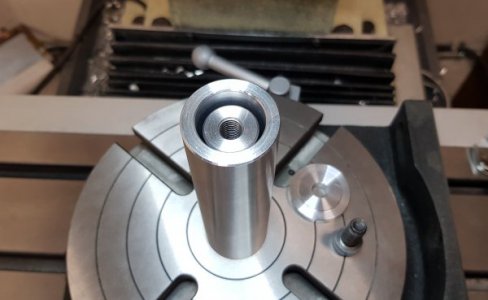
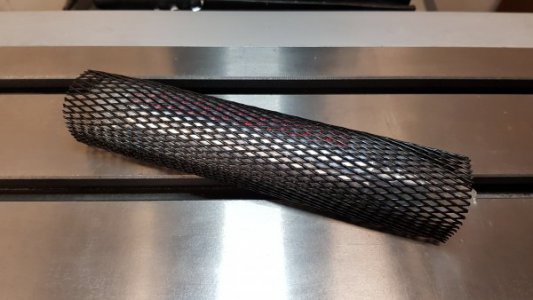
And finally storage.
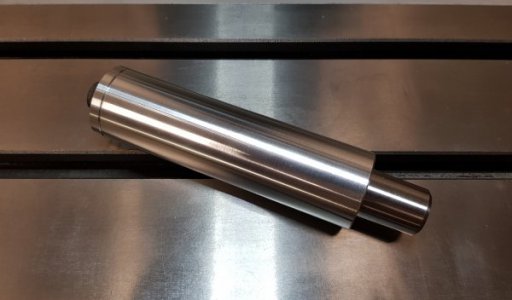
Thanks for looking!

Here's what I started out with. A threaded drill chuck arbor purchased years ago, (luckily I didn't loose it), a piece of 4140, & a piece of 6061.

Tapped the 4140 to thread onto to the arbor, machine, & sand/polish to final size.


Making the "emergency" sleeve & washer.


Here's how I use it. Mount the mandrel in a collet. Rotary table bolts are loose. Drop the the quill to seat the mandrel in the RT MT taper, then snug the RT bolts.

TIR of the mandrel in the mill spindle is .0004"-.0005".

TIR of the RT after simply using the mandrel to center is .0007"-.0008", this was on the very first try. If I'm more careful about it I can get it lower but the point of this tool is for quick & dirty centering which will be fine for me in most cases.

The reason for the long mandrel is after centering & snugging down the RT, with the mandrel seated in the RT, I can quickly center my chuck. Tighten the jaws on the mandrel, then snug down the chuck. Again, if I need higher accuracy I'll indicate the chuck in also.

To eject the mandrel I use the washer & bolt.

And in any case the mandrel might get seated to where I can't simply pull it out by hand, I use the sleeve, washer, & bolt.


And finally storage.


Thanks for looking!


