ROTEX RM-1 Rebuild (kind of)

aztoyman

Active User
Registered
Joined
Apr 12, 2014
Messages
135
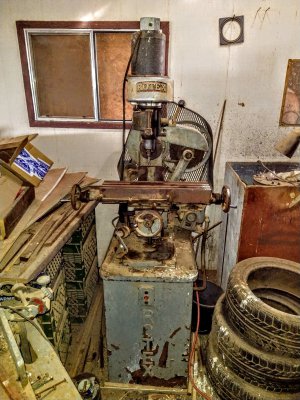
I recently bought an old ROTEX RM-1. It's really crusty but it's all there and it powered up. I thought I'd post my progress. Maybe it will help others with the same machine.

I'm no expert so feel free to offer advice. Especially if I'm doing something I shouldn't.

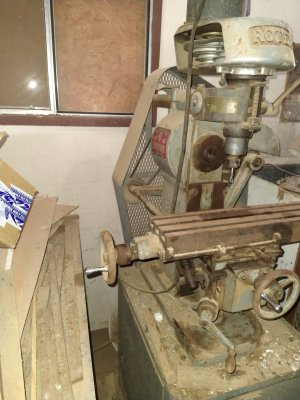
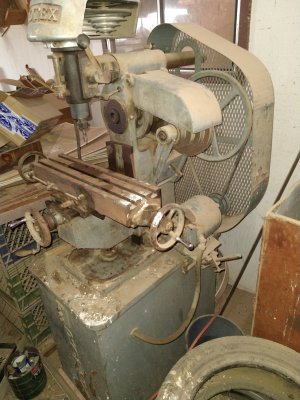
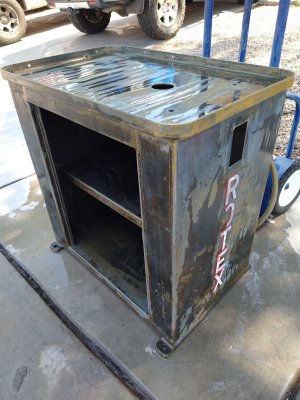
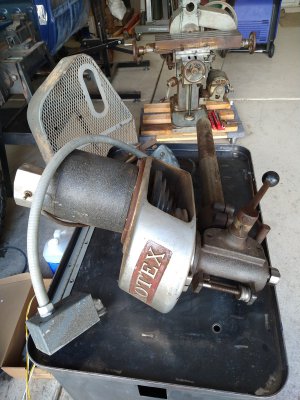
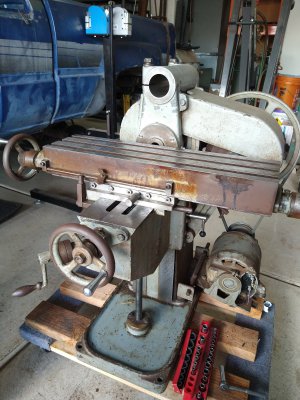
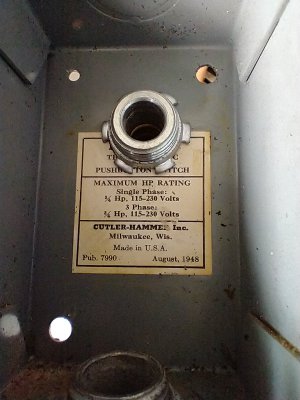
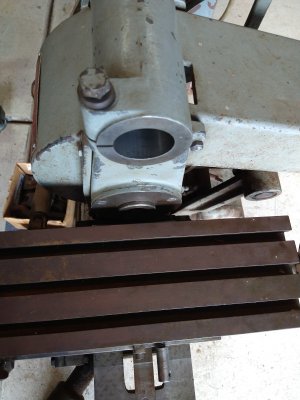
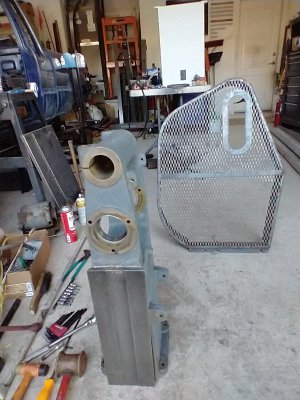
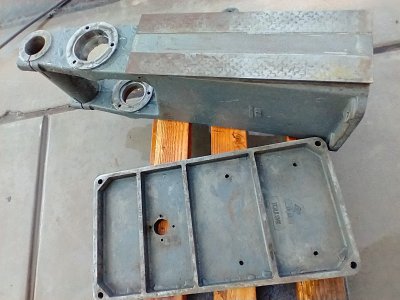
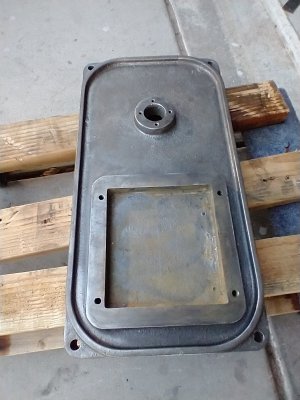
Here's a picture of it buried in the seller's shed and a pic of the base cabinet stripped of paint. I'm going to paint it with Rust-Oleum Smoke Gray enamel. The vertical head still has the textured brown paint. Everything else has been painted over gray. My pressure washer took it to the bare metal.

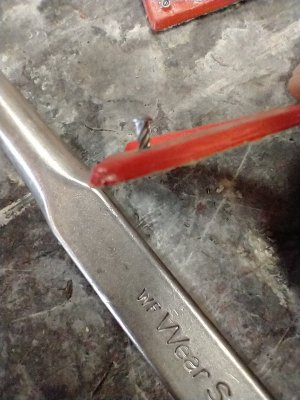
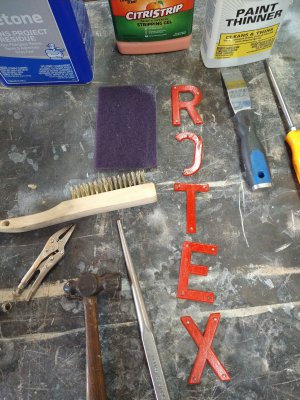
Sorry, pics are from my phone.
 

Attachments

  • IMG_20210814_154901290~2.jpg
    IMG_20210814_154901290~2.jpg
    3.8 MB · Views: 123
  • IMG_20210814_154922508.jpg
    IMG_20210814_154922508.jpg
    1.8 MB · Views: 125
  • IMG_20210814_154912127.jpg
    IMG_20210814_154912127.jpg
    2 MB · Views: 99
  • IMG_20210909_131720631.jpg
    IMG_20210909_131720631.jpg
    2 MB · Views: 99
I tried to mask off the letters but that wasn't working out. So I used a punch and small hammer to tap out the rivets? I forgot what these are called.

I'm going to try to get the base primed tomorrow.
 

Attachments

  • IMG_20210909_180016260.jpg
    IMG_20210909_180016260.jpg
    400.5 KB · Views: 53
  • IMG_20210909_175942008.jpg
    IMG_20210909_175942008.jpg
    2.8 MB · Views: 50
I ordered a couple new 12 gauge power cords today. I need to order new belts. If anybody has the belt numbers please let me know. Otherwise I guess I'll measure and see what I find.
 
Here's some more pictures.
 

Attachments

  • IMG_20210901_113631723.jpg
    IMG_20210901_113631723.jpg
    2.2 MB · Views: 56
  • IMG_20210901_113718832.jpg
    IMG_20210901_113718832.jpg
    2.1 MB · Views: 55
  • IMG_20210901_111106699.jpg
    IMG_20210901_111106699.jpg
    428.8 KB · Views: 62
  • IMG_20210901_113132865.jpg
    IMG_20210901_113132865.jpg
    2 MB · Views: 53
Just a wipe down with WD-40.
 

Attachments

  • IMG_20210829_163319004.jpg
    IMG_20210829_163319004.jpg
    1.9 MB · Views: 53
  • IMG_20210829_163501611.jpg
    IMG_20210829_163501611.jpg
    1.6 MB · Views: 51
Extra spindle?? Some tooling that came with it.
 

Attachments

  • IMG_20210901_175548457.jpg
    IMG_20210901_175548457.jpg
    4.3 MB · Views: 43
  • IMG_20210901_175634103.jpg
    IMG_20210901_175634103.jpg
    399.3 KB · Views: 41
  • IMG_20210901_110409861.jpg
    IMG_20210901_110409861.jpg
    2.3 MB · Views: 36
  • IMG_20210901_110429730.jpg
    IMG_20210901_110429730.jpg
    1.6 MB · Views: 35
  • IMG_20210901_110357254.jpg
    IMG_20210901_110357254.jpg
    2 MB · Views: 34
  • IMG_20210901_110458234.jpg
    IMG_20210901_110458234.jpg
    1.6 MB · Views: 34
  • IMG_20210901_110505036.jpg
    IMG_20210901_110505036.jpg
    3.4 MB · Views: 44
I got the base cabinet in primer today and got most of the machine apart.

I used my pressure washer to strip the paint. Looks like one light gray paint job over the original brown speckled and textured paint.

The paint pretty much came right off with just the pressure washer. The light gray came off easily. The original brown took a little longer but relatively easy. Apparently the castings were originally dark gray.
 

Attachments

  • IMG_20210910_172753288.jpg
    IMG_20210910_172753288.jpg
    449.6 KB · Views: 31
  • IMG_20210910_155944485.jpg
    IMG_20210910_155944485.jpg
    588.9 KB · Views: 30
  • IMG_20210910_172802051.jpg
    IMG_20210910_172802051.jpg
    392.4 KB · Views: 63
Back
Top