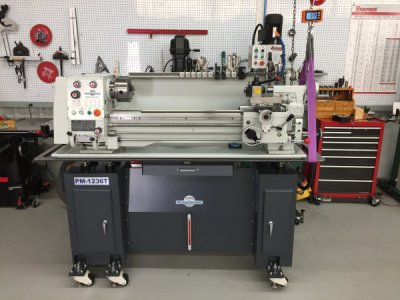
Setting-up the PM 1236-T Lathe

Titanium Knurler

H-M Supporter - Diamond Member
H-M Lifetime Diamond Member
Joined
Jan 18, 2018
Messages
314
75DCA0E7-7216-495F-B845-DFFF1D448D77.jpeg

I have now had my PM 1236-T lathe for about a year now. I thought I would share my experience with setting-up and using the machine for anyone that is interested. This is not meant to be a review, but I think at the end you will have a pretty good feel for this lathe. I will give you the punch line up front: it is a very nice machine and I would definitely buy it again-thanks for the tip Mikey!

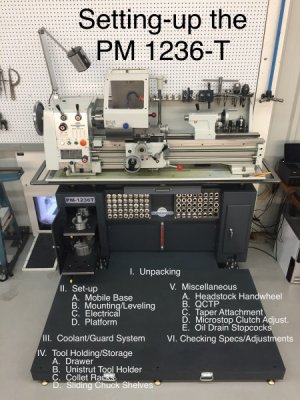
As you can see from the outline in the photo I have quite a few topics I would like to share. I will probably do one or two a week. I will try to give a “kit view” of the supplies needed for each section and give part numbers for key elements. When appropriate, I will finish each section with what I would do differently and what I would hope PM or the manufacturer, Liang Dei, would do differently.

My hope is that not only will you become more familiar with the PM 1236-T lathe and the other PM lathes like it, but that these posts will also act as a springboard for discussing other topics important to all lathes such as: Does a lathe really need to be “level”? Is a mobile base a good idea and, if so, how should one be constructed? How large an error is introduced when there is a vertical misalignment of the lathe? I have consulted a math professor, that earned a living working as a machinist while in graduate school, for a quantitative answer to the last question. He has created a nomogram and formula that I will share with you in the upcoming posts. Anyway, I hope this will be helpful for anyone interested in the PM 1236-T. I look forward to learning from all of you. I will post the first topic, “Unpacking” soon.
 
A lathe does not need to be level in any axis............it makes no difference to the accuracy..................however being level means an accurate level measurement tool can then be used to check for bending or twisting of the bed,and such corrected .......and later on used to check for wear.............mathematicians can do all the calculating they like,and not even suspect issues that do cause inaccuracy like unequal thermal expansion and tool and structural deflection caused by cutting forces and heat .
 
John.k, I wasn’t expecting to get feedback on this topic before I actually presented it but appreciate your thoughts and agree with you. This is the type of discussion I was hoping for. The Manual for the lathe indicates that vertical alignment is “nowhere near as critical” as alignment of the center-to-center axis with the lathe bed. I don’t doubt this, but thought it would be interesting to actually put a number on how vertical misalignment affects taper. Just an academic exercise that will quantitate the theoretical taper for various diameters at various vertical misalignments. I hope you will continue to follow and contribute to the discussion. If you do, I think you will find that when possible I like to “put a number on things” when I can. To me that is better than a statement such as, “it is nowhere near as critical”. Thanks again for contributing!
 
Thanks Z2V. It is kind of tough these days to find the time to post but I will do so as frequently as I am able.
 
  • Like
Reactions: Z2V
I. Unpacking

D0FB5054-2D40-4B32-AA9D-A0FE12FA675D.jpeg

The PM website reads: “Extremely High Quality Lathe, meant for very high precision work. Perfect for the user who is looking for a high quality lathe, at a lower cost – Great for the serious hobbiest, gunsmith, or lighter industrial user...”

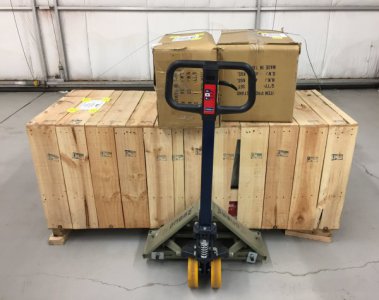
I had wanted a lathe for a long time, this description was perfect; just what I wanted and it just fit the space I had set aside. I pulled the trigger and about ten days later I was looking at the crates shown above. The pallet was slightly damaged but except for minor scuffs and scratches of the paint the contents showed no damage. The largest crate contained the lathe, chip tray, backsplash and stand front panel. The smaller boxes contain the right and left cabinet supports which are fabricated from 3/16” steel plate. The cabinet supports are connected by a heavy, 16gauge sheet metal panel that bolts to angle iron welded to the side of the cabinets. This is a substantial stand weighing in at about 250 lbs. but I was concerned that it’s configuration of two columns separated by sheet metal was not going to be rigid enough to prevent twisting with movement and I really wanted a mobile stand. The reasons for wanting a mobile stand and the design I came up with I will share with you later. Shortly after ordering the lathe I noticed PM offered a cast iron stand but I have not seen it offered since then. If that had been offered when I ordered the lathe I probably would have gone that route since I believe it would be much lest likely to twist with movement.

The Manual from the manufacturer, Liang Dei(LD) is pretty cursory but it does give a bit of advice that is not in the much more complete and well written PM Manual: don’t move the carriage until the thick coat of cosmoline is removed. If this is not followed one can damage the small wipers on the carriage that clean the ways when the carriage is moved. The PM Manual recommends using WD40 or other light oil to clean off the cosmoline from the metal surfaces. I used the product pictured below from Grizzly that works exceptionally well and is safe for painted surfaces:

49902DE6-661E-4D5F-97C1-87B5867A45C3.jpeg

Unfortunately, the spindle Bore was note coated with cosmoline and was badly pitted from rust:
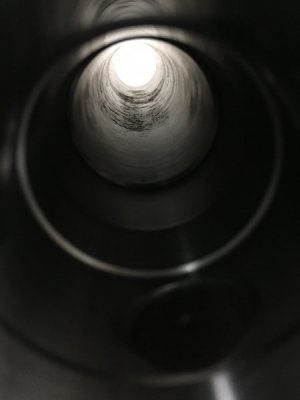
E0D935B1-E01D-4217-8FA9-8AD8D3F8622C.jpeg

The pitted spindle bore is not a functional problem but when you lay out 4K for a lathe you expect to not have any rust damage.

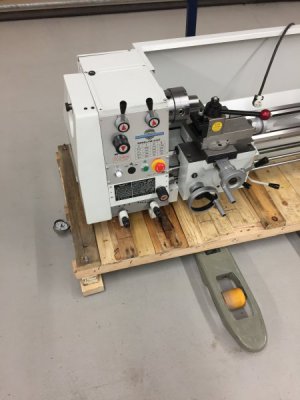
Here is an image of the cleaned-up lathe on the pallet:
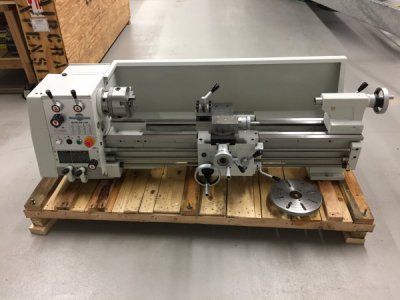
B56E1F81-3473-4908-8B95-25BFB096BDAA.jpeg

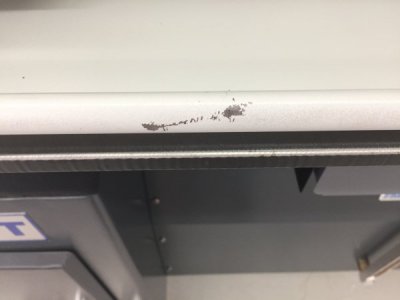
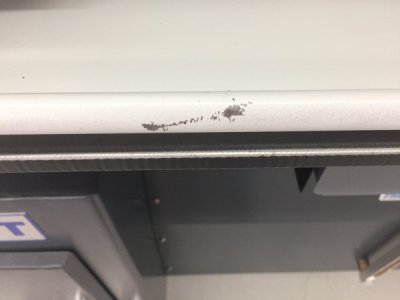
The cabinets were pretty scuffed-up and the chip tray had quite a few scratches. Unfortunately, PM does not have touch-up paint.

14587FB1-7D02-40DE-A65A-904AB37A0A0B.jpeg. 0CAEFD24-BBA0-4BE4-A6FF-789FBE8F41BE.jpeg

However, I did find a very close match for the blue-grey cabinets with a Rustoleum product and the off white lathe/backsplash and chip tray at one of the big box stores. I brought in a piece of the lathe and had it color matched. Unfortunately, I now have a gallon of the damn stuff now. I think it would be nice if PM had small quantities of touch-up paint available if there lathes are going to arrive scuffed or scratched.
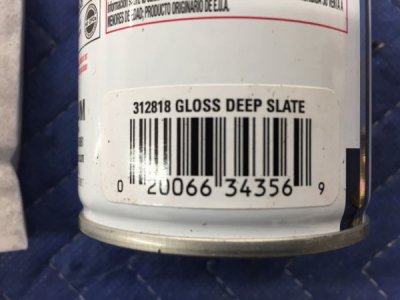
D2F1A1B9-7A6A-46D9-9707-3D484E10A02F.jpeg. 572299FB-60F3-4EB6-9532-B3392D691348.jpeg

Before and after:

66D7D1AC-2AFA-477F-88CF-DD4FD1D3B78E.jpeg. 9E36F9DD-6229-4B14-86AA-6F1C5426D691.jpeg

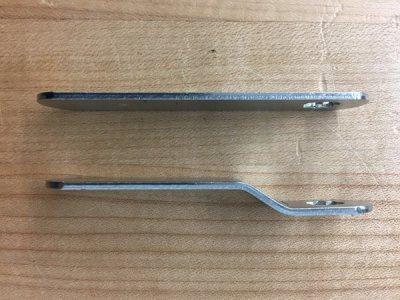
When you assemble the cabinet door latch you will be scratching your head wondering if there is a piece missing. There isn’t a piece missing it is just very poorly designed. You have to bend a dog leg in the piece for it to work:
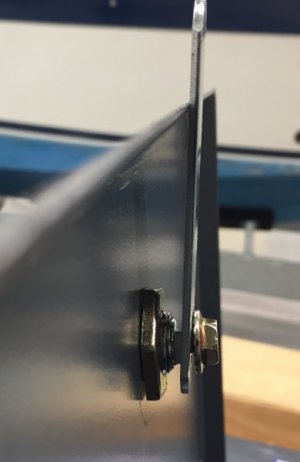
1A8D590C-AC6C-4FFA-84B2-2AC3681B8C1A.jpeg. 5272DCB3-3D5D-4701-AD26-E752327DAC46.jpeg

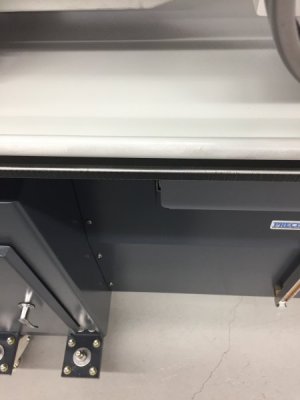
The labels on the cabinet were incorrect(1340GT), crooked and off center. I know, I know, who cares? Well, to me it seemed a bit incongruous and a bit humorous that a company with “Precision” and “Quality” in their name would have incorrect, crooked and off center stickers. It is a bit like a surgeon that performs a complex surgery and closes with a poor skin incision. Of course that’s all the patient sees and will naturally wonder what the hell went on inside. I contacted PM and spoke to Matt. He seemed a bit embarrassed and sent me some new stickers right away.
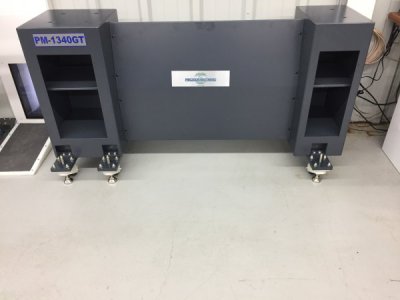
949DF2EC-5EA8-4041-9C3F-458459188729.jpeg

I almost finished with this post on Unpacking but I am going to sign-off for a bit since it looks like my iPad is about to run out of power. Be back in a bit to finish-up.
 
Place lathe on floor, place stock in lathe and make parts.
Is this short machine so thin that it can not support itself ?

I would find this difficult to believe, a 30" long machine is rigid enough not to need any leveling or other consideration.
If so send it back.
 
I. Unpacking, cont’d

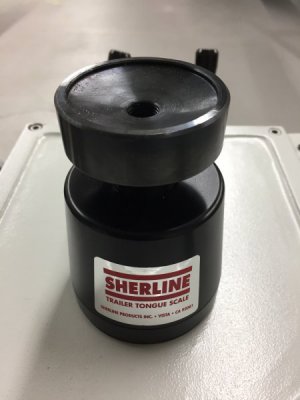
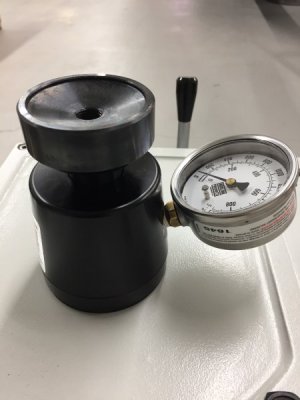
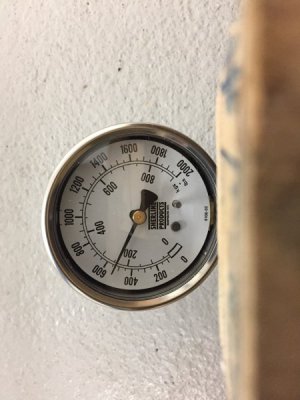
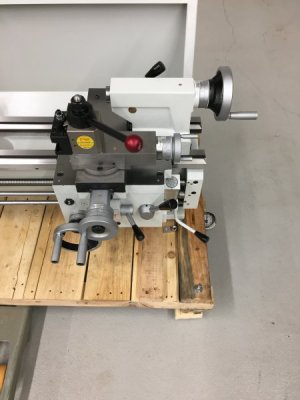
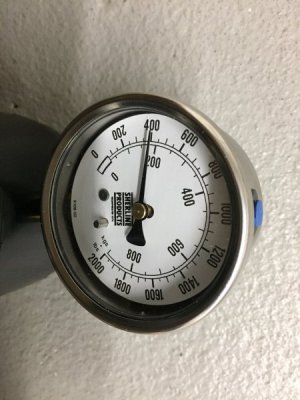
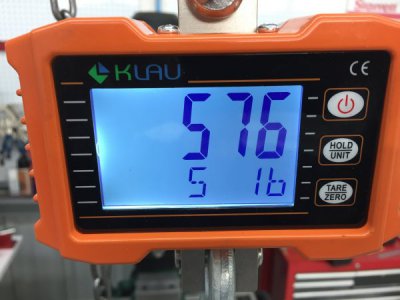
If you look at the photo of the stand in the last post you will see that the headstock side has four areas for support at the base for leveling mounts and four at the top to mount the lathe to the cabinet. Similarly, the tailstock end has two. The PM Manual recommends that if one uses leveling mounts that they should be rated for 250 lb each. Since I was planning on adding casters and machine mounts for the mobile base I wanted to get a pretty good idea of the weight of the headstock and tailstock ends. I used a trailer tongue weight scale to determine the approximate weight while the lathe was on the pallet.

96EC2620-97B4-4FCC-A56F-1A02C01471CA.jpeg. E0C86664-395C-4A81-B8C0-D9CC7F1EA008.jpeg


As you can see this is a pretty good recommendation:

EDDBF4C9-018B-41DE-87BA-BC15C43FA733.jpeg. E6A99631-10D9-488D-BA0A-B19A51B7F1F3.jpeg


42404139-9B73-4B57-93F2-41CAFAE5F732.jpeg. BF3F1011-9044-495D-AB21-41FD959C4822.jpeg


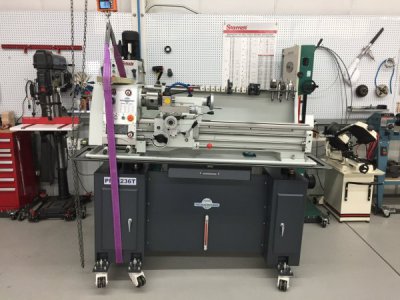
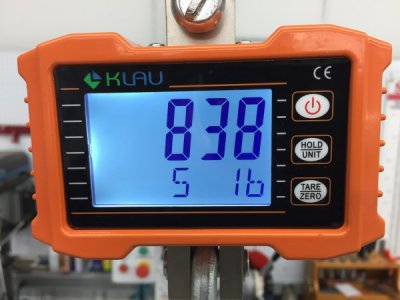
If you fast forward to when the stand is complete and the lathe is mounted on the mobile base you can see that the 250 lb/mount recommendation is still pretty reasonable:

11FDFB64-96B3-4D8A-B51F-681595B8AAE1.jpeg. F6D54B86-FF09-4C2E-BE15-F39C41BB9963.jpeg


9660C3B6-8092-43F2-A059-356C88C74ECB.jpeg. 33FB975A-C27C-4066-8483-E77BD889E82B.jpeg

However, as you will see in the next section I used casters and mounts that are rated for at least fours times that amount.

Well, enough about Unpacking. I promised at the beginning I would list what I(TK) would do differently and would make recommendations for the manufacturer,Liang Dei(LD) and PM. So here they are:

TK- none this time but there are plenty coming up

LD-better packing to avoid scuffs and scratches
-better engineered latches or at least ones that do not need to be modified
-COSMOLINE TO THE SPINDLE BORE

PM-get labels correct, straight and centered
-make touch-up paint available

Pretty minor stuff. Next I will discuss making the mobile base. I am very interested in your feedback on this!
 
You complain a good deal.
Please explain why you did not buy a machine from a manufacturer that has a long history of placing the decals on their machines in the proper place and orientation, Haas at the bottom end and Mazak, Mori-Seiki, Tsugami and Hydromat at the high end.

Decal placement is nearly perfect on these machines, I would go out on a limb and suggest that the decals are placed on these machines by other machines, I may be wrong however.
 
Back
Top