Shaky start

Aukai

H-M Supporter - Diamond Member
H-M Lifetime Diamond Member
Joined
Oct 4, 2016
Messages
7,012
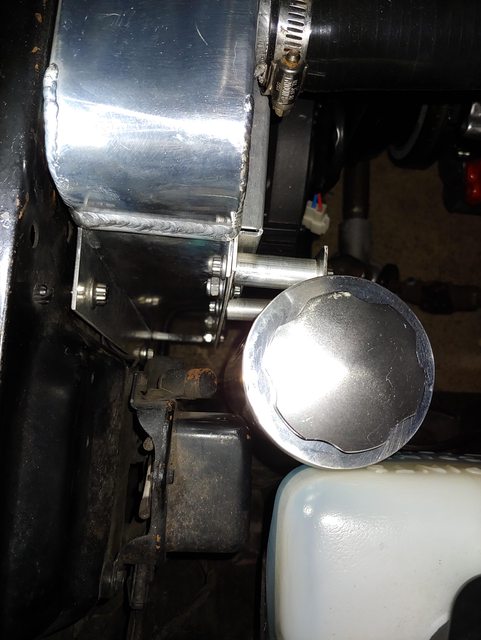
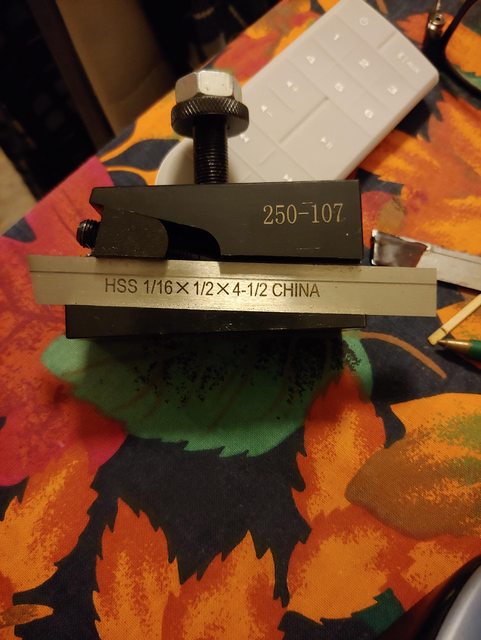
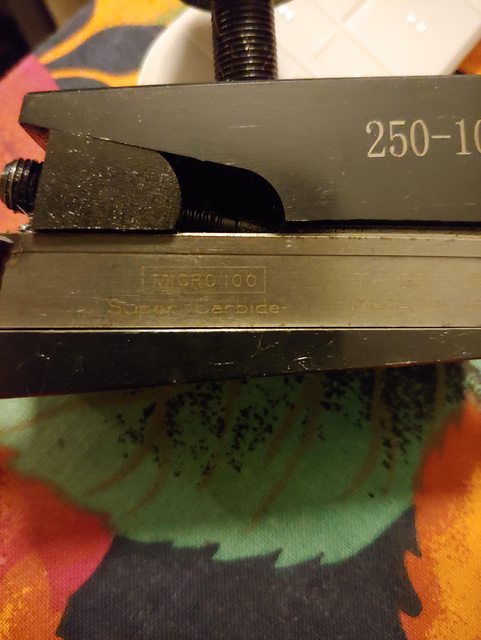
But made a couple of stupid simple spacers. Great learning for sure though. Faced, drilled, threaded both ends. Learning parting, my squaring may be off, a couple things to try, not totally flat parting. I still need to learn chamfering, I needed to make a clearance cut to clear the radius of the bracket. I also made a threaded punch 1/4 20 pointed gizmo to mark the radiator support for drilling. Learning here is great for the beginner/ total novice.


Mike, you made them and they work, right? A lot of guys can't do what you just did.

What kind of issues are you having with parting? Aluminum parts like butter but parting anything requires you to do some things:
  • The tool needs to be sharp. If you use a carbide tool it can require more feed force because they are not that sharp. Brazed carbide is a little better and can be honed sharp. HSS is even sharper and easier to feed and maintain.
  • The tool needs to be on center; not high, not low but dead on center.
  • The tool needs to be perpendicular to the work piece. The easiest way to do that is to bring the blade up to the face of the chuck and align the blade to the face. Or you can face a piece of stock accurately on both ends and put one end on the chuck face and the other on the body of the blade and square it up that way. Lots of ways to do it but these are quick and easy.
  • Get your speed right. I find that if I go too slow it takes more force to feed the tool in and that causes the body of the blade to bend. I suggest parting aluminum at about 400 rpm at least, then feed the tool in and apply a bit of pressure to get it started. Once it begins to cut, feed so that you feel a slight resistance to the feed. It should feel like you're feeding just hard enough to keep the blade continuously cutting.
  • Use cutting oil. For aluminum, WD-40 works good. For steel, regular cutting oil works fine but if the material is hard or can work harden then switch to sulfur-based cutting oil (that brown, stink threading oil you can get at the hardware store).
If you are using HSS blades, try using one a bit thinner. A P-2 blade works well for most stuff. Sharpen it with a 7 degree front relief angle and get it square across the nose of the cutter. Forget the beveled grind; it doesn't work nearly as well as a square grind, at least in my experience. Once you grind the relief in front, hone it with a diamond stone so the blade is sharp. I use the coarse/fine/extra-fine stones, then I flatten the top of the blade with the extra-fine stone to remove any burrs. Use very light pressure when honing or you can round the tip.

I usually lock my blade in a QCTP holder and use that as a honing guide. I lay it flat on its side so the blade is flat on its side, then I back up the diamond stone with a vertical object that doesn't move. Then I just hone the blade by moving the bevel across the stone, keeping it flat. A few strokes on top and its done.

Give this a try and ask if this is at all unclear.
 
Nice job. Reminds me of the alumn spacers I made to install my trans oil cooler. Spacers/standoff aren't hard to make but they're one of those things that the end result gives me great satisfaction. Sure beats using stacked washers and/or nuts for spacers.
 
I figured I'd start with a Chinese parting blade, this one has a U groove on the top. I also have the T 100 USA carbide, but didn't want to trash it,,,,just yet. My rpm has been at 250, so that's something to adjust. I'll check out the P-2 blade, and thank you for the sharpening hints/tips


That T-100 is a very good blade, Mike. It likes a bit of speed.
 
Mike, the 7 degrees of angle ground into the blade that Mikey speaks of is not measured from the top or bottom parallel sides of the blade, it is from vertical. Check the angle using the top flat of the tool holder as a reference surface. The grind needs to be be more than 7 degrees from perpendicular to the blade due to the tilt built into your tool holder. I made that mistake when I first started parting...
 
Mike, the 7 degrees of angle ground into the blade that Mikey speaks of is not measured from the top or bottom parallel sides of the blade, it is from vertical. Check the angle using the top flat of the tool holder as a reference surface. The grind needs to be be more than 7 degrees from perpendicular to the blade due to the tilt built into your tool holder. I made that mistake when I first started parting...

True, Bob. It is because of that built in angle that I abhor those parting tool holders. I much prefer that the blade make a horizontal approach to the work.
 
In regards to the parting blade holder (#250-107),
You might want to tear down the wedge block and smooth/deburr it and the mating surfaces.
I had problems with both my AXA & BXA holders. Neither had decent surfaces in those areas.
I cleaned them up with stones and a fine file.
On one it was side-to-side on the other there was a high spot where it mated with the blade.
That eliminated most of my problems, now if I can figure out what to do about 'operator error'. :grin:
 
Bob, Thank you for the clarification, I did have to read everything a few times for comprehension to sink in.
Mikey, Thank you for the follow up, is there a holder that would meet your criteria?
Dan, Something to look at, thank you.

I need to practice my squaring, I've tried the work face, and squaring off of the chuck face with the blade. I may be getting some error there with my not so good eye sight, and being too lazy to put on the Coke bottles.
 
Back
Top