Snowblower Wings and Powder Coating

Great job Randy, how did you bend the wings?

I had the local machine shop bend them for me. The plate is 1/4 inch, a little much for me to control.

- - - Updated - - -

Do you ever have trouble with it clogging up? Do you wonder why they clog?

Thanks for the tip Dan.

- - - Updated - - -

I come in here looking for somthing that was going to fly:dunno: What do you use that thing for anyway. Will it pick up leaves?

OH, she flies, just dosen't leave the ground. I have another machine for leaves.
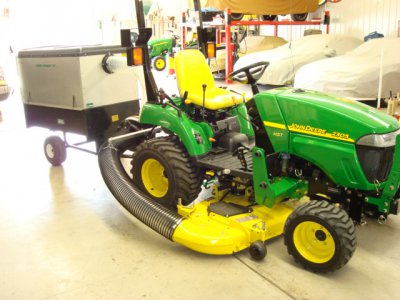
Vacuum-1.JPG

- - - Updated - - -

Your oven is way too clean! :rofl:

GG

He don't know me very well, do he?

Vacuum-1.JPG
 
Nice job, Randy.... I paln on building a whole raft of implements for my 2305 now that I'm retired. I'll be sure to post 'em up.

- - - Updated - - -

Nice job, Randy.... I plan on building a whole raft of implements for my 2305 now that I'm retired. I'll be sure to post 'em up.
 
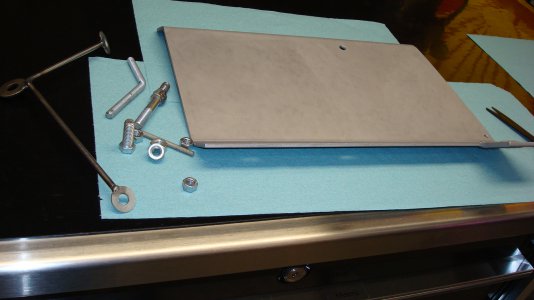
With the limited size of the oven I have to be creative on how fixture and process parts. The wing pieces them selve presented the very problem. Most of the time I just hang things (oven and booth), but when they get large other problems arise. Here is a pick of the prep'ed wing and the fabricated fixturing.

Blower Wings - 8.JPG

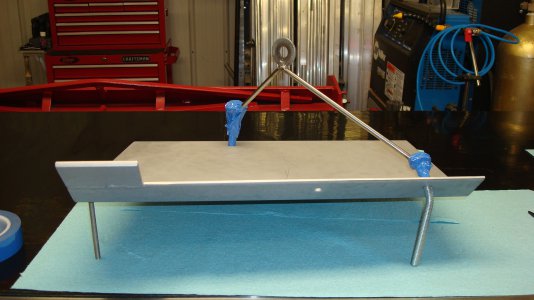
Here is a pic of it all assembled and masked. This is how it will sit in the oven to cure, on the three legs. I also had to find the center of gravity so I could just use two lifting (hanging) points. Also, I had to only drill and tap one process hole extra, a small .250-20 (for a thire leg). Most of the time I can get a round not modifying the part for the process, but this time I had to succumb.

Blower Wings - 7.JPG

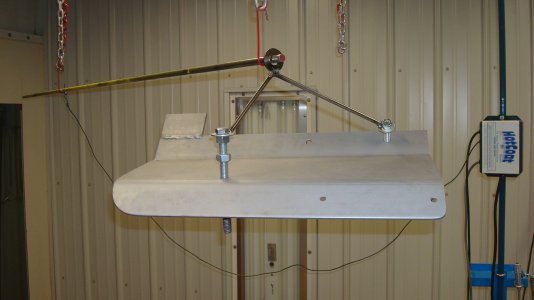
Here it is hanging in the booth, ready for powder.

Blower Wings - 11.JPG

In this case when I transfer it to the oven it just sits on the legs to keep the part from not contacting anything it shouldn't. Next up, shots of the finished assembly, stay tuned.

Blower Wings - 8.JPG Blower Wings - 7.JPG Blower Wings - 11.JPG
 
Last edited:
Final Assembly

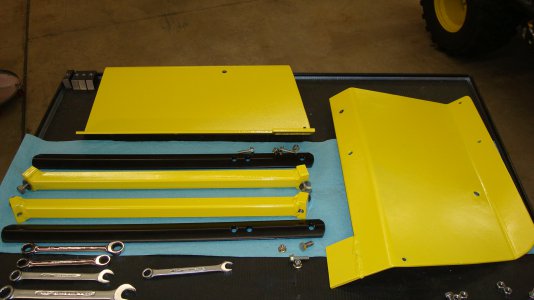
Well, here are all the parts ready to be assembled.

Blower Wings - 13.JPG

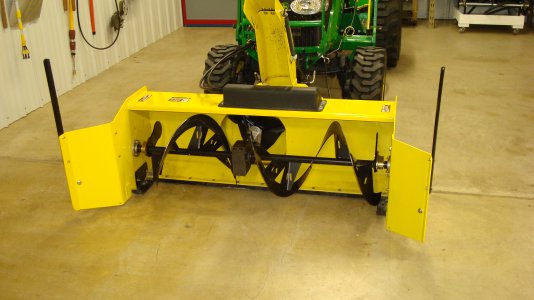
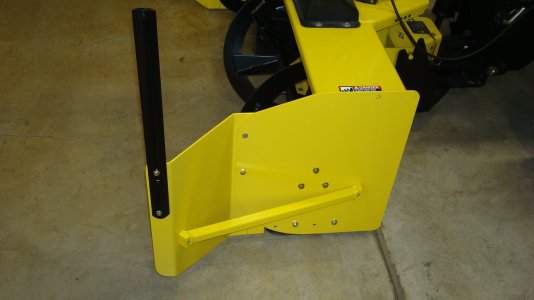
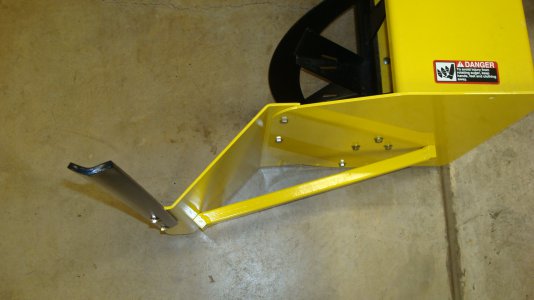
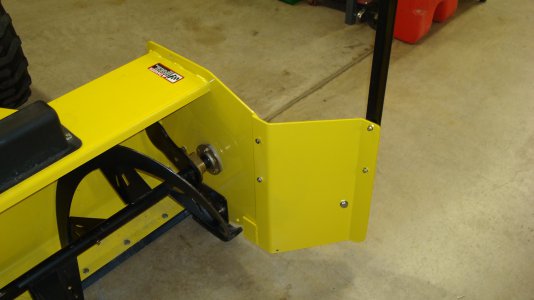
And here they are all mounted and ready for work. You can see the extra processing hole at the bottom of the wings.

Blower Wings - 13.JPG Blower Wings - 15.JPG Blower Wings - 16.JPG Blower Wings - 17.JPG Blower Wings - 18.JPG
 
It all looks fantastic Randy!


(except for that extra hole):lmao:
 
I'm curious to know how it works. I was thinking of this thread today when I was out blowing snow for 3 hr and how nice it would be to take a wider swath but I'm not sure my walk behind blower can push anymore snow into the auger. Especially when driving through snow 20" deep, like today, lol.
 
That is really clean work, looks like it belongs there. I may need this one day if this polar vortex heads any further south. For Gods sake it was in the low 50's today. :)
 
(except for that extra hole):lmao:

Gee Ken glad you noticed. It's threaded I can put a bolt in it. :panic:

I'm curious to know how it works. I was thinking of this thread today when I was out blowing snow for 3 hr and how nice it would be to take a wider swath but I'm not sure my walk behind blower can push anymore snow into the auger. Especially when driving through snow 20" deep, like today, lol.

I have only tried it one time so far and am liking it very much. I is just the ticket for me. I don't think I have ever heard of wings on a walk-behind. :think1:

That is really clean work, looks like it belongs there. I may need this one day if this polar vortex heads any further south. For Gods sake it was in the low 50's today. :)

Thanks Joe, but you guys in the south are really roughing it at 50 degrees.:whistle:
 
Back
Top