

-
Welcome back Guest! Did you know you can mentor other members here at H-M? If not, please check out our Relaunch of Hobby Machinist Mentoring Program!
You are using an out of date browser. It may not display this or other websites correctly.
You should upgrade or use an alternative browser.
You should upgrade or use an alternative browser.
Some work on a TX650.
- Thread starter th62
- Start date
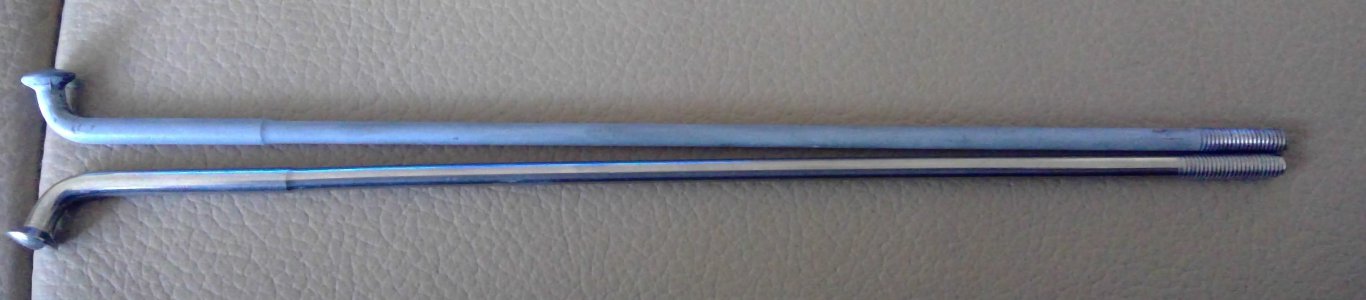
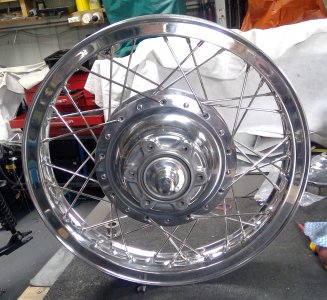
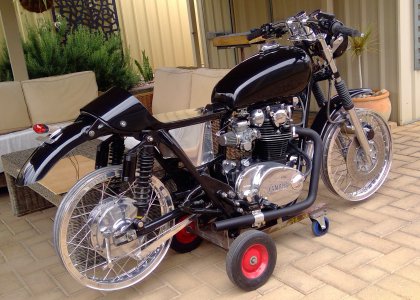
Just watch who you get your spokes from. The thread on the spokes I bought is longer than stock spokes, so when trued there is about 3mm of thread visible between nipple and hub. Probably wouldn't bother most, but I'm not most! If you blow up the picture you'll see what I mean, the dull grey ones are stock. Not happy, I complained to the seller, GeoffsXS , he now says he wont deal with me and sent me a number of abusive texts and emails. Not that I need him, there are a plethora of XS accessory shops around.
Attachments
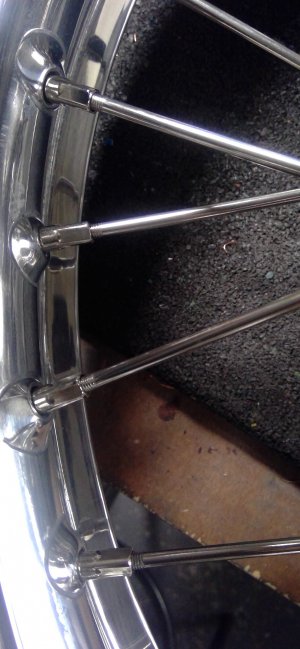
Does the bike look 'genuine'? No such thing as genuine stainless spokes. If you want genuine you have to settle for plated spokes. No excuse though, if advertised as fitting an XS650, they should fit properly. Never had this problem with other builds.
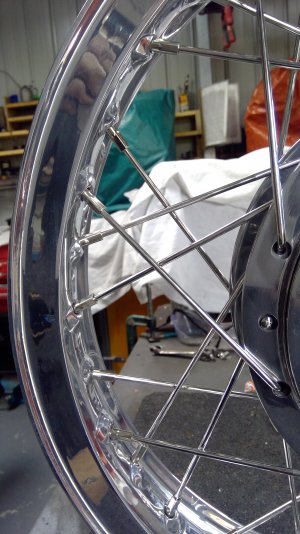
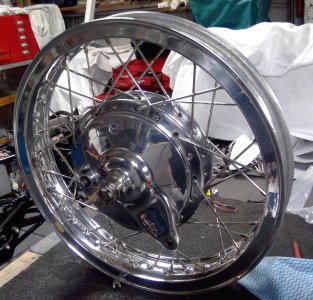
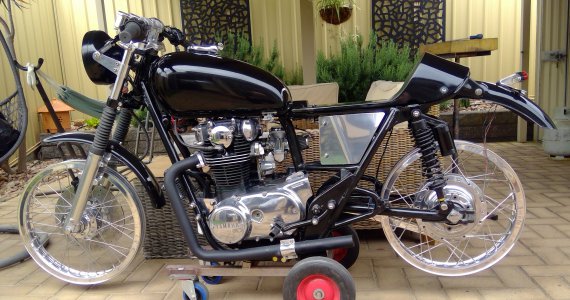
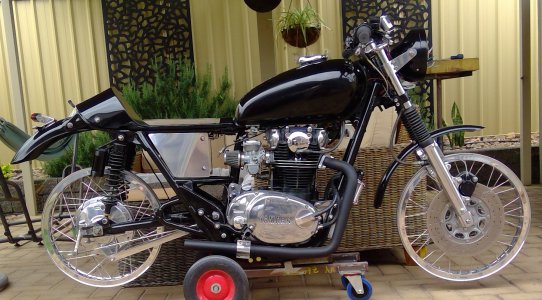
Some new stainless spokes for the rear wheel arrived this afternoon, from a different supplier, so I laced the rear wheel with them, notice there's no thread showing.
So I'm stuck with the front wheel with it's visible threads, spoils the whole bike -not happy!
So I'm stuck with the front wheel with it's visible threads, spoils the whole bike -not happy!
Attachments

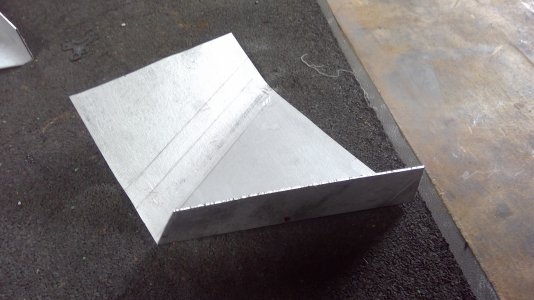
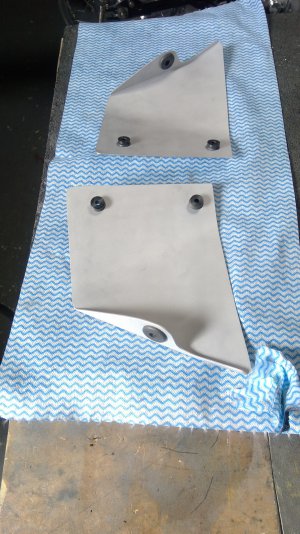
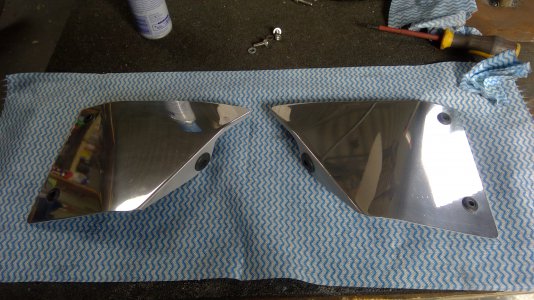
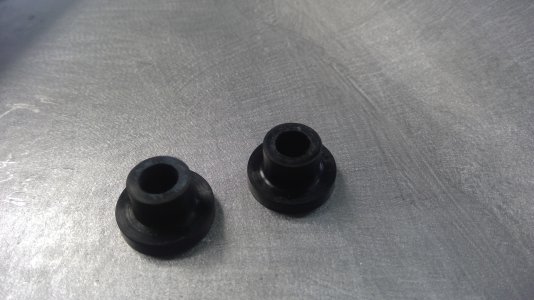
I wasn't happy with the original side panels I made, fit and finish wasn't up to scratch and I wanted a bit more meat around the rear bend, so I made two new panels. Here's some pics of the panels at different stages of fabrication. I also spun up some Delrin T spacers for insertion into the two front grommets. These stop the grommets being squished to much and allow the front of the side panels to be extended to the front of the battery box.
Attachments

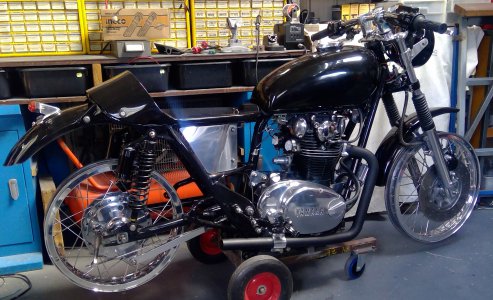
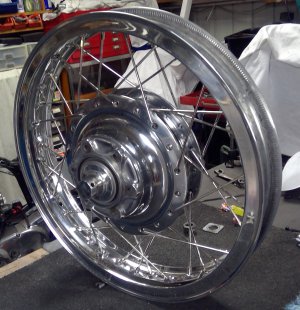
Some progress shots. Looks much better with spoked wheels. I've taken the carbs off as one diaphragm has been holed, so, I'm tossing up between VM round slides or fixing the BS38 carbs. Not real keen on vacuum carbs, so leaning toward the VM round slides. Damned expensive though at $600. It's come a long way from such a humble beginning.
Attachments
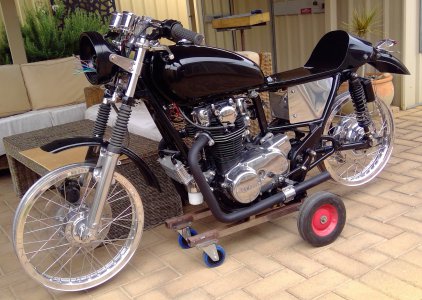

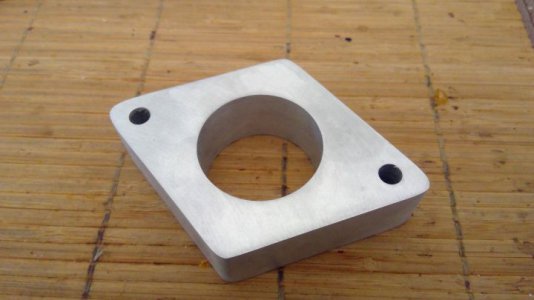
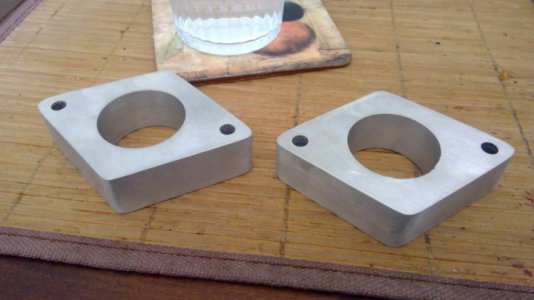
I have some VM round slides coming next week. I've read the cable interferes with the petcock, standard fare is to tilt the carbs inwards at the top to fix the problem, but, that's a bit too rough for my liking, so to circumvent the problem I made up these two 20mm spacers. Hopefully, these should move the carbs back enough so the cables clear the petcocks.
Attachments
- Joined
- Oct 18, 2016
- Messages
- 2,872
That bike looks beautiful!Some progress shots. Looks much better with spoked wheels. I've taken the carbs off as one diaphragm has been holed, so, I'm tossing up between VM round slides or fixing the BS38 carbs. Not real keen on vacuum carbs, so leaning toward the VM round slides. Damned expensive though at $600. It's come a long way from such a humble beginning.