- Joined
- Nov 25, 2015
- Messages
- 8,235
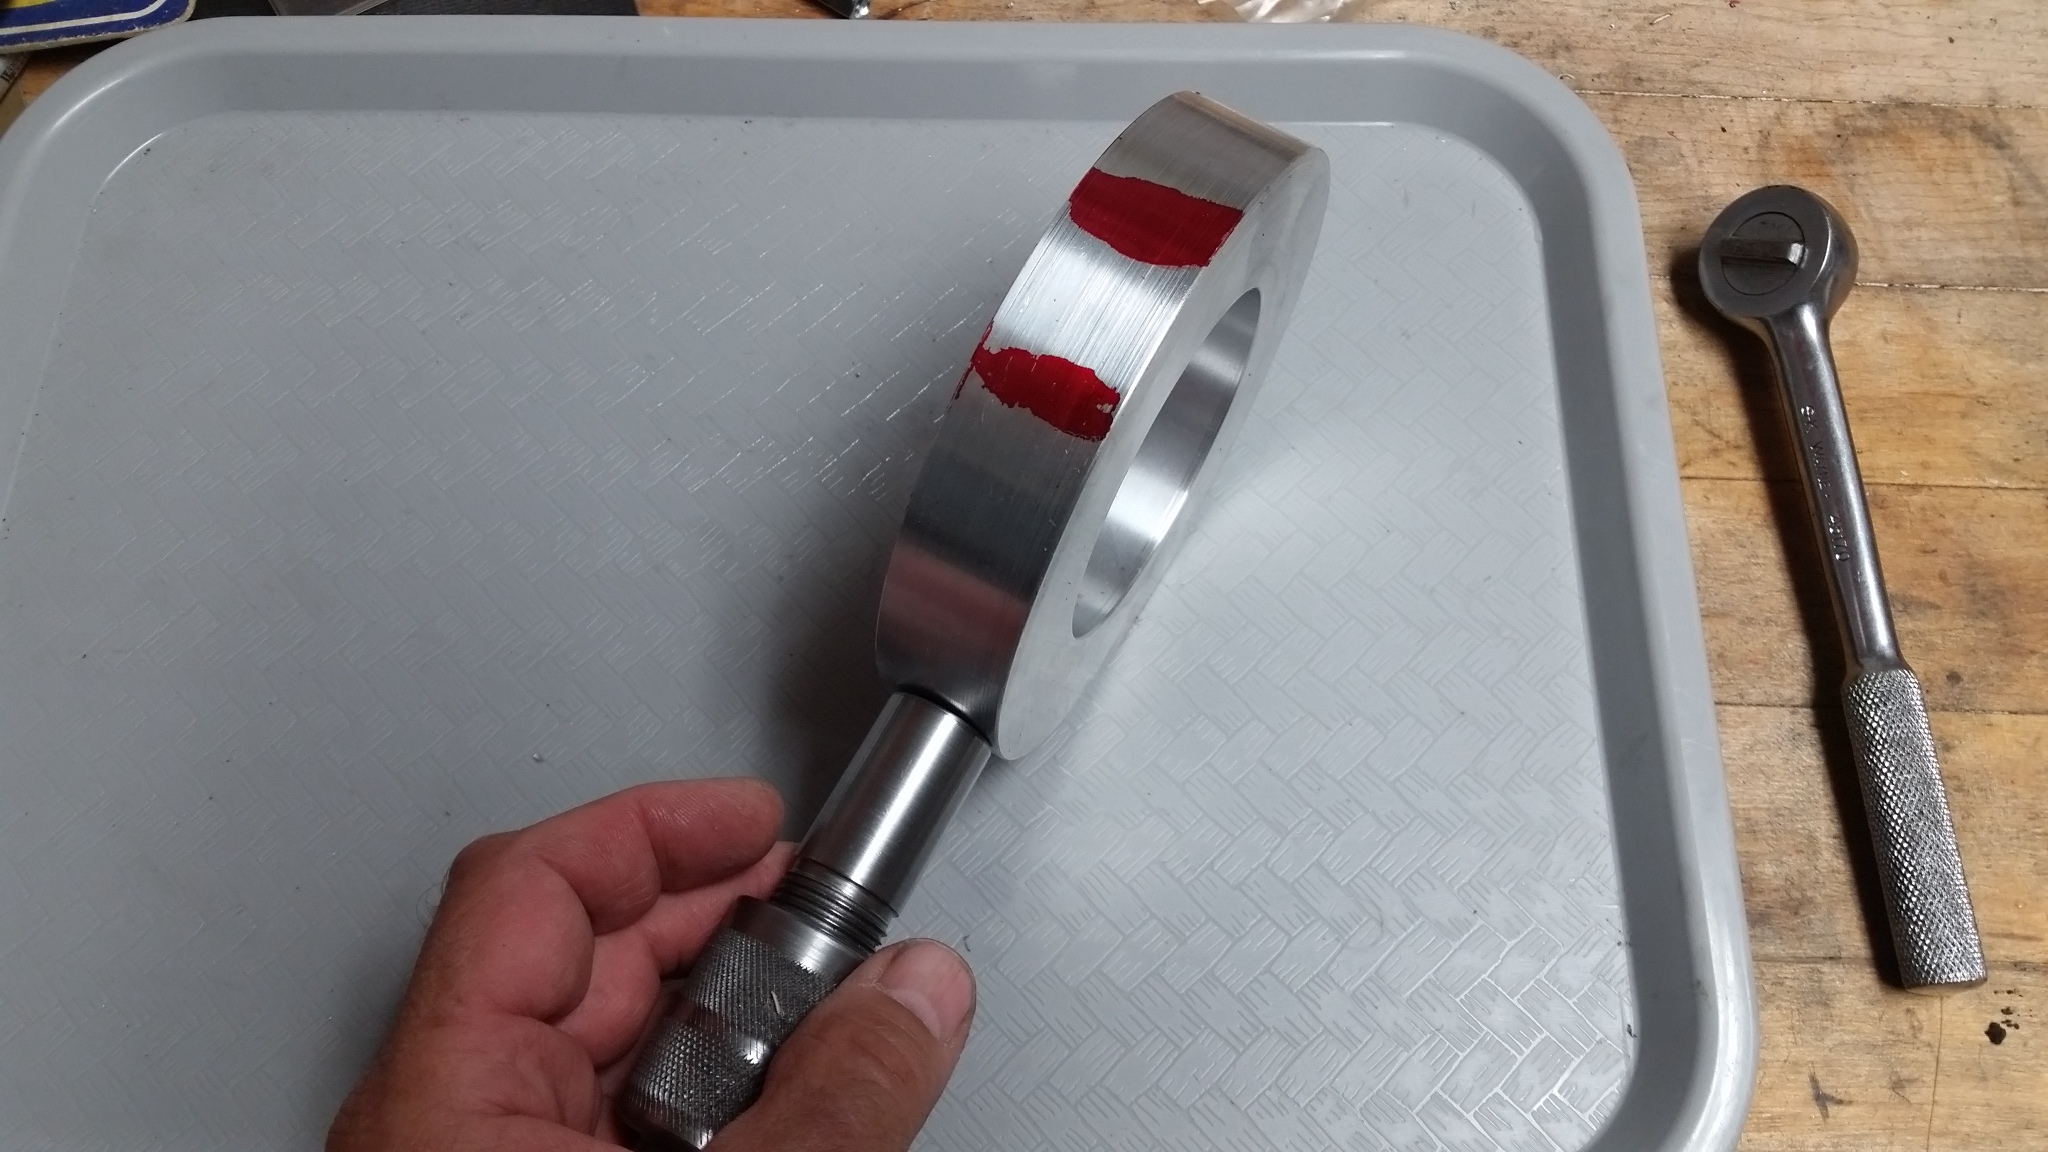
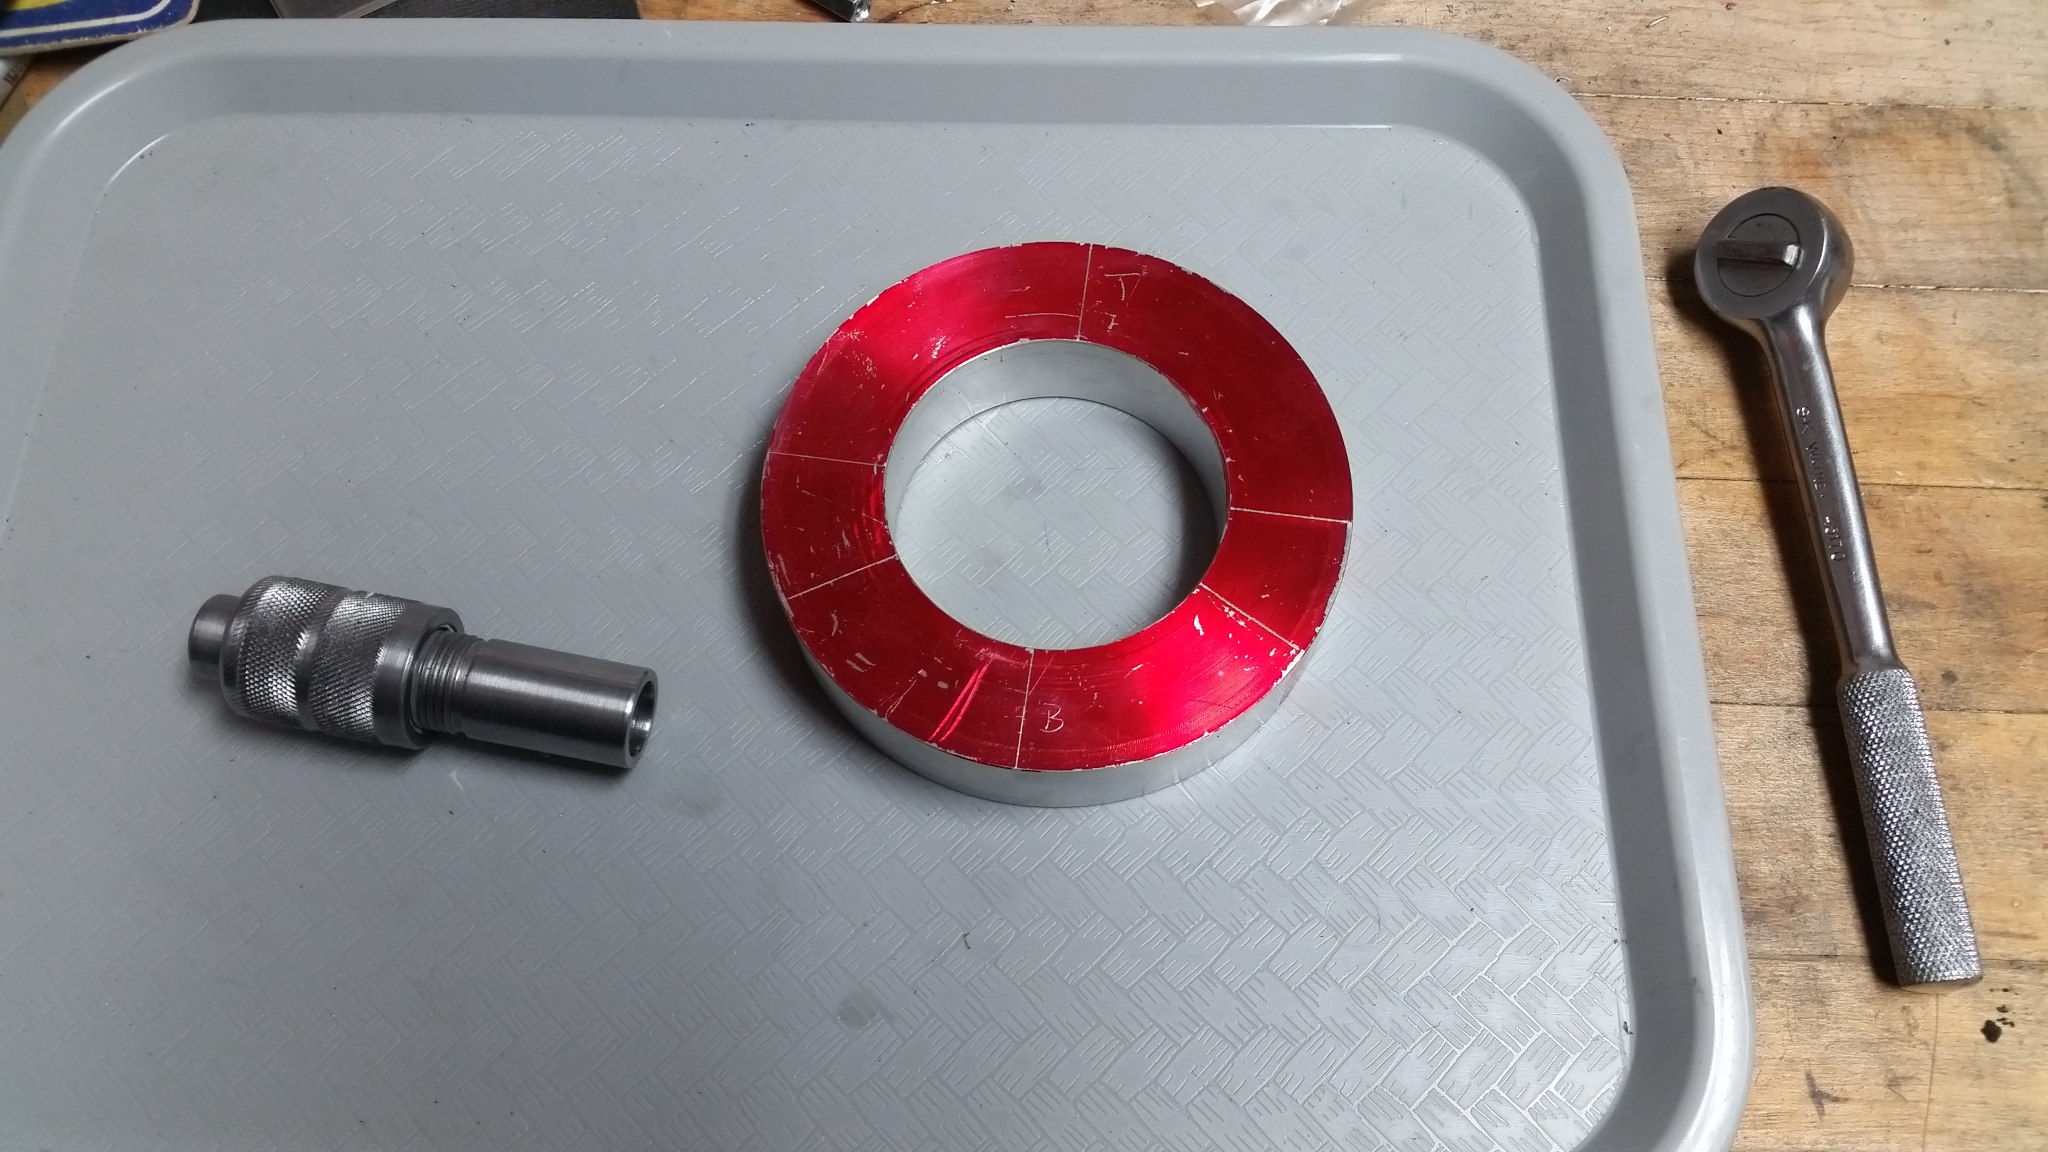
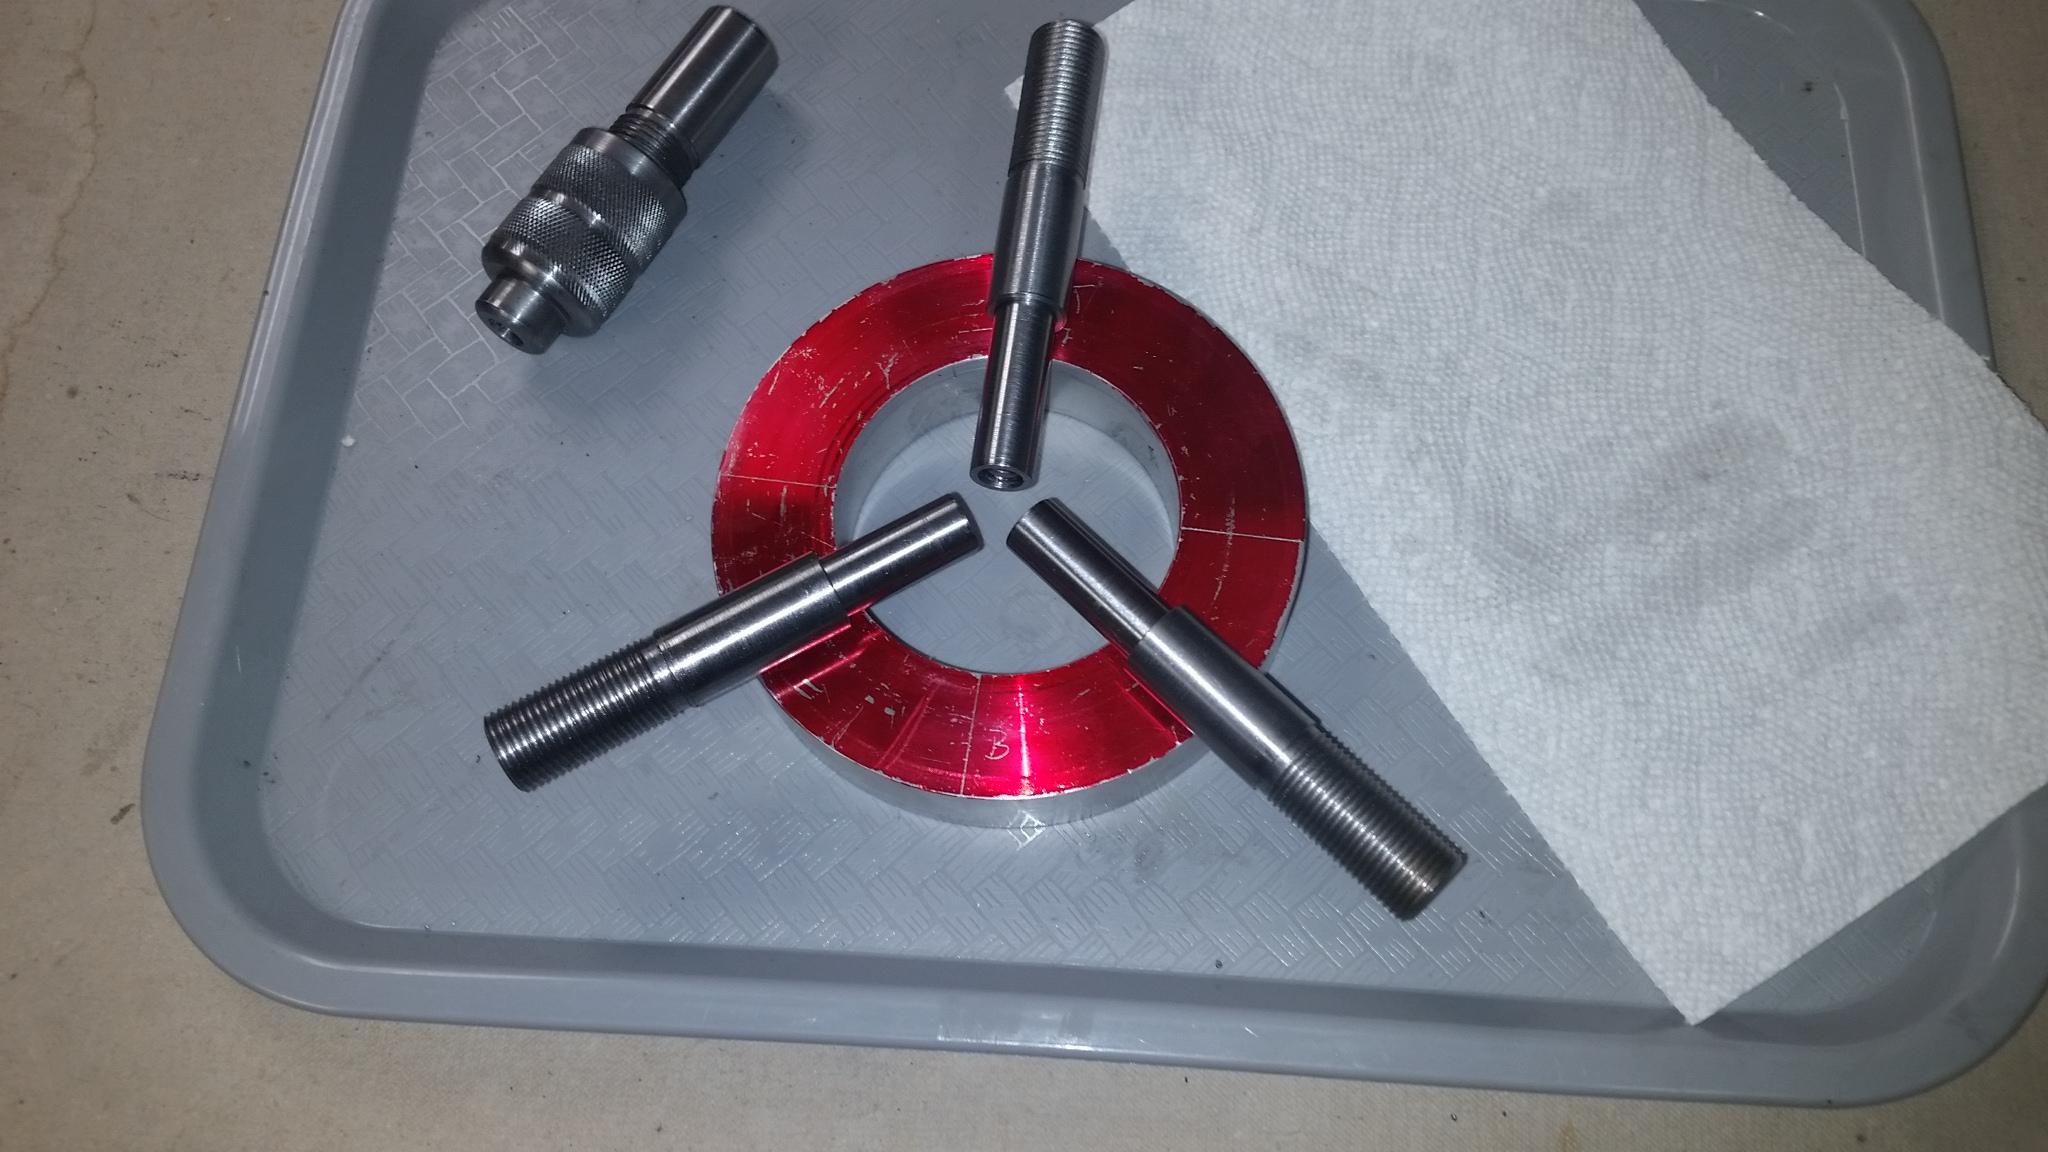
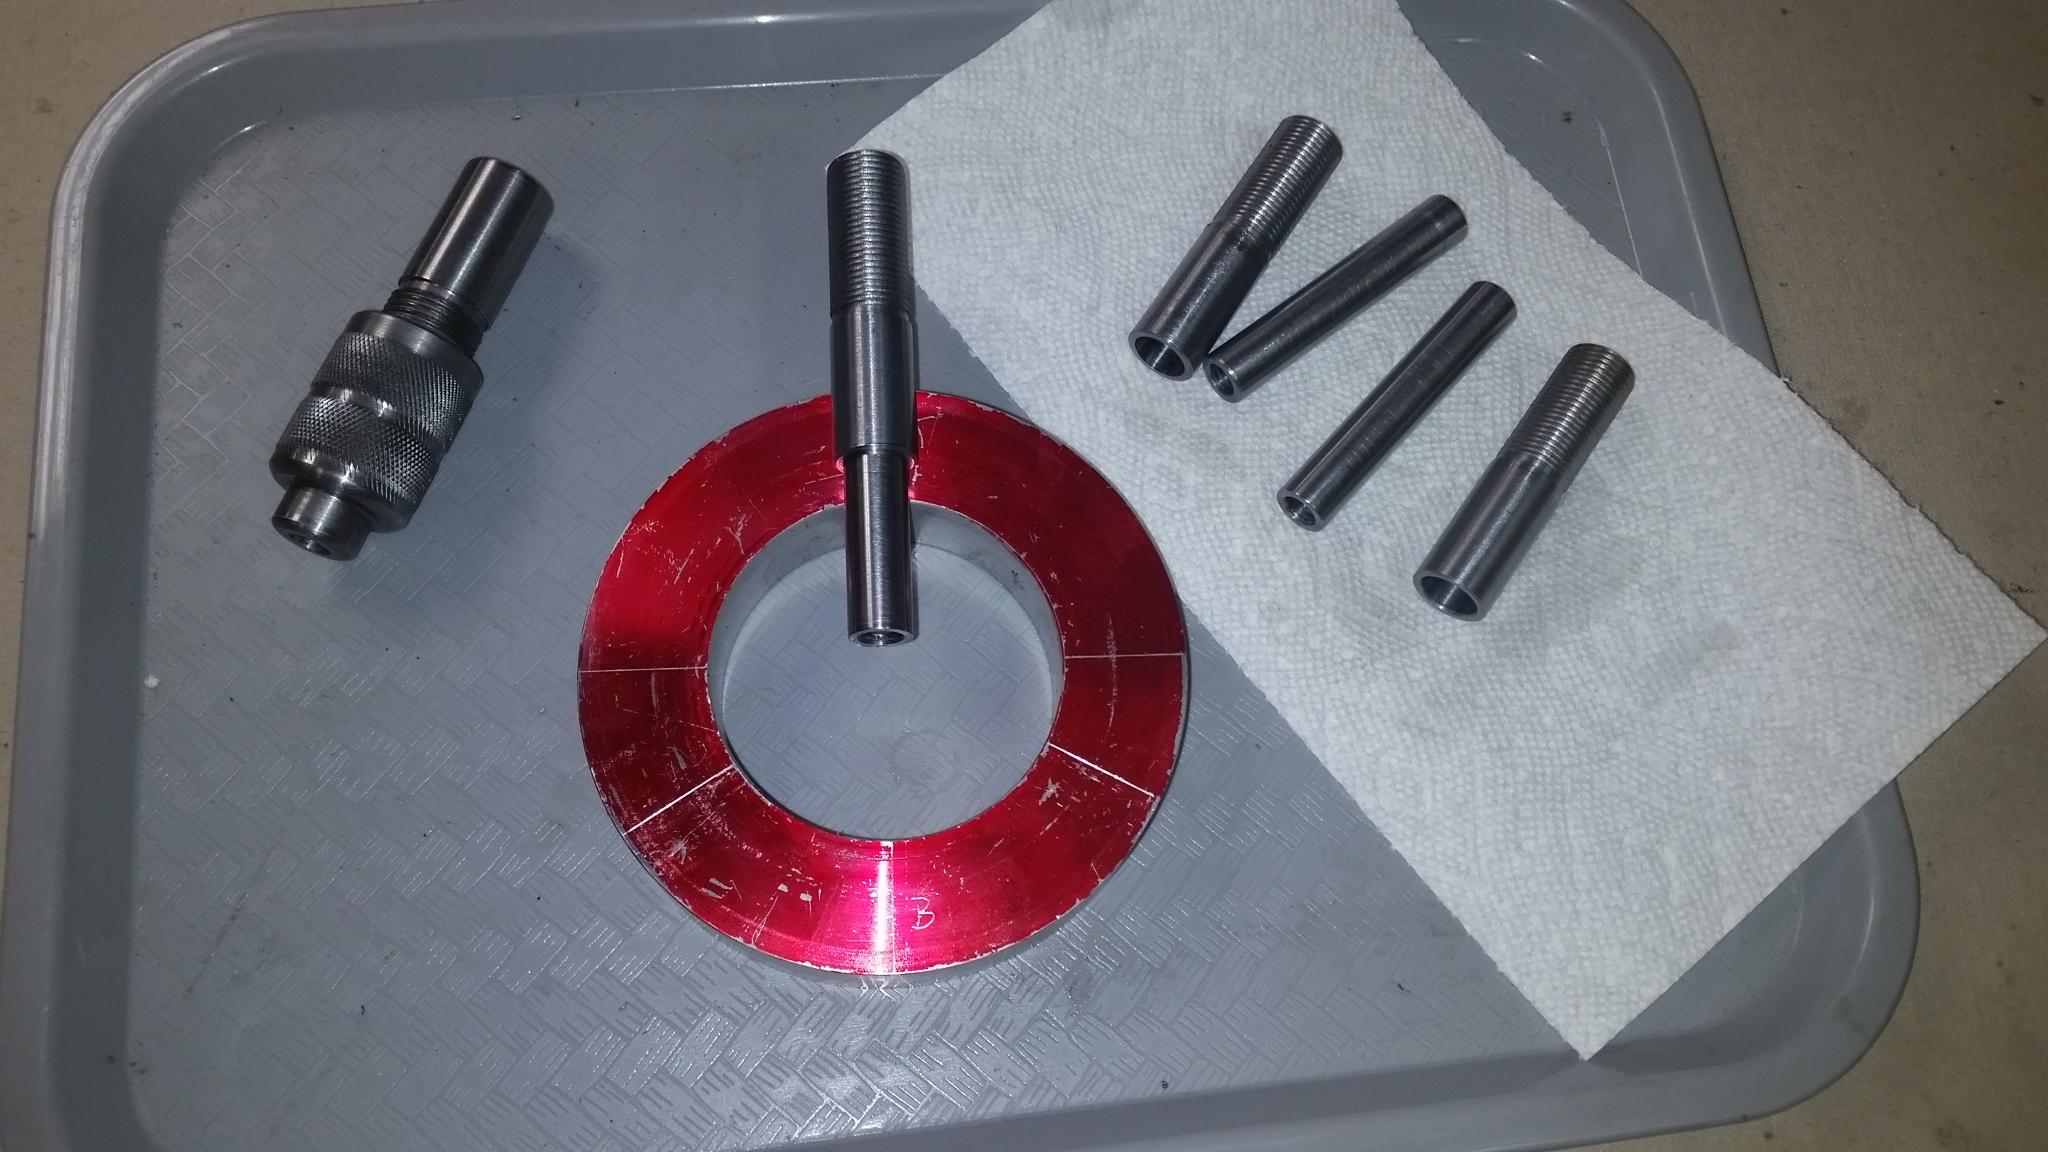
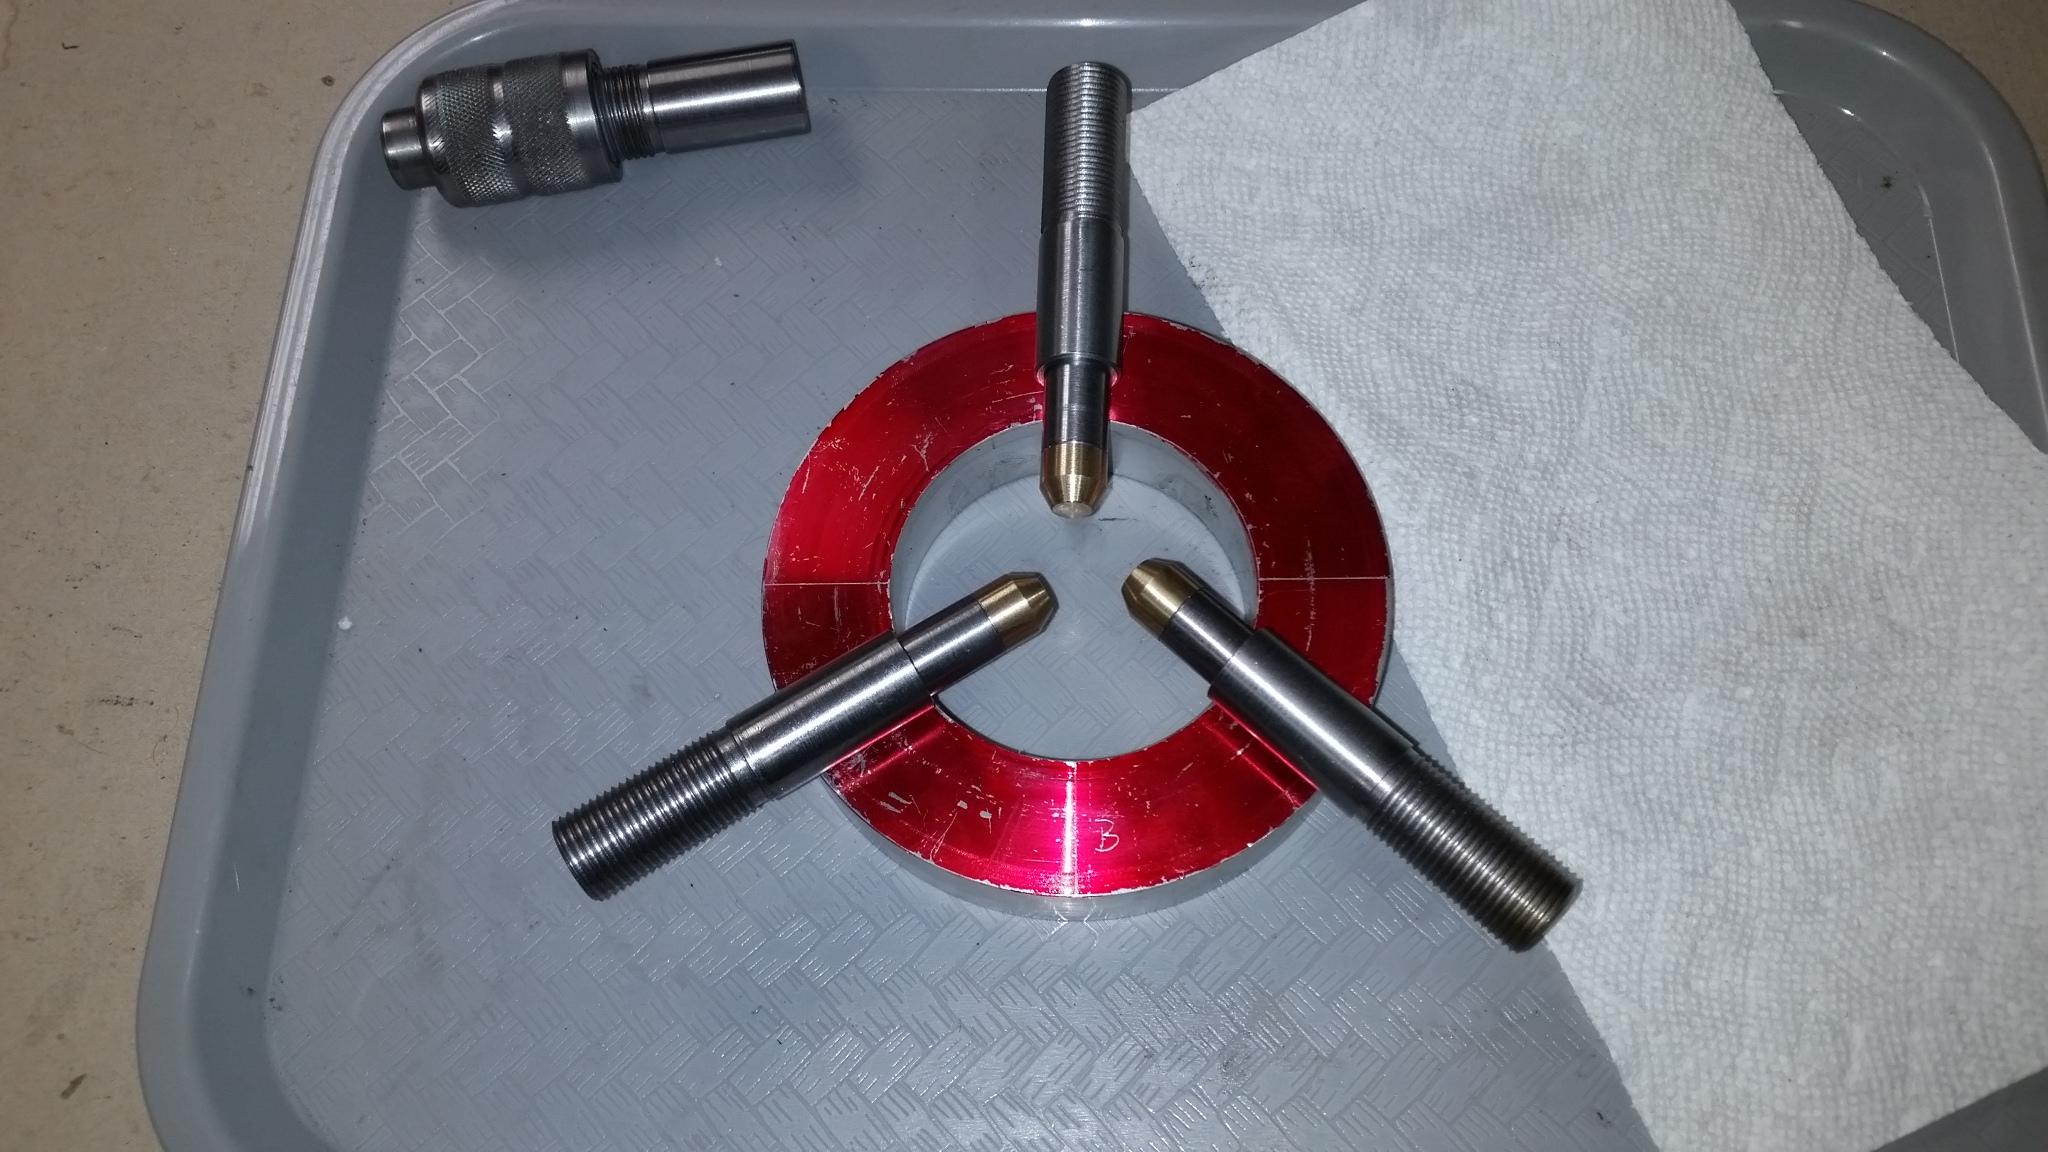
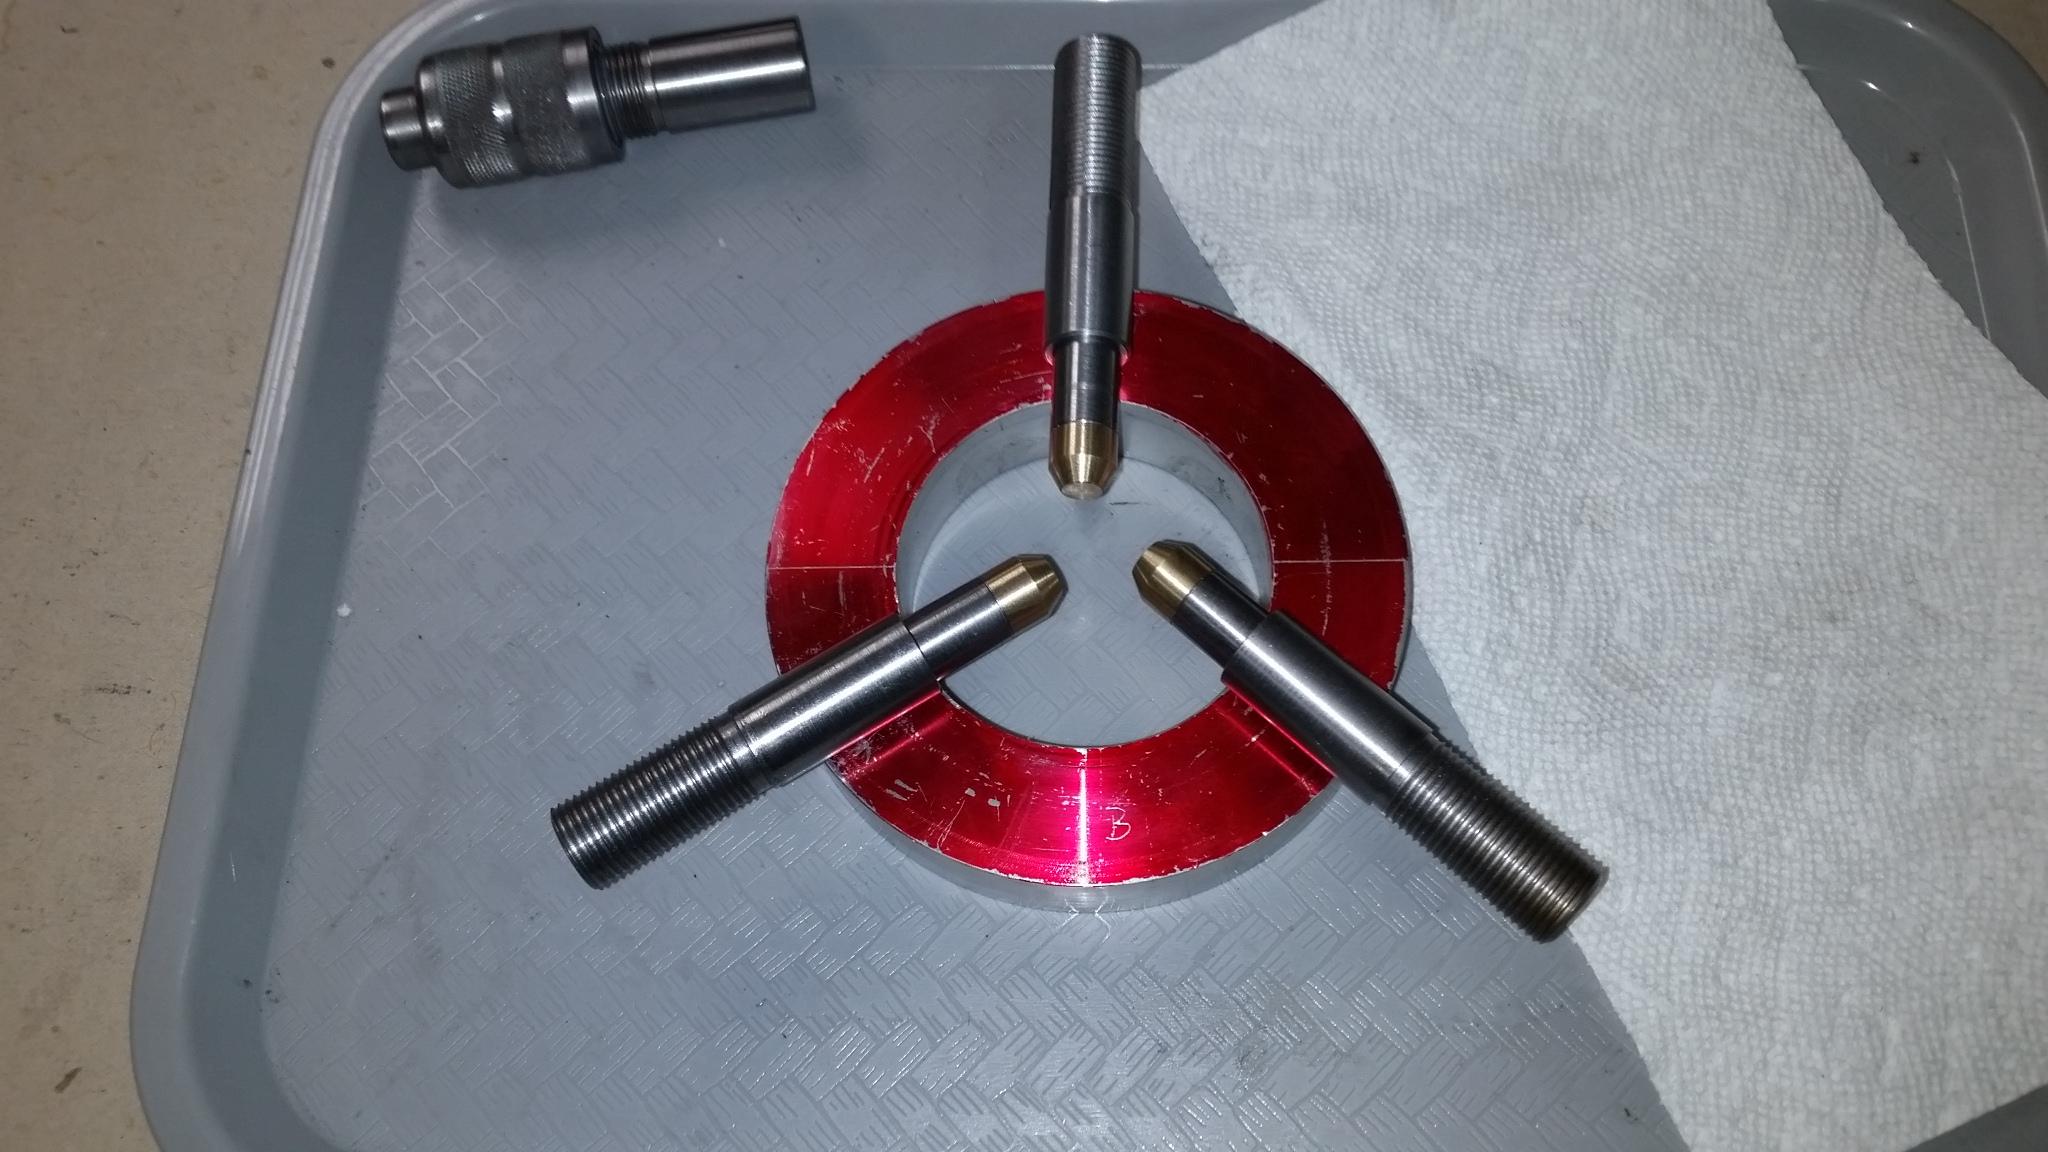
This started without plans. Then I realized I better get some set up. I can't just wing it like others. I had an idea in my head to use this chunk of Aluminum, after cutting it, is when I realized that I need some idea of sizes of things.. Probably it would have been better to start that way. I needed a little more meat on the thickness to follow the plans. The plans were by Mark Frazier, he translated some SB sizes .. They seem too beefy for a SB9 in my opinion.
The pics are here on
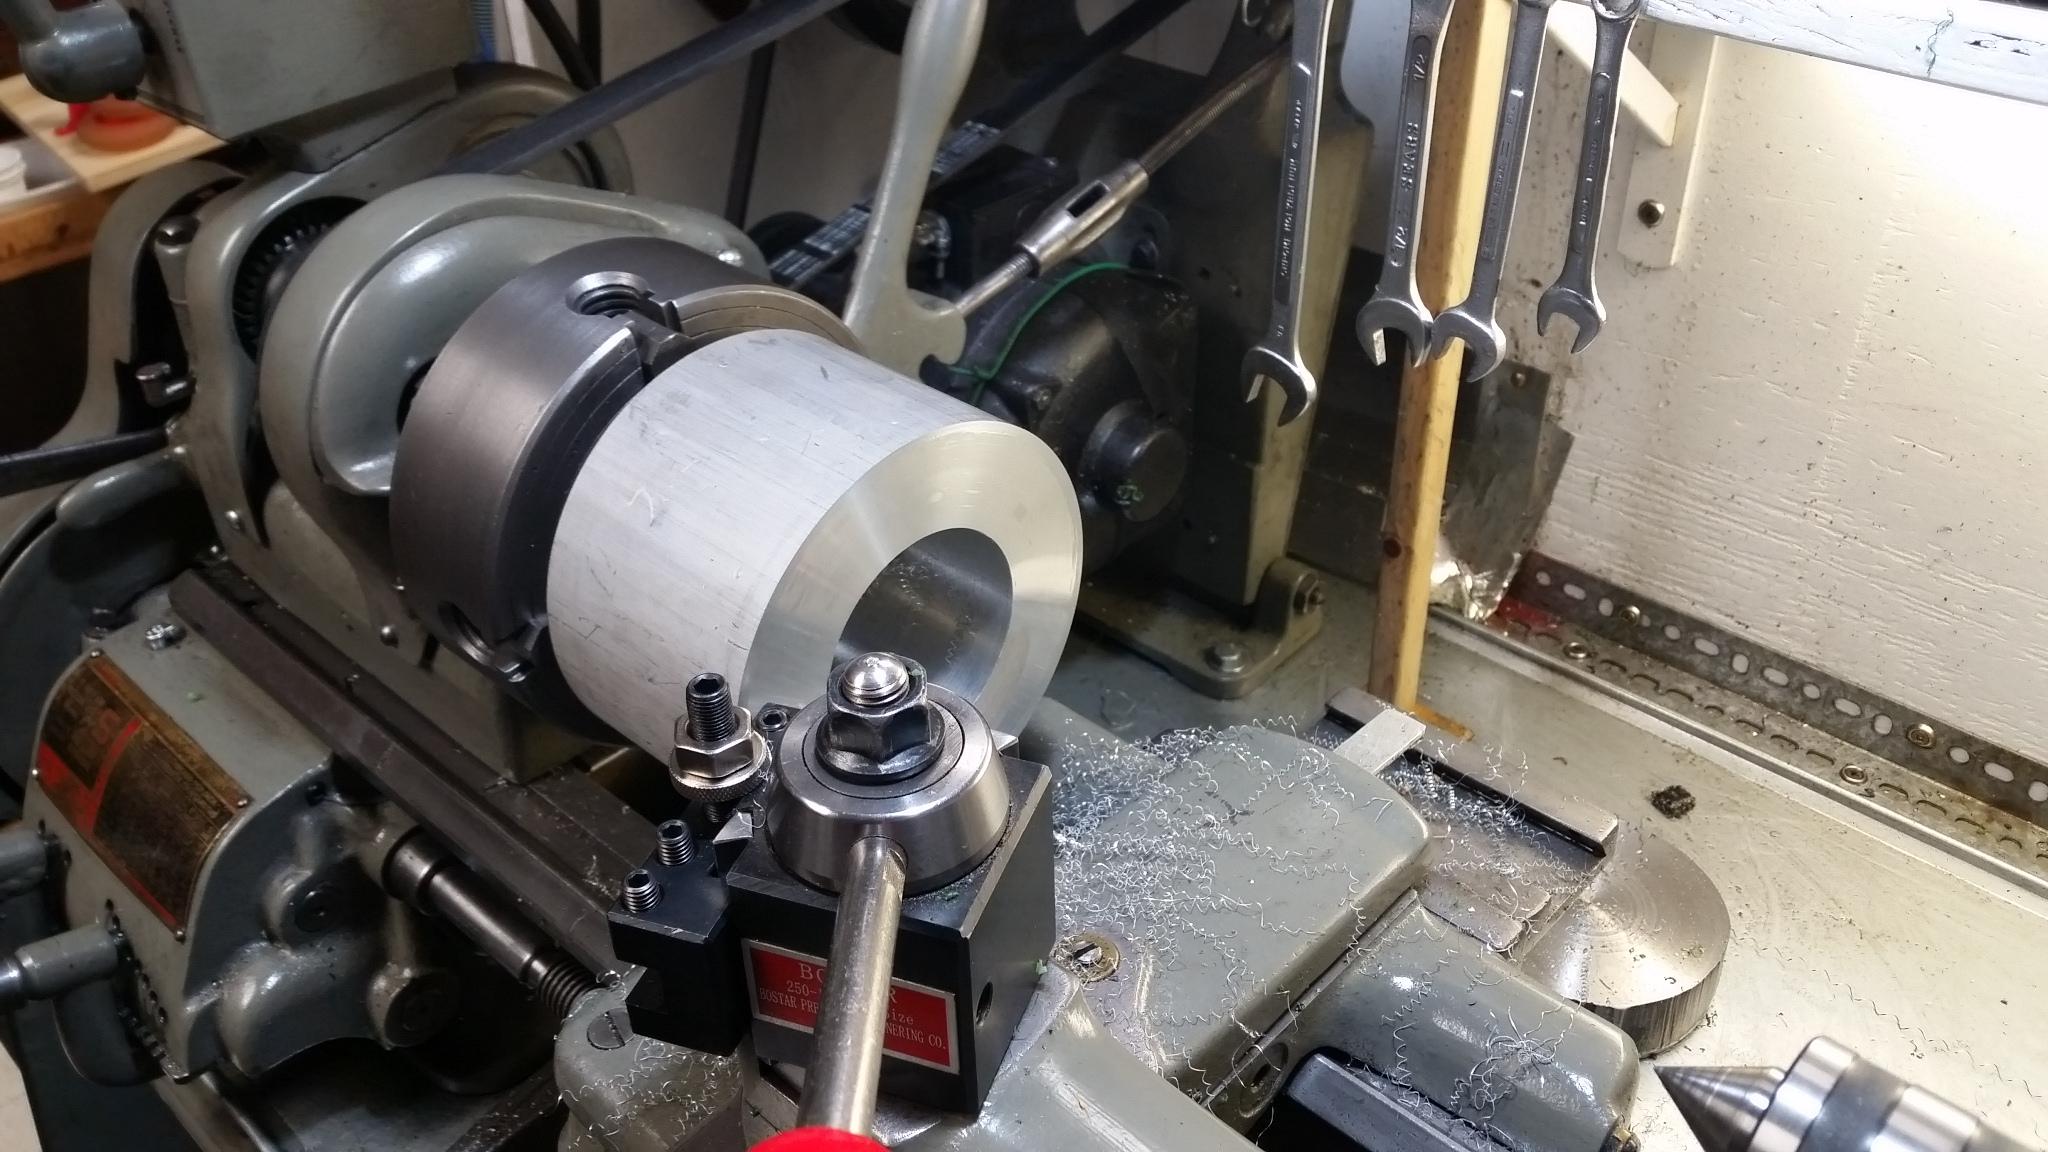
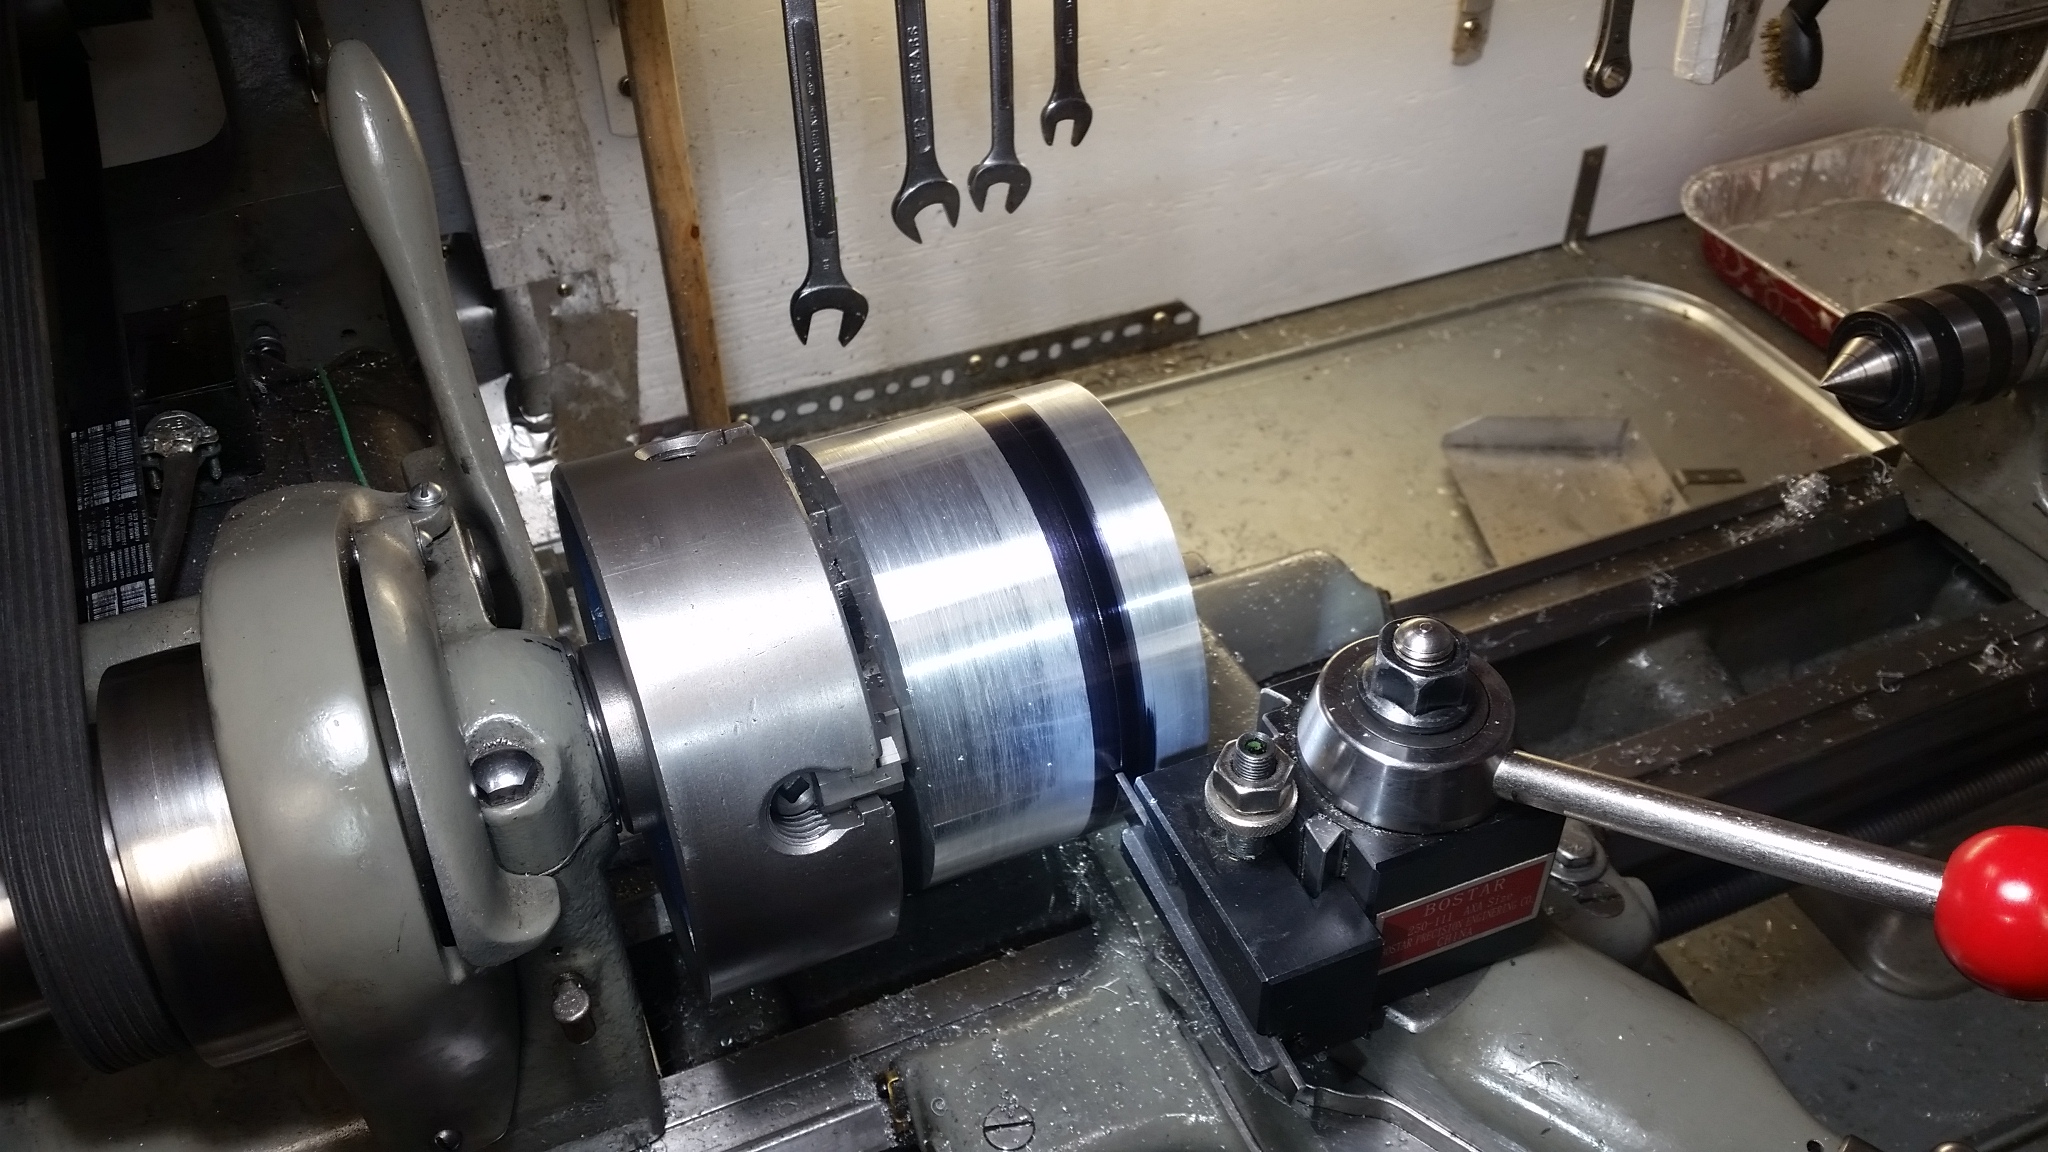
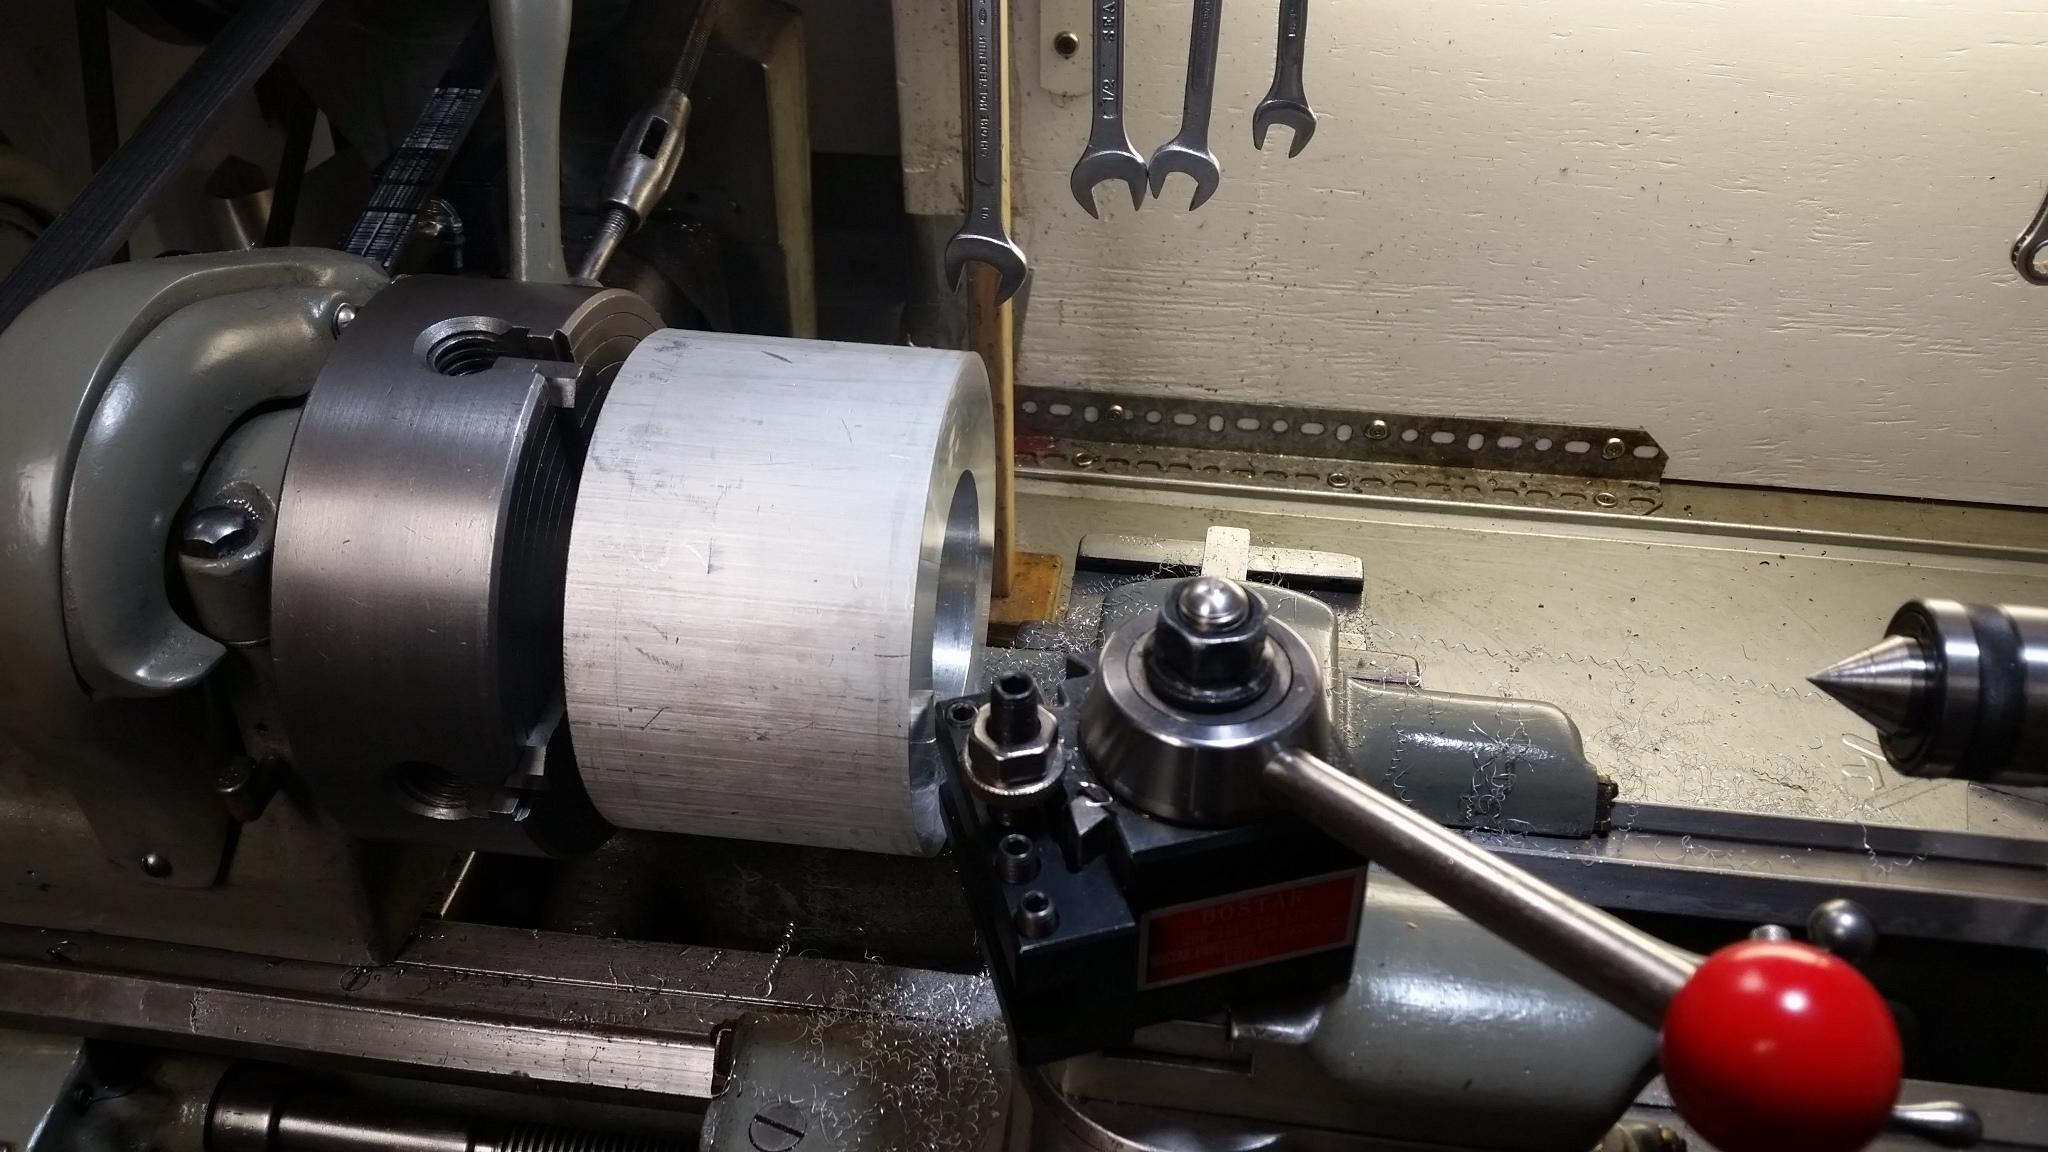 Facing the blank
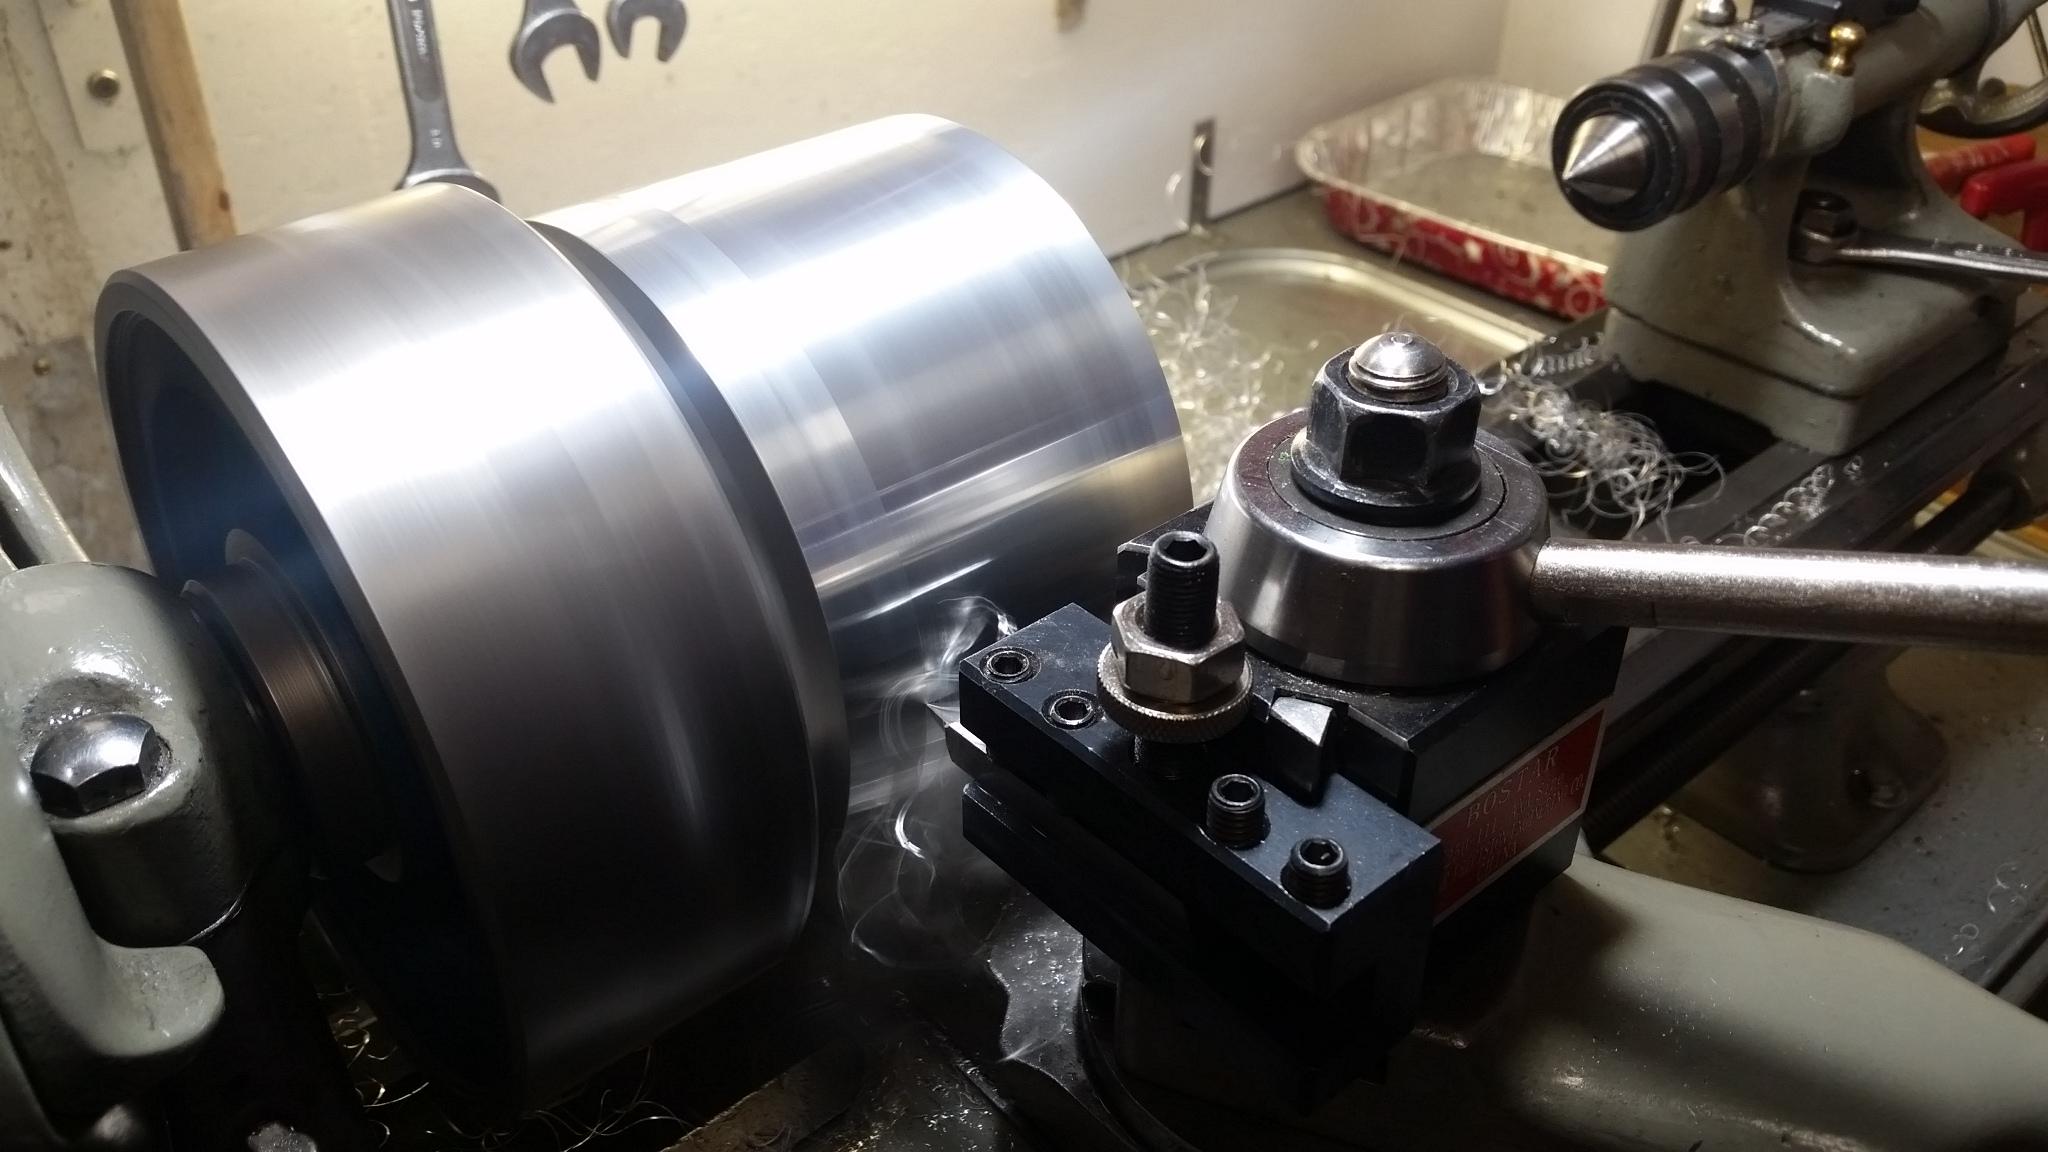
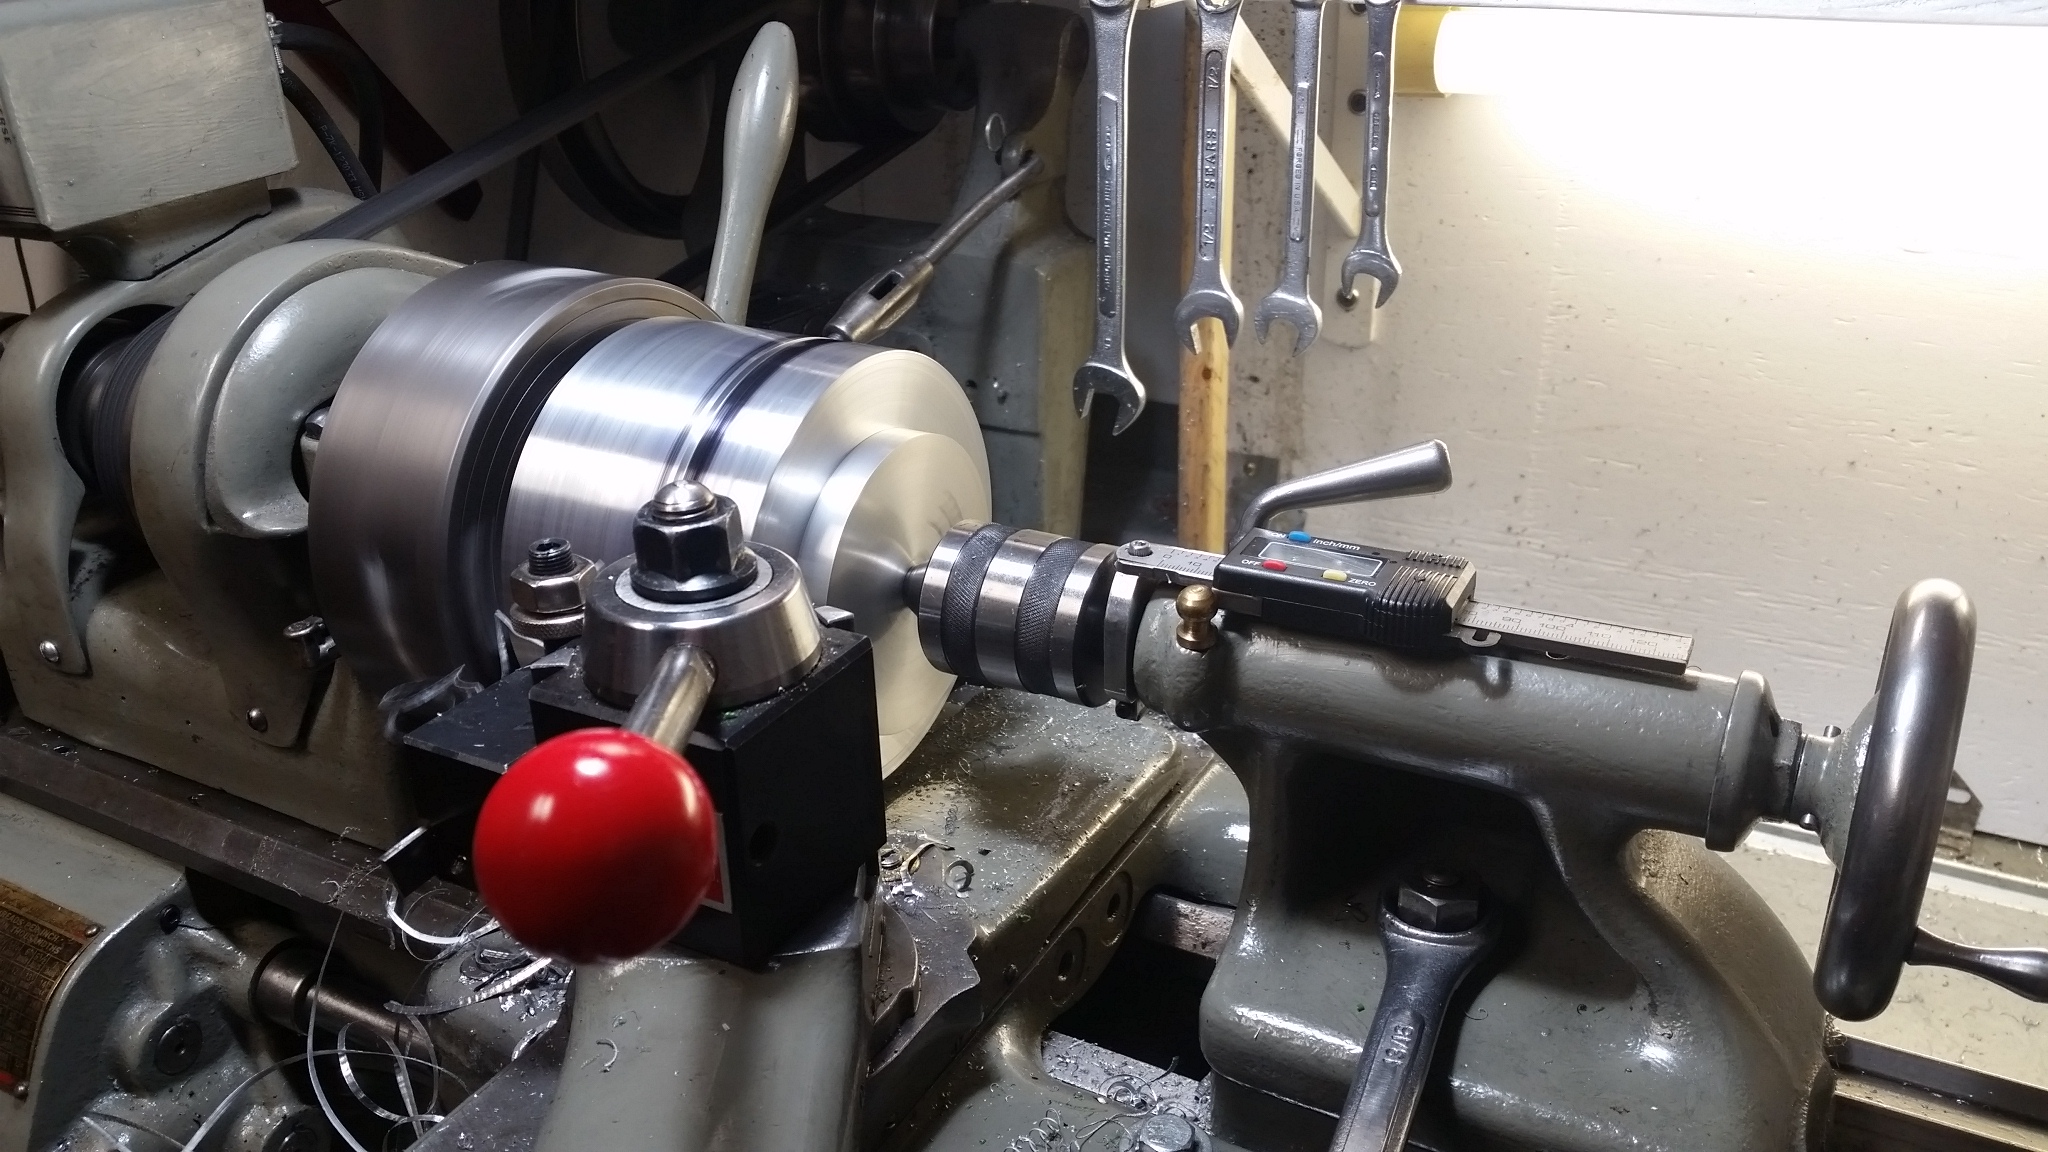
 Turning it.
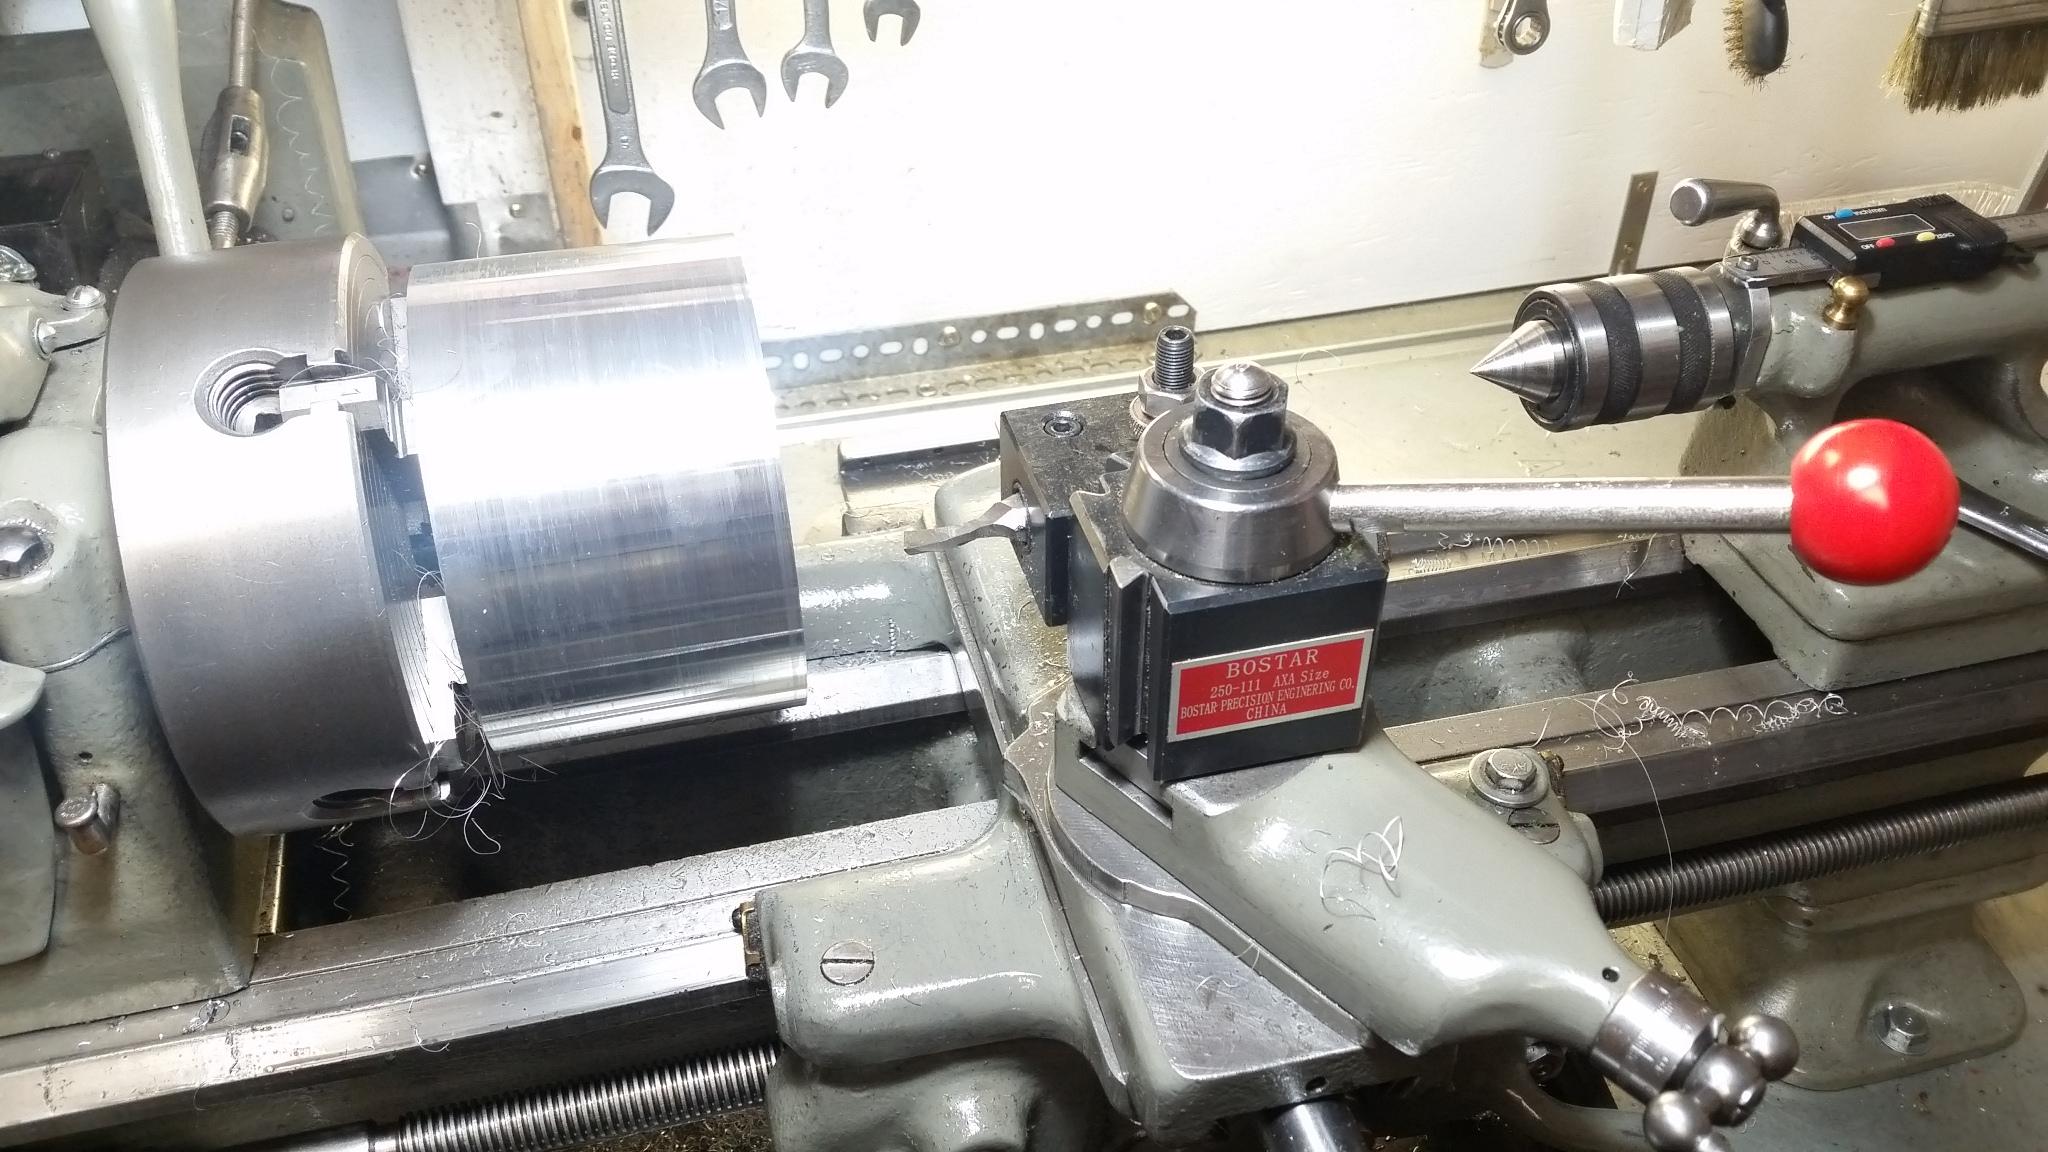 Begining to bore out the hole larger.
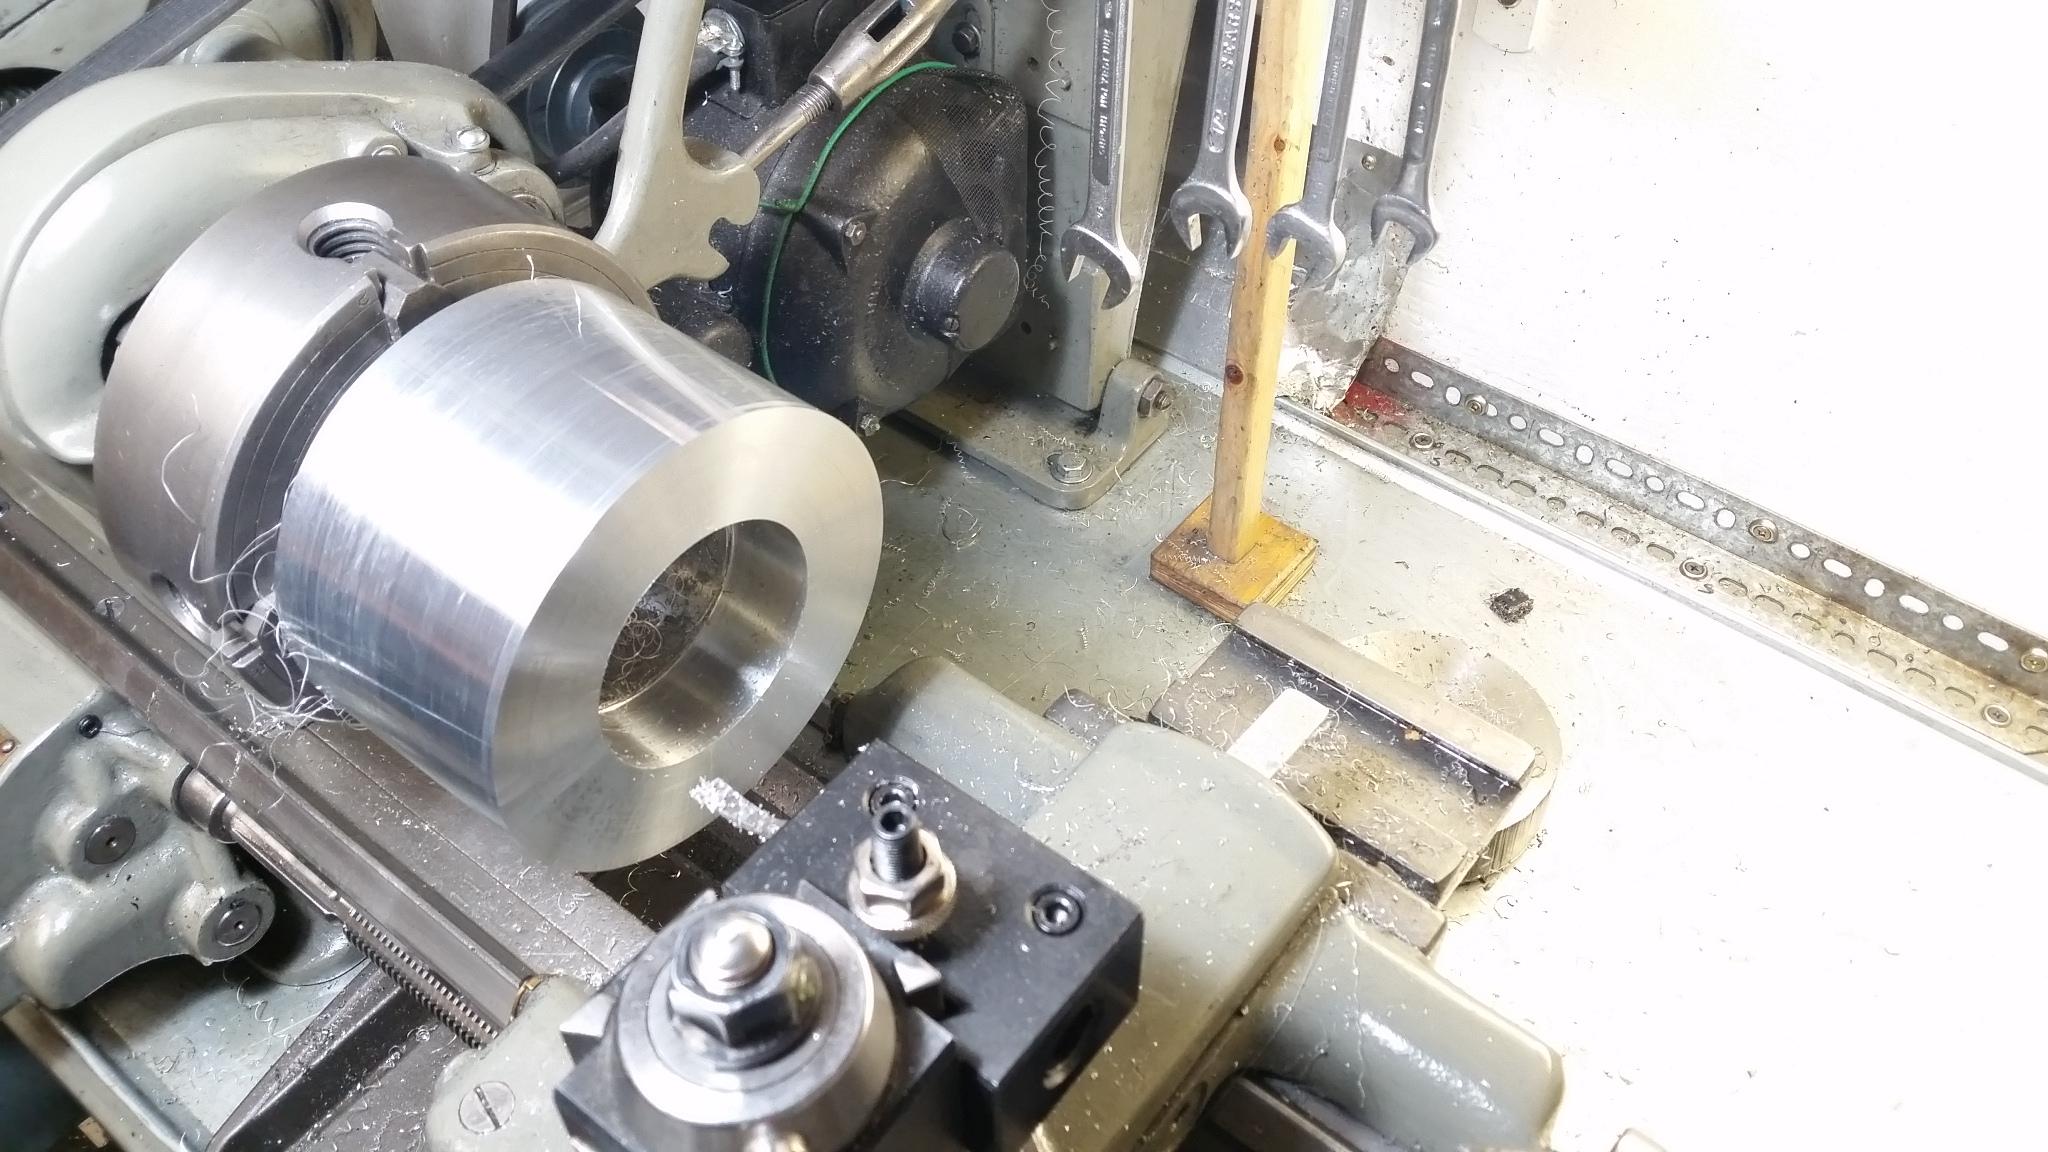
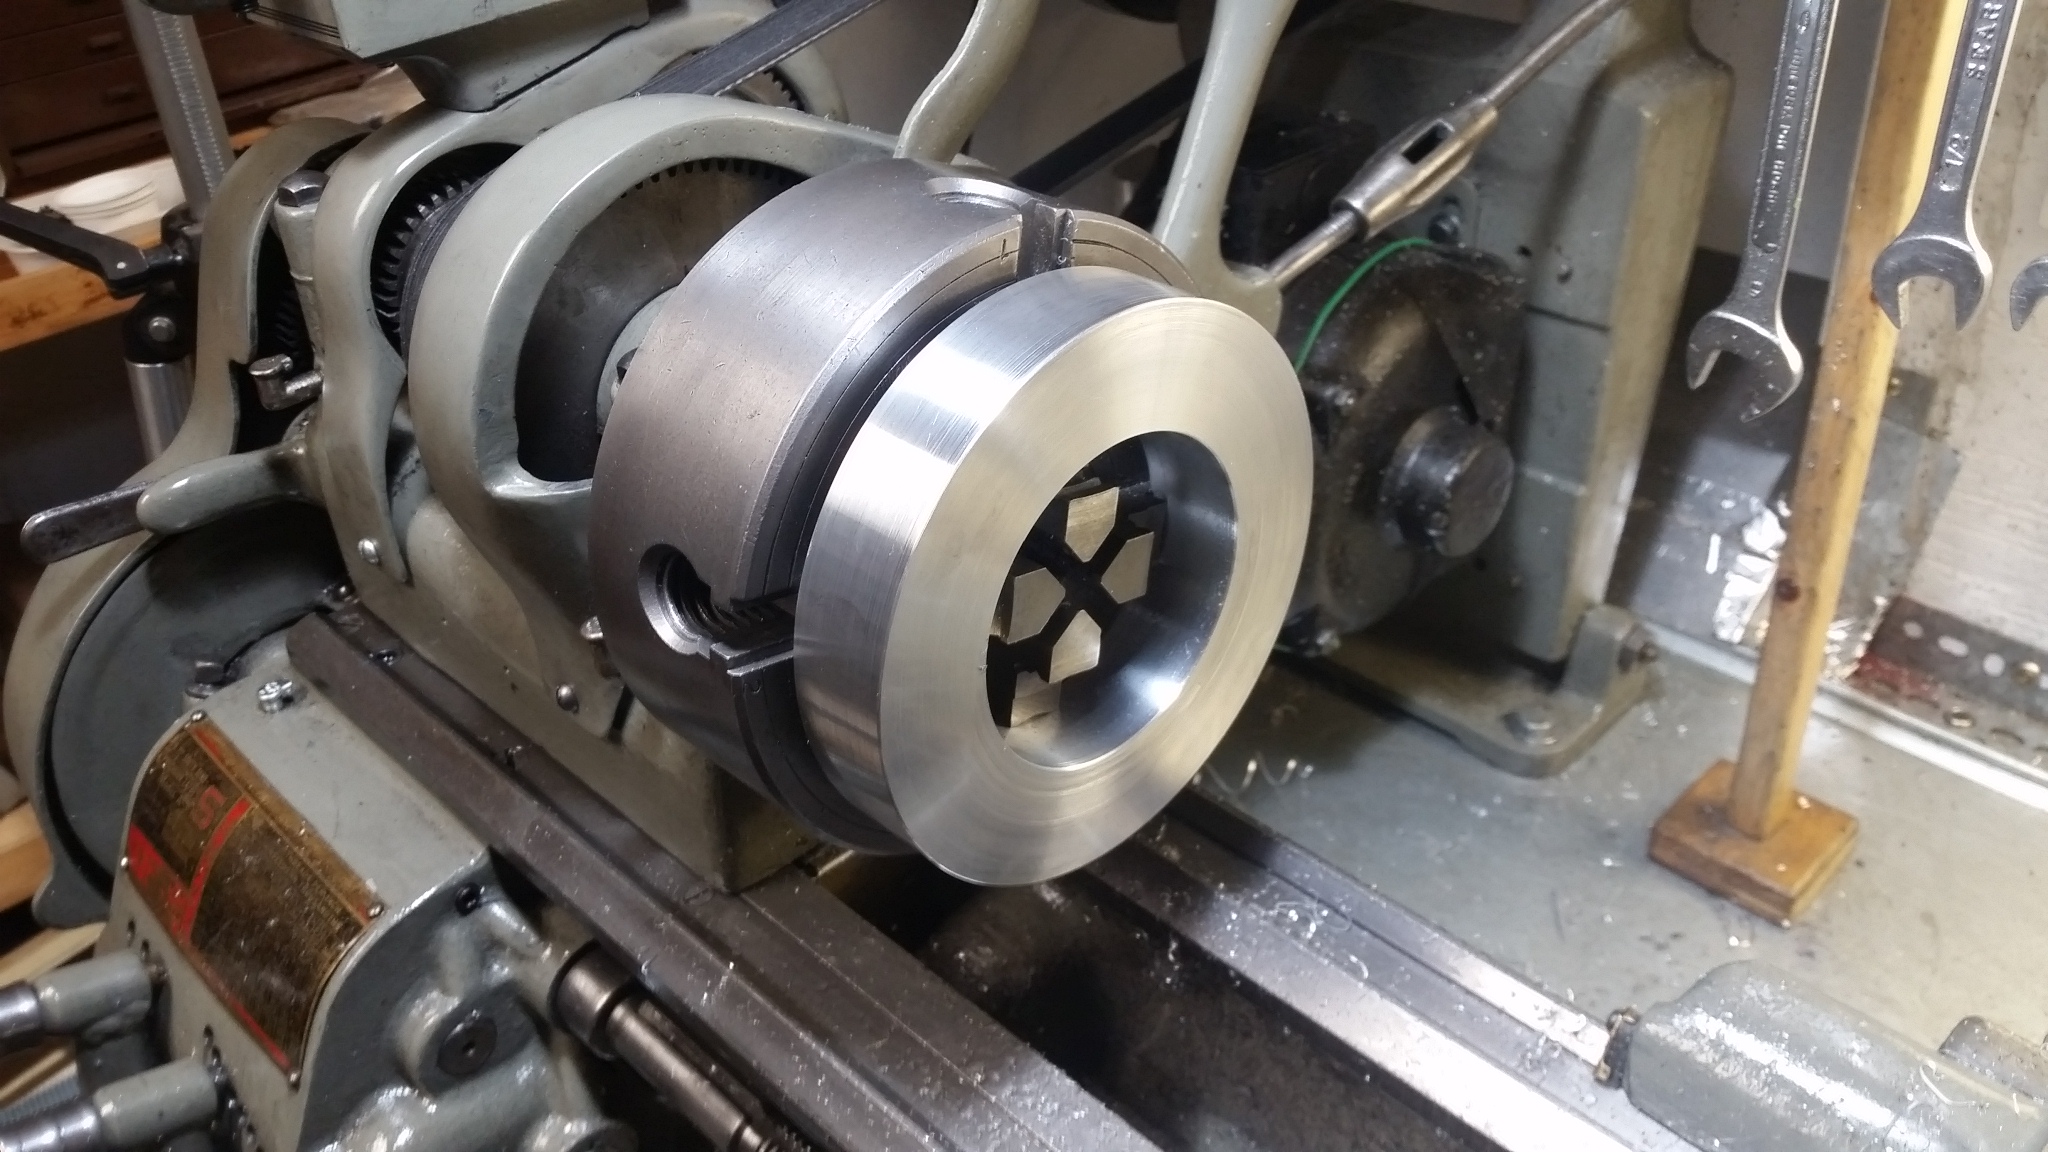
 Parting it off
This was the first time I power parted. I normally always hand feed on parting. But this was going to be a lot of parting. I set up for a pretty high feed rate, and it was great. It spewed chips off as I hoped it would. I am now using power parting more.
I'm going to avoid using the pics on HM because of image size. Let's see how this works.
The pics are here on
This was the first time I power parted. I normally always hand feed on parting. But this was going to be a lot of parting. I set up for a pretty high feed rate, and it was great. It spewed chips off as I hoped it would. I am now using power parting more.
I'm going to avoid using the pics on HM because of image size. Let's see how this works.
Last edited: