Tailstock Alignment?

And it would not guarantee a perfectly straight cut after alignment; wear on the base of the tailstock effects taper by altering relative center height of the tool, causing taper. I have always used the cut and try method.

Well, you can run the plunger indicator along the top and the side of the bar; that should show you the deviation you're likely to encounter when using that setup (i.e. the deviation between-centers or the deviation from center-to-spindle-taper) including wear at the tailstock base. I agree that cut-and-measure is going to be the most accurate, but I rarely need that much of a guarantee. Maybe if I start making engine parts.
 
Made in China? And the price went up 30%?
What a shame.
 
I have one of the Edge bars and am very pleased with it. The good thing about the test bar method is when to do the alignment you also are aligning the live or dead center that's in the tail stock not just the tailstock alone
 
You can easily do tailstock alignment with a modification of Rollie's Dad's Method. The modification consists of center drilling the ends of your test bar and mounting the bar between centers. Mount a dial indicator on the cross slide so that the contact point is horizontal to the spindle axis. Rotate the bar on the centers and use the dial indicator determine the minimum and maximum readings at either end. The two averages of the minimum and maximum readings are equal, the two centers are aligned. If a dial indicator has enough range, this method can also be used to set offsets for turning tapers.

The only requirements are that the bar be round and that the two ends of the bar be of equal diameter. My test bar was salvaged from an old printer.
 
I've seen people using a dial indicator in the head end held in a chuck and sweeping it around a dead center in the tail stock, looks quite do able. Although a test bar is probably faster.

Stu

Found a video on it.


or

 
I thought about buying one of those test bars from Edge Technology when they first came out. I love all their products that I have. But I've been using the bar I made for TS alignment which has been working great so I don't see a need to buy that test bar.

I also have one of those MT test bars. It's surprisingly pretty nice for being from India. Mine is a MT5 so it's got some weight to it. Because of that I rarely use it, only for checking headstock alignment which only happens once in a while.

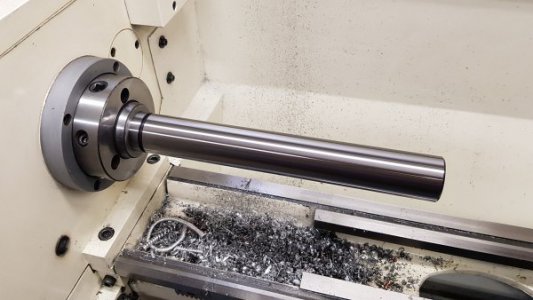
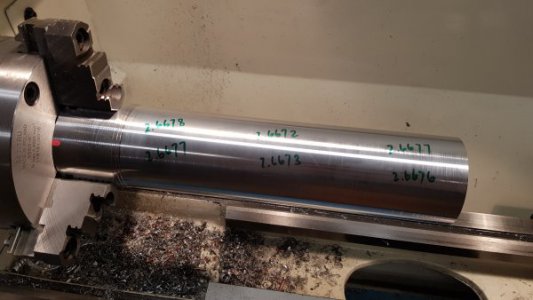
I use a 3" alumn round (well started out as 3") for testing taper any time I re-level the lathe.

20190303_205654.jpg20190407_134414.jpg20190303_183730.jpg
 
I've seen people using a dial indicator in the head end held in a chuck and sweeping it around a dead center in the tail stock, looks quite do able. Although a test bar is probably faster.

Stu

Found a video on it.


or


Yup I've seen people use co-ax indicators also. I do have a Blake co-ax but I've never used it for checking the TS alignment. Test bar with 2 collars works great for me.
 
Bob,
Could you please expand on this?
Thank you
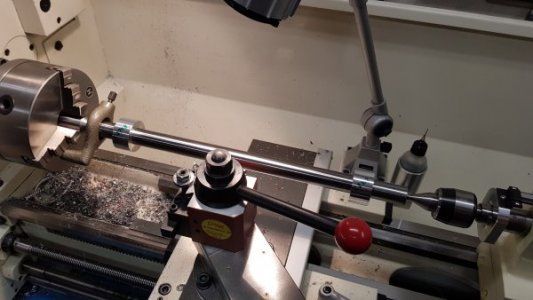
A bar mounted accurately in line with the lathe spindle can tell you if the spindle is parallel with the bed ways, both horizontally and vertically, and if off, by how much. This is used for aligning the head stock with the ways. A bar that has two equal diameter and concentric test rings at both ends of a bar, mounted between an accurate head stock center and an accurate tail stock center, can tell you if the line between the two centers is aligned with the bed ways, both horizontally and vertically, and if off, by how much. Both setups are checked against an indicator moving longitudinally with the carriage, and indicating alternately on the top and the side of the test bar.
 
Bob,

Is this an example of one your scenarios. Did not do any video when moving carriage from chuck to tailstock. Note the indicator needles on both ends of the test bar.

Watch "SBL13 Test Bar Chuck Side" on YouTube

Watch "SBL13 Test Bar TS Side" on YouTube
 
Last edited:
Back
Top