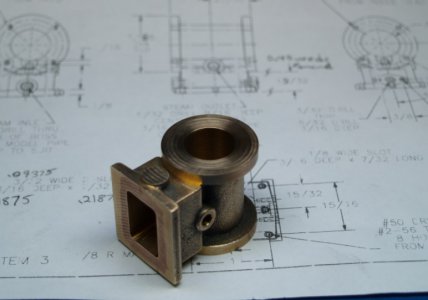
The Journey Begins, PM Research #5.

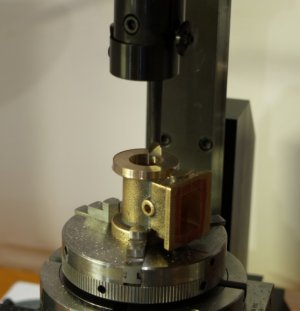
Here is the "complete" steam chest with all three ports. I'm so happy I did this first. It was a real lesson in humility.
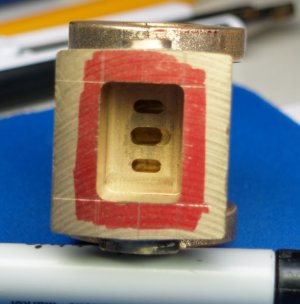
steam chest 6.jpg

Since I couldn't see the end of the tool when I was doing this I did a test first using a piece of brass plate. I should have done that before I cut the exhaust port. I'm learning.

Next I need to make a tool holder for a boring bar so I can finish the cylinder.

Eric
 
I want one.
Maybe when I retire.
You guys seem to have fun building these kits.
I need the skill set it takes to complete one of these steam engine kits.
 
I have two of the three :)
I'm assuming time is the problem :) my #3 was surprisingly not that time consuming. I did it in about a month of the ocassional 2 hr evenings plus some somewhat longer weekends. I found each component to be a fun little puzzle/project of its own!

2-3 hours a week was all it would take to finish it in a few months. If you do it in a good order, there is always visible progress, which prevents discouragement.
 
I decided to use my boring head to do the cylinder. I mean why not, I've got one. The bar is only 1.5" so it barely clears the length of the bore.

cylinder boring.jpg

I've got so much stuff stacked up in this setup that the small space between the top of the cylinder (actually the bottom) and the tip of the boring bar is all the travel I have left in the Z axis. It worked though.

Eric
 
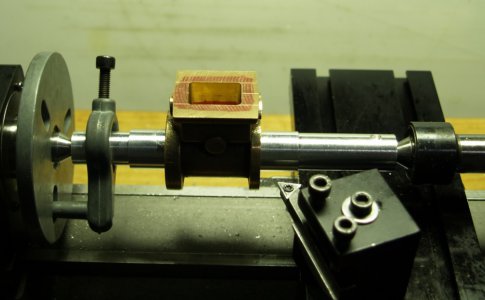
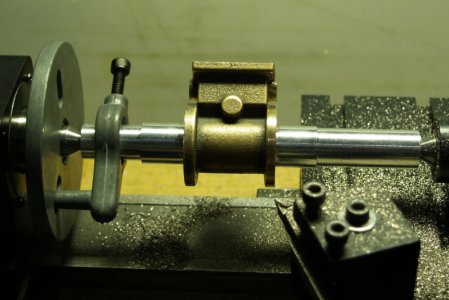
I made a mandrel so I could finish the flanges on the cylinder. This way everything will be concentric and the flanges will be perpendicular to the bore (I hope).

cylinder4.jpg

Making the mandrel was my first time turning anything between centers and I learned a couple of things. Like don't crash the cross slide into the chuck. Well it seems I autograph all my tools at some point. I was paying attention to the tool but not the "invisible" chuck jaws. I guess I need to make some stops too.

Eric
 
I ended up doing the cylinder face and boring in 1 setup on the mill. I was able to do the bolt circles at the sam esetup.
 
I don't think I could have done this with one setup.
cylinder5.jpg
Finished the cylinder to length centered on the exhaust port boss (not the hole I drilled).

cylinder6.jpg
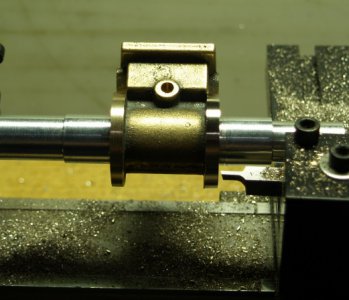
Turned the flanges to their finished diameter concentric with the cylinder bore. I had to stop once to resharpen the tool.

cylinder7.jpg

I still need to complete the steam passages, steam inlet, and valve rod bore. All the mounting hole locations are taken from parts I have not started yet.

Eric
 
Well, the idea is that you face 1 side with an end mill, then flip it and face the other side parallel to that. Then, you measure it , figure out what the length is, and measure distance from the boss to figure out how much to take off each side. So rather than trial/error going top/bottom, you do it math wise.

And you can do the bore in the same setup as one of the sides.

I know that they suggest doing the drill holes with a transfer punch, but I had decided to just trust my DRO's bolt function.

For me, consistent setups on these was the toughest part (since orientation is not measurable sometimes) so I do my best to do as much work as possible in as few setups as possible.
 
Back
Top