The Journey Begins, PM Research #5.

Ericb - you will "get" to buy a whole lot more stuff! Enjoy!
 
Ericb - you will "get" to buy a whole lot more stuff! Enjoy!

At this point I'll more likely have to "get permission" from "She Who Must Be Obeyed" to buy more stuff. But I'll press on. There's plenty to do before I need to buy anything else.

I'm just filing the flash off for now, and studying the diagrams. I think I want to do the crankshaft first.

Eric
 
I've been bad at pictures, but I'm making some pretty good progress! I have the base done (except mounting holes and painting), and have finished everything on the crank shaft. The eccentric hub was fun!

I've got a few more thing I want to do (mostly the crosshead and related mounting fixtures), but then I have to go after the cylinder. I have been putting that one off for quite a while now, but I think I'll have to go after it soon!

I realized today that I don't have any die holders that work with my round dies, so the two parts that require that either need to wait (or get a 40 tpi single point thread!), but I otherwise am getting stuff done at a pretty quick pace!
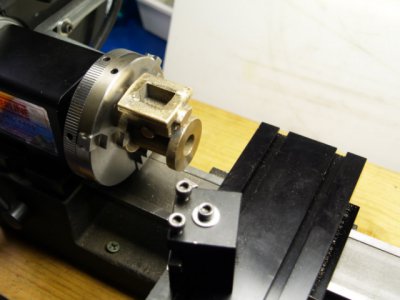
 
After much thought and filing I decided to tackle the cylinder first. I figured I could do everything except for tapping the holes with the tools I have on hand. I will need to make a holder for my boring tool and a mandrel so I can finish the end that's in the chuck between centers.
cylinder.jpg
I think I may do the steam chest first on this. That seems like the most difficult part, but I won't have to worry about damaging what I'd have already finished if I did it last.

Eric
 
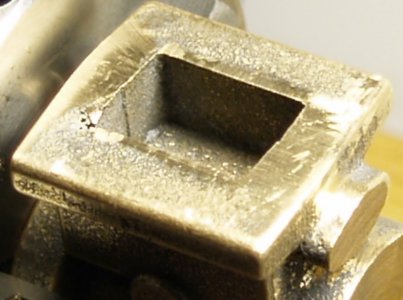
Well the sand crust inside the steam chest instantly blunted my HSS end mills. I'm not surprised but I had to try. The sides only need squared up but cavity needs to be 0.140" deeper. Carbides on order.

I normally cut brass dry but this bronze is kind of sticky. Should I be using some kind of cutting oil on this stuff?

Eric
 
A quick look on Google, looks like like lard and kerosene.
Can you grind the sand off, if you can it certainly will allow HSS to work a lot better,
 
I don't know the power of your lathe, but with castings you're supposed to get completely through the outer layer in 1 cut (so that the tip of your cutter is cutting 'clean' material). Carbide is likely going to have the same problem cutting sand, but hopefully less (since it is still cutting an abrasive).

Also, I've watched a few videos on Stuart engines, make sure you poke as much sand out of the valve holes BEFORE using any cutting fluids. Apparently oils/fluids can make it a 'glue' and be much harder to poke out. Most seem to suggest just using a metal poker and some shim-stock or solid wire(for curves).
 
I'm surprised you have sand in yours. My PM #6 was pretty squeaky clean honestly. The outside of the cast iron is hard but it didn't wear my carbide.

I faced the base with a 1/2" HSS endmill and it was dull 1/4 of the way through. My carbide 1/2" is still razor sharp after finishing the job.
 
Yeah there was lots of sand in there. The outsides of the castings in the kit are pretty clean.
steam chest.jpg
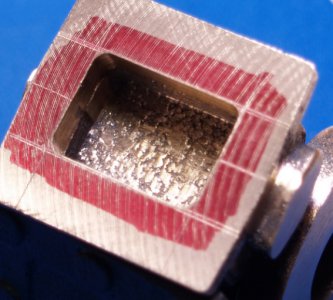
steam chest 2.jpg
I didn't think to scrape or grind out the cavity before I got started. There isn't much material removal needed to get the sides to size. Just enough to get through the crust. The back face will take a lot more, just about 5/32. I will clean it out with my dremel before I try again.

Eric
 
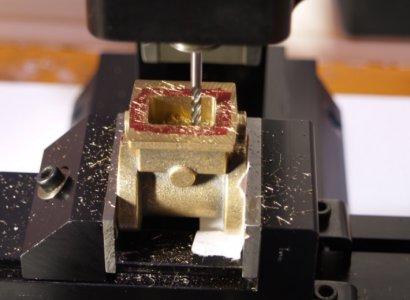
The carbide mill was just the ticket!

I got the steam chest to size and depth with no problem. Then I thought I could go ahead and cut the exhaust port since it was already set up. So I did all the math and lined it up and started to cut. When I went to clear the chips I realized I made an amateur mistake. Can you guess? I didn't factor the diameter of the mill so the port was off center. So I did the math again and finished the port to depth on center. It has a short step on one side but that will be covered by the slide valve. OOPS!

steam chest 3.jpg

Eric
 
Back
Top