- Joined
- Feb 27, 2014
- Messages
- 2,128
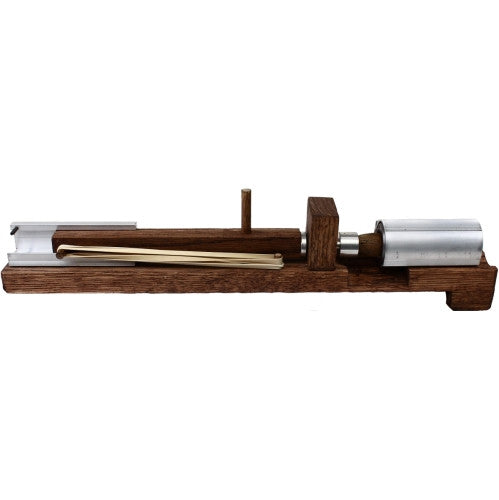
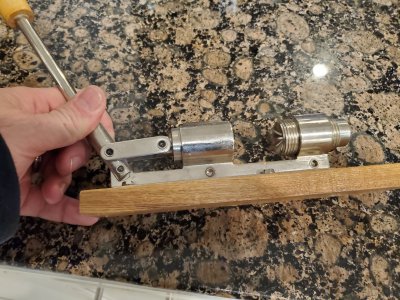
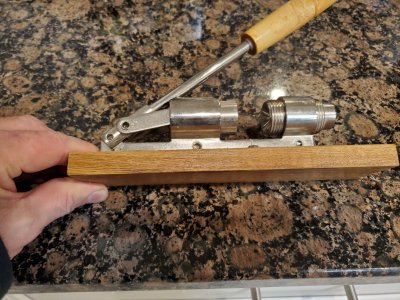
Smarter Every Day just released a YouTube about pecans and in it he shows and describes an industrial pecan nut cracker. very interesting technique to apply pressure to squeeze the nut from the ends then apply a sharp force on the end to crack.
")