If you do it the right way, choosing a pre-reamer drill is almost as complicated as choosing a reamer to come in on a specific size because the material you are working with influences your choices. I'm attaching a doc that explains this statement.
I suspect most hobby guys buy a set of on-size reamers and expect to have holes of those sizes after reaming. The typical advice is to just pick a drill about 0.005" smaller than the reamer. This usually results in a hole that is off-size a few thou, depending on the pre-reamer drill, the reamer and the material. This is usually not a problem because we can make whatever fits in the hole to suit but if the hole
must be a certain size then you have to go through a number of steps to choose the right drill and reamer and you have to know how to ream. This gets really expensive when you have to order a specific reamer for a critical hole.
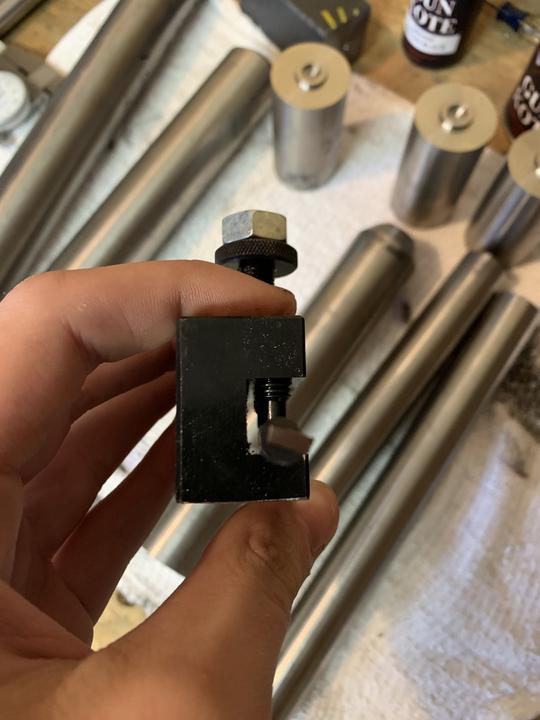
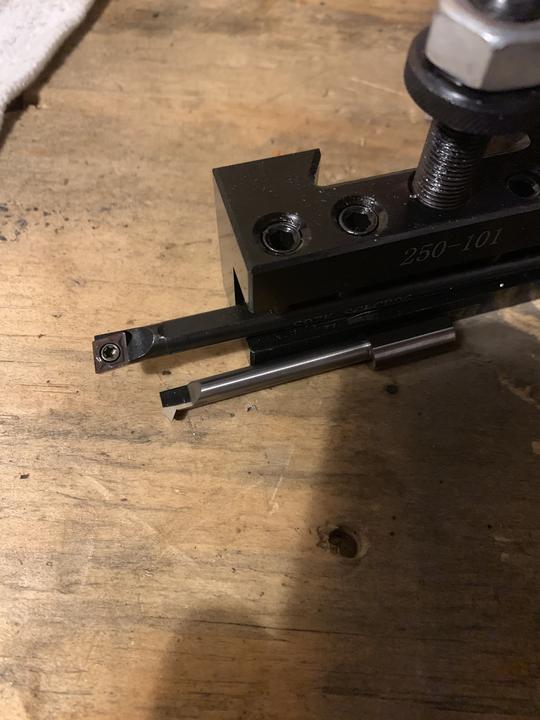
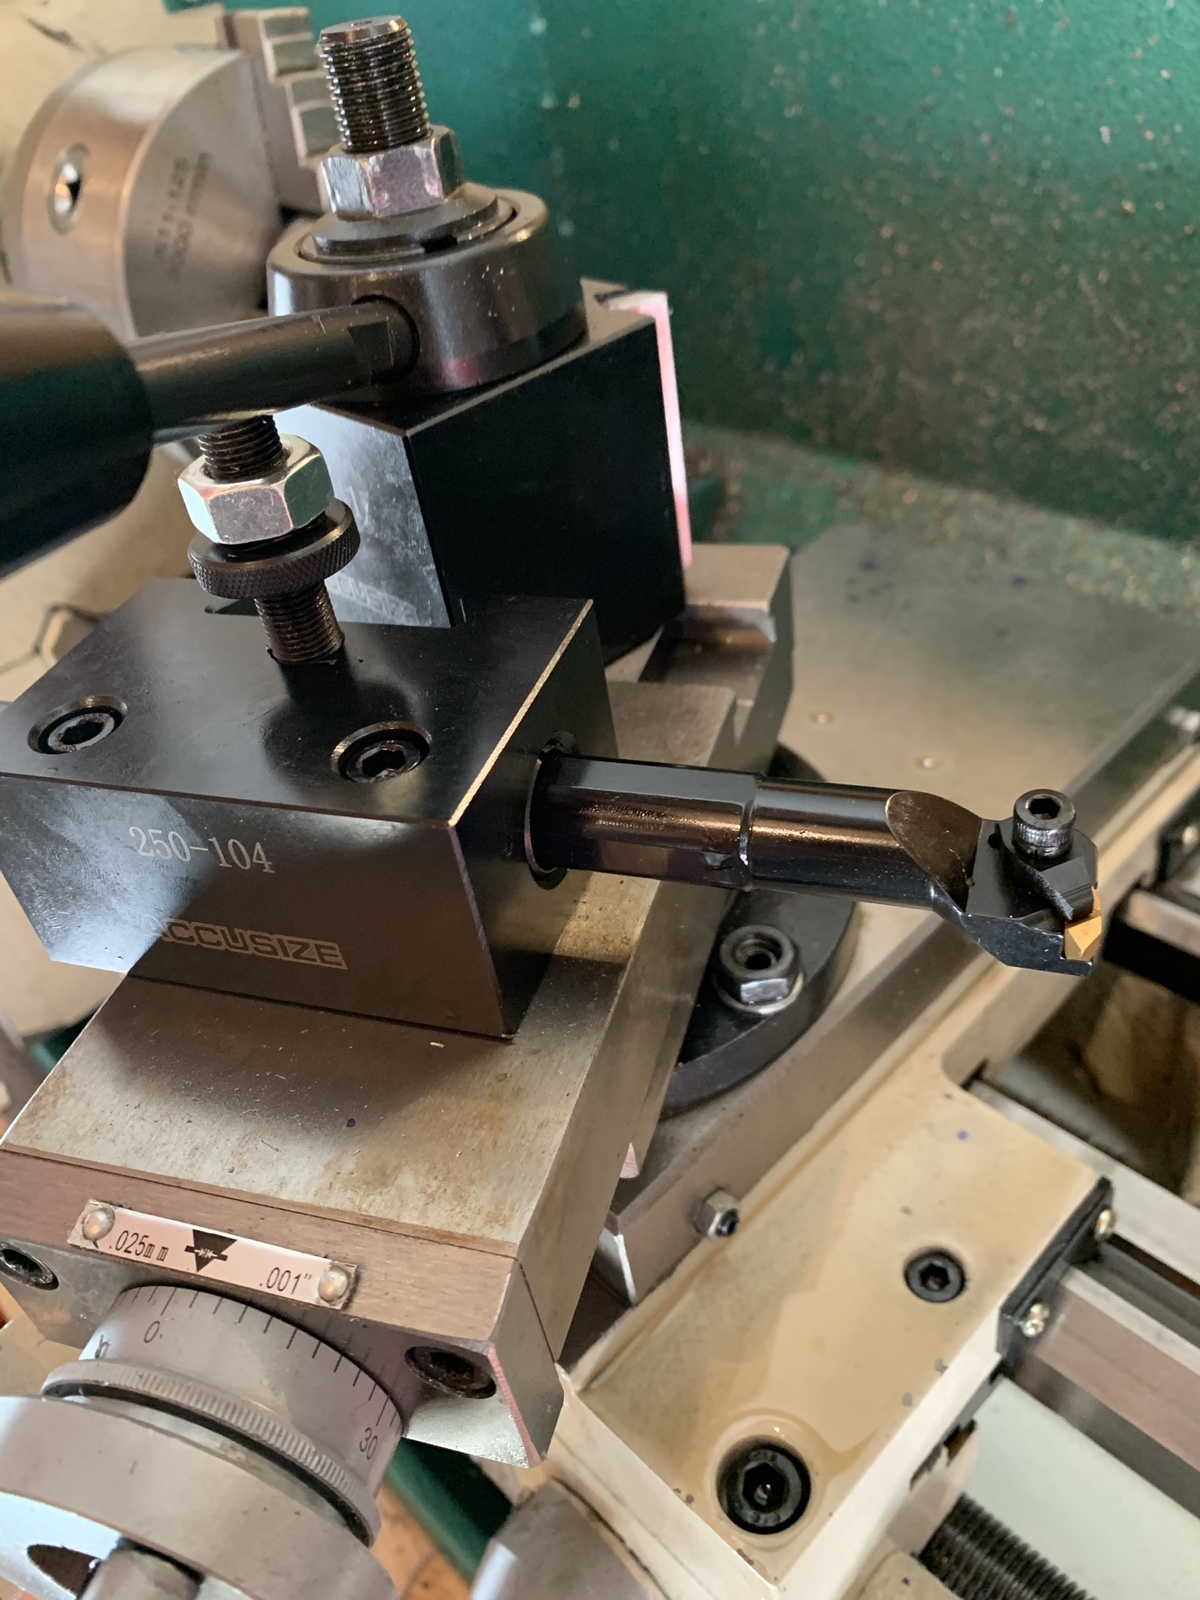
Instead of buying specialty reamers, the best option for a hobby guy is to just bore the hole. Way cheaper and potentially more accurate because if you're really good at boring you can come in on size within the low tenths and you can often match or even beat the finish. I own multiple sets of reamers but I don't use them as often nowadays. It is so much faster and more accurate for me to just bore the stupid hole so I can get on with it. Nowadays, I mostly use a reamer in shallower through holes that I have to fit a pin into, and I can cut the pin to fit the hole I make. Otherwise, I bore it.
You are working with components that require good fits. If you plan to do a lot of this kind of work then it is going to be worth it to learn to bore a hole. This will mean spending money on good bars to fit the holes you require. It also requires that you spend the time to learn to bore accurately, which is not a bad skill to have if you ask me.
A spotting drill is not more accurate than a center drill but it does allow a drill to
start more accurately so when you must optimize concentricity and accuracy, a spotter is preferred. I almost never use a center drill except on the end of a work piece to accept a live center. With that said, machinists have been using center drills for decades to start holes with and probably the majority feel this is the preferred tool. We had
a good discussion on spotters here. I guess I should also emphasize that when using any drill, and especially when you're trying to maximize accuracy, start with a spotter and then peck and go slowly with your drill until the tips of the flutes are buried in the hole; then you can increase feed and pressure. Try it and you'll see that it is the most effective way to start a drill in a hole.
EDIT: almost forgot to add that you should make sure you put a 45 degree chamfer at the entrance to the hole before using a reamer. This will greatly reduce the chatter than can occur at the start.