Timmeh's Workshop.

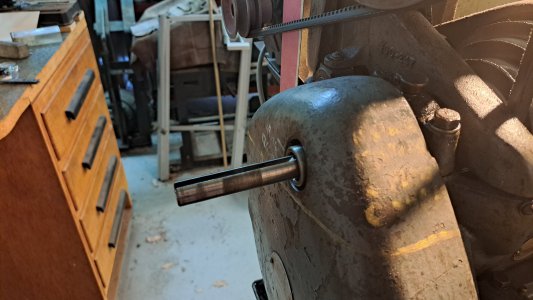
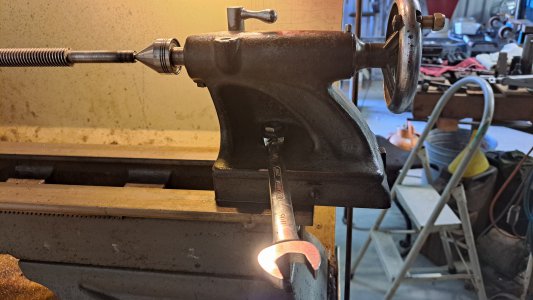
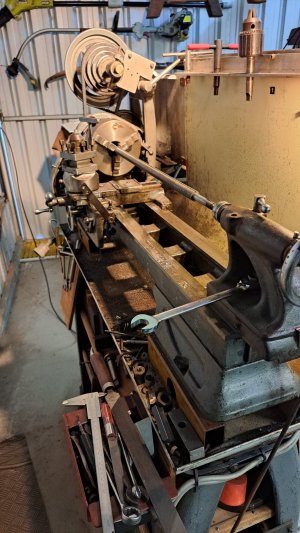
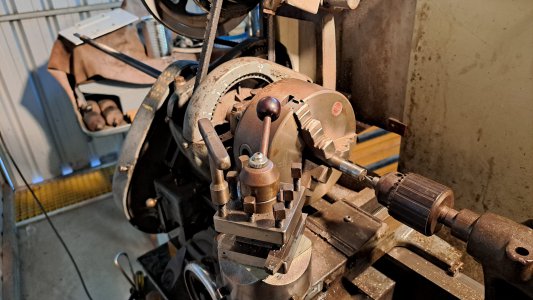
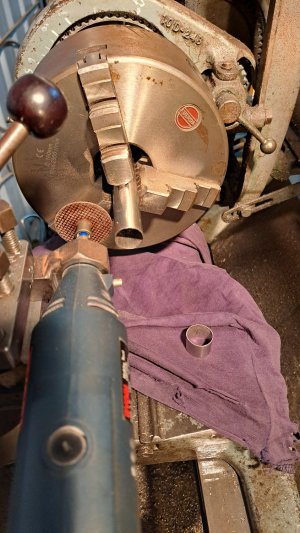
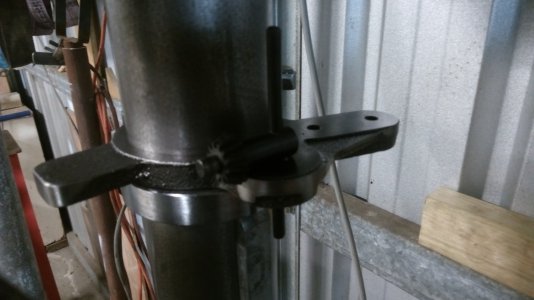
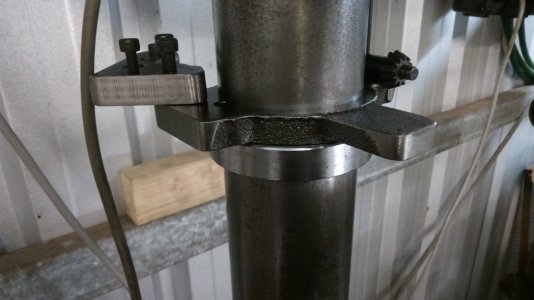
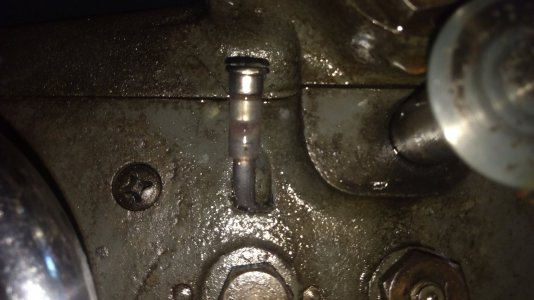
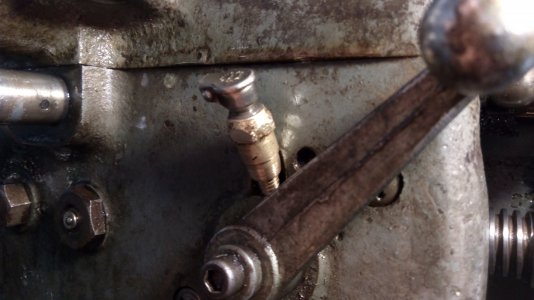
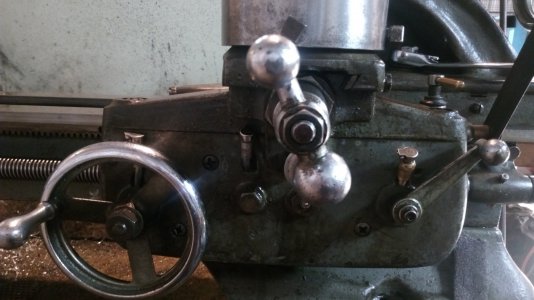
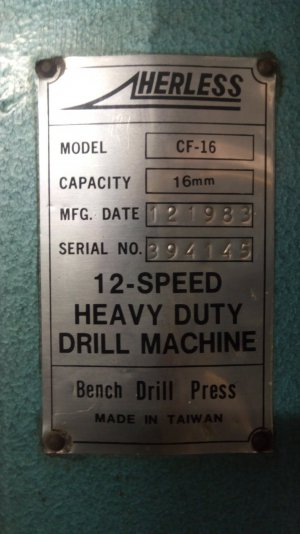
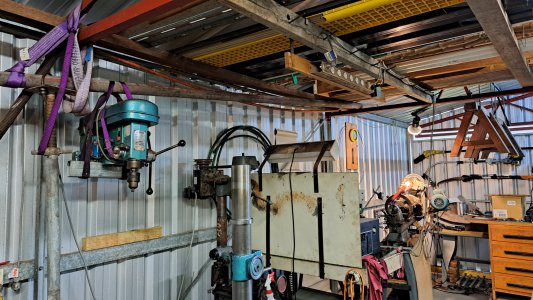
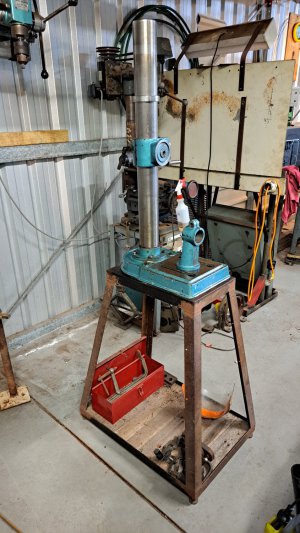
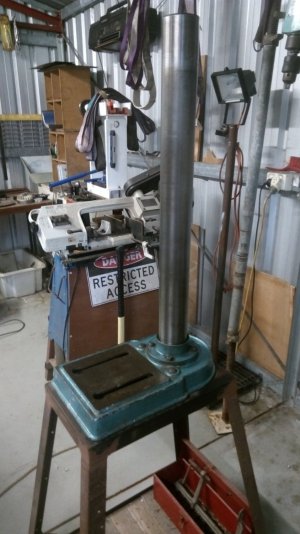
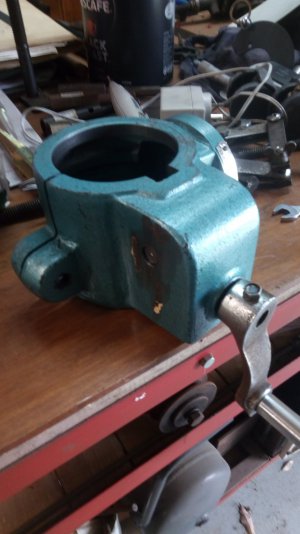
Drill press getting a long overdue birthday. It has some serious table droop, the lift mechanism needs a proper seeing to and the column could do with a clean up.
We'll see what else crops up.
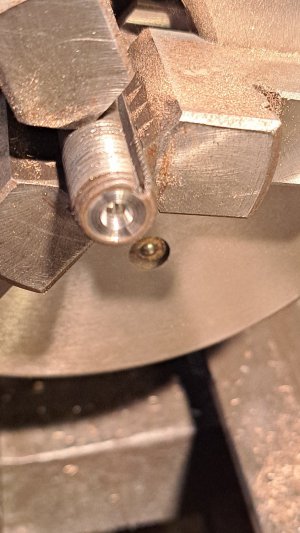
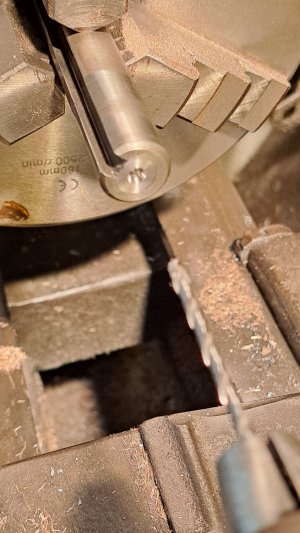
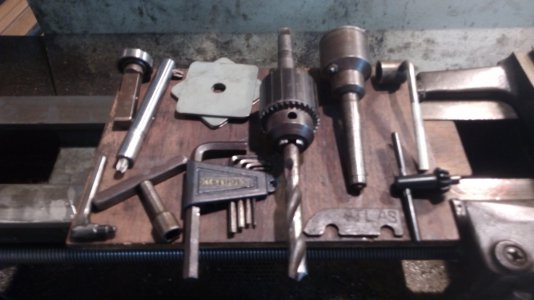
First step, set up the portable gantry crane and remove the drill head.
 

Attachments

  • IMG_20230105_203245.jpg
    IMG_20230105_203245.jpg
    154 KB · Views: 10
  • 20221231_174709.jpg
    20221231_174709.jpg
    314.6 KB · Views: 10
  • 20221231_174722.jpg
    20221231_174722.jpg
    811.5 KB · Views: 10
  • 20221231_174730.jpg
    20221231_174730.jpg
    291.2 KB · Views: 10
  • IMG_20221231_085959.jpg
    IMG_20221231_085959.jpg
    188.6 KB · Views: 11
Bit of rework on the table lift gearbox, teardown, clean and check mounting flange for parallel to column. Seems OK.
Replace horridly made, poorly sized, single thrust bushing with two(1 either side of pinion gear) and reduce 10mm axial clearance down to about 2mm.
Probably doesn't need both due to angle of rack and pinion teeth, had to cut the salvaged oilite bearing to suit anyway and the other half fit nicely in there.
Now the pinion stays within 1mm of where it should be, vast improvement on what was.
Removed the nasty grub screw from the handle that I damaged last time it was worked on.
Poor quality item, wrong sized Allen key, sheer frustration at it coming loose so often or all of the aforementioned.
No matter, it stayed put for 15 to 20yrs.
Bit of panelbeating on the rack, much better now.
 

Attachments

  • IMG_20221231_090249.jpg
    IMG_20221231_090249.jpg
    125.3 KB · Views: 7
  • IMG_20221231_090331.jpg
    IMG_20221231_090331.jpg
    247.7 KB · Views: 7
  • IMG_20221231_090305.jpg
    IMG_20221231_090305.jpg
    207.7 KB · Views: 7
  • IMG_20221231_090450.jpg
    IMG_20221231_090450.jpg
    184.3 KB · Views: 7
  • IMG_20221231_090418.jpg
    IMG_20221231_090418.jpg
    160.8 KB · Views: 7
  • IMG_20221231_090227.jpg
    IMG_20221231_090227.jpg
    141 KB · Views: 7
  • IMG_20221231_090207.jpg
    IMG_20221231_090207.jpg
    158.4 KB · Views: 7
  • IMG_20221231_090146.jpg
    IMG_20221231_090146.jpg
    150.6 KB · Views: 7
#1:p
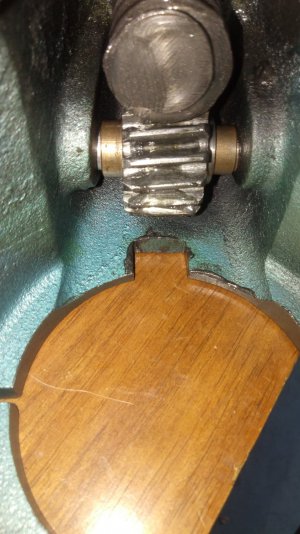
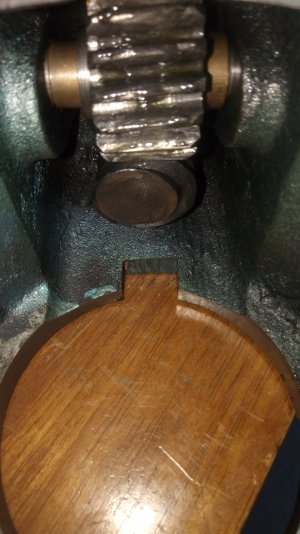
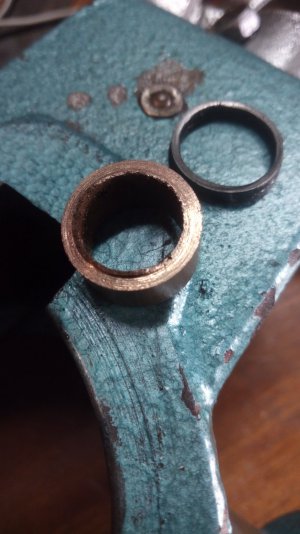
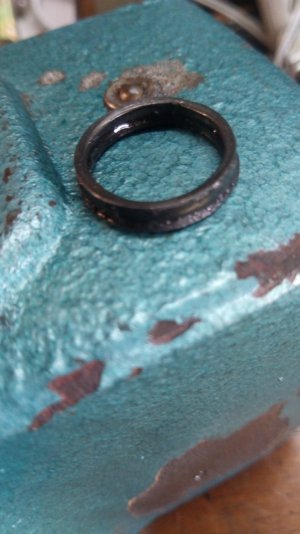
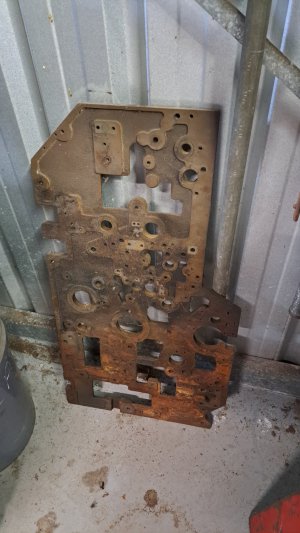
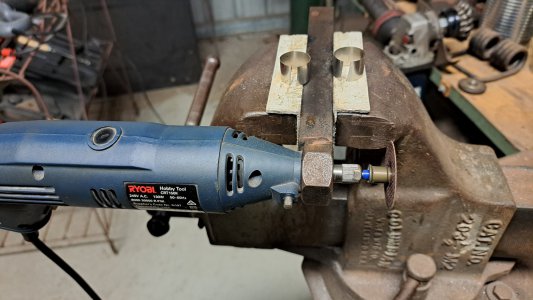
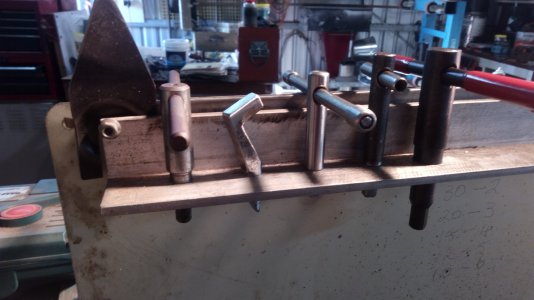
art of an old printing press I scrounged years ago.
#2:Opposite plate that I started chopping up back a way's.
#3:Some pieces from smaller sections of the machine, made really good "squares".
#4+5:This'll make a good spot to hang the chuck key and maybe some other stuff.
 

Attachments

  • 20221231_191332.jpg
    20221231_191332.jpg
    331.9 KB · Views: 4
  • 20221231_174909.jpg
    20221231_174909.jpg
    296.1 KB · Views: 4
  • 20221231_174859.jpg
    20221231_174859.jpg
    247.6 KB · Views: 4
  • 20221231_174815.jpg
    20221231_174815.jpg
    237.5 KB · Views: 4
  • 20221231_174748.jpg
    20221231_174748.jpg
    235.7 KB · Views: 4
Clean up the leadscrew and remove bumps, dents and burrs and such.
Surprised at how straight it is, dialled in under .01mm clamped in the chuck.
No shims, no tweaking, just magical.
Bonus!!
 

Attachments

  • 20230112_101010.jpg
    20230112_101010.jpg
    441.1 KB · Views: 9
  • 20230112_101002.jpg
    20230112_101002.jpg
    492.9 KB · Views: 9
  • 20230112_100951.jpg
    20230112_100951.jpg
    287.3 KB · Views: 8
  • 20230112_094628.jpg
    20230112_094628.jpg
    235 KB · Views: 8
  • 20230112_093351.jpg
    20230112_093351.jpg
    252 KB · Views: 8
  • 20230112_092515.jpg
    20230112_092515.jpg
    461.2 KB · Views: 8
  • 20230112_092459.jpg
    20230112_092459.jpg
    551 KB · Views: 8
  • 20230112_084704.jpg
    20230112_084704.jpg
    306.8 KB · Views: 8
  • 20230112_084721.jpg
    20230112_084721.jpg
    216.2 KB · Views: 8
  • 20230112_090818.jpg
    20230112_090818.jpg
    510.3 KB · Views: 8
  • 20230112_092426.jpg
    20230112_092426.jpg
    168.5 KB · Views: 8
  • 20230112_092444.jpg
    20230112_092444.jpg
    157.5 KB · Views: 9
The drill press tool rack thingamabob, helps keep the top rack guide doohicky nice and true.
 

Attachments

  • IMG_20230116_181217.jpg
    IMG_20230116_181217.jpg
    348.5 KB · Views: 5
  • IMG_20230116_181233.jpg
    IMG_20230116_181233.jpg
    351.7 KB · Views: 5
Some further refinement of the carriage oiling system, ball oilers weren't working as well as I would have liked.
Need to grind a punch type flare tool to get a better fit for the tubing as it's a tad small on diameter.
Would have used recycled mig welder tip holders for all three done so far, alas 2 of the holes are bit too far of centre.
Bit of a trial run with a pipe cleaner to get oil to the traverse case.
Plans in the future to mount a pair of reservoirs inside the apron.
 

Attachments

  • IMG_20230116_193453.jpg
    IMG_20230116_193453.jpg
    325.9 KB · Views: 4
  • IMG_20230116_181555.jpg
    IMG_20230116_181555.jpg
    340.3 KB · Views: 4
  • IMG_20230116_181526.jpg
    IMG_20230116_181526.jpg
    392.6 KB · Views: 4
  • IMG_20230116_181504.jpg
    IMG_20230116_181504.jpg
    365.9 KB · Views: 4
  • IMG_20230116_182224.jpg
    IMG_20230116_182224.jpg
    409.6 KB · Views: 4
Finally put the finishing touches on the modified cross slide vise.
1,2 and 3, re-enactment for demonstration purposes, scrap of rhs with pre-existing hole for hold down bolt, drill 1/2" hole adjacent, cut and trim up on bandsaw.
Carve up a salvaged brass bearing(more of that aforementioned printer) that had a circlip groove, closed end and oiling hole, perfect fit.
Turn the end of the screw to suit.
All that's left to do now is set it up and see how close I've managed to get it true/square/parallel/planar.IMG_20230116_185901.jpgIMG_20230116_185922.jpgIMG_20230116_190014.jpgIMG_20230116_181027.jpgIMG_20230116_181054.jpgIMG_20230116_180819.jpgIMG_20230116_180851.jpg
 
Chuck keys all stowed, carriage and tailstock tooling to go.
I'll have to beef up the crap catcher, it's going to get a little weighty up there.
 

Attachments

  • IMG_20230116_182601.jpg
    IMG_20230116_182601.jpg
    389.2 KB · Views: 5
  • IMG_20230116_183708.jpg
    IMG_20230116_183708.jpg
    327.5 KB · Views: 5
Back
Top