Timmeh's Workshop.

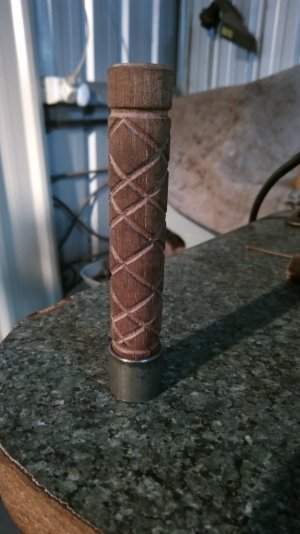
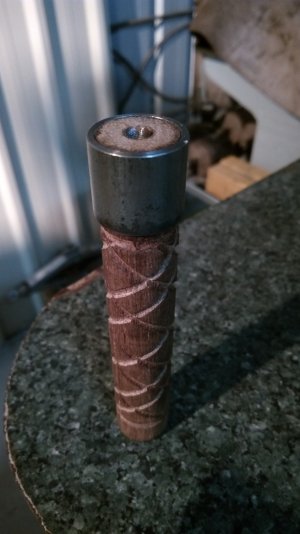
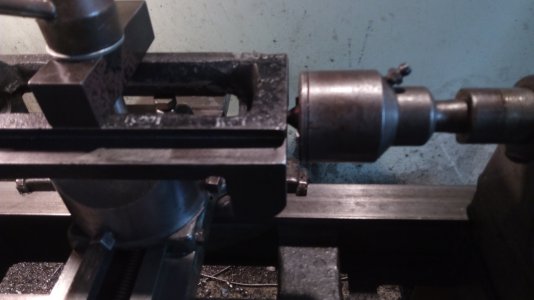
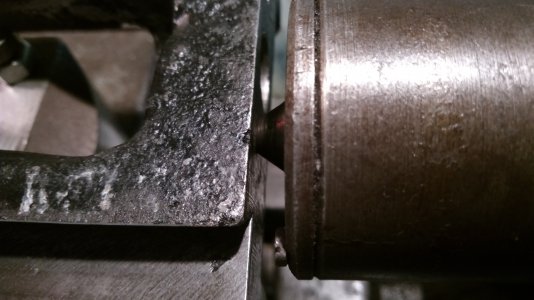
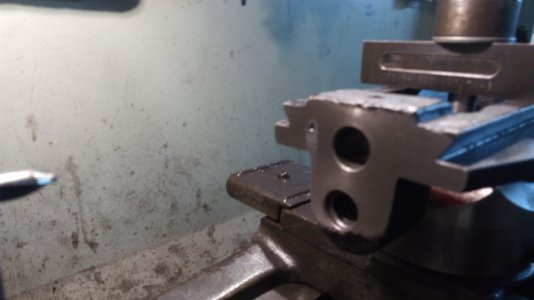
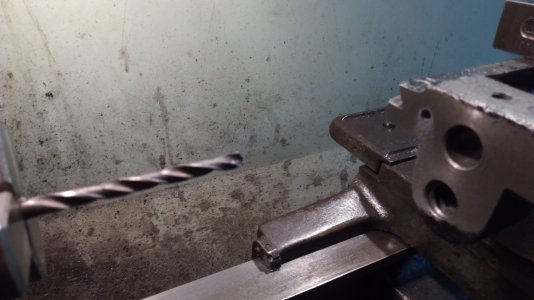
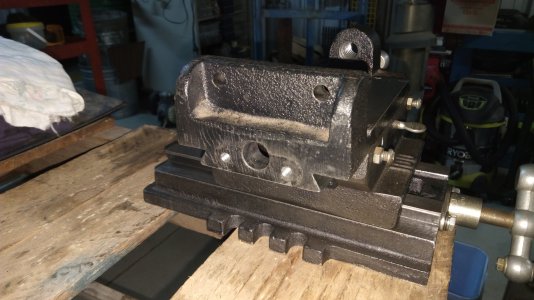
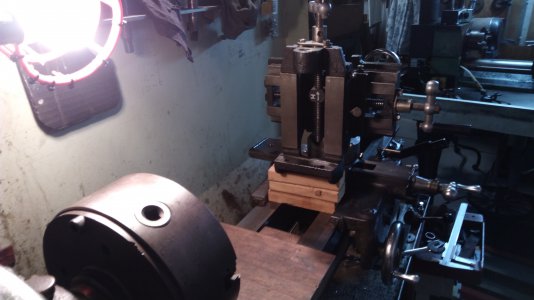
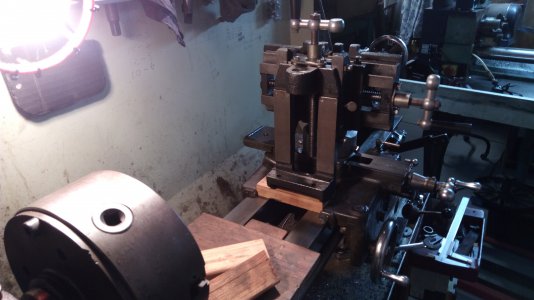
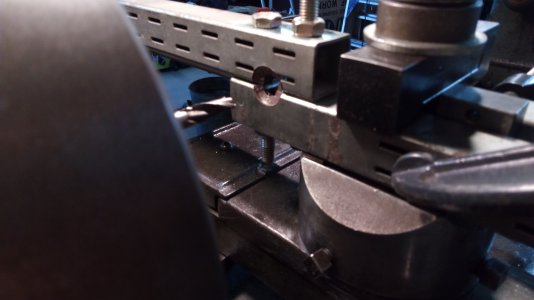
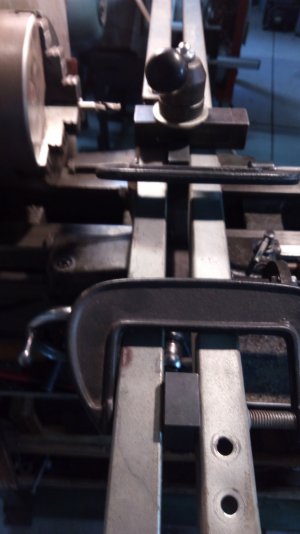
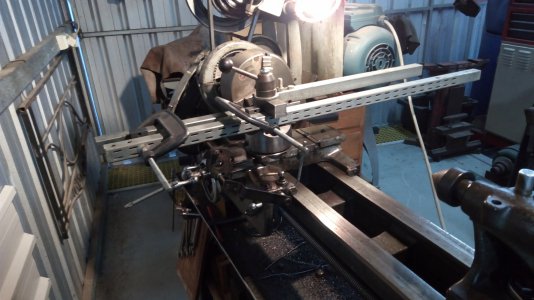
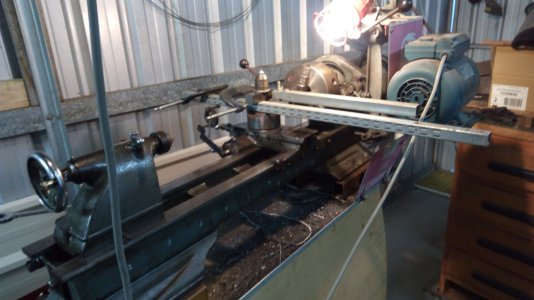
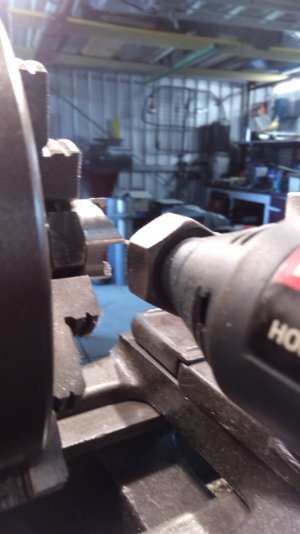
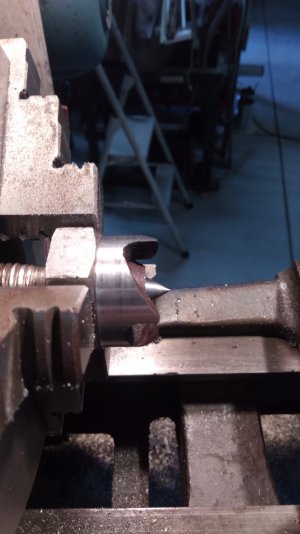
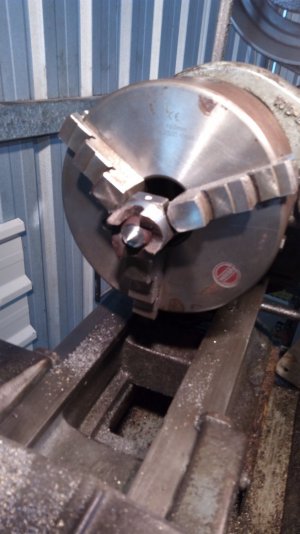
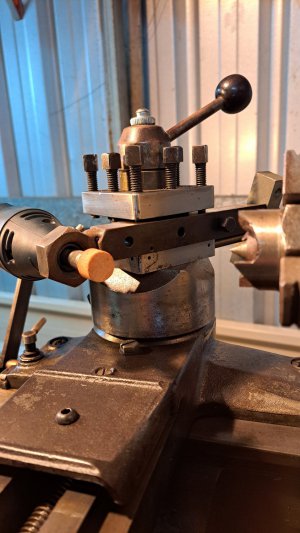
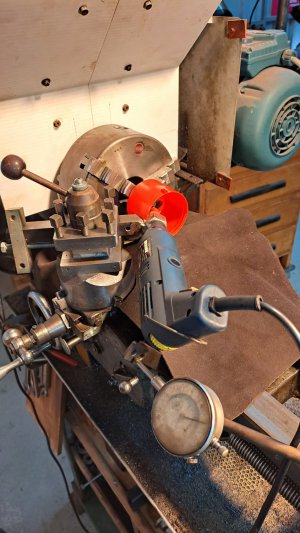
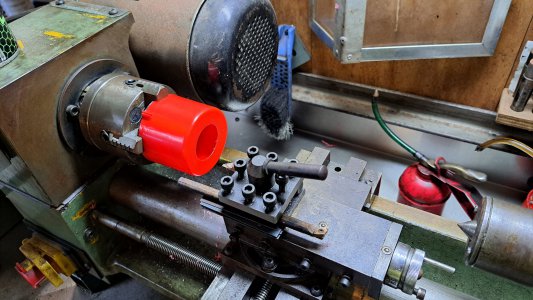
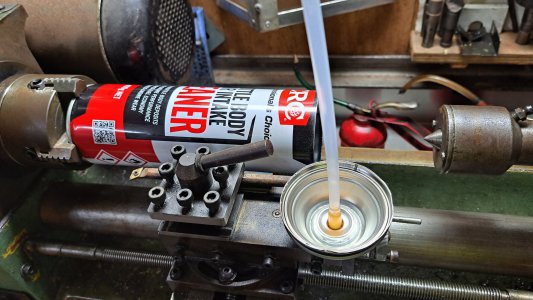
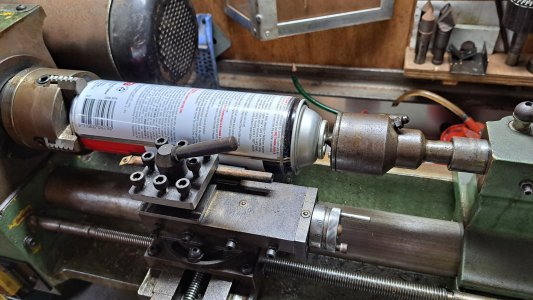
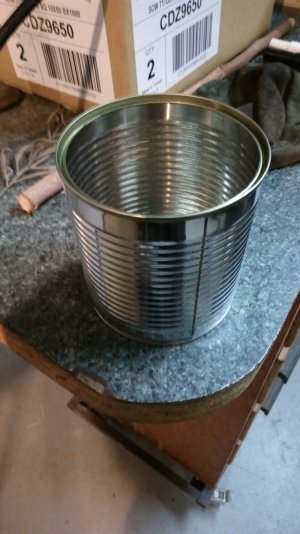
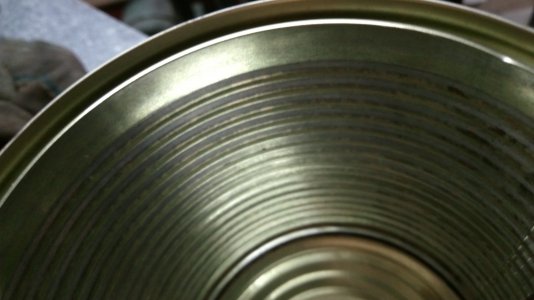
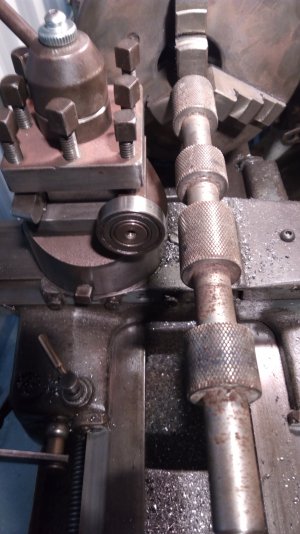
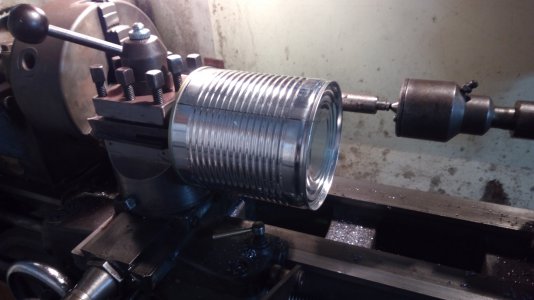
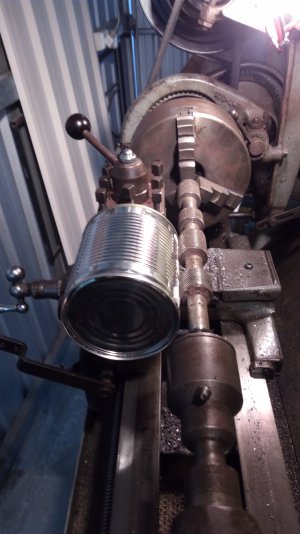
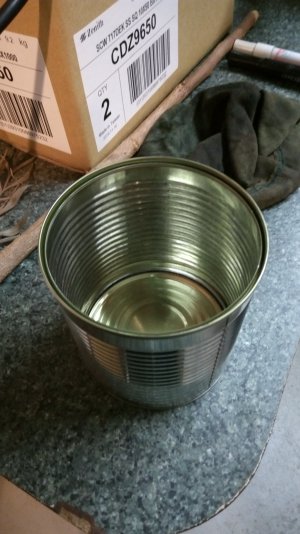
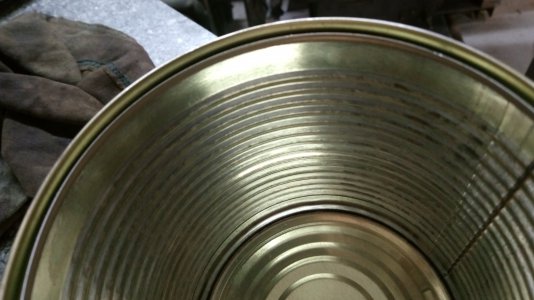
While I'm figuring that out, let's safe edge some tins. The ones with the rip tops that leave a nasty but relatively clean edge.
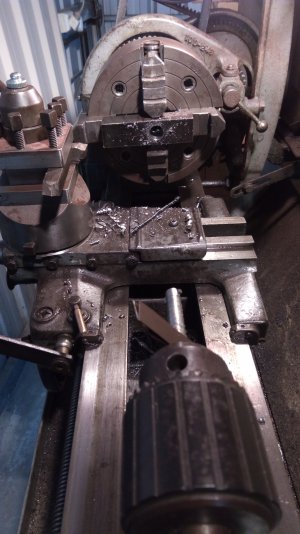
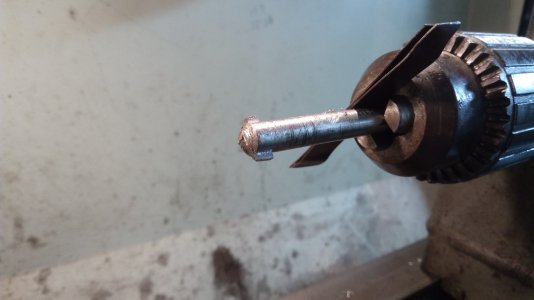
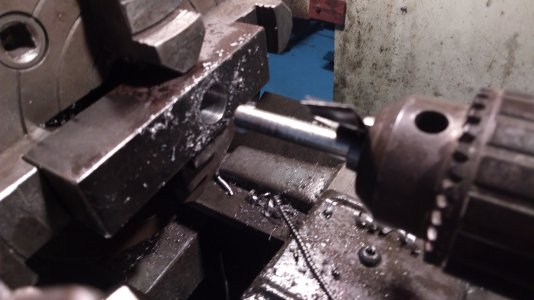
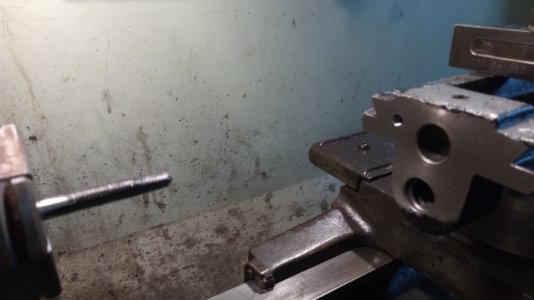
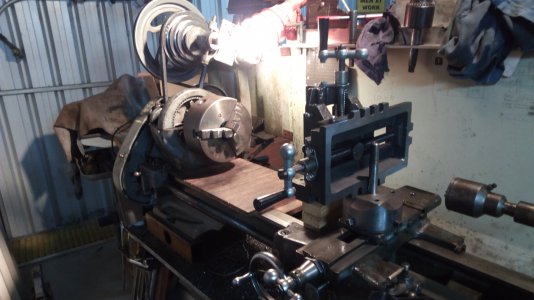
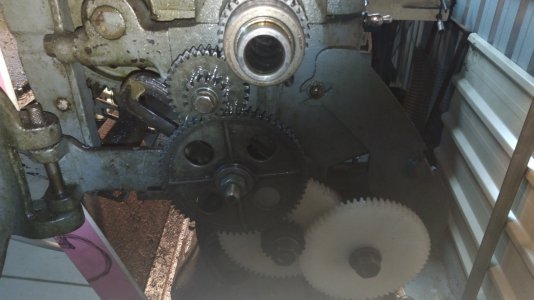
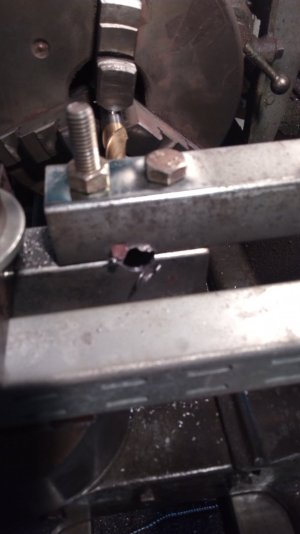
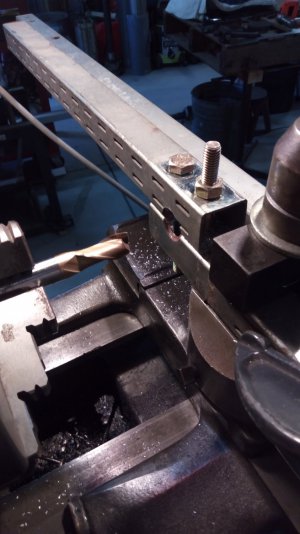
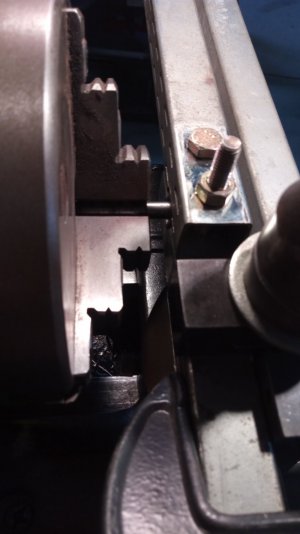
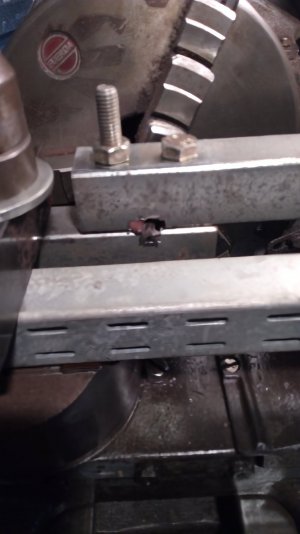
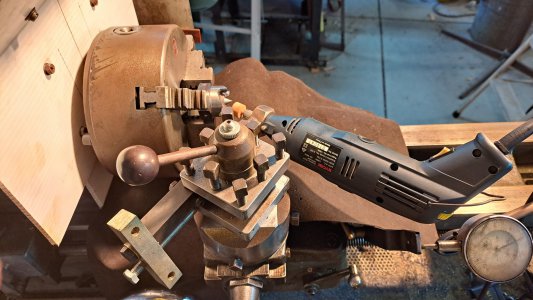
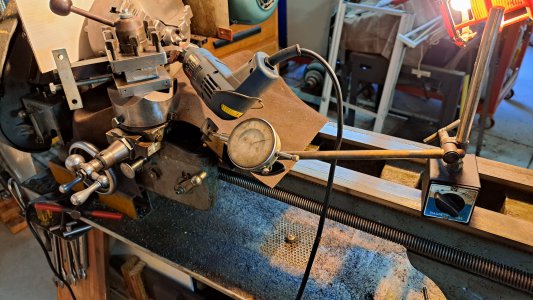
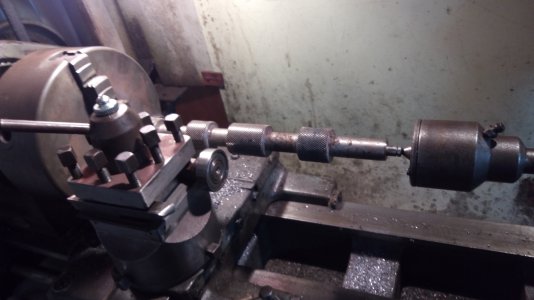
Lowest speed in back gear, guide the tail end by hand, ease in .005"-.010" at a time and let it do a couple of turns.
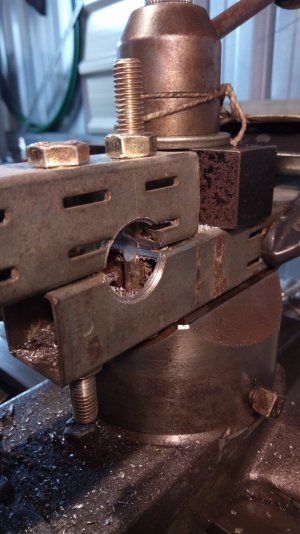
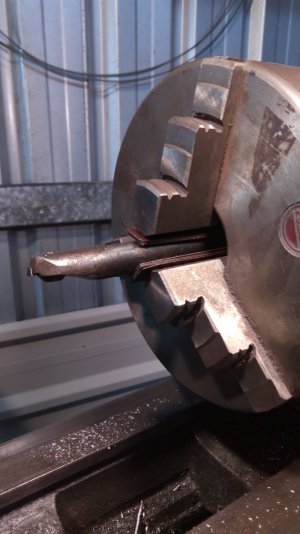
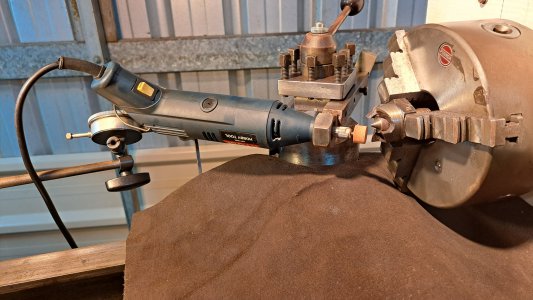
Not perfect, but what is left of any sharp edge is pointing up. If it's going to get you, better to happen on the way in than coming out.
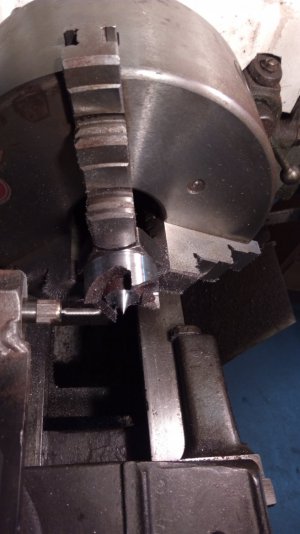
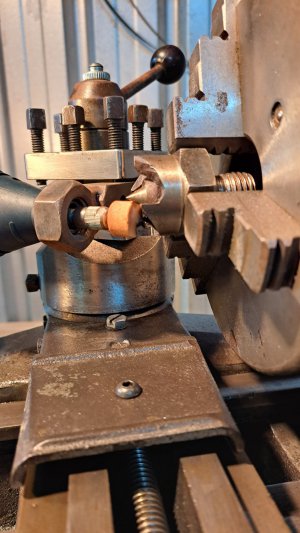
 

Attachments

  • IMG_20210902_104134.jpg
    IMG_20210902_104134.jpg
    2.9 MB · Views: 22
  • IMG_20210902_104157.jpg
    IMG_20210902_104157.jpg
    2.7 MB · Views: 18
  • IMG_20210902_104222.jpg
    IMG_20210902_104222.jpg
    2.8 MB · Views: 17
  • IMG_20210902_104236.jpg
    IMG_20210902_104236.jpg
    3.2 MB · Views: 15
  • IMG_20210902_104408.jpg
    IMG_20210902_104408.jpg
    2.9 MB · Views: 12
  • IMG_20210902_104418.jpg
    IMG_20210902_104418.jpg
    3.1 MB · Views: 9
  • IMG_20210902_105017.jpg
    IMG_20210902_105017.jpg
    3 MB · Views: 10
  • IMG_20210902_105034.jpg
    IMG_20210902_105034.jpg
    2.9 MB · Views: 13
Ferrule for the file handle done.
Make toe clamp. Don't have right sized drill, broken carbide tipped drill as boring bar, bit of shim in the Jacob's Chuck for offset.
Now to drill and tap the top slide of the x/y vise.
 

Attachments

  • IMG_20210902_175923.jpg
    IMG_20210902_175923.jpg
    2.8 MB · Views: 4
  • IMG_20210902_175948.jpg
    IMG_20210902_175948.jpg
    2.6 MB · Views: 5
  • IMG_20210903_181405.jpg
    IMG_20210903_181405.jpg
    3.3 MB · Views: 4
  • IMG_20210903_181439.jpg
    IMG_20210903_181439.jpg
    2.7 MB · Views: 4
  • IMG_20210903_181536.jpg
    IMG_20210903_181536.jpg
    3 MB · Views: 4
  • IMG_20210903_185204.jpg
    IMG_20210903_185204.jpg
    2.6 MB · Views: 4
Set the height and level, square up to chuck face, lock it down.
Sidle one of the existing bolt holes up to a live centre, lock the cross slide and you're good to go.
Centre, drill and tap(by hand), unlock, repeat for second hole.
Done.
 

Attachments

  • IMG_20210903_221007.jpg
    IMG_20210903_221007.jpg
    2.9 MB · Views: 6
  • IMG_20210903_185218.jpg
    IMG_20210903_185218.jpg
    2.5 MB · Views: 7
  • IMG_20210903_213919.jpg
    IMG_20210903_213919.jpg
    2.2 MB · Views: 6
  • IMG_20210903_213943.jpg
    IMG_20210903_213943.jpg
    2.7 MB · Views: 4
  • IMG_20210903_185204.jpg
    IMG_20210903_185204.jpg
    2.6 MB · Views: 4
  • IMG_20210903_211935.jpg
    IMG_20210903_211935.jpg
    2.4 MB · Views: 5
  • IMG_20210903_212004.jpg
    IMG_20210903_212004.jpg
    2.9 MB · Views: 6
  • IMG_20210903_212603.jpg
    IMG_20210903_212603.jpg
    3.2 MB · Views: 6
  • IMG_20210903_213411.jpg
    IMG_20210903_213411.jpg
    3 MB · Views: 6
  • IMG_20210903_220650.jpg
    IMG_20210903_220650.jpg
    3.3 MB · Views: 5
  • IMG_20210903_220704.jpg
    IMG_20210903_220704.jpg
    3.7 MB · Views: 8
Roughly where I want put the vise.
Now to figure out how I'm going to mount it to get as much capacity as possible.
Could be a while on that one, got to finish reassembly, set the slides and screws, maybe some anti backlash mods and sort out the movable jaw/screw connection (it's a proper dog's breakfast on this one).
Then I've still got to fix the brewer's droop on the drill press table.
 

Attachments

  • IMG_20210903_223038.jpg
    IMG_20210903_223038.jpg
    2.8 MB · Views: 12
  • IMG_20210903_223100.jpg
    IMG_20210903_223100.jpg
    2.8 MB · Views: 13
  • IMG_20210903_223120.jpg
    IMG_20210903_223120.jpg
    2.7 MB · Views: 12
  • IMG_20210903_223351.jpg
    IMG_20210903_223351.jpg
    3 MB · Views: 13
Another project I forgot to post before hiatus.
Peak period at work started early last year.
Part of a base for a lazy Susan(more kerbside gold). Had previously attempted drilling with various set-ups, could not get the required rigidity.
Open up with holesaw, shim boring bar in chuck in stages to reach size.
 

Attachments

  • IMG_20210909_204254.jpg
    IMG_20210909_204254.jpg
    401.9 KB · Views: 10
  • IMG_20210909_204220.jpg
    IMG_20210909_204220.jpg
    217.4 KB · Views: 10
  • IMG_20210909_204149.jpg
    IMG_20210909_204149.jpg
    156.1 KB · Views: 9
  • IMG_20210907_103326.jpg
    IMG_20210907_103326.jpg
    109.5 KB · Views: 9
  • IMG_20210907_103306.jpg
    IMG_20210907_103306.jpg
    164.9 KB · Views: 9
  • IMG_20210907_102653.jpg
    IMG_20210907_102653.jpg
    113.6 KB · Views: 9
  • IMG_20210907_102613.jpg
    IMG_20210907_102613.jpg
    106.6 KB · Views: 8
  • IMG_20210907_101937.jpg
    IMG_20210907_101937.jpg
    306.4 KB · Views: 9
  • IMG_20210907_101913.jpg
    IMG_20210907_101913.jpg
    365.5 KB · Views: 10
  • IMG_20210907_101855.jpg
    IMG_20210907_101855.jpg
    126.7 KB · Views: 11
  • IMG_20210907_101838.jpg
    IMG_20210907_101838.jpg
    395.5 KB · Views: 11
  • IMG_20210907_101825.jpg
    IMG_20210907_101825.jpg
    389.2 KB · Views: 12
Here is where I came to a sudden stop right before the aforementioned hiatus kicked in.
Dressing a wood turning drive dog, got the front faces of the teeth done and faced the length.
Now have to clean up backside of the teeth.
Unplug, drive leadscrew by hand, closest change gear set-up I could get was 11.96(turns on screw):1(turn on spindle).
Need 12:1.
No compound means no easy in place adjustments.
But I bin workin' on it.
Now hafta do a bit of ninjitsu on a lawnmower, so need the lathe back.
 

Attachments

  • IMG_20210925_143805.jpg
    IMG_20210925_143805.jpg
    137.3 KB · Views: 11
  • IMG_20210925_143727.jpg
    IMG_20210925_143727.jpg
    163.3 KB · Views: 12
  • IMG_20210925_143710.jpg
    IMG_20210925_143710.jpg
    139.6 KB · Views: 13
  • IMG_20210925_143655.jpg
    IMG_20210925_143655.jpg
    173.2 KB · Views: 12
  • IMG_20210925_115617.jpg
    IMG_20210925_115617.jpg
    147.4 KB · Views: 12
  • IMG_20210925_115602.jpg
    IMG_20210925_115602.jpg
    154.1 KB · Views: 11
A spot of bother controlling backlash, arms not long enough and jury rigged counterweight on chuck didn't work as theorised.
All in all, a little too iffy even for me.
Change of tack.
 

Attachments

  • 20220805_091726.jpg
    20220805_091726.jpg
    778.2 KB · Views: 11
  • 20220805_091811.jpg
    20220805_091811.jpg
    787.7 KB · Views: 11
  • 20220805_091827.jpg
    20220805_091827.jpg
    756.9 KB · Views: 11
Turn the tool holder over, suitable diameter stone and a bit of graffiti to assist keeping track with indexing.
 

Attachments

  • 20220820_130107.jpg
    20220820_130107.jpg
    236.6 KB · Views: 8
  • 20220820_125957.jpg
    20220820_125957.jpg
    540.4 KB · Views: 8
  • 20220820_125945.jpg
    20220820_125945.jpg
    692.4 KB · Views: 9
  • 20220820_125925.jpg
    20220820_125925.jpg
    652.6 KB · Views: 9
  • 20220820_110947.jpg
    20220820_110947.jpg
    208.7 KB · Views: 9
  • 20220820_110918.jpg
    20220820_110918.jpg
    217.8 KB · Views: 8
Control grinding dust- this should do the trick.
 

Attachments

  • 20220820_154045.jpg
    20220820_154045.jpg
    579 KB · Views: 12
  • 20220820_154029.jpg
    20220820_154029.jpg
    536.7 KB · Views: 10
  • 20220820_154011.jpg
    20220820_154011.jpg
    251.4 KB · Views: 13
  • 20220820_152830.jpg
    20220820_152830.jpg
    214.4 KB · Views: 10
  • 20220820_152747.jpg
    20220820_152747.jpg
    652.3 KB · Views: 15
  • 20220820_130748.jpg
    20220820_130748.jpg
    528.3 KB · Views: 14
  • 20220820_130248.jpg
    20220820_130248.jpg
    436.2 KB · Views: 14
  • 20220820_130240.jpg
    20220820_130240.jpg
    605 KB · Views: 14
  • 20220820_154101.jpg
    20220820_154101.jpg
    156.7 KB · Views: 14
Dunno what happened in the last two post's, all pic's bar the last in the last are reverse order.
 
Back
Top