-
Welcome back Guest! Did you know you can mentor other members here at H-M? If not, please check out our Relaunch of Hobby Machinist Mentoring Program!
You are using an out of date browser. It may not display this or other websites correctly.
You should upgrade or use an alternative browser.
You should upgrade or use an alternative browser.
"Titan 60" engine build
- Thread starter magu
- Start date
- Joined
- Sep 24, 2013
- Messages
- 397
Please be careful with B-12. It's vapor is heavier than air and seems to be deadly to small rodents. It is also awesome solvent for stains/dychem.
- Joined
- Jun 6, 2014
- Messages
- 183
Very cool!
How does the backplate thread to the body? Looks like 4 bulges in the casting for future screws?
Thanks! Yup, 4 itty bitty countersunk screws. I have been going back and forth on whether I should clamp the parts together and drill/countersink them then thread the body and clearance drill the backing plate, or if I should drill them separately. I'm leaning towards the former.
Please be careful with B-12. It's vapor is heavier than air and seems to be deadly to small rodents. It is also awesome solvent for stains/dychem.
Thanks for the B12 warning, especially with a little one around (the dog is smart enough to generally avoid killing himself, but how the human race has endured I will never understand...) That does also sound like a feature in some circumstances though.
- Joined
- Jun 6, 2014
- Messages
- 183
Progress has been made!!!
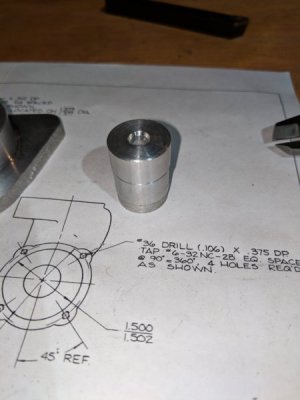
My next step was to bore the crankcase for the yet to be made cylinder sleeve. In order to do this I needed to be able to locate the CL of the crank so I made this bushing and pressed it into the end of the crank journal:
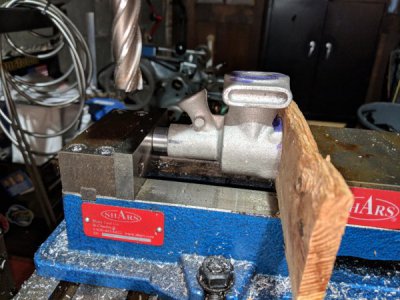
Then it was time to do some milling well... boring.... but it wasn't boring, it was very cathartic.
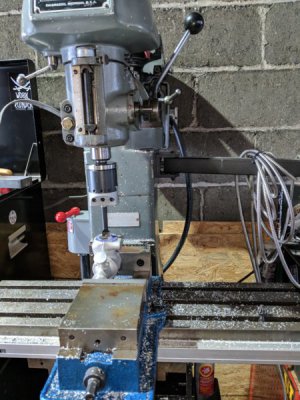
Until this happened... I was cruising along fine and I must have adjusted my boring head to be a little too unbalanced for my given speed. I began cutting and it suddenly began going down hill very quickly. I don't know if I just hit a harmonic node and could have pushed past it, or If I was just going to be unstable from there out, but I backed off the RPM and everything quieted down. Fortunately this was while I was still hogging material out, so no harm done.
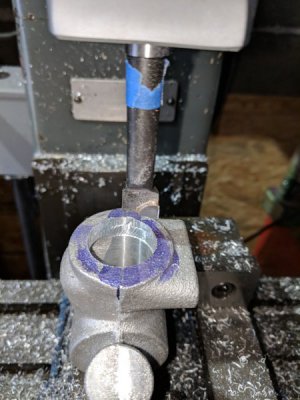
Once the bore was finished, I used the boring head as a single point tool to deck the head. I doubt this is recommended, but it actually worked very well. THe camera makes things look atrocious, but it is an RMS 63 finish or better.
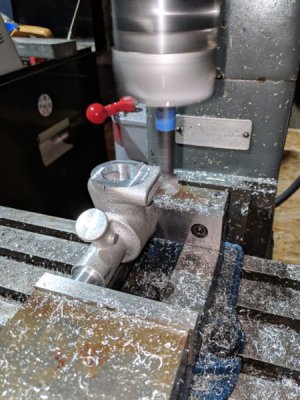
Next, I drilled and tapped the three holes which will secure the cylinder body and head. This was my first time doing anything meaningful with a DRO, and I must say that they are amazing. Anything a DRO can do can be done by hand, but it just made life so much nicer.... I also milled the exhaust port to "length". No direct pictures of these steps, but here is the final product:
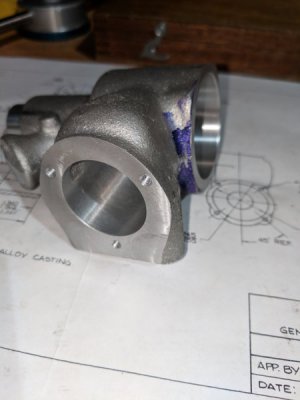
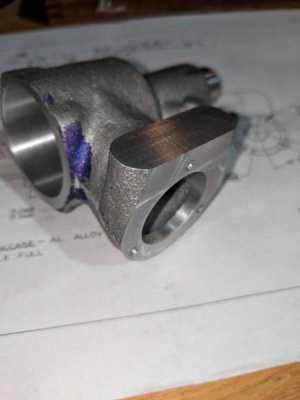
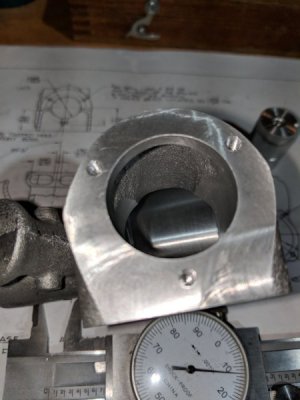
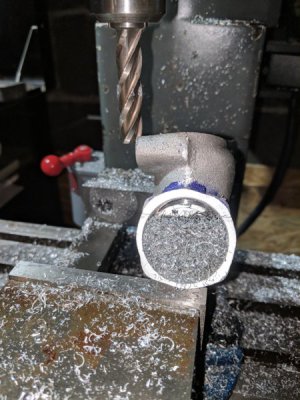
One thing I didn't consider in my setup and probably should have was chip clearing. It didn't end up being a problem, but I was running out of room:
My next step was to bore the crankcase for the yet to be made cylinder sleeve. In order to do this I needed to be able to locate the CL of the crank so I made this bushing and pressed it into the end of the crank journal:


Then it was time to do some milling

Until this happened... I was cruising along fine and I must have adjusted my boring head to be a little too unbalanced for my given speed. I began cutting and it suddenly began going down hill very quickly. I don't know if I just hit a harmonic node and could have pushed past it, or If I was just going to be unstable from there out, but I backed off the RPM and everything quieted down. Fortunately this was while I was still hogging material out, so no harm done.

Once the bore was finished, I used the boring head as a single point tool to deck the head. I doubt this is recommended, but it actually worked very well. THe camera makes things look atrocious, but it is an RMS 63 finish or better.

Next, I drilled and tapped the three holes which will secure the cylinder body and head. This was my first time doing anything meaningful with a DRO, and I must say that they are amazing. Anything a DRO can do can be done by hand, but it just made life so much nicer.... I also milled the exhaust port to "length". No direct pictures of these steps, but here is the final product:


One thing I didn't consider in my setup and probably should have was chip clearing. It didn't end up being a problem, but I was running out of room:

- Joined
- Mar 8, 2015
- Messages
- 307
Looks good. I fly rc model airplanes and have dealt with glow fuel engines for over 20 years. I am looking forward to seeing how it turns out. Enjoy your son. Trust me the time will fly by.
Chris
Chris

