Tramming My RF-30

I know I said I was going to re-check the Tram and post some pic's of the setup (2) weeks ago but the CEO (Cheif Enterainment Officer) - IE: Wife had a few other plans.

I got back down in the shop yesterday and here are the results:
The TRAM is still excellent, altjhough it does seem the aluminium shims did compress slightly, about .0005.

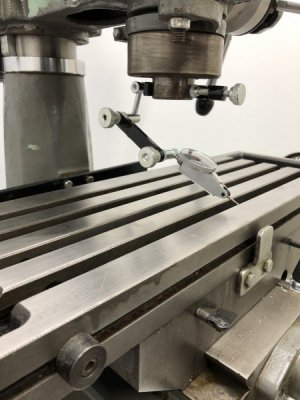
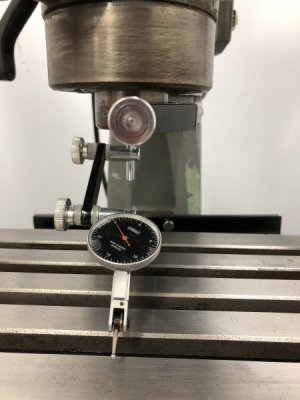
Here are (2) angles of the Setup for the indicator (Note: before I zeroed it).

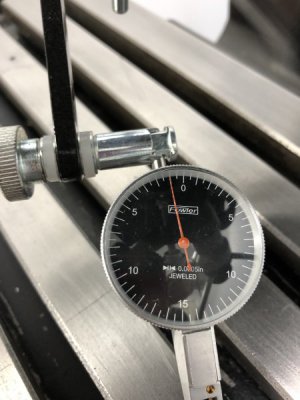
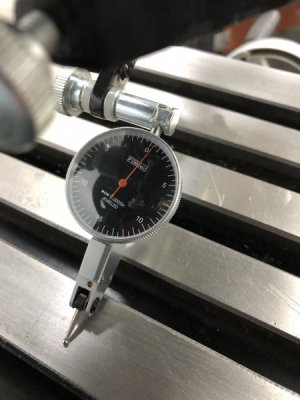
And the greatest Minus and Greatest Plus varations.

Overall I'm Happy.
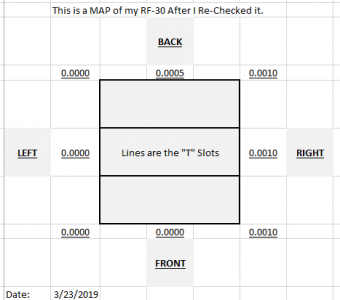
1553453335827.png

IMG_3157.JPG

IMG_3158.JPG

IMG_3160.JPG

IMG_3161.JPG
 
That's pretty good. You can try to offset the 0.001" by shimming your vise when you install it.
 
It's a Mill Drill.
I'm not sure it's worth that much troulbe chasing .001 with the vise.
The one thing I want to go back and look at is what does the TRAM look like if I entend the quill?

I'm thinking I'll check it at about 3/4 of it's max extension and see.
 
When you do, make sure you lock the quill so it isn't flopping around. If the quill bore is decent and the quill is also in good shape then tram should not change.

Oh, if you don't think chasing a thou is worth the effort, wait until you fly cut something.
 
I do lock the quill when checking the tram.

I'll give a peice of scrap a fly cut and see.
I have a lot to learn so I'll start with that.
 
I do lock the quill when checking the tram.

I'll give a piece of scrap a fly cut and see.
I have a lot to learn so I'll start with that.
Good news and bad news.
The good news is no one ever learned all there is about machining; busy enough learning what's been done before.
The other good news, if you become displeased, you might not be trying hard enough, which is the only bad news.
I started this in 1966. I study, learn, create, retain and investigate every single day.
Those who know me, all realize this is what I like most. Anything else I enjoy, is when I've figured out how to connect them.
Sometime, I'll recount why this is not really a hobby.
 
Back
Top