-
Welcome back Guest! Did you know you can mentor other members here at H-M? If not, please check out our Relaunch of Hobby Machinist Mentoring Program!
You are using an out of date browser. It may not display this or other websites correctly.
You should upgrade or use an alternative browser.
You should upgrade or use an alternative browser.
What job did you do today in your shop?
- Thread starter HMF
- Start date
- Joined
- Apr 1, 2013
- Messages
- 1,142
Made my first lathe tool from a blake of HSS. it cut like a charm. it is for small convex on brass (that might be why it cut so good brass is soft) some thing like on modle canons. this was a test I also want to make a small grover and a convex for the end of screws. I did a thumbscrew for the seat mount on a friends bike and now three people have asked me to make them one.
Today I took a perfectly good 5/16"-24 tap to the grinder and put a relief in it to help me clean out the table gib screw hole. I tapped, oiled, dug around in and finally got that hole cleaned out. I also cleaned the crap out of my bport table, literally. Yuck. I oiled it well to soak for another cleaning tomorrow. I determined how shy the table gib is and shimmed it. Hope tomorrow to put the leadscrew and table ends back in it (more cleaning on table ends too). I'll put the head stuff back on the ram and do some indicating against the table if I'm really lucky.
- Joined
- Oct 13, 2012
- Messages
- 175
New probes for my CNC mill
Today I finished one project and started another. Both are probes for my CNC'd Sieg X3 mill.
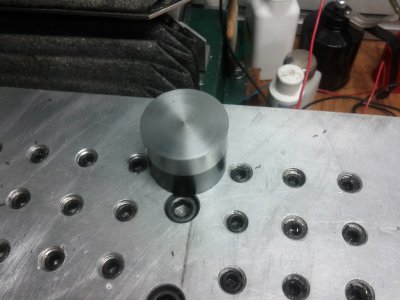
I finished my Tormach TTS compatible spindle probe for centering table mounted tools on the spindle. This was my first lathe project. I'm very happy with how it turned out. The center is a 3/4" copper plumbing cap, which was my first attempt at boring. I got a tight fit on it.
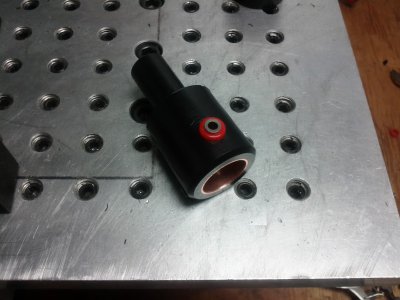
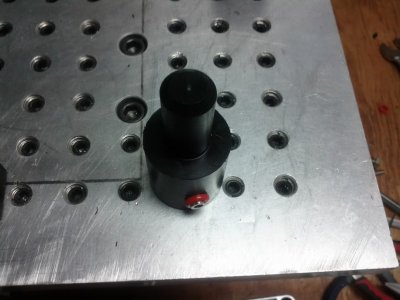
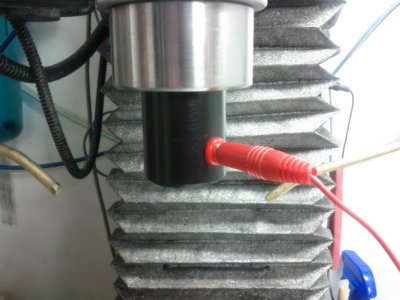
The second project is my fixed touch probe for use with MachStdMill to touching off tools after a tool change request and to determine the tool length on the fly. I still need to drill two more 1/4" x 20 holes for mounting the plate to the Delrin base. The plate is made out of drill rod, which was a challenge to part. My G4000 would start walking down the ways as I attempted to part the piece. I need to add a carriage lock to keep it from moving. I eventually gave up and parted the piece on my band saw and faced it.
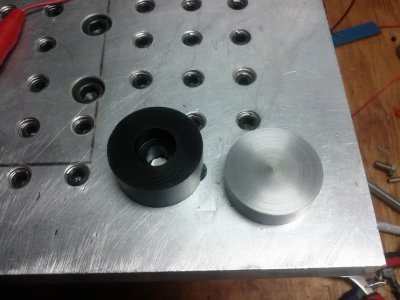
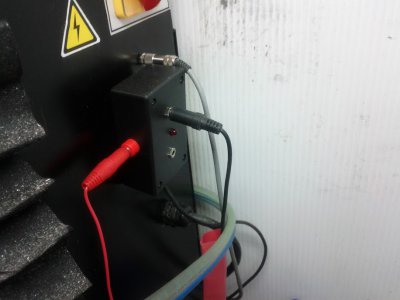
Both probes connect to my Sieg X3 using an interface that I built that handles both my 3D probe (active high) and these two new probes (both active low). I'm using Calypso Ventures' MachStdMill screen set which has some very nice tool management and work probing tools.
-Freeman


Today I finished one project and started another. Both are probes for my CNC'd Sieg X3 mill.
I finished my Tormach TTS compatible spindle probe for centering table mounted tools on the spindle. This was my first lathe project. I'm very happy with how it turned out. The center is a 3/4" copper plumbing cap, which was my first attempt at boring. I got a tight fit on it.


The second project is my fixed touch probe for use with MachStdMill to touching off tools after a tool change request and to determine the tool length on the fly. I still need to drill two more 1/4" x 20 holes for mounting the plate to the Delrin base. The plate is made out of drill rod, which was a challenge to part. My G4000 would start walking down the ways as I attempted to part the piece. I need to add a carriage lock to keep it from moving. I eventually gave up and parted the piece on my band saw and faced it.


Both probes connect to my Sieg X3 using an interface that I built that handles both my 3D probe (active high) and these two new probes (both active low). I'm using Calypso Ventures' MachStdMill screen set which has some very nice tool management and work probing tools.

-Freeman


- Joined
- Sep 19, 2012
- Messages
- 3,063
After dinner I went out to the shop to find out why the powerfeed on the Millrite I purchased 2 months ago wasent working. I did some reserch on the world wide web and found that a common problem is the nylon gear in the bottom sheering. After checking that out and finding all is well, I started to dissasemble the mess the owner previous of ar1911 rigged up.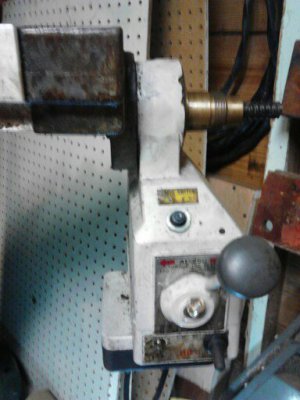
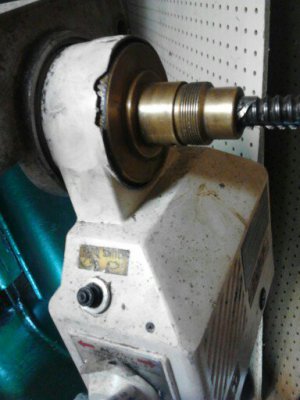
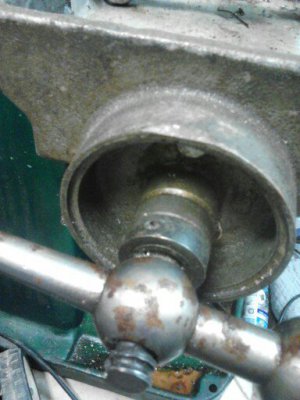
The person who installed the P-F used too many shims on the bevel gear, wich would not let the gears mesh. Easy fix remove shims, and reshim.
The next order of bisness was to mount the readout wheel.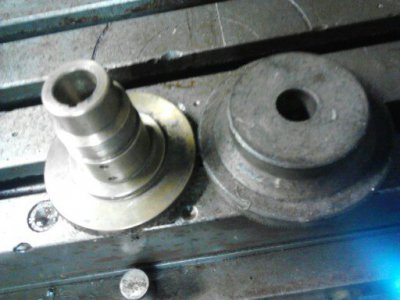 A trip to the lathe and all was well(a little sloppy though:whistle
I then reassembled it all with a handle, and viola!!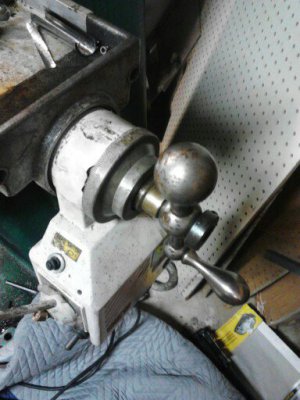


The person who installed the P-F used too many shims on the bevel gear, wich would not let the gears mesh. Easy fix remove shims, and reshim.
The next order of bisness was to mount the readout wheel.
 A trip to the lathe and all was well(a little sloppy though:whistle
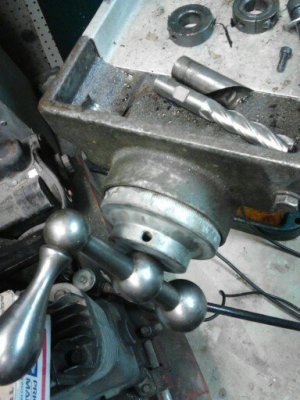
I then reassembled it all with a handle, and viola!!


Unfortunately i did nothing in the shop today. My entire shop is in a POD headed from NC to Colorado. The move will be great fulfilling a lifelong dream. Retirement is not good ---- IT IS AWESOME.
Apparently PODS can handle quite a heavy load. Thank goodness.
I moved the machinery as well as plenty of various metals to work with when i get the new shop operational.
It will be great to set it up from scratch. The old shop grew haphazardly.
Apparently PODS can handle quite a heavy load. Thank goodness.
I moved the machinery as well as plenty of various metals to work with when i get the new shop operational.
It will be great to set it up from scratch. The old shop grew haphazardly.
I'll bet that thing was fun to wrestle into the bed of the truck...I manged to find a chunk of steel, 20" wide by 8' long one inch thick that should work to make the brake for my press out of.
- Joined
- Jun 25, 2013
- Messages
- 165
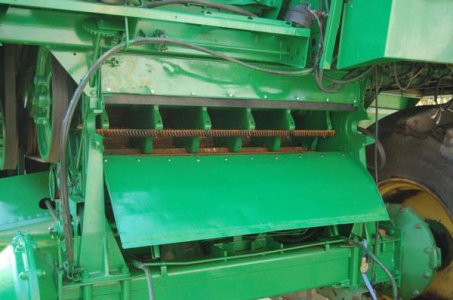
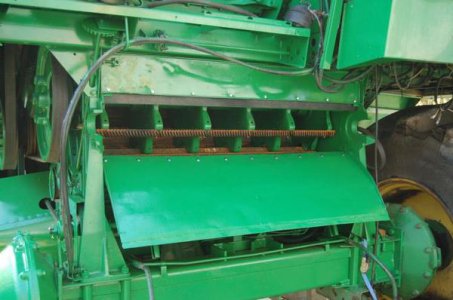
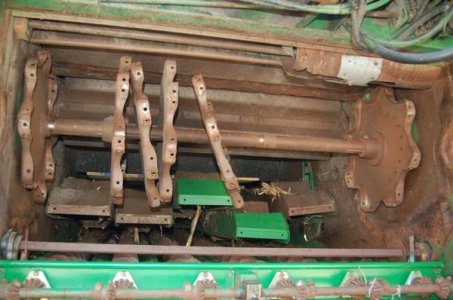
I started getting the feeder house ready to put back on the combine tomorrow.
I decided to paint some parts that would be hard to get at later but my rattle can went dry.
The job wasn't worth the time to clean up the touch-up gun so I broke out the used Paasche Model H airbush I bought a month ago to save on rattle cans.
I put in the #5 nozzle and tip and decided to try the paint without thinning it.
It sprayed real nice, covered better and didn't run like the thinned out paint in rattle cans.
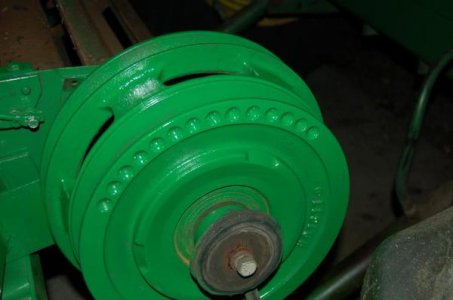
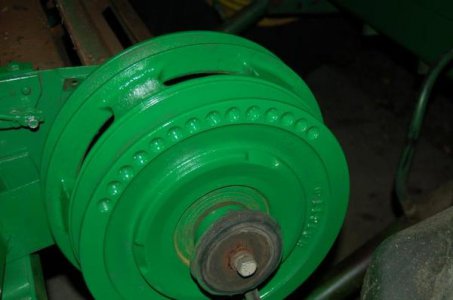
I really loved the low amount of over-spray so I decided to paint the clutch.
I didn't do a knockout job but it came out pretty good.
In the morning the feeder house will go back where it belongs.
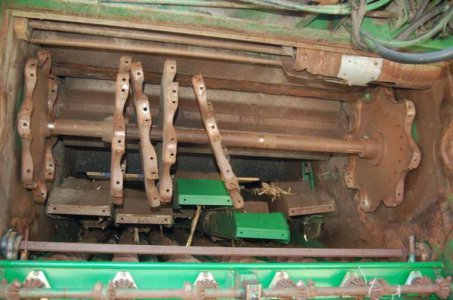
This is what it looked like a month ago.
I decided to paint some parts that would be hard to get at later but my rattle can went dry.
The job wasn't worth the time to clean up the touch-up gun so I broke out the used Paasche Model H airbush I bought a month ago to save on rattle cans.
I put in the #5 nozzle and tip and decided to try the paint without thinning it.
It sprayed real nice, covered better and didn't run like the thinned out paint in rattle cans.
I really loved the low amount of over-spray so I decided to paint the clutch.
I didn't do a knockout job but it came out pretty good.

In the morning the feeder house will go back where it belongs.

This is what it looked like a month ago.


