WTK Does any one make or sell spider for Pm1340 GT

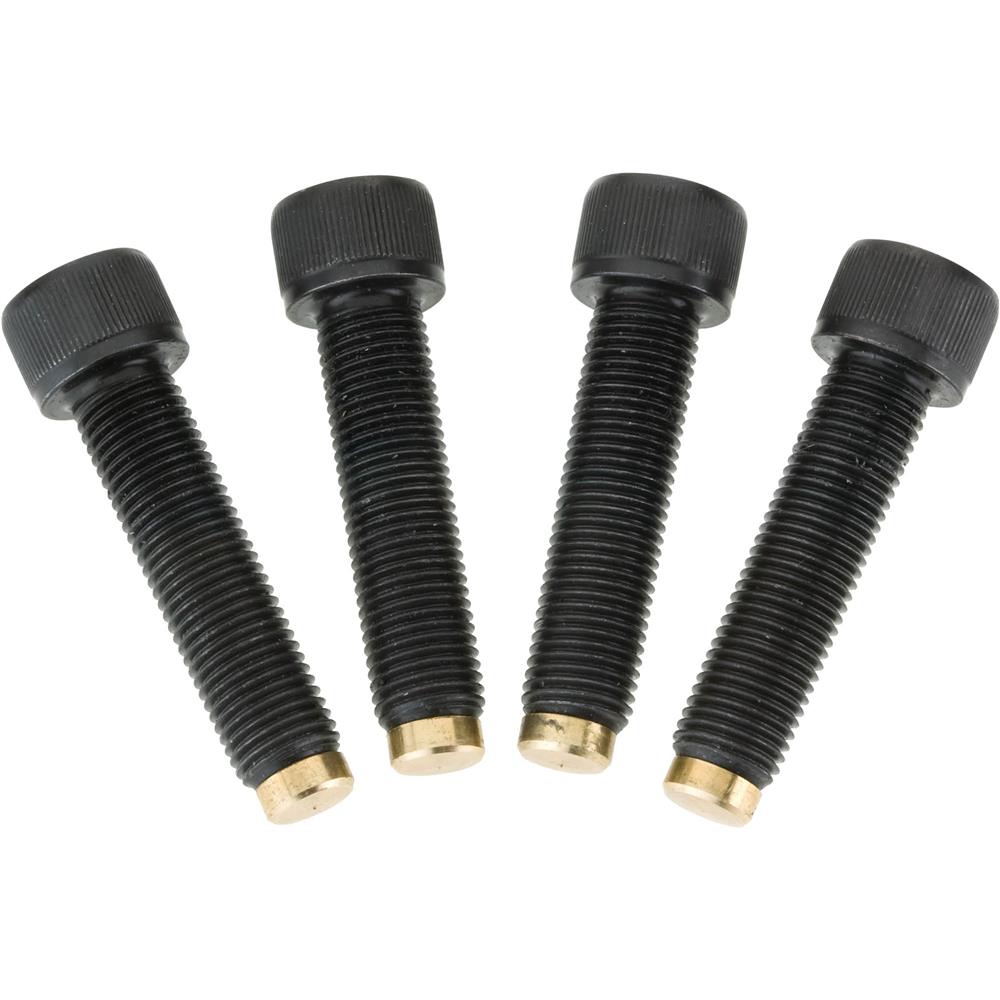
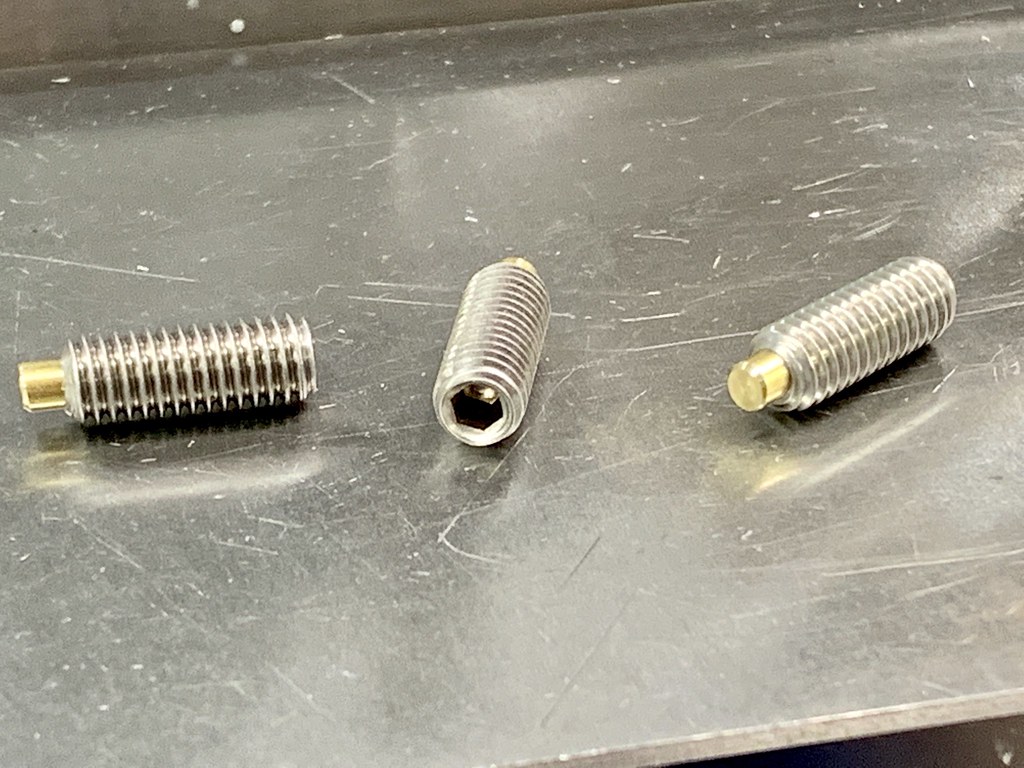
By the way, where does everyone purchase those brass tipped socket head screws that go into the spider?

As said you can make them yourself but Mcmaster sells them. I only buy them for really small sizes. You don't need to use brass tipped screws. I use flat tipped set screws on my outboard spider.

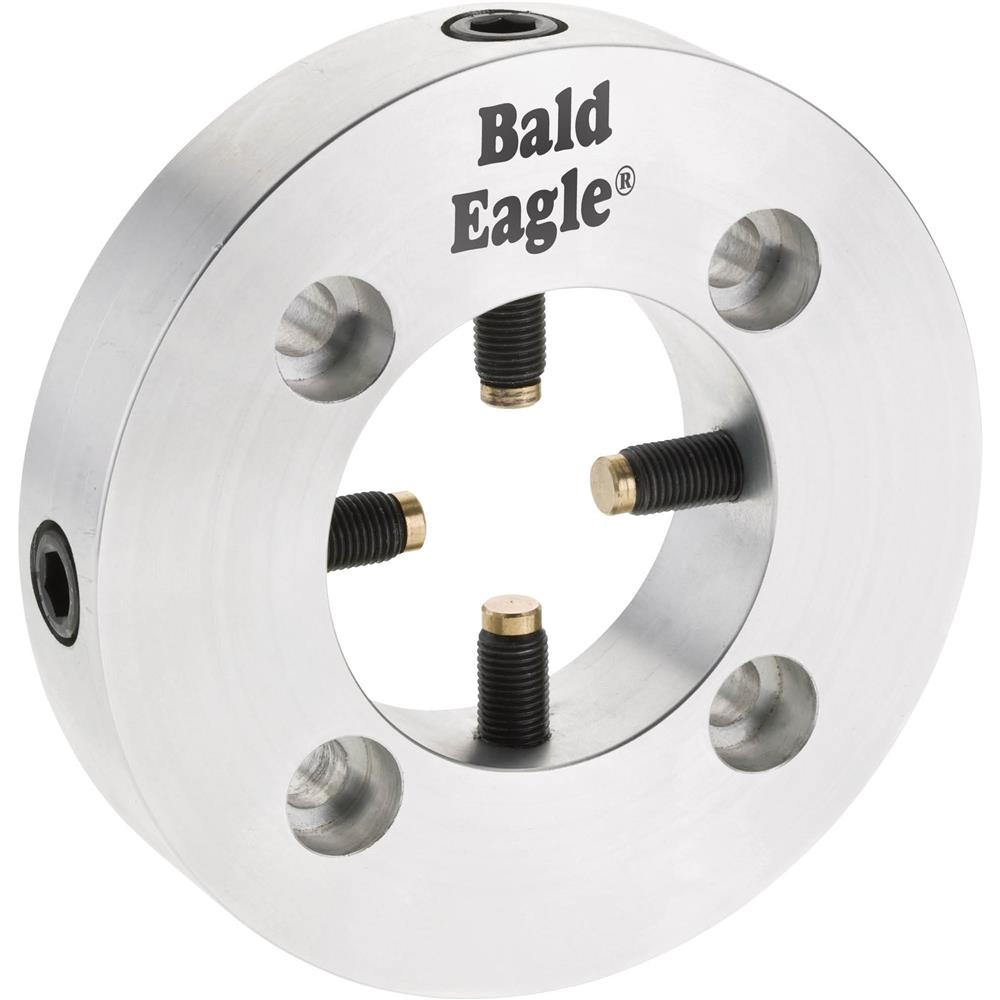
Also as said you don't need a dividing head to make the 4 holes. Although I used a super spacer to make mine there are plenty of other ways to do it without an indexer. There are creative ways to do it like using a V block, protractor, collet block, a plain ol square, indicator, or even just eye ball it.
 
David, that last is what I was referring to. A "chuck stop" indeed... The size looks fine, but there's no centering hole for doing inside work. I use a Craftsman 12" with a UniMat (almost) 3" chuck for a lot of small work. It works well enough EXCEPT I have to do any inside work first and then make a mandrel to get decent concentricity. Not very precise but it works for most of my model building. Thank you for the pointer and the proper name. I may get a set for the 4" chuck just to have on hand.
 
Here is source for 3/8 x 24 brass tipped socket heads.

Shop Tools and Machinery at Grizzly.com
 
Easy button for a spider ready to bolt to a back plate or faceplate, it includes the brass tipped socket heads.

Shop Tools and Machinery at Grizzly.com


Here is the one on my 1024

20171106_215542.jpg
 
Aww, come on - make your own:

[/QUOTE]
 
Yes, I’m absolutely talking about an outboard spider to stick in the spindle. I was just trying to figure out how to make the 4 bolts that go into the spider to be uniformly spaced without using a dividing head. I’m supposing a flexible ruler would also work .

Here's one way to do it without a dividing head. I'm sure there are others. Put your round stock in a vise clamped with a V-block. Edge-find both sides and position the spindle over the center of the part. Drill through the part. Insert dowel rod/pin that's the same diameter as (or smaller than) the hole you just drilled into the part, and use the extension of the rod/pins to rest on top of the vise jaws (or parallels) when clamping a second time. Your part is now 90-degrees orthogonal to it's original clamped position. Find center again and drill there. Presto ! Two cross drilled holes perpendicular to each other intersecting on the center line of the part. Thread the holes subsequent to each drilling op, or later as you wish.

294852
 
Back
Top