

- Joined
- Jan 20, 2016
- Messages
- 602
With my other project stalled for a moment, I decided to start on a new one. I was using an inexpensive ring light glued to the lower bearing cover, but it was a bit finicky for a while and I don't think it would survive flood coolant. I also put angular contact bearings on the spindle that were not sealed, and my previous attempt to keep them clean didn't go so well. They got contaminated pretty quickly.
The new light will replace the lower bearing seal and will have a much tighter fit with the spindle. There will be about .006" clearance between the center hole of the seal and the spindle. I ordered 30 cheap LEDs from ebay to use for enclosure lights as well as the spindle light. It will use a 12V power supply with a resistor wired in series to drive it.
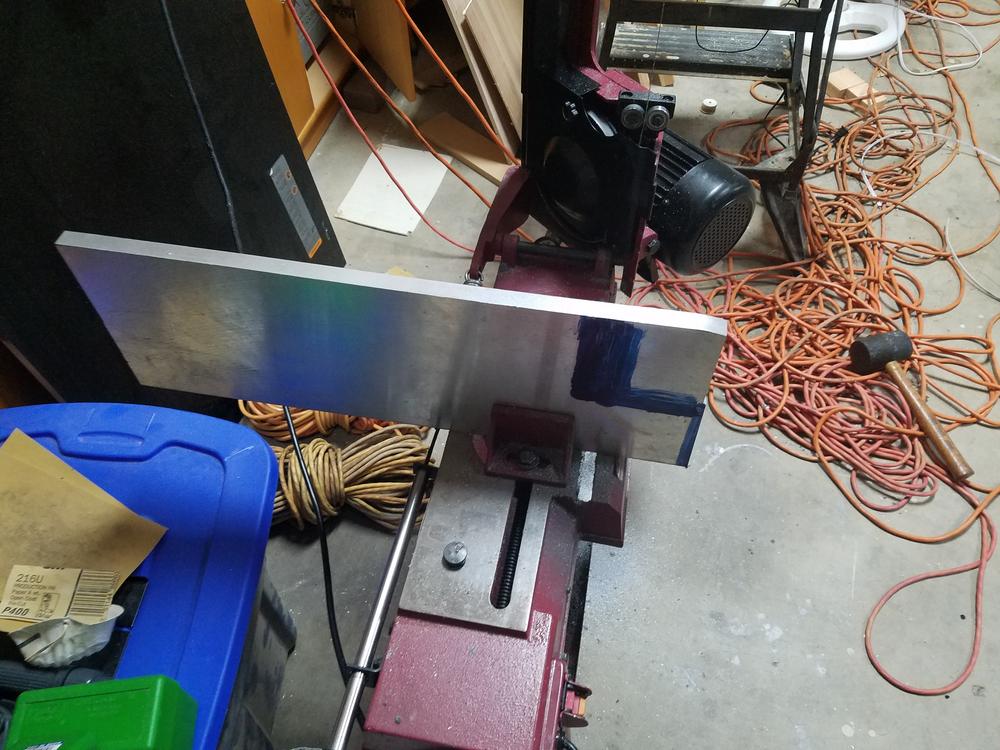
I started by cutting off a piece of stock in the band saw. I am using a piece roughly 3.75" square and .75" thick of what I am pretty sure is MIC-6 Aluminum.
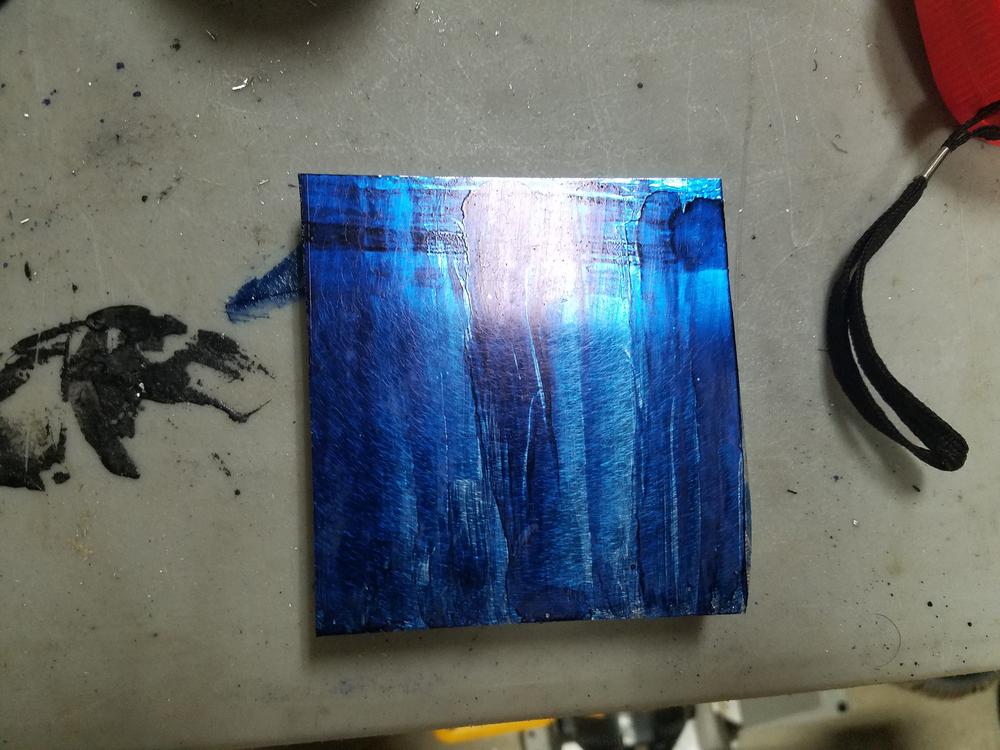
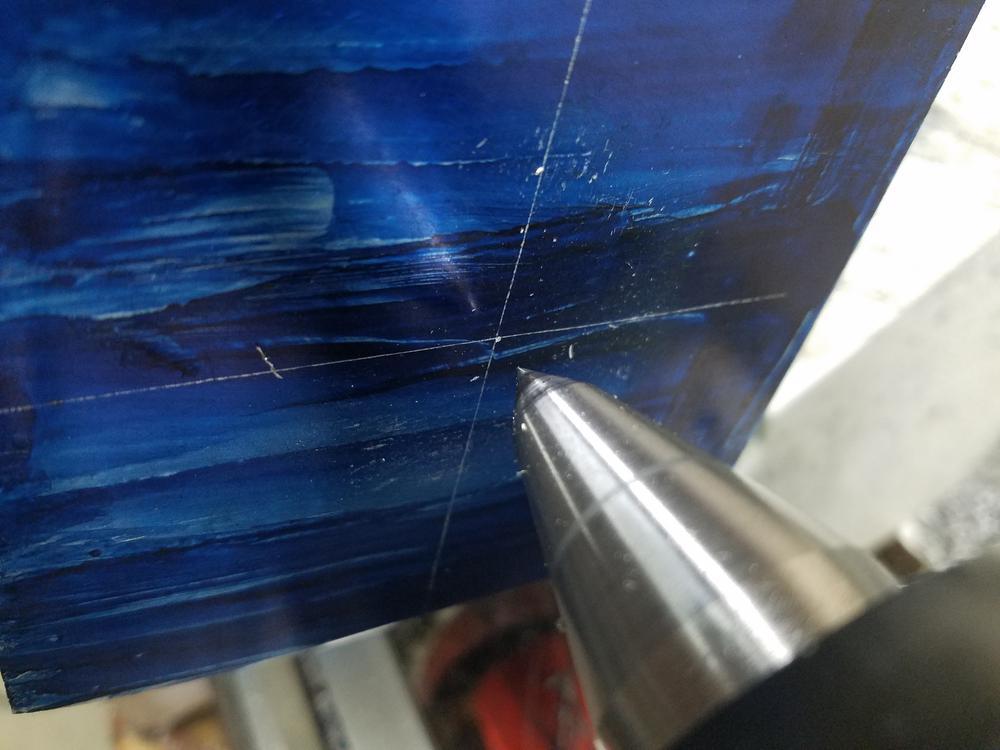
I think measured the block and marked the center with layout dye.
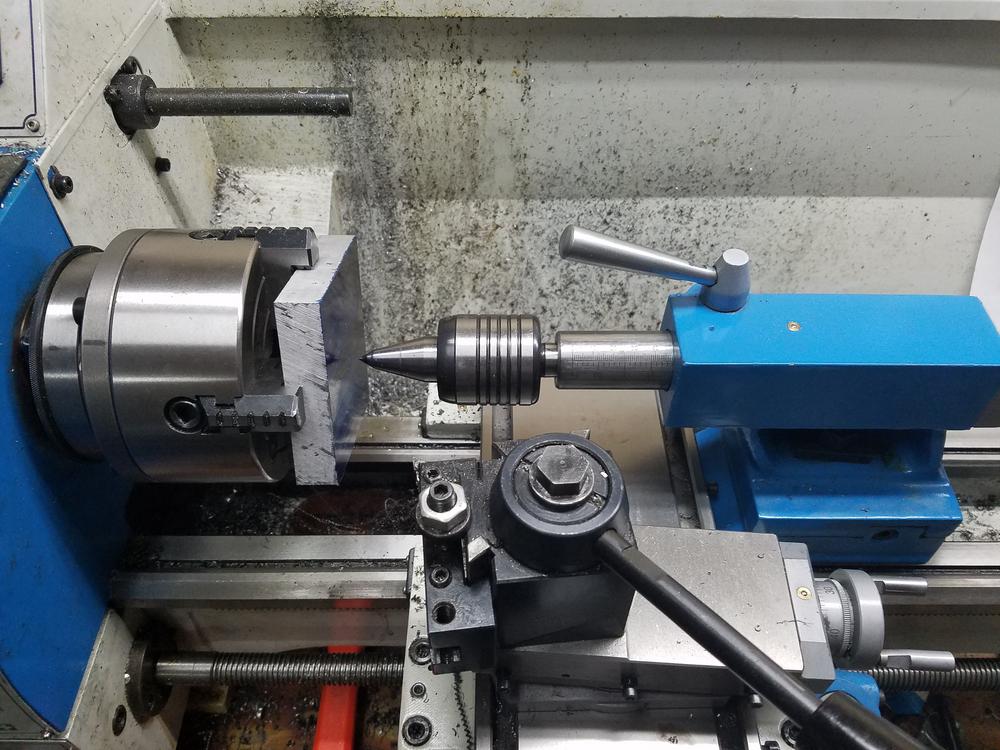
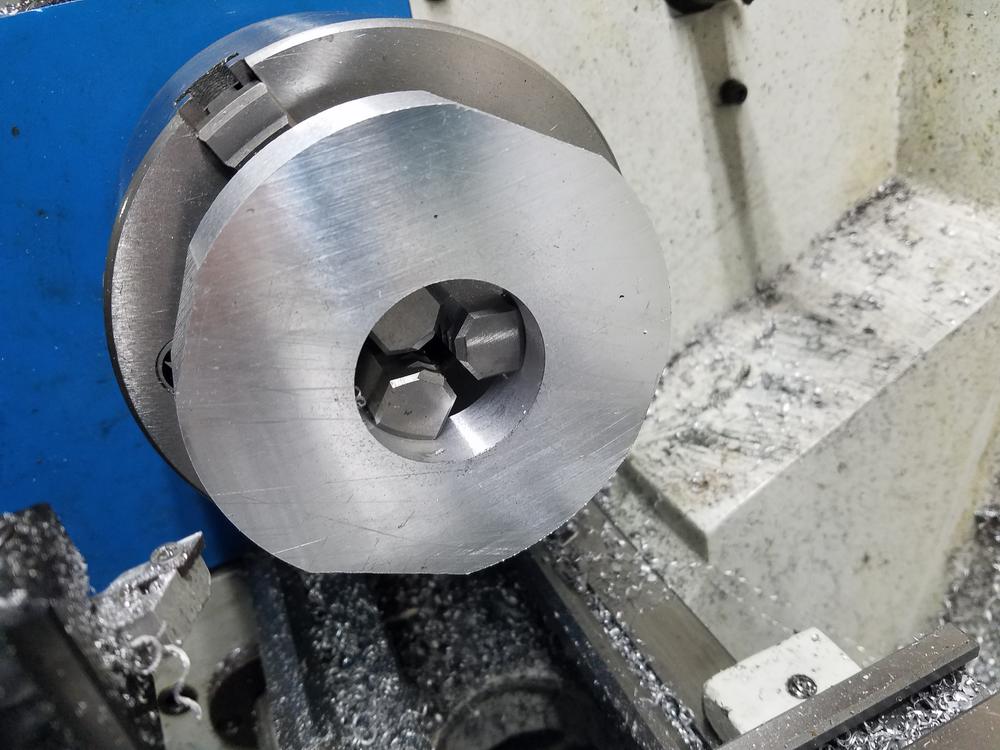
Next I chucked it up in the 4 jaw and centered it.
Close enough for government work.
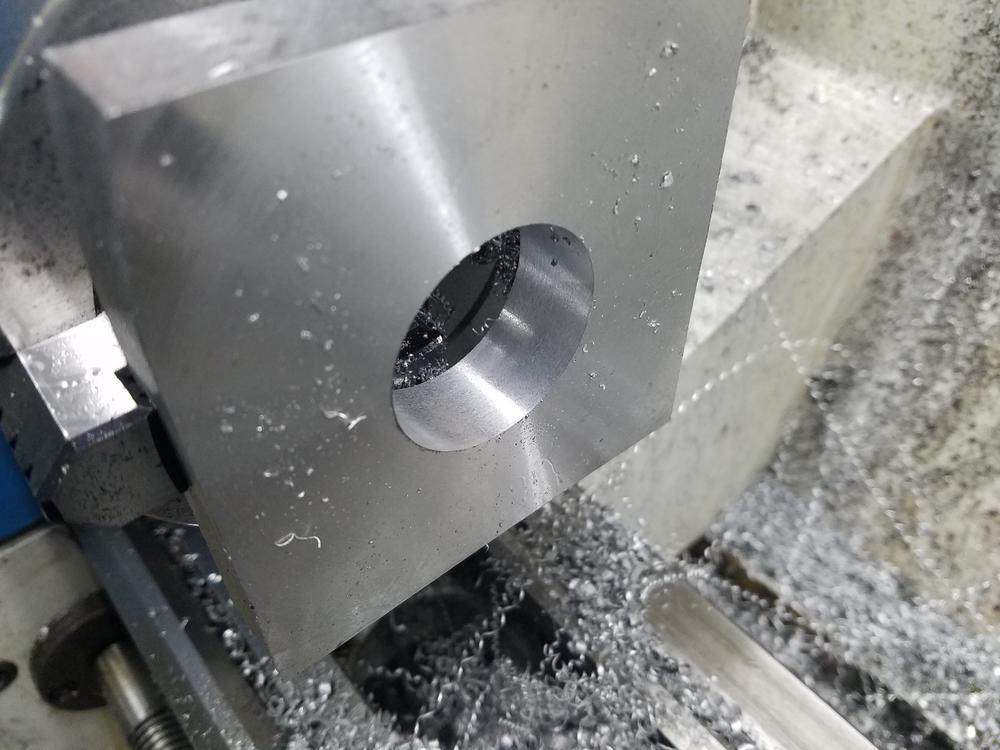
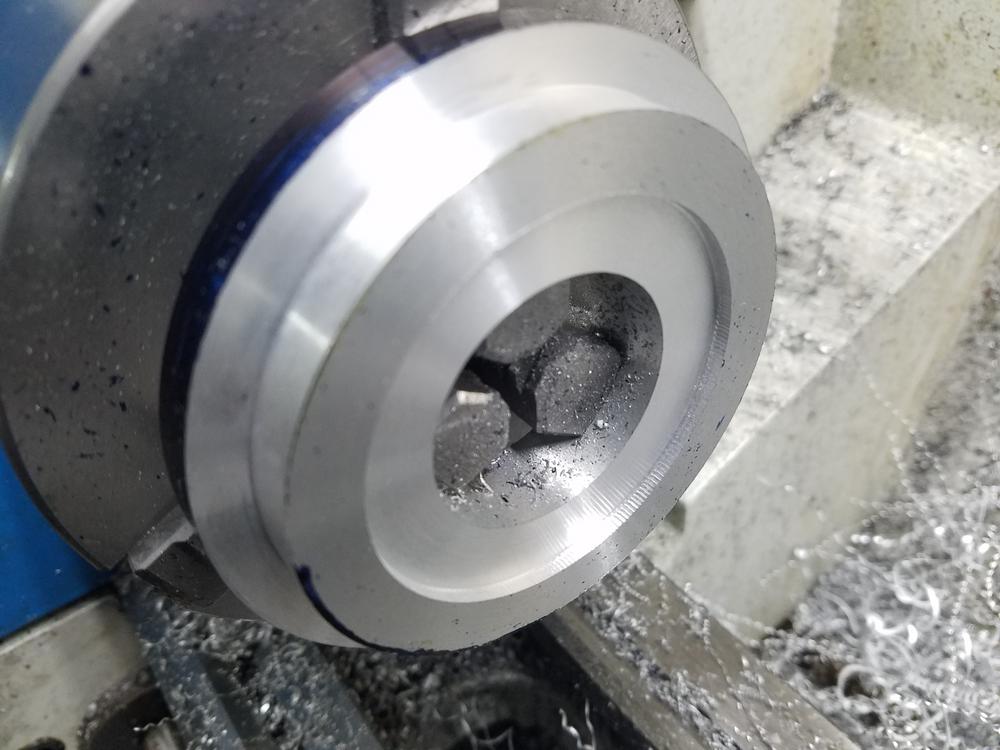
Then it was faced flat.

Bored.
I then switched over to the 3 jaw and held it on the inside hole. I also flipped it around and tapped the squared edge against the jaws.
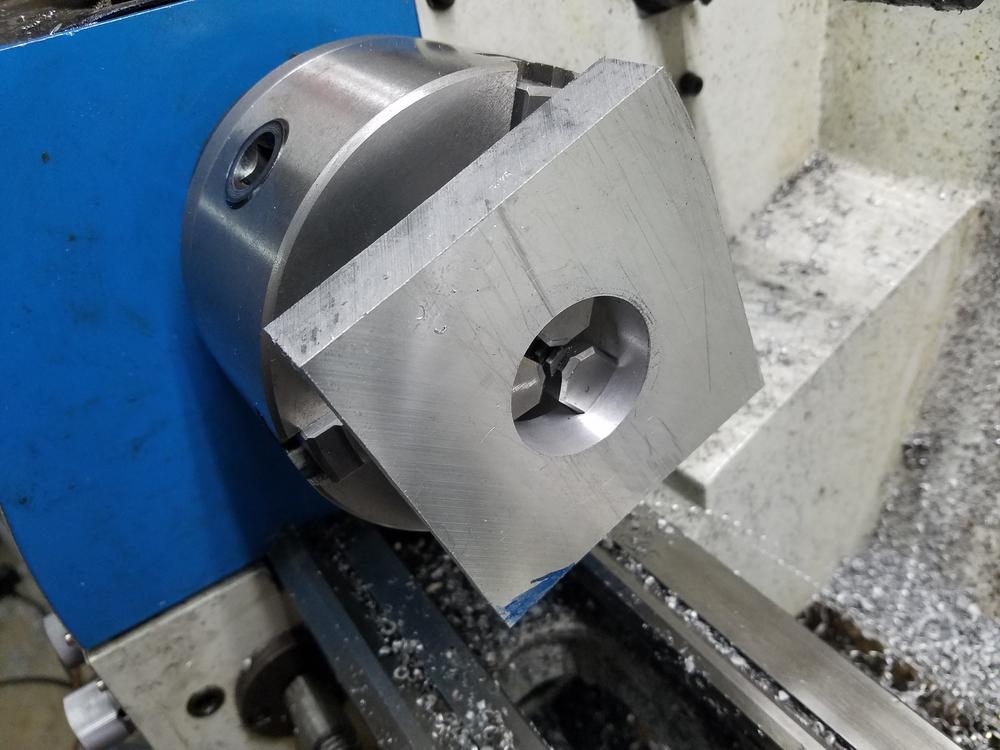
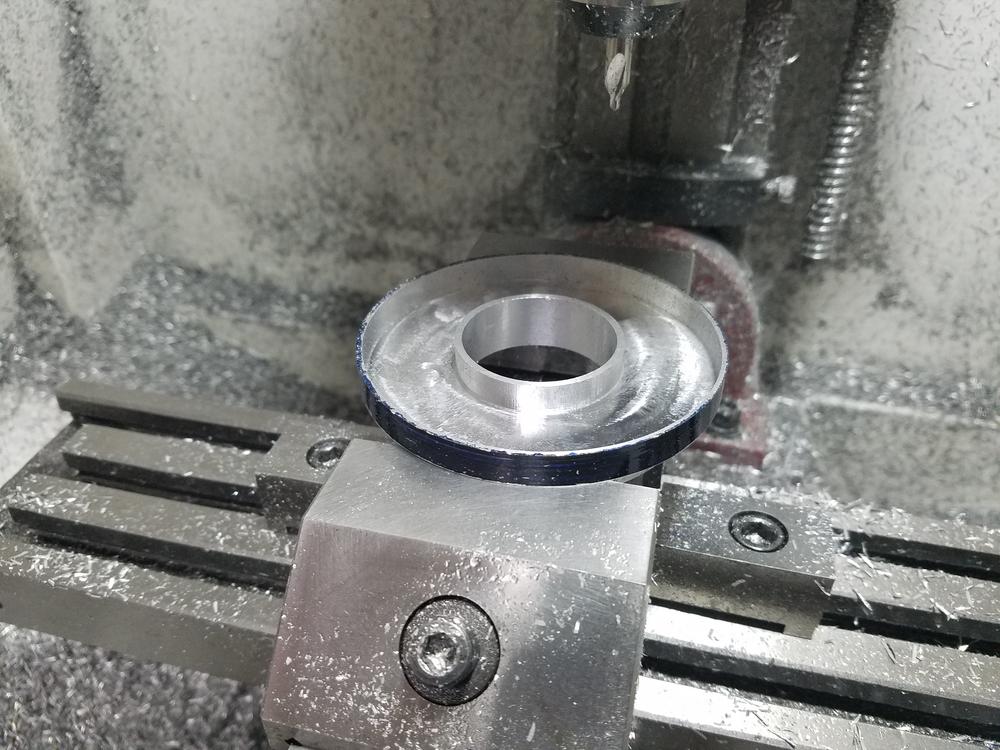
Then it was slowly turned into a circle.
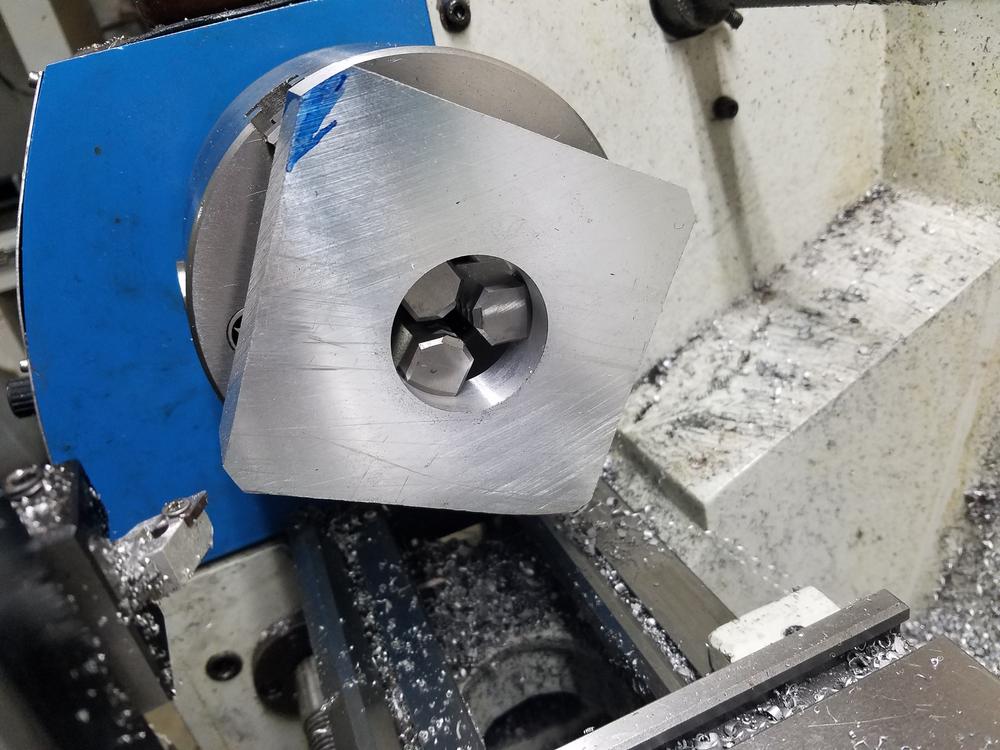
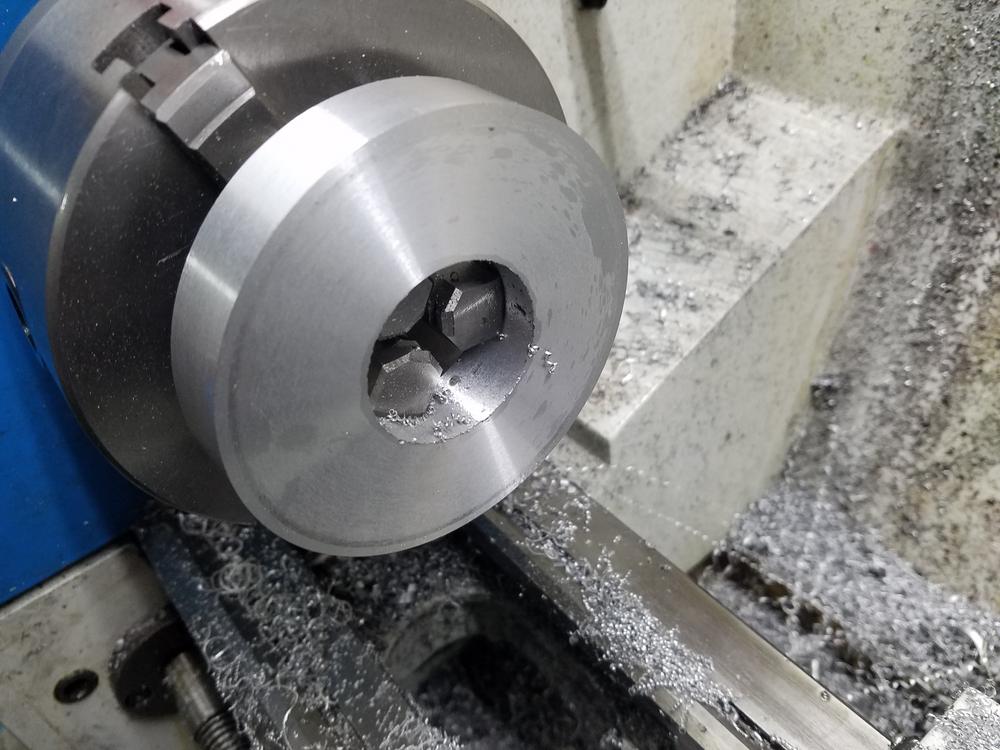
Once it was a circle, I put layout dye on the ouside and marked it to turn the first shoulder.
Then the first shoulder was turned.
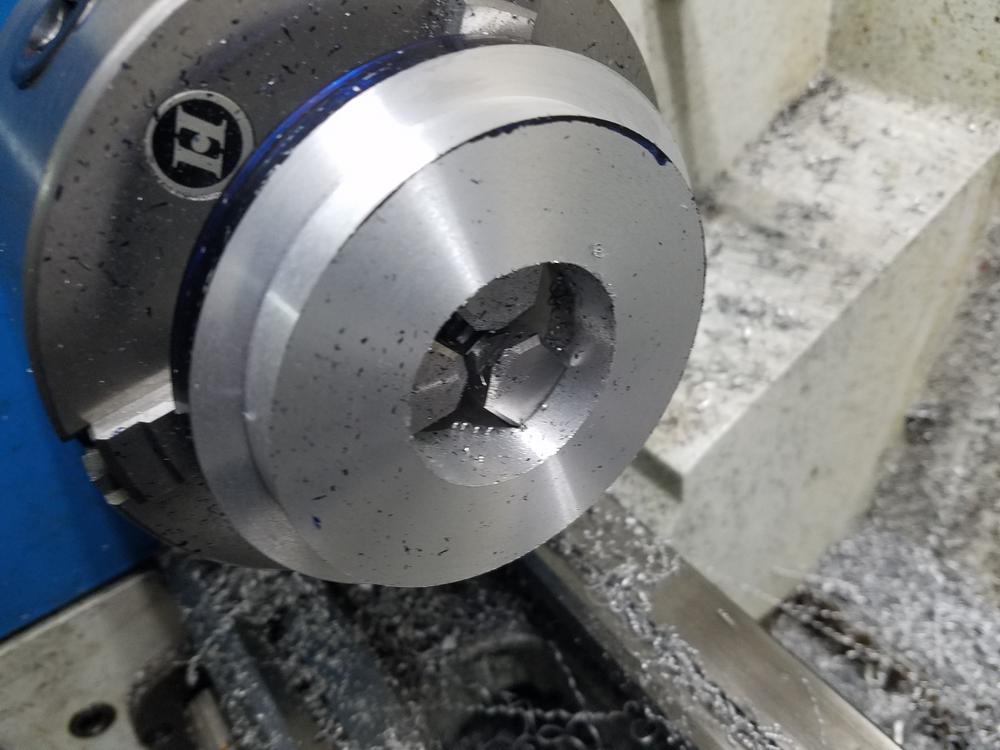
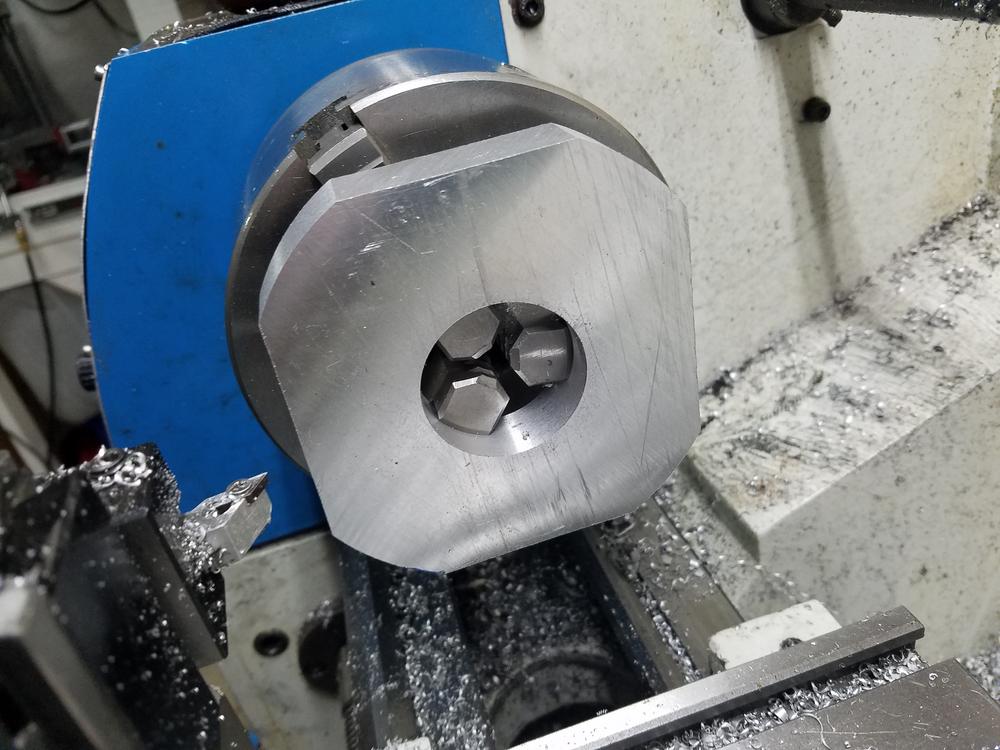
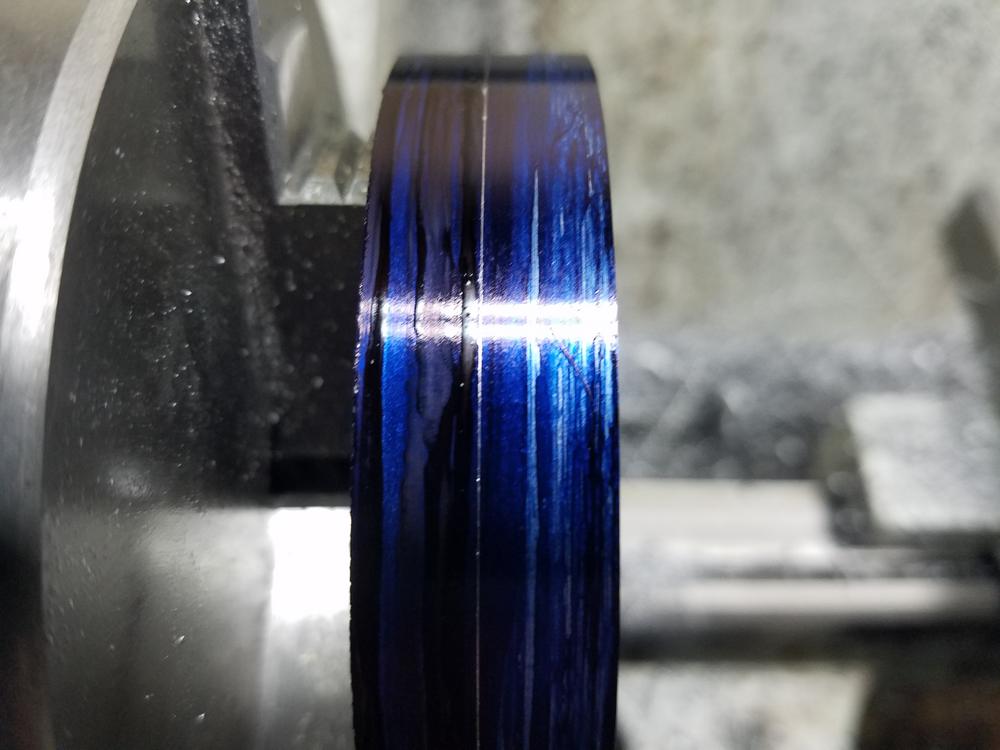
Then I turned the inner clearance for something. I don't know why it is there exactly, but the other bearing cover had it, so I went ahead and put it in. Maybe it was just to save material in injection molding, but oh well, took 2 minutes.
That was it for the lathe. Next I took it over to the mill. I used a method I saw on Toms Techniques to find the center of the hole. Essentially you use an edge finder to indicate one edge of the hole, note the DRO reading, indicate the other side, not the DRO reading, then find the value in the middle and go there. It worked within .001".
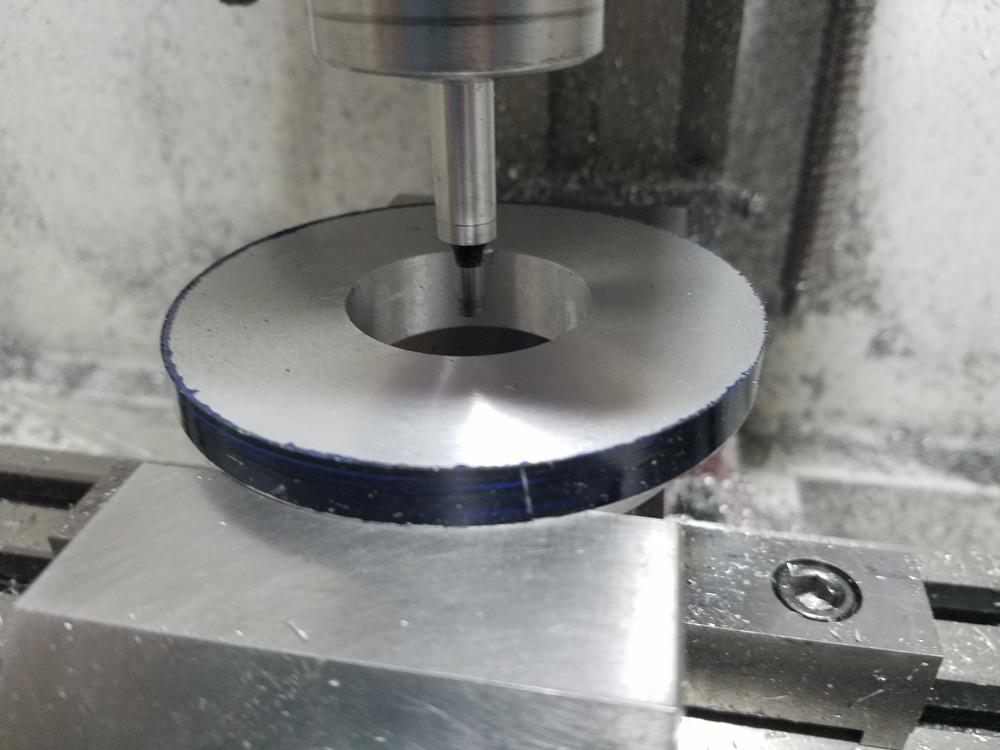
Using CNC, I cut out the area for the lights.
Then spot drilled.
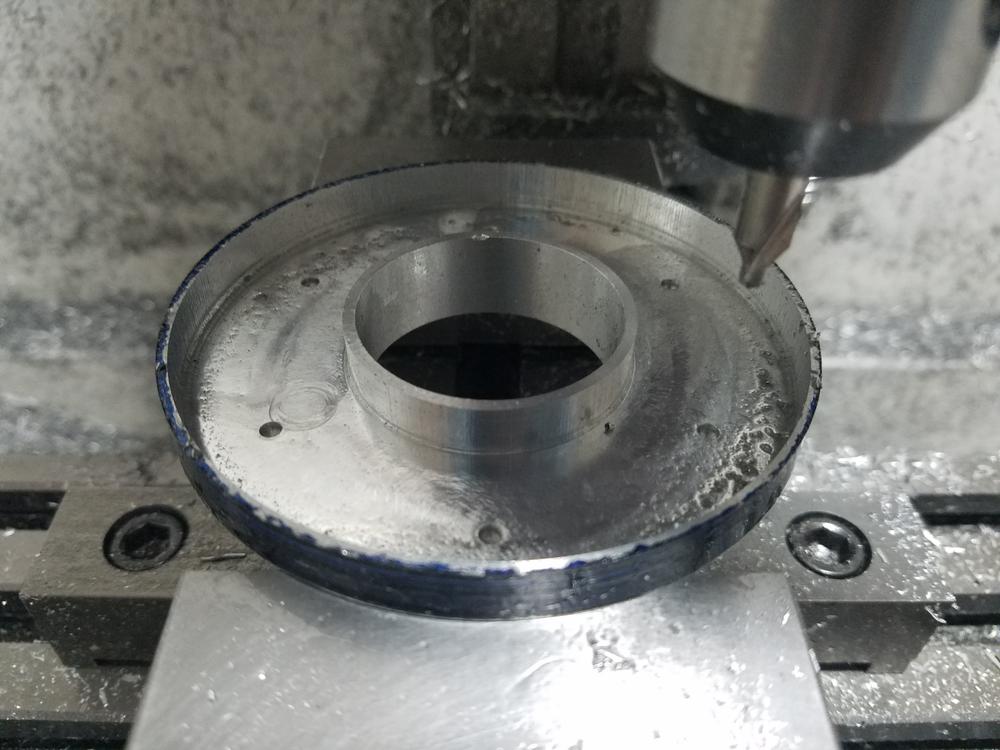
Through drilled with 5/32" drill for 10x32 tap.
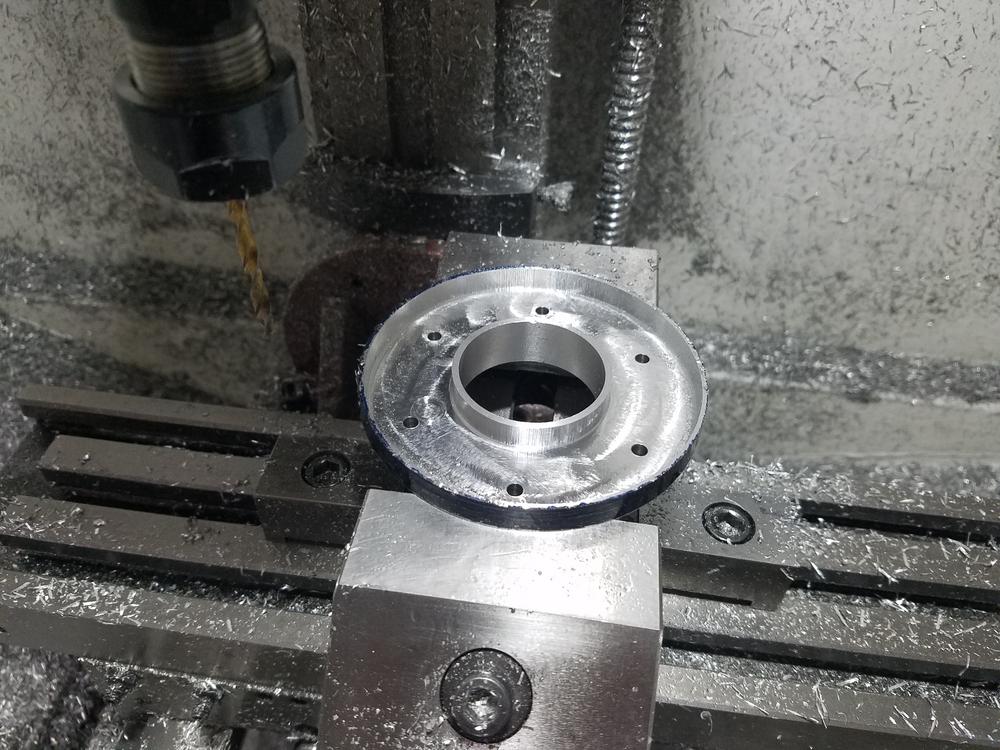
Then 3 of the holes were widened and countersunk using a .125" end mill.
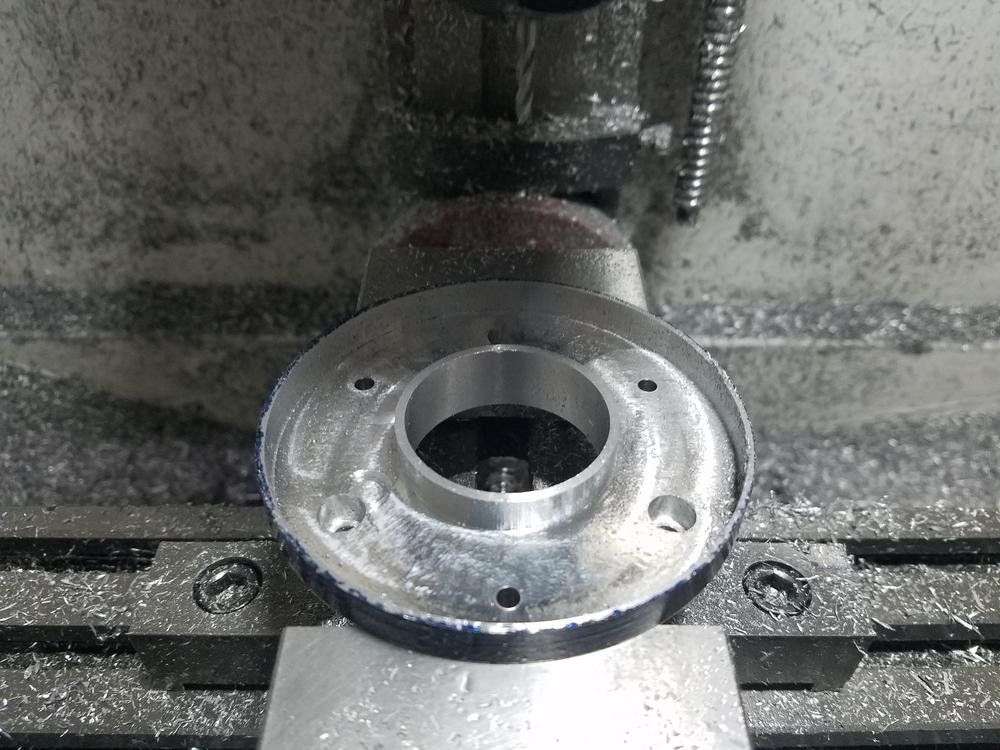
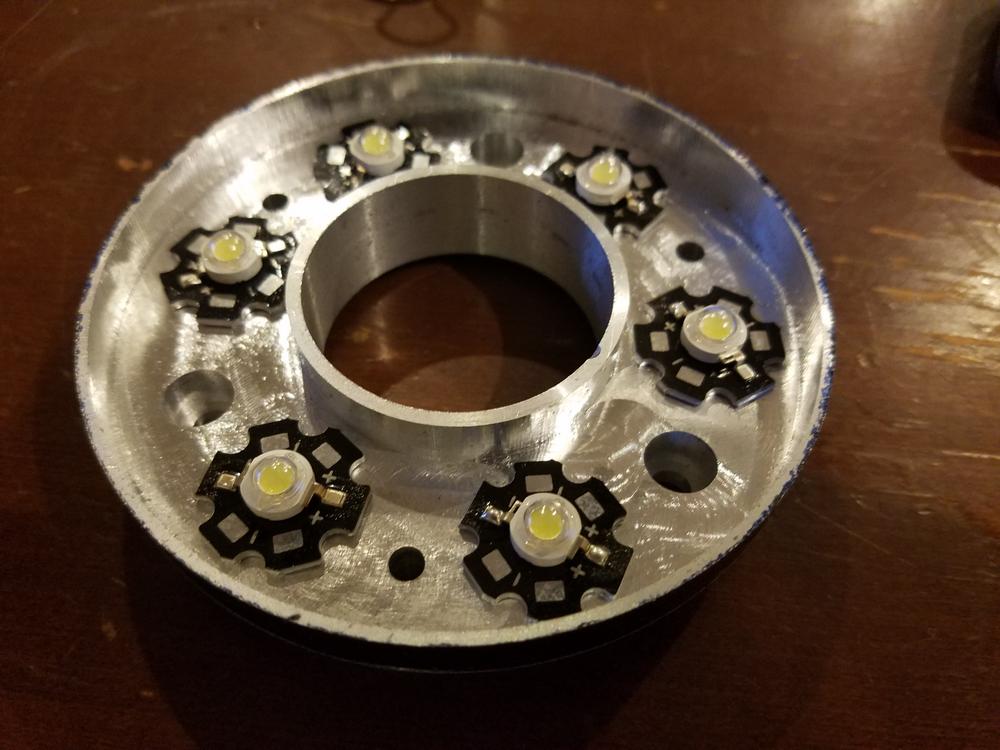
That is it for the machining. I popped it off the mill, cleaned it up a little bit, and laid out the LEDs. I am going to machine an acrylic cover to protect them and it will be secured with 10-32 screws. I will use a thermal adhesive to attach the LEDs to the light, then wire them up. I will have 2 strings of 3 LEDs.
That is all I have at the moment. Hopefully I will get a chance to finish it up tonight.
The new light will replace the lower bearing seal and will have a much tighter fit with the spindle. There will be about .006" clearance between the center hole of the seal and the spindle. I ordered 30 cheap LEDs from ebay to use for enclosure lights as well as the spindle light. It will use a 12V power supply with a resistor wired in series to drive it.
I started by cutting off a piece of stock in the band saw. I am using a piece roughly 3.75" square and .75" thick of what I am pretty sure is MIC-6 Aluminum.
I think measured the block and marked the center with layout dye.
Next I chucked it up in the 4 jaw and centered it.
Close enough for government work.
Then it was faced flat.
Bored.
I then switched over to the 3 jaw and held it on the inside hole. I also flipped it around and tapped the squared edge against the jaws.
Then it was slowly turned into a circle.
Once it was a circle, I put layout dye on the ouside and marked it to turn the first shoulder.
Then the first shoulder was turned.
Then I turned the inner clearance for something. I don't know why it is there exactly, but the other bearing cover had it, so I went ahead and put it in. Maybe it was just to save material in injection molding, but oh well, took 2 minutes.
That was it for the lathe. Next I took it over to the mill. I used a method I saw on Toms Techniques to find the center of the hole. Essentially you use an edge finder to indicate one edge of the hole, note the DRO reading, indicate the other side, not the DRO reading, then find the value in the middle and go there. It worked within .001".
Using CNC, I cut out the area for the lights.
Then spot drilled.
Through drilled with 5/32" drill for 10x32 tap.
Then 3 of the holes were widened and countersunk using a .125" end mill.
That is it for the machining. I popped it off the mill, cleaned it up a little bit, and laid out the LEDs. I am going to machine an acrylic cover to protect them and it will be secured with 10-32 screws. I will use a thermal adhesive to attach the LEDs to the light, then wire them up. I will have 2 strings of 3 LEDs.
That is all I have at the moment. Hopefully I will get a chance to finish it up tonight.