- Joined
- Nov 21, 2015
- Messages
- 56
Thought I'd follow up on this repair as folks were kind enough to give me their opinions. As I've been cleaning / painting / re-wiring the whole mill it's taken me a while to get to the point where the knee, saddle and table are assembled on the column again.
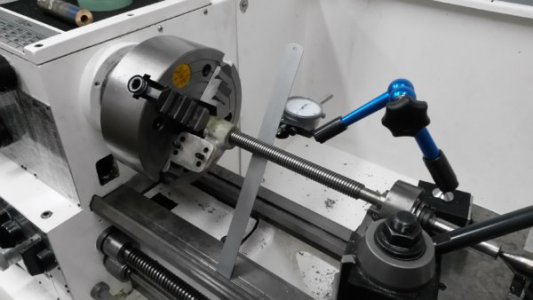
I bored out the threads out of the cast iron nut/bracket. The photo below shows the technique I used to line it up on the lathe using the leadscrew. I set it up so there was equal slop in both axes, then bored it out:

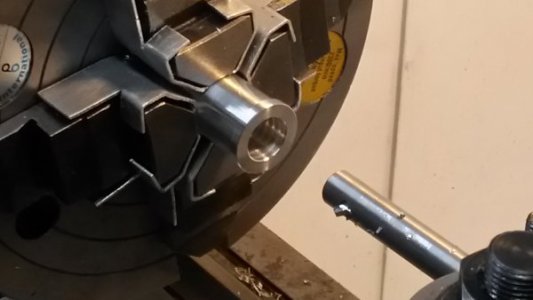
The bronze tube destined to become the new threads is on top of the headstock. I ground a piece of hss to make an acme threading tool, then realized my boring bar was too big to give clearance to cut the thread so had to make the boring bar too. The thread is 0.75 x 8 tpi. Couldn't find a tap to cut the thread and even if I had I wouldn't have wanted to spend that much money for one thread.

I cut a trial one in a piece of aluminium then cut the bronze. The tool tip was narrower than the required width of the thread so I cut the thread to depth then used the compound to widen the thread until the leadscrew was a nice fit.
At this stage I wasn't sure how I was going to secure it into the bored out hole. I talked it over with some colleagues at work and was persuaded that loctite was the answer. If loctite fails, I can soft solder or silver braze it in. I only have a propane/air torch and would have difficulty getting the cast iron bracket up to temperature - I think.
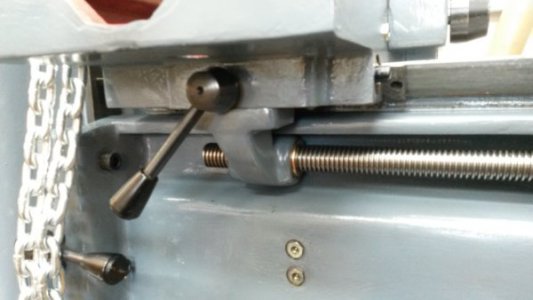
The bronze nut was trial fitted without glue when I reassembled the knee and saddle. The leadscrew seemed to line up nicely so I glued it in using loctite 603 (high strength retaining compound). Once I'd given it a while to cure I tried the Y axis action. It feels really smooth with very little backlash so I'm really chuffed at how it's turned out.

If it fails in the future, I'll post again and admit glue was the wrong choice!
Rob
I bored out the threads out of the cast iron nut/bracket. The photo below shows the technique I used to line it up on the lathe using the leadscrew. I set it up so there was equal slop in both axes, then bored it out:

The bronze tube destined to become the new threads is on top of the headstock. I ground a piece of hss to make an acme threading tool, then realized my boring bar was too big to give clearance to cut the thread so had to make the boring bar too. The thread is 0.75 x 8 tpi. Couldn't find a tap to cut the thread and even if I had I wouldn't have wanted to spend that much money for one thread.

I cut a trial one in a piece of aluminium then cut the bronze. The tool tip was narrower than the required width of the thread so I cut the thread to depth then used the compound to widen the thread until the leadscrew was a nice fit.
At this stage I wasn't sure how I was going to secure it into the bored out hole. I talked it over with some colleagues at work and was persuaded that loctite was the answer. If loctite fails, I can soft solder or silver braze it in. I only have a propane/air torch and would have difficulty getting the cast iron bracket up to temperature - I think.
The bronze nut was trial fitted without glue when I reassembled the knee and saddle. The leadscrew seemed to line up nicely so I glued it in using loctite 603 (high strength retaining compound). Once I'd given it a while to cure I tried the Y axis action. It feels really smooth with very little backlash so I'm really chuffed at how it's turned out.

If it fails in the future, I'll post again and admit glue was the wrong choice!
Rob

