

- Joined
- Jan 6, 2017
- Messages
- 1,214
That's great info! Thank you so much.
Your Lathe's an inspiration. Beautiful! Love the tool rack.
My electrical panel has the same issue. The Jog switch is about all that still works. I keep it unplugged when not in use because without the E-Stop button I can hear the relays humming.
The switches are very easy and cheap to replace.
The lathe uses magnetic contactors for the motor, so current draw isn't an issue. It has a 120v transformer, and the contactor coils are driven by 120vac. A stainless 120vac green power led was like 3$ on ebay.
If you want to use the existing panel, just pull the switches and measure the holes. Switches in the appropriate size should be easy to find on Amazon or Ebay.
I ordered a stainless steel momentary for the jog, a stainless LED for the power light and an anodized aluminum Estop, the made a new panel from a piece of 6061 aluminum plate. For the switch holes i drilled 1/2" holes, then enlarged them to fit the new switches with a boring head in my mill.
I just layed the old panel over the 6061 plate and traced or the shape and holes with a pencil. Cut the outside with a bandsaw, and drill/bore the holes. I used a belt sander to clean up the cut edges.
Just connect the existing wires to the new switches.
I used switches much like these. There are cheaper switches available but I was willing to pay more for the look and quality:
Estop:
Jog:
Power LED:
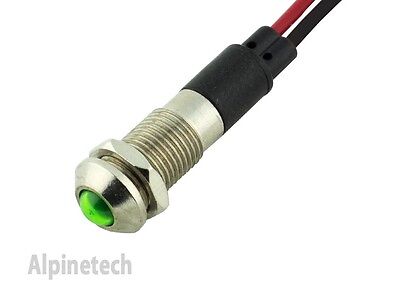
PL8B-120 Alpinetech 8mm 120V AC/DC LED Metal Indicator Pilot Light Lamp Wire | eBay
Mounting Cut Hole: 8mm (about 5/16"). LED Color: Green. Bulb Type: LED. Operation Temperature: -20C - 55C.
www.ebay.com
Last edited:
