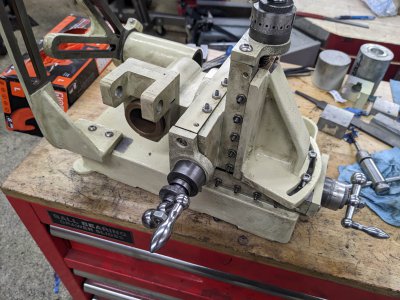
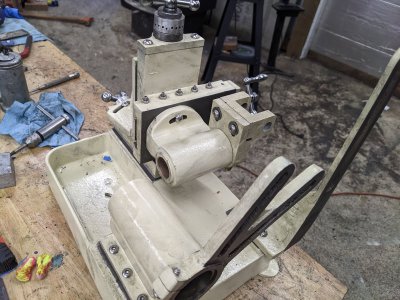
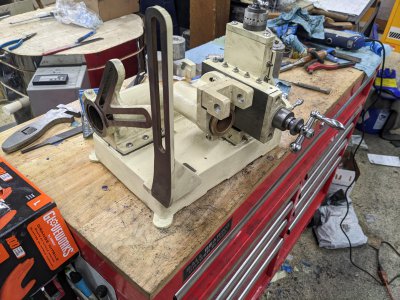
Erich's Benchtop Gear Hobber Project

I think I've convinced myself that I should just do MT2. I ordered some cheap stub blanks and a set of MT2 reamers. I think that ends up making it more likely I'll get more blanks for future sizes :)

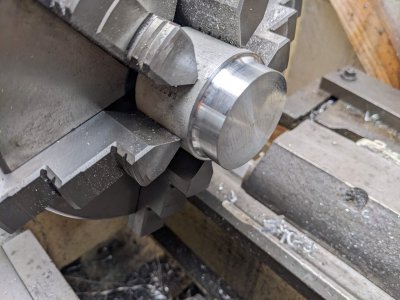
I think it also makes the 'hard part' of making these parts on the lathe a non-issue. Now I just have to figure out work-holding for the arbors in the lathe :) I have a Jarno taper headstock, and no MT2 tool holder, so I might end up having to just make an aluminum 'arbor' for turning them (wasting a sizable hunk sadly :/), and hope the taper holds well enough to do the turning.
 
Spent the day in the shop, though only some on the hobber.

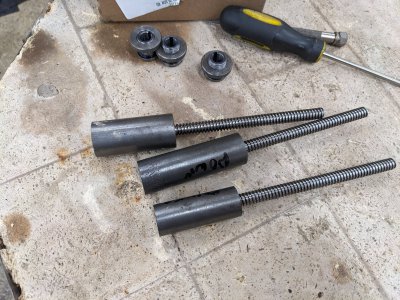
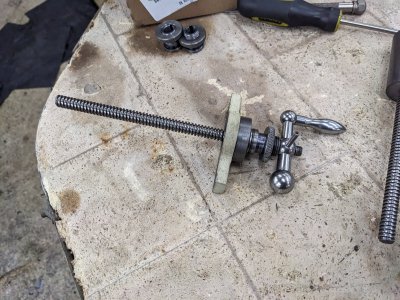
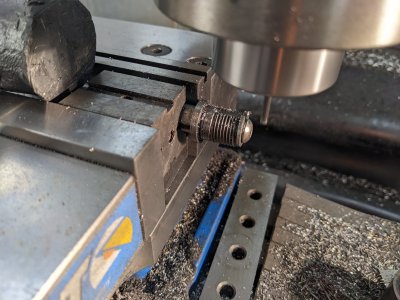
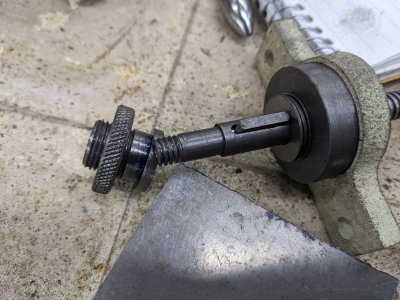
I wanted to get the lead screws extensions done first. I'd previously loctite attached them to the lead screws:
PXL_20221216_183309199.jpg

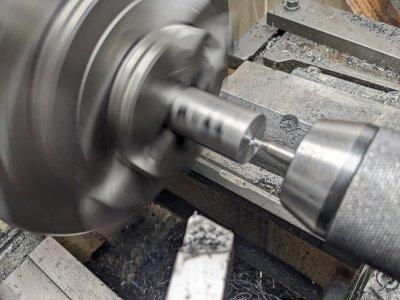
First step was to face them to length, then put in a center. HERE is where I messed up one, I made them all the same, despite having changed 1 of the 3 to have a slightly different design :)

PXL_20221216_183529145.jpg

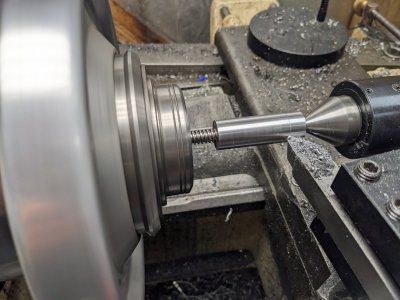
Next, I profiled them and finished the lathe work on 2 of the 3. The 3rd I did, but left it too short :/

PXL_20221216_191528511.jpg

I had 2 shoulders to do, plus a small threaded section

PXL_20221216_203144646.jpg
One mod I made was to put the threads on the end for a bit, since I didn't trust the set screw in the 3 ball handle to keep tension;PXL_20221216_223609659.jpg

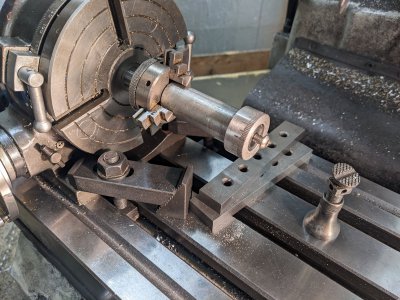
Next, I milled a key onto each with the mill and am angle plate.

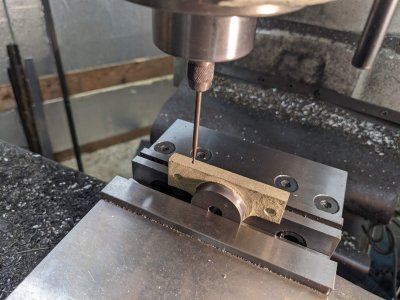
I also needed to mill a key onto the bushings for each of these. I made an arbor to hold them in the mill, set it up, and milled all3!PXL_20221217_002628284.jpg
 

Attachments

  • PXL_20221216_230250368.jpg
    PXL_20221216_230250368.jpg
    476.8 KB · Views: 22
Last edited:
Alright, so I did a lot of time consuming work today, trying to make the dials. There was A LOT of failing today :/

I turned the blanks without taking pictures, then worked on the lines.

First, I tried out the dremel engraving tool by marking on the brackets:
PXL_20221220_200313479.jpg

Then, I set them up to engrave the dials. This was REALLY time consuming, 100 lines each:

PXL_20221220_222851170.jpg

HOWEVER, I managed to screw up both of them. The grizzly dividing head didn't do the 100 divisions correctly somehow. I ended up on both of them having my last lines close enough to 'merge', perhaps 1/2 a line off. I probably have to spend some time making these over at one point, but at the moment, they are good enough.

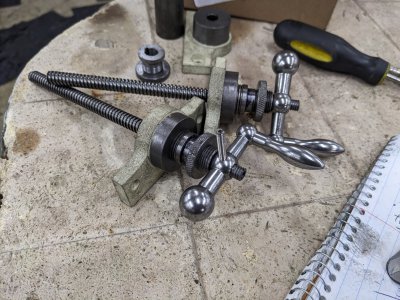
After that, I decided to clean up all my castings (the paint stripper rusted a bunch of it, so there was a lot of cleanup!), then assemble them:

PXL_20221221_001912007.jpgPXL_20221221_001917379.jpg

ONE thing I noticed is the "L" bracket and the hobber quadrant don't line up. I think I'm going to have to oval out the holes another 1/2" or so to make it alignable. Unfortunately, this is one of the parts I can't for the life of me get the workholding right on the bridgeport, so I cut it the first time with a hand drill. I wish I had a horizontal mill or right hand milling attachment, but can't find one reasonably priced :/

PXL_20221221_001908900.jpg

Otherwise, I think tomorrow I can start working on one of the spindles!
 
I spent a bunch of today in the shop today as well! BUT much of it was spent organizing my tap drawer and trying to level my lathe. I think I did a decent job of it, but we'll see!

I wanted to get my hobb spindle housing done today, but realized it would be easier if I'd made the 'bearing retaining ring' instead.

I had a hunk of aluminum stock that seemed to be the only piece of material big enough in my scrap bin.

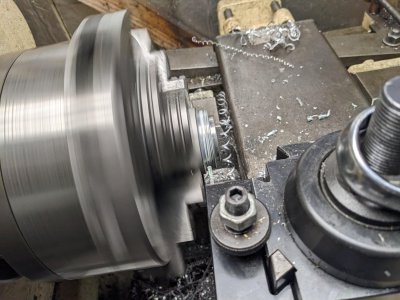
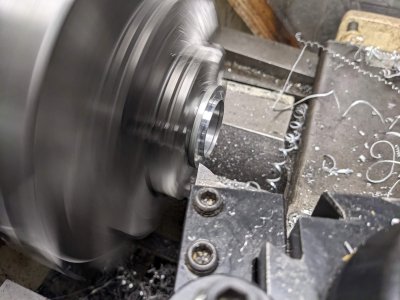
I started by facing both sides, then cutting the OD.
PXL_20221221_190905119.jpg

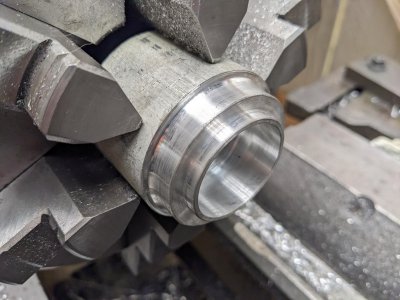
Next, I cut the outside dimensions and inner dimensions (with a boring bar). Only the length of the outer step, plus the diameter of it are in any way meaningful, the ID's tolerance is basically .100!

PXL_20221221_194124338.jpg


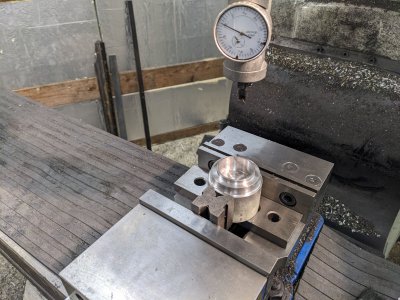
Before parting it off, I popped it onto the mill, and centered with a coax-indicator:

PXL_20221221_195420449.jpg
(PS, I discovered I have a spare coax-indicator if anyone is interested in it! It has a cracked crystal, but is otherwise in perfect shape).

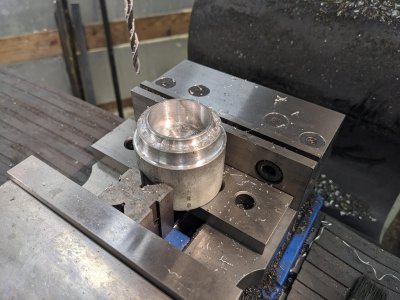
After dealing with a "Memory Overflow" issue in my DRO, I was able to use the bolt pattern tool to drill all the holes:

PXL_20221221_201409218.jpg

Then, a quick part off:
PXL_20221221_201604547.jpg


Followed by facing it off:

PXL_20221221_201752855.jpg

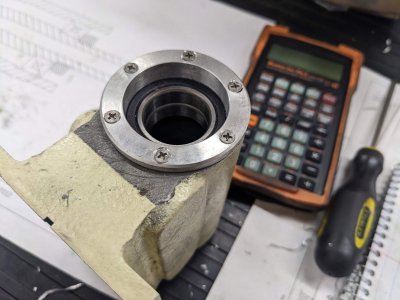
AND we're done! here it is in place:

PXL_20221221_222104087.jpg

I made sure there was a ~5 thou gap when tightened down, so it is holding the bearings in place.


I ended up doing a bunch of adventure, including a trip to the Ford service department that took out 1/2 my day, but still ended up getting this started:

PXL_20221221_234640515.jpg

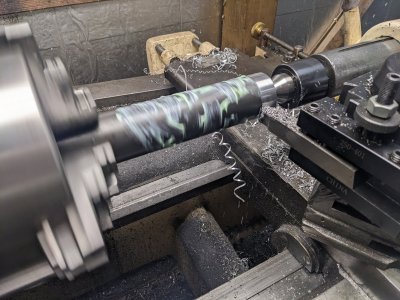
That is a 2" diameter, 12" long hunk of 1144 that will someday be the hobber spindle housing. I've decided to just do MT2 like we all suggested, but I have a TON of material to hog out first. It was a bit slow going, so I ended with only the largest diameter turned, and about 1/2 way down to the 2nd diameter. A few stops were required to re-grind my tool as I got too greedy with my F&S :D
 
I spent another long day on the hobber spindle. I ended up getting a bunch of chatter with my roughing tool, but it cleaned up nicely with my pointed tool. This was a LONG day of material removal, mixed with lots of grinding HSS as I kept deciding that the S&F app I have was too conservative, and had reality correct me :)

When we left me last time, I had just the left most diameter. This was me in the process of roughing out as much as I could for the 2nd diameter, bearing surface, N05 bearing but, and center section. Not many are visible here yet, but they are coming.
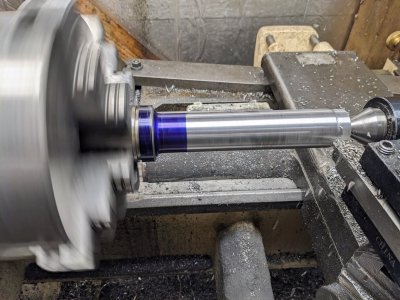
PXL_20221226_213111355.jpg

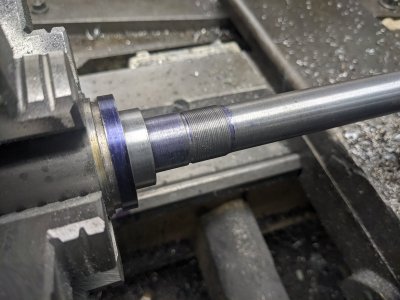
After roughing, I got the bearing area done as a light press fit, plus single pointed the strange 0.969-32 thread.

However, I messed up on the threads in a way I hope won't burn me. I cut by depth to the top of the tolerance. As I pulled out my tool to do thread wires, I crashed my cutter and snapped it off.

I found that the nut is quite tight (requires a wrench to tighten), but I decided to take the risk and run with it, rather than the risk of trying to pick the thread back up, particularly with a 32 tpi thread. Hopefully I'll survive :)
PXL_20221226_233108126.jpg


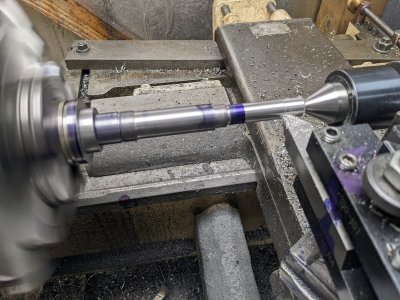
At this point, I am doing final turning for where the gears come out of the back of the spindle. But, you can see the 2nd bearing seat next to the blued area for my N03 .664-32 thread. By this point my "roughing tool", which gives my best finish, is no longer chattering, so I get the 5/8" diameter done with it.
PXL_20221227_002630447.jpg


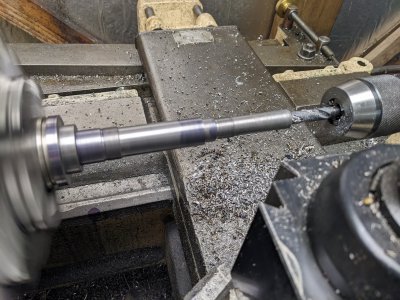
And here I'm drilling for the drawbar. I drilled 13/32 as deep as possible on this side. You can also see my N03 thread is done, which turned out just about perfect for the nut! Seeing as this is the more important one for being able to take this apart, I consider this a win :)
PXL_20221227_005722988.jpg

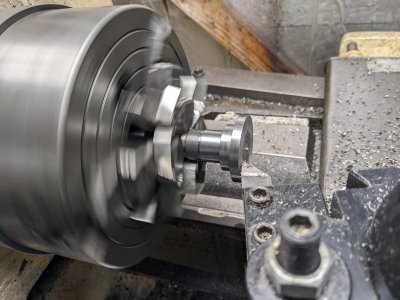
Next, I flipped the shaft around in the 4 jaw (after parting off!), And faced the flange.
PXL_20221227_011740942.jpg

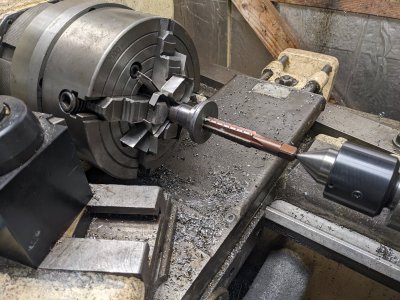
Next, I finish drilling through for the drawbar, then a clearance to start the MT2. I started with the roughing reamer, but it is slow going and tedious, so the dinner bell called me in :) a few more tasks to finish this, but it feels like the end is in sight!PXL_20221227_014640554.jpg
 
It is really not that hard to pick a thread back up. I have messed up enough threads so I have some experience there...
You could also chase the threads with a file maybe?
 
It is really not that hard to pick a thread back up. I have messed up enough threads so I have some experience there...
You could also chase the threads with a file maybe?
I've only done it a handful of times with varying success, and never with something as tiny as 32 tpi!

So it ended up being a bit of a risk either way. I'm hopeful that it's good enough to get the nut threaded as far as it needs, though it might well take a bit of effort.
 
Also looks like McMaster has a .969-32 die for sale ($75, not as bad as I would have feared!), So that can be plan B.
 
Back
Top