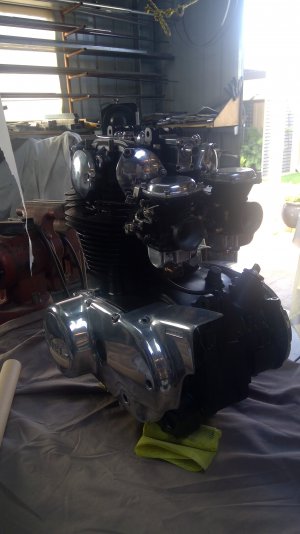
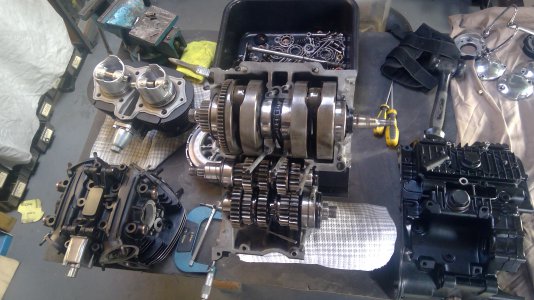
The cases turned up so I started on the motor, tore it apart and inspected to see the damage. Surprisingly, the motor was in pretty good nick but compression was down so I put the barrel in for a rebore and sent off for a couple of pistons, rings, gudgeons and clips. I also sent off for a gasket set, seal kit and a set of stainless, allen head screws. Chrome platers got the oil tube, points/governor covers and acorn nuts for the cylinder head/rocker cover.
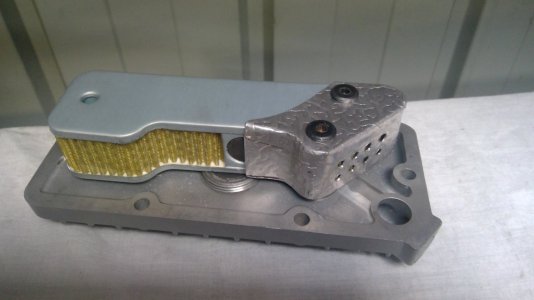
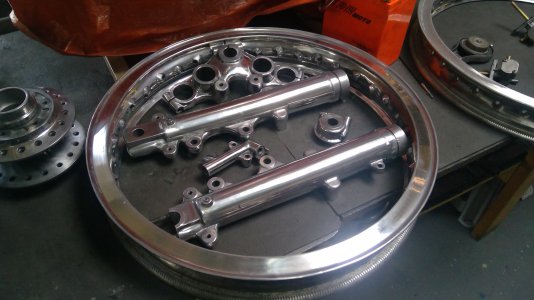
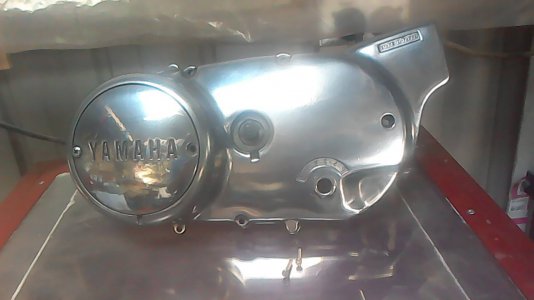
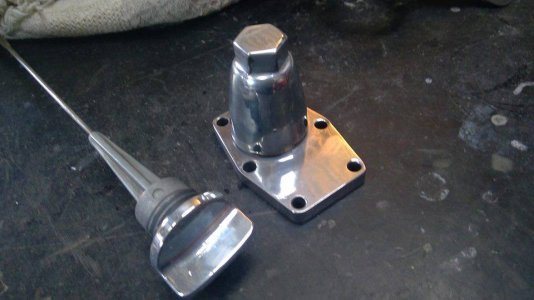
I bead blasted the cases, barrel, head, rocker cover and carbs. Then back to the polishing again for the rocker inspection caps, side covers, dipstick, cam chain adjuster housing, breather housing, carb top and bottoms.
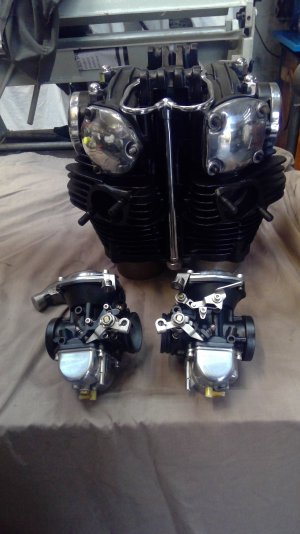
Carbs were CVs so they got a new kit through them and I managed to find two diaphragms that weren’t holed and also a couple of dented but usable floats. The lip on the diaphragms were badly squashed so the slides didn’t act as they were supposed to so I cut some gaskets and installed them on top of the diaphragms, Bingo, all fixed, slides behaved themselves.
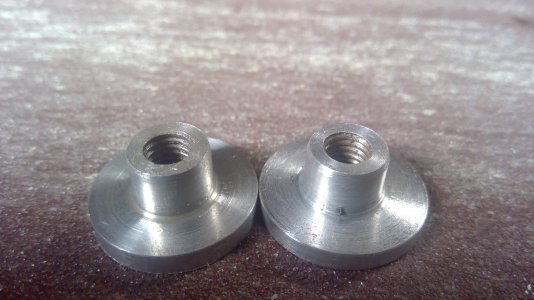
Hang the classic sign on a bike and prices go through the roof, a good example were the rocker shaft bungs, $20 each from suppliers. I got four stainless hex head bungs with the same thread for just a few bucks on eBay. Definitely pays to shop around.
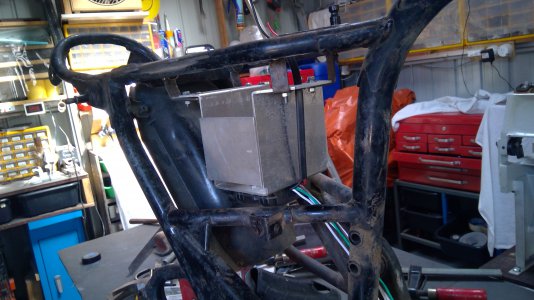
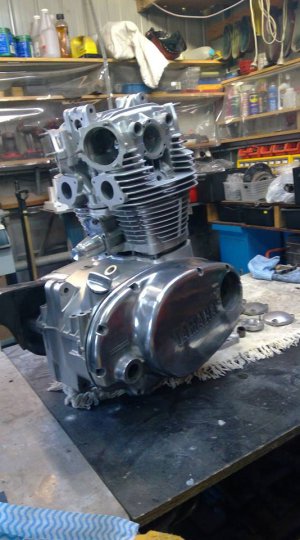
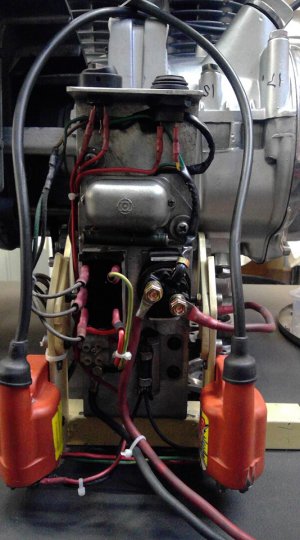
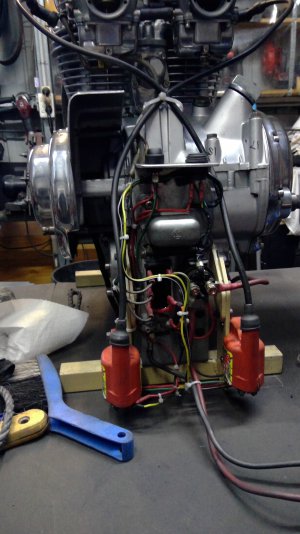
After blasting the cases I painted them in engine enamel and started assembling. I made up a wheeled stand for assembling the motor and once assembled I found the points backing plate didn’t allow sufficient adjustment to time it so I had to be opened up the points gap to .25mm to time the engine, bugger, new cam chain required. Anyway I prepped the lube system by turning the motor over with the use of a cordless drill and mounted the electrical components on an ally bracket I made. Rectifier was shot, I was not surprised suppliers wanted an arm and a leg for a replacement so I bough a three phase bridge rectifier on eBay for $4. Coils were also shot, so I found a couple of Bosch units in my electrics box, mounted them and hooked everything up.
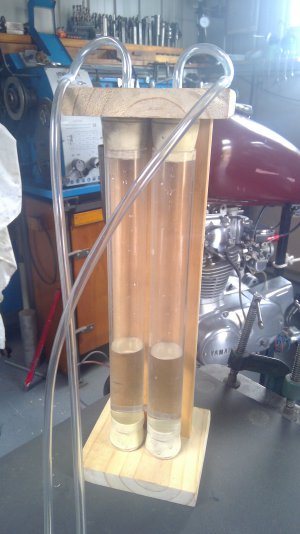
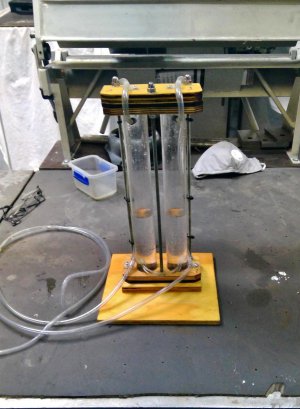
Once ready, I switched on and the motor burst into life on the first crank. Next stepwas to sync the carbs. Not a fan of vacuum gauges, or the dollars they cost so I made up a fluid manometer using two lengths of 35mm acrylic tube sandwitched between a wood base, joined them together, cut two lengths of 6mm plastic tube, inserted two delron Jets I made up, joined them to the top of the manometer and put a few ccs of water in each tube. The bike didn’t have any manifold adapters for vacuum gauges so The manifold came off, were drilled and a spigot shrunk into each. Once back together again, I hooked up the manometer, started the bike and syncronised the carbs. The video shows how a manometer works.
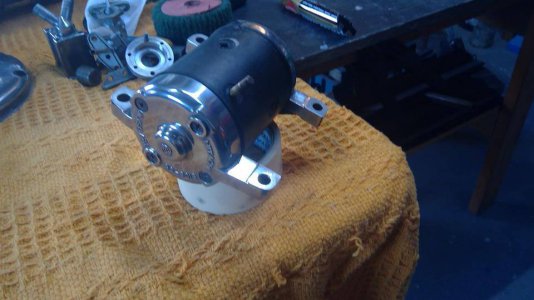
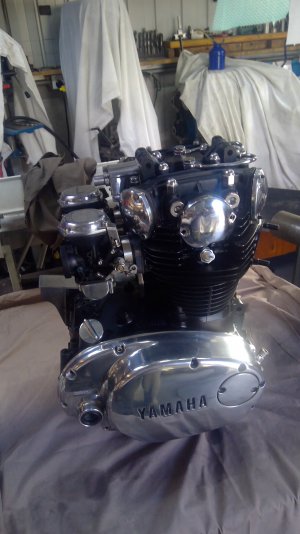
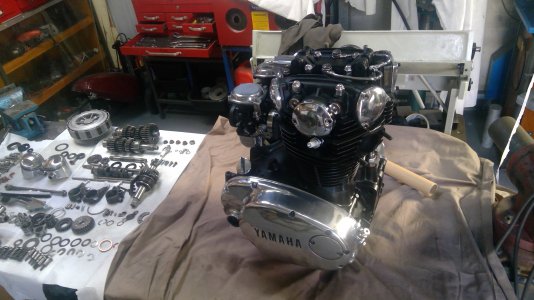
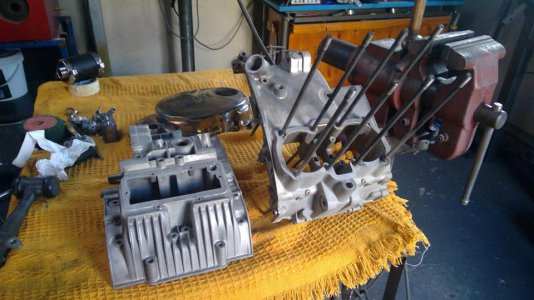
I knew I had to replace the Cam chain, and since I wasn’t happy with the silver colour I painted the engine, I tore the motor down again, blasted the paint off the cases, barrel, head and rocker cover and resprayed, black this time. This second tear down necessitated new gaskets of course so I sent off for a set and laid everything out on the bench ready for reassembly. Cam chain arrived so I assembled the crank and gearbox and sealed the crankcases. Bottom end is now in the stand with clutch and alternator assembled and that’s as far as I’ve got this time, just waiting for the gaskets to arrive. Boredom overtook so I removed the stator and polished it, now the engine internals are nice and shiny.
I knew I had to replace the Cam chain, and since I wasn’t happy with the silver colour I painted the engine, I tore the motor down again, blasted the paint off the cases, barrel, head and rocker cover and resprayed, black this time. This second tear down necessitated new gaskets of course so I sent off for a set and laid everything out on the bench ready for reassembly. Cam chain arrived so I assembled the crank and gearbox and sealed the crankcases. Bottom end is now in the stand with clutch and alternator assembled and that’s as far as I’ve got this time, just waiting for the gaskets to arrive. Boredom overtook so I removed the stator and polished it, now the engine internals are nice and shiny.
The cases turned up so I started on the motor, tore it apart and inspected to see the damage. Surprisingly, the motor was in pretty good nick but compression was down so I put the barrel in for a rebore and sent off for a couple of pistons, rings, gudgeons and clips. I also sent off for a gasket set, seal kit and a set of stainless, allen head screws. Chrome platers got the oil tube, points/governor covers and acorn nuts for the cylinder head/rocker cover.
I bead blasted the cases, barrel, head, rocker cover and carbs. Then back to the polishing again for the rocker inspection caps, side covers, dipstick, cam chain adjuster housing, breather housing, carb top and bottoms.
Carbs were CVs so they got a new kit through them and I managed to find two diaphragms that weren’t holed and also a couple of dented but usable floats. The lip on the diaphragms were badly squashed so the slides didn’t act as they were supposed to so I cut some gaskets and installed them on top of the diaphragms, Bingo, all fixed, slides behaved themselves.
Hang the classic sign on a bike and prices go through the roof, a good example were the rocker shaft bungs, $20 each from suppliers. I got four stainless hex head bungs with the same thread for just a few bucks on eBay. Definitely pays to shop around.
After blasting the cases I painted them in engine enamel and started assembling. I made up a wheeled stand for assembling the motor and once assembled I found the points backing plate didn’t allow sufficient adjustment to time it so I had to be opened up the points gap to .25mm to time the engine, bugger, new cam chain required. Anyway I prepped the lube system by turning the motor over with the use of a cordless drill and mounted the electrical components on an ally bracket I made. Rectifier was shot, I was not surprised suppliers wanted an arm and a leg for a replacement so I bough a three phase bridge rectifier on eBay for $4. Coils were also shot, so I found a couple of Bosch units in my electrics box, mounted them and hooked everything up.
Once ready, I switched on and the motor burst into life on the first crank. Next stepwas to sync the carbs. Not a fan of vacuum gauges, or the dollars they cost so I made up a fluid manometer using two lengths of 35mm acrylic tube sandwitched between a wood base, joined them together, cut two lengths of 6mm plastic tube, inserted two delron Jets I made up, joined them to the top of the manometer and put a few ccs of water in each tube. The bike didn’t have any manifold adapters for vacuum gauges so The manifold came off, were drilled and a spigot shrunk into each. Once back together again, I hooked up the manometer, started the bike and syncronised the carbs. The video shows how a manometer works.
I knew I had to replace the Cam chain, and since I wasn’t happy with the silver colour I painted the engine, I tore the motor down again, blasted the paint off the cases, barrel, head and rocker cover and resprayed, black this time. This second tear down necessitated new gaskets of course so I sent off for a set and laid everything out on the bench ready for reassembly. Cam chain arrived so I assembled the crank and gearbox and sealed the crankcases. Bottom end is now in the stand with clutch and alternator assembled and that’s as far as I’ve got this time, just waiting for the gaskets to arrive. Boredom overtook so I removed the stator and polished it, now the engine internals are nice and shiny.
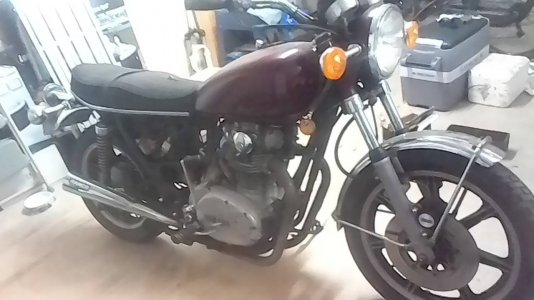 yambarn.jpg88.1 KB · Views: 821,201
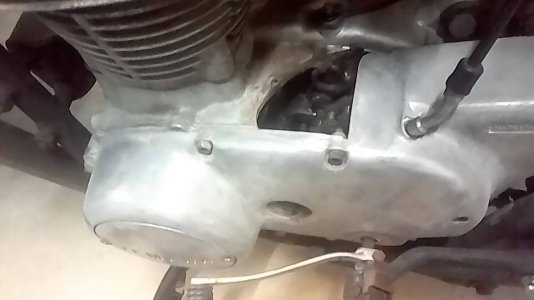 casehole.jpg58.7 KB · Views: 149
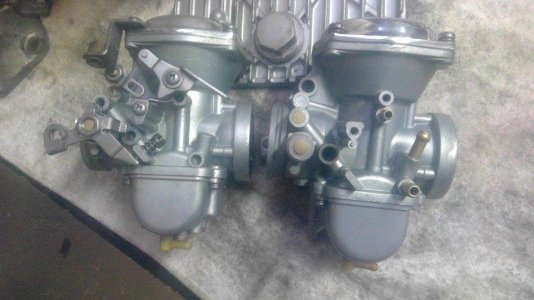 carbs1.jpg70.8 KB · Views: 106
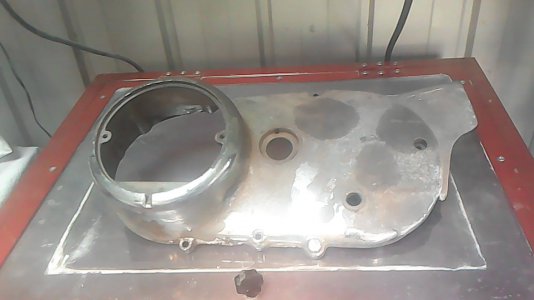 cover.jpg61.4 KB · Views: 92
 cover2.jpg60.1 KB · Views: 100
 engine.jpg77.8 KB · Views: 103
 electric1.jpg148.4 KB · Views: 101
 switch.jpg530.7 KB · Views: 102
 switch1.jpg672.8 KB · Views: 98
 switch 5.jpg409.8 KB · Views: 91
 switch 4.jpg189 KB · Views: 90
 cases 1.jpg86.3 KB · Views: 86
 dipcam.jpg55.6 KB · Views: 83
 rim.jpg216.8 KB · Views: 86
 WIN_20190808_17_09_25_Pro.jpg574.2 KB · Views: 88
 WIN_20190808_17_04_49_Pro.jpg1.9 MB · Views: 89
 sliders.jpg362.8 KB · Views: 89
 WIN_20190811_17_41_04_Pro.jpg653.3 KB · Views: 108
