- Joined
- Nov 2, 2012
- Messages
- 415
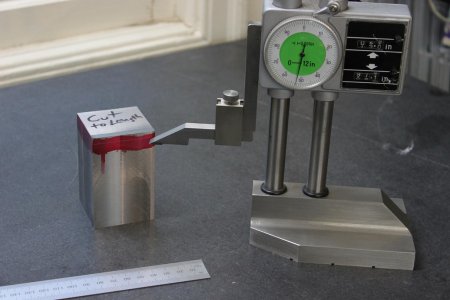
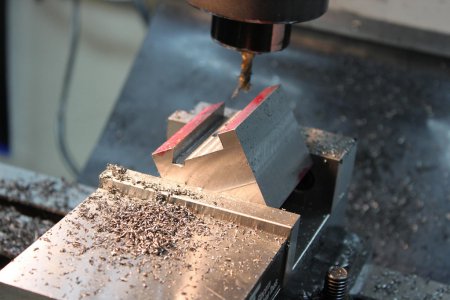
It was probably three years or more back when I bought Harold Hall's book "Milling for Home Machinists", and I had always wanted to make the boring head he provided plans for. A few weeks back I started on the project, but decided that while I'd measure some things in metric to help ensure proper fitting of parts, all of the cutters and fasteners would be of Imperial size. I don't have a 12mm cutter, but I have 1/2". Luckily I've got a DRO to easily switch back and forth as needed. I started by squaring up the stock, cutting to size and boring a hole for the arbor. Then I began making the channel that would eventually be the dovetails.
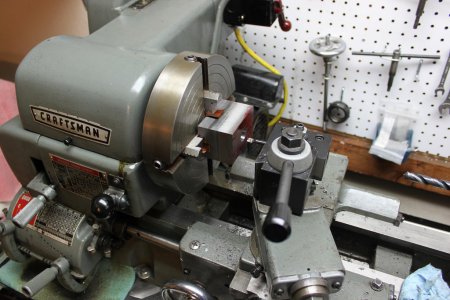
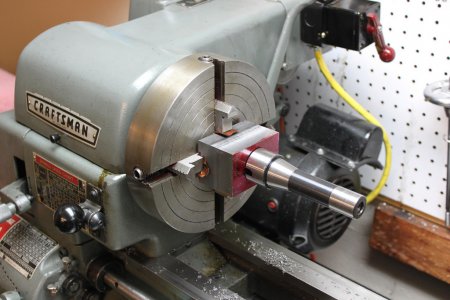
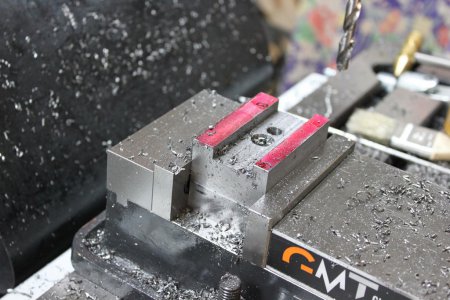
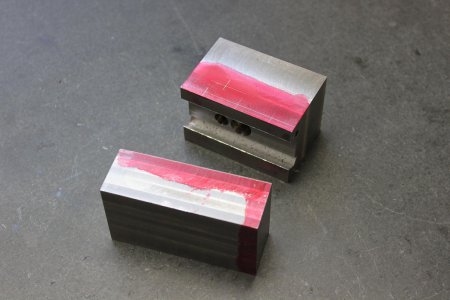
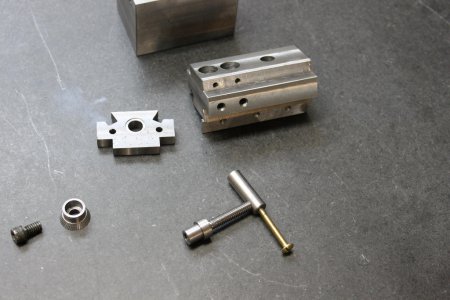
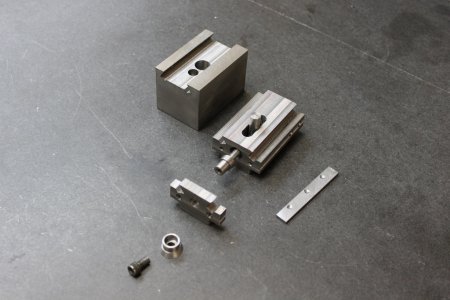
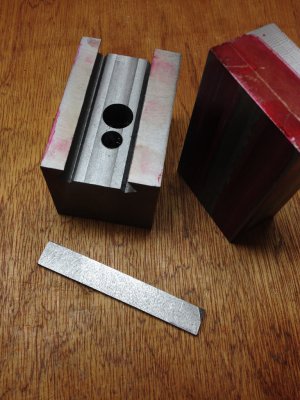
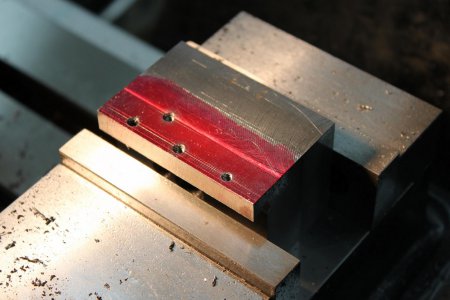
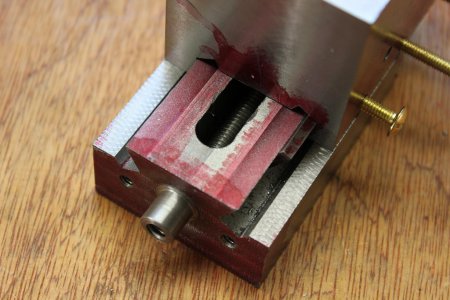
The project avoids a dovetail cutter requirement by tilting the workpiece to the proper angle and (in my case) using a .25" endmill. I initially struggled to find the correct angle, but realized my clamping kit has step triangles that are 30/60/90*, and they'd work fine. Once that was done, I had to make the gib strip and lay out the cutter carrier lines. The gib strip material came from the scrap bin. The third photo shows holes drilled for gib screws, the cutter carrier drilled and bored, and the face plate still in process.
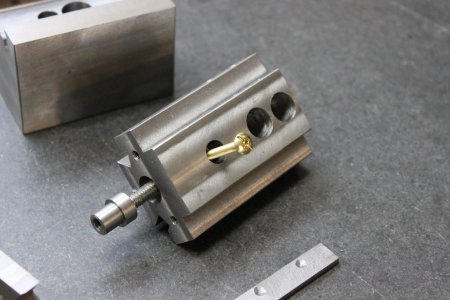
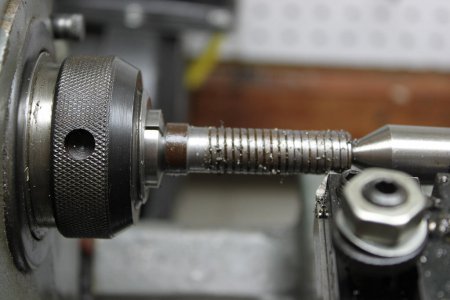
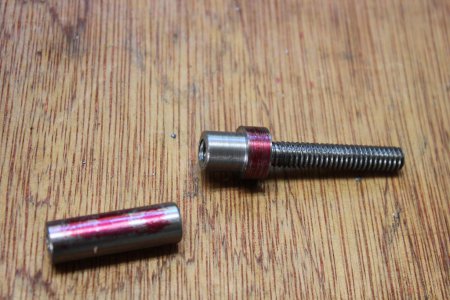
The lead screw was supposed to be metric, but I decided to cut it 1/4-20 on both ends. This was the project where I crashed the cutter into the tailstock and caused some travel issue with the lathe that has since been corrected. Last photo is the lead screw in place without its nut. Another piece of scrap, this was one of three free coffee cans full of nuts and bolts picked up at an estate sale.
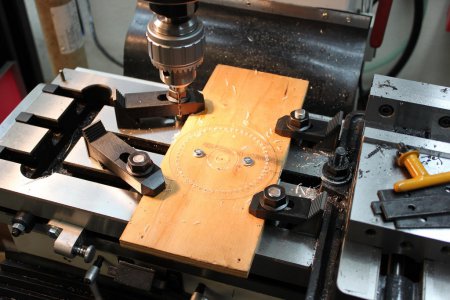
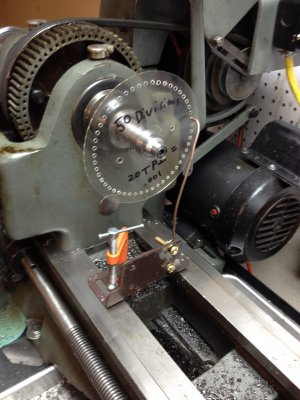
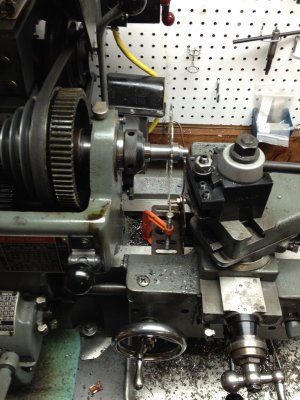
Once I got everything cleaned up and in place, I mounted the dial. By marking it with 50 divisions, I end up with .001" movement per division, right? { (1 / 20) / 50 = .001 } My lathe's bull gear is divided by 60, and I suppose there may be some other gear in there I could try to use, but instead I opted for another method as shown in Harold Hall's book "Dividing" (Workshop Practice Series 37) where he has drilled 120 holes from a CAD pattern and used a heavy wire as the stop. I could have created a spreadsheet as shown in the book, but my mill has a DRO with a bolt circle function, so I input a 4" circle with 50 holes and started drilling. A handy material for this was a plastic CD cover that you get in a 50 pack (although any unwanted CD or DVD would work as well.) Once done, I made an arbor from another old bolt and mounted the pattern to the lathe. A corner from a bed frame and a piece of heavy welding wire completed the setup. I was able to quite easily run the compound at the same 25* angle of the dial and cut each line.
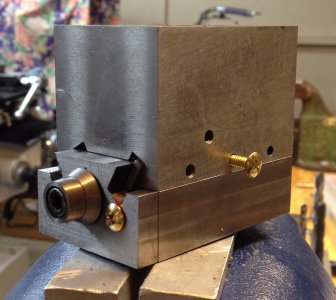
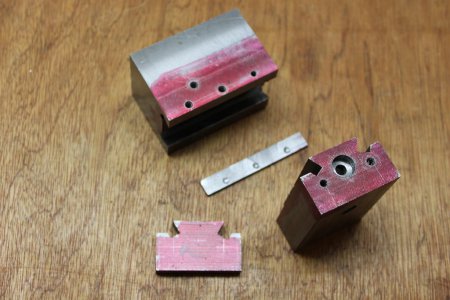
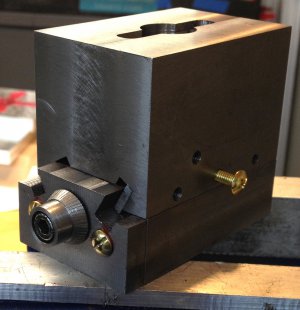
Unfortunately, I ran the cutter lower than center to gain clearance not realizing my lines would not radiate straight from the center. Well, no matter as they are still 50 and evenly spaced. Note that the gold screws are temporary pending my sourcing of real hardware. I resurfaced all sides for the sake of appearance and mounted the arbor to get a look at the nearly finished project. The final photo shows the relieved cutter carrier and a bolt representing the 1/2" boring bar I don't have just yet.
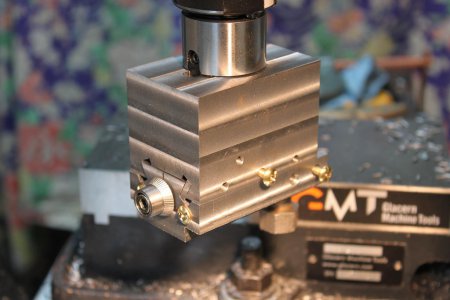
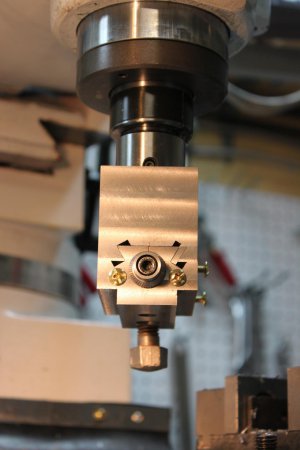
Now I'm knocking off the sharp edges with a file, and I will need to do a little fine-tuning to make sure everything works smoothly before I locktite the dial screw in place. Then I'll need some 8-32 grub screws, a thumb screw and some cutters to call this project done. I can't say I really needed this tool right now, and it seems silly to spend so much time when the imports are so cheap, but it's great practice and rather satisfying to complete.
-Ryan


The project avoids a dovetail cutter requirement by tilting the workpiece to the proper angle and (in my case) using a .25" endmill. I initially struggled to find the correct angle, but realized my clamping kit has step triangles that are 30/60/90*, and they'd work fine. Once that was done, I had to make the gib strip and lay out the cutter carrier lines. The gib strip material came from the scrap bin. The third photo shows holes drilled for gib screws, the cutter carrier drilled and bored, and the face plate still in process.


The lead screw was supposed to be metric, but I decided to cut it 1/4-20 on both ends. This was the project where I crashed the cutter into the tailstock and caused some travel issue with the lathe that has since been corrected. Last photo is the lead screw in place without its nut. Another piece of scrap, this was one of three free coffee cans full of nuts and bolts picked up at an estate sale.


Once I got everything cleaned up and in place, I mounted the dial. By marking it with 50 divisions, I end up with .001" movement per division, right? { (1 / 20) / 50 = .001 } My lathe's bull gear is divided by 60, and I suppose there may be some other gear in there I could try to use, but instead I opted for another method as shown in Harold Hall's book "Dividing" (Workshop Practice Series 37) where he has drilled 120 holes from a CAD pattern and used a heavy wire as the stop. I could have created a spreadsheet as shown in the book, but my mill has a DRO with a bolt circle function, so I input a 4" circle with 50 holes and started drilling. A handy material for this was a plastic CD cover that you get in a 50 pack (although any unwanted CD or DVD would work as well.) Once done, I made an arbor from another old bolt and mounted the pattern to the lathe. A corner from a bed frame and a piece of heavy welding wire completed the setup. I was able to quite easily run the compound at the same 25* angle of the dial and cut each line.


Unfortunately, I ran the cutter lower than center to gain clearance not realizing my lines would not radiate straight from the center. Well, no matter as they are still 50 and evenly spaced. Note that the gold screws are temporary pending my sourcing of real hardware. I resurfaced all sides for the sake of appearance and mounted the arbor to get a look at the nearly finished project. The final photo shows the relieved cutter carrier and a bolt representing the 1/2" boring bar I don't have just yet.


Now I'm knocking off the sharp edges with a file, and I will need to do a little fine-tuning to make sure everything works smoothly before I locktite the dial screw in place. Then I'll need some 8-32 grub screws, a thumb screw and some cutters to call this project done. I can't say I really needed this tool right now, and it seems silly to spend so much time when the imports are so cheap, but it's great practice and rather satisfying to complete.
-Ryan


Last edited:


