1938 15" SB Rebuild Progressing

atwatterkent

Active User
Registered
Joined
Dec 10, 2010
Messages
195
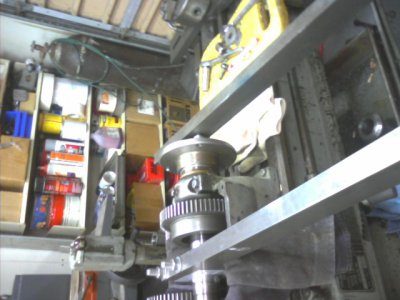
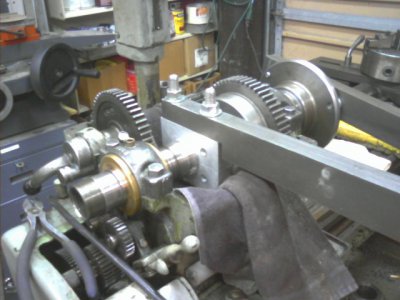
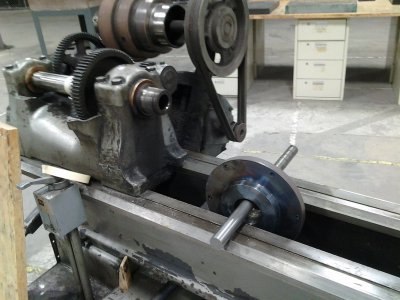
I wanted to take off the chuck before removing the spindle so after the usual methods failed to budge it, I resorted to the easiest of the three methods guaranteed to safely remove it. The lathe, being 75 yrs old, and not knowing when the chuck was installed is about half done but I only have a few hours a week to work on it. I won't get back till next Monday to see if the bucket method works. The 1" x 2" steel bar itself is heavy and there is about 25 lbs in the bucket. The chuck neck and inside have been thoroughly saturated with penetrating oil.
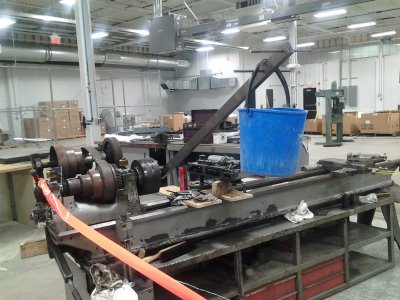
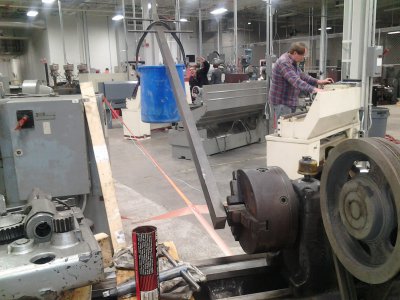
1118141941.jpg 1118141941a.jpg
 
Interesting idea you got going there. Thank you for posting.
 
I didn't notice him till after I'd posted the pics. He's one of my clown although best students. I was concentrating on what was in the frame. I called a welding instructor in the same building and asked him to check on the position of the bucket.
After about 40 hours, it's still in the same position. I'll try to stop in Sat and check again.
The next attempt will be the old 2 x 4 in reverse method. You just have to remember to
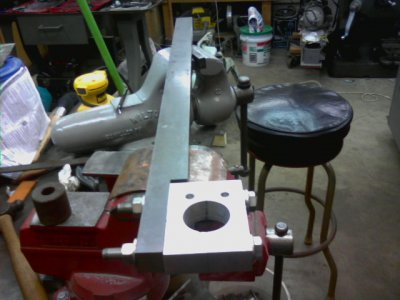
If that fails, the cone pulley has to come off and I'll clamp around the spindle and a couple of raps will do the job. I needed this to break loose a chuck on a 70 yr old 11" Sheldon. Worked like a charm even though it was a bit involved. I'm sure I'll have to rework the alum clamp to fit the SB spindle dia.[/I]

Chuck removal clamp 3.jpg chuck removal clamp 2.jpg Chuck removal clamp 1.jpg
 
Patience get's it done! How's the 14 1/2 doing?
 
The 15" SB is in the college shop I teach in and am responsible for maintaining. The 14 1/2" SB is in my home shop. I use it on a regular basis to make prototypes for shop projects. It was a $1000 steal and came with a 3-jaw chuck, QCTP, hardened ways, large dials, & collet setup. The only thing I did was replace the compound and cross slide nuts.. I was able to reasonably purchase a 7" and 13" faceplates and a Jet 8" 4-jaw so I'm pretty much set. It doesn't have a taper attachment but my 10K does.

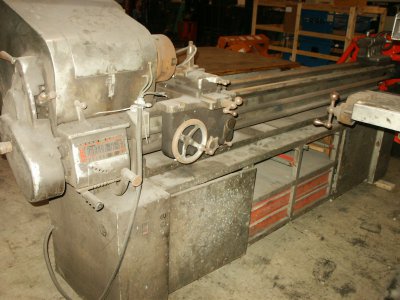
The 15" SB was a basket case, donated to the school for the tax write-off. The bed is in pretty bad shape but all the gears are good. It was dirtier than anything I've ever seen.
I'm sure when I've gone over everything I can use it for demonstration purposes.

PICT2981.JPG
 
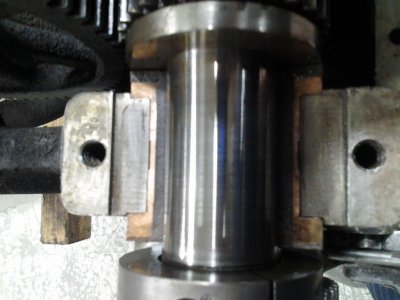
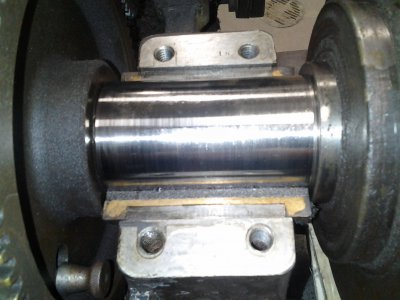
The bucket method and the 2 x 4 method didn't work so on to disassembling the spindle. It had to be done anyway. What a surprise when I took off the bearing caps and found pristine surfaces. Next week I'll pull off the cone pulley and see what it looks like.

1125142113.jpg 1125142111.jpg
 
Finally broke the chuck free. I had to strip the chuck off the faceplate and heat the faceplate with a torch to finally break it loose. It was the most stubborn chuck I've ever run across. Now, on to cleaning and reassembly of the headstock. The threads are in excellent shape.

1202142136.jpg
 
After pressing off the bull gear I found that the key was sheared in half. The only thing holding the gear in place was a burr. I replaced the key, (1/4" x 1/4" x 7/8"), cleaned the bull gear, cone pulley, and thrust bearing, and reassembled the headstock. I checked the play in the spindle bearings and found less than .0015 and end play at .001.
A shot of silicon grease in the cone pulley and that's done. Now on to the QC gear box.

1209142025.jpg 1209142025a (1).jpg
 
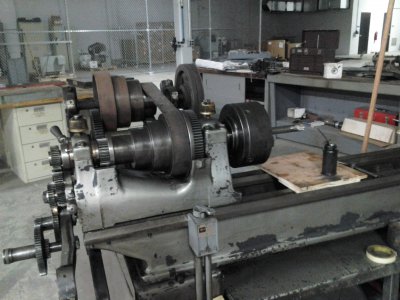
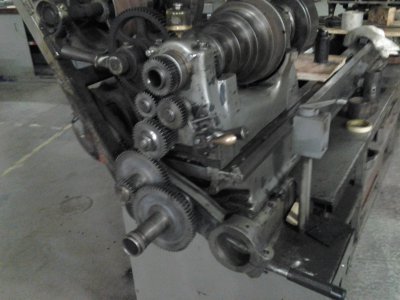
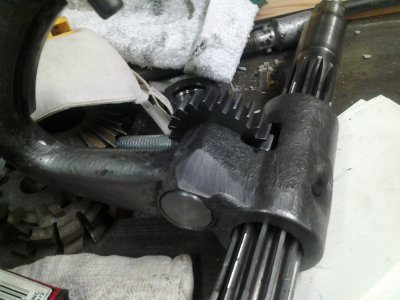
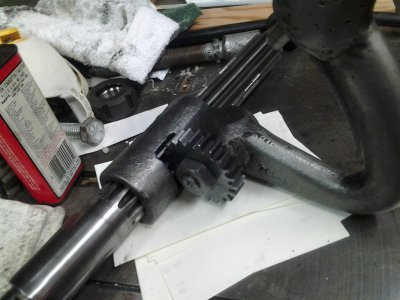
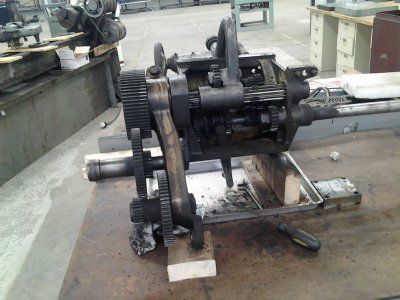
I had to machine a new gear shaft for the selecting arm in the QCGB. The old one was so worn that the gear would almost disengage from the splined shaft that the arm rides on. I verified that the bore in the cast iron arm is not worn by inserting a piece of .875" drill rod and checking for play. The new shaft has no detectable play but the gear on the keyed shaft spins smoothly. After removing the arm and splined shaft I was able to verify that all the change gears in the box were in good condition. All the end gearing has been removed, cleaned and installed on the side of the headstock as shown above. I don't know who or why the ground area on the bottom of the selection arm was done

shaft 1.jpg shaft 2.jpg 1002141224.jpg
 
Back
Top