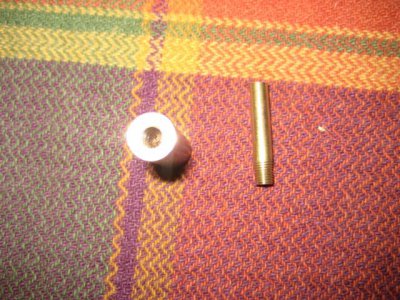
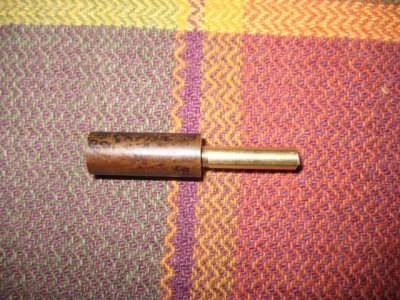
A miniature pipe thread tap and die I made - with how-to pictures

jgedde

Active User
Registered
Joined
Jun 23, 2011
Messages
786
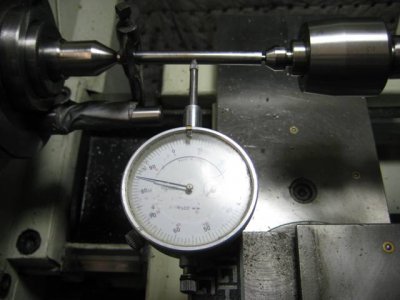
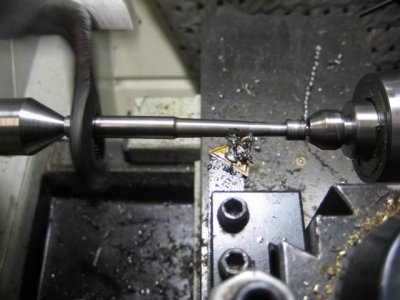
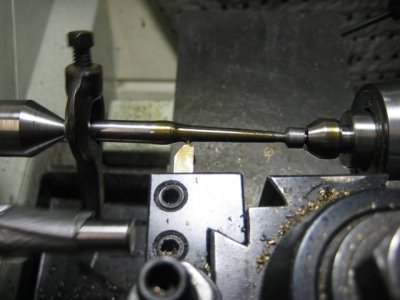
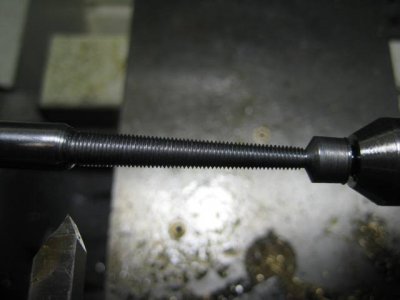
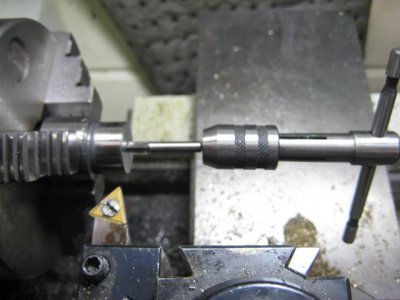
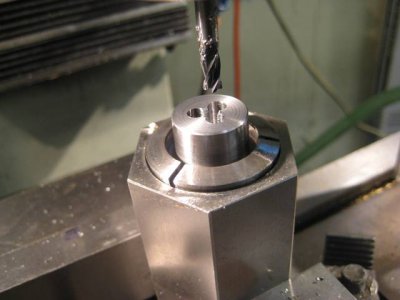
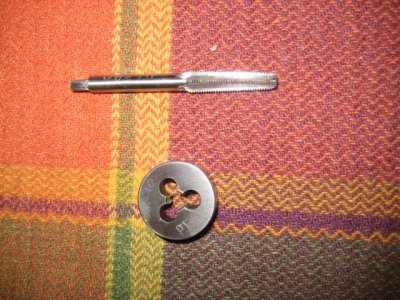
I'm building a steam engine that uses 3/16-40 pipe threads. Rather than buy an expensive tap and die set for these threads (and another set for a friend), I figured I try my hand at making some... After a bit of research into the cutting geometry, I went at it. Both were made from W1 drill rod (waterhardening silver steel for those across the pond)

Not shown in the pictures below are the hardening, quenching and tempering (straw color) processes...

Hover yoiur mouse o=ver the photo to see a description. Click on the photo to enlarge.

I made two sets...

John
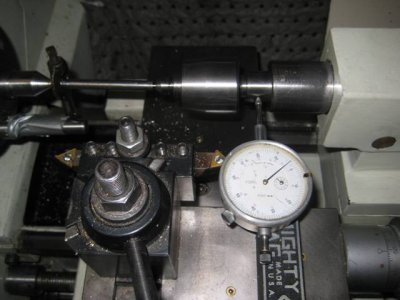
Setting the taper.jpg
Verifying the taper.jpg
Turning OD.jpg
threading.jpg
finished thread.jpg
Cutting the flutes.jpg
Using the newlay made tap to thread a die.jpg
Cutting the rake holes.jpg
Finished tap and die set.jpg
Test threads.jpg
They Fit.jpg

Turning OD.jpg threading.jpg finished thread.jpg Setting the taper.jpg Verifying the taper.jpg Cutting the flutes.jpg Using the newlay made tap to thread a die.jpg Cutting the rake holes.jpg Finished tap and die set.jpg Test threads.jpg They Fit.jpg
 
Last edited:
That is pretty good! I made a special tap years ago with less equipment. It needed to work just one time. Since I used just mild steel I case hardened the tap and finished the flukes with a Dremel. Very nice pictures as well makes the setups easy to understand.
 
That is pretty good! I made a special tap years ago with less equipment. It needed to work just one time. Since I used just mild steel I case hardened the tap and finished the flukes with a Dremel. Very nice pictures as well makes the setups easy to understand.

Thanks! I was surprised how durable they turned out to be after hardening and tempering. Especially since I used a hardened and tempered W1 tap to cut the annealled W1 die. It cut like butter. Just for kicks I jammed the tap to see how brittle it was and it didn't break. I did, however, only harden the threaded portion of the taps leaving the shank annealed so that's where it wanted to twist.

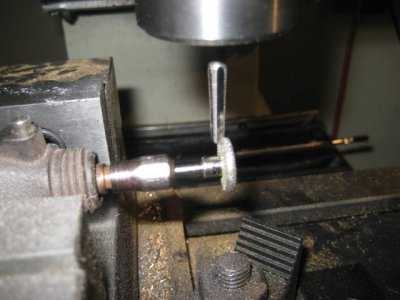
These should last my friend and I a lifetime, unless we break one. They can always be sharpened in the same manner I used to cut the flutes (A Dremel with a radiused diamond wheel clamped in the mill vise. The quill was raised and lowered with the mill off to grind the flutes).

Notice the die isn't adjustable as would be necessary with a stright thread using the actual tap to cut the die. Doesn't need to be that way with a pipe (tapered) tap (I think).

John
 
John,
Excellent job! I need to make a similar (NTP) tap and die in size 1/4-32, and will use the tail-stock offset method like you did. But I'm curious how you determined the amount of taper for your tap, or did you use the standard 3/4" per foot? (Btw, it was your post that inspired me to join the forum.)
Drillrod
 
Great work. I like the nice clear photos. I have just been through the process of trying to find industrial quality taps and dies in HSS and if I needed them infrequently would have gone the same route as you did.

Paul.
 
Back
Top