- Joined
- Dec 29, 2012
- Messages
- 394
Since last year was not happy with my inexpensive 125mm 4 jaw independent chuck. Partly because of inherent inaccuracies, partly because I used it as the main chuck for more than 7 years, partly because I learned a lot of machining on it, it developed the usual bad habit of unacceptable runout.
Although I tried some grinding on the jaws and adjusting it (full story here) the results did not last long. My chuck started suffering from the “bell effect”, that is when it grips ok the piece with the front of the jaws but it just touches it with the back of the jaws unless you over tight the jaws. So was looking for some time for a quality 4 jaw independent chuck to replace the old horse.
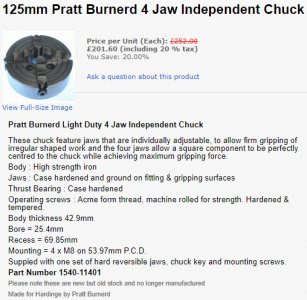
Some time ago I made an inquiry for a 4jaw and I was offered by Rotagrip (no connection with them other than happy customer) a fair price for a 125mm Pratt Burnered chuck made for Hardinge that was “New Old Stock without a chuck key” so I made the brave decision of buying it.
As the cost of it, with postage, turned my budget into cherry red, I decided not to buy a backplate for it but to make my own as I already did for the previous 4jaw chuck.
Unfortunately it did not fit to the backplate I had already made as the old chuck’s recess was 95mm (3.75”) and the new was 69.85mm (2.75”).
To play safe I needed some material 20mm (0.7”) thick for that work that I do not have.
What I have is a piece of steel (I suspect it is hot rolled) 10mm (0.4”) thick 300X 500 mm (11”x20”) that is too thin to make the backplate unless… you make it using two pieces.
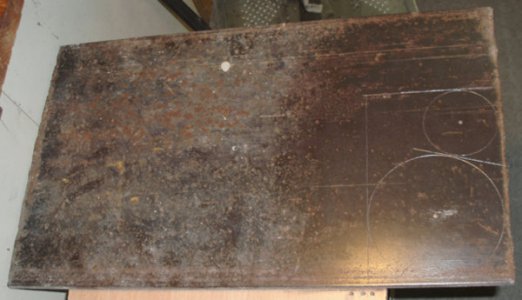
I slept on the problem for a couple of nights and the best solution I worked out was to make it modular avoiding any weldings that will warp the backplate.
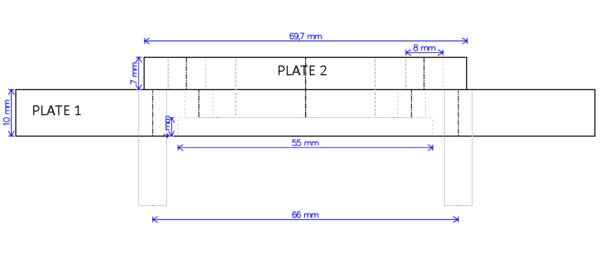
Ok but it needed to be very accurate and strong… so I decided on an approach I could tackle with my mini lathe. This is the first sketch I made.
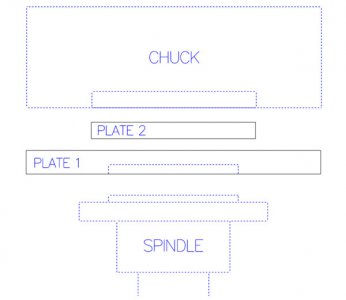
Large plate will be connected to the spindle, the small plate will be connected to the chuck and both of them will be connected together.
That means holes for the chuck, holes for the spindle, holes for connection between them and a 30mm hole in the center…
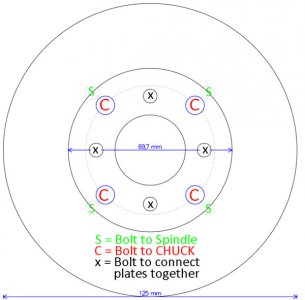
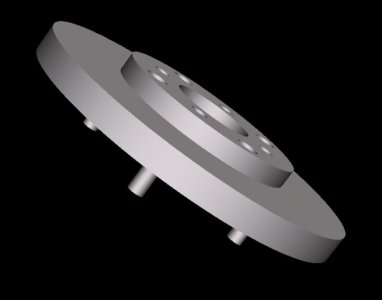
So the connection will be like the following sketch
And the rendering of it
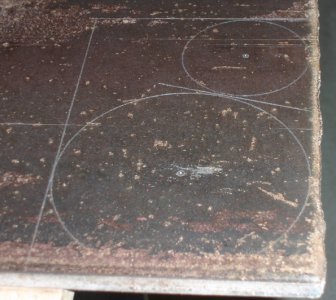
With my dividers I scribed two circles of the appropriate diameter on the material.
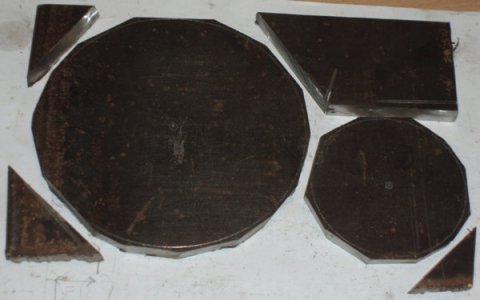
And using my angle grinder in 15 minutes I had the material to work with.
First the large plate drilled and taped 10mm to accept a threaded rod so it could be secured on the spindle. The backplate’s side that goes on the spindle was the first to be prepared
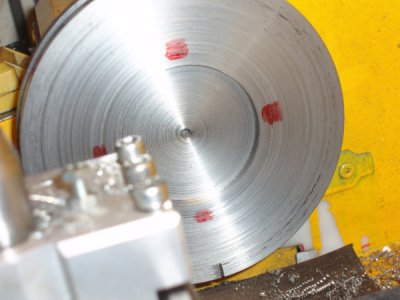
Next 4 holes drilled and taped, 4 bolts were screwed and the plate was reversed and bolted to the spindle without the threaded rod to bore the center hole.
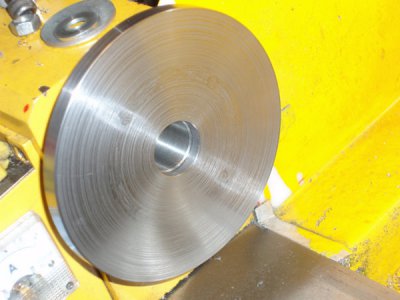
Through the center hole, the second plate I have cut, (the small plate) was secured using the same method as before, (threaded rod through the spindle). It was centered and machined to fit the chuck’s back. Moreover I made a recess so the small plate could be accurately centered to the large plate
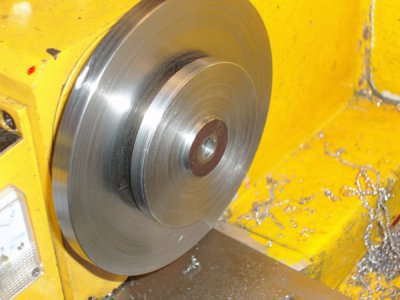
The small part perfectly fits the back of the new chuck.
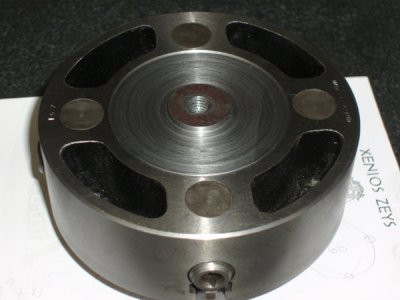
Using 8mm center punch I transferred the hole positions through the chuck, drilled and tapped them 8mm.
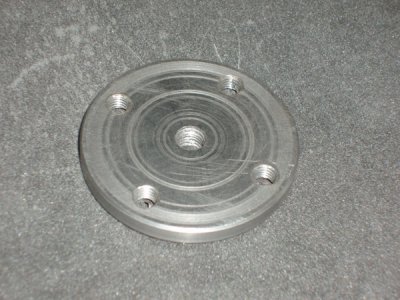
Then I connected two plates together and drilled the holes for the connection bolts
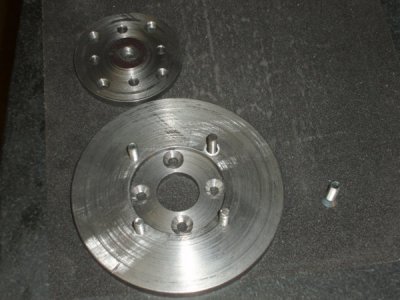
The recess on the small fits tightly to the center hole of the large plate. This way the two parts were centered when bolted together
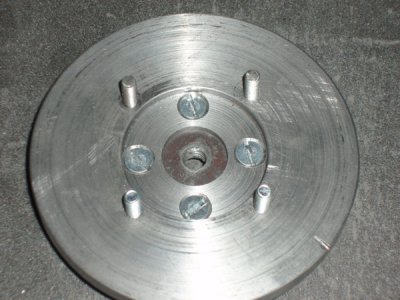
So the chuck will be concentric to the backplate (large+small plate bolted together)
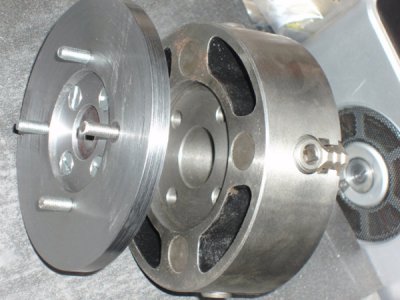
Refited the connected parts to the lathe and made the center hole to the small plate.
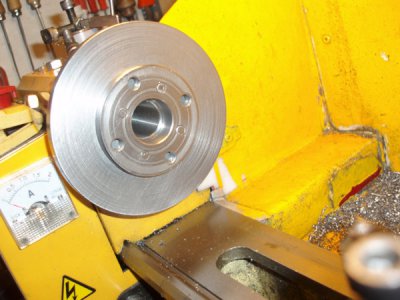
The chuck fitted on the new backplate.
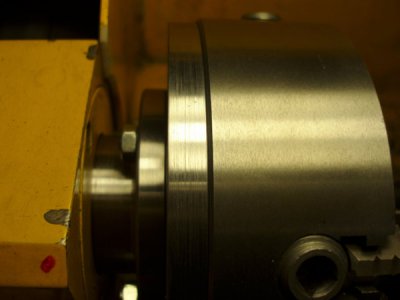
All is perfect! I have a working backplate for my new chuck
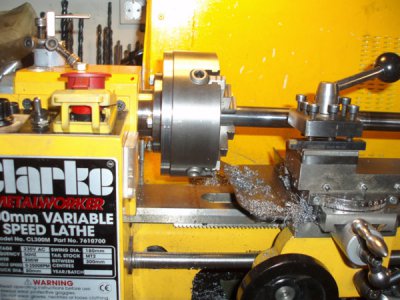
Its a funny thing to have HARDINGE scribed chuck on a inexpensive mini lathe though!!
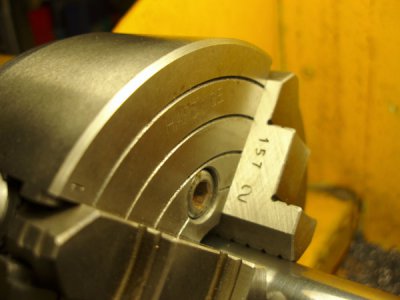
How accurate it runs?
I read 0.01 mm (0.0004”) near the chuck and 0.02 mm (0.0008”) 5” away from the chuck.
I can’t complain about that!!!!
Thanks for reading
Petros
Although I tried some grinding on the jaws and adjusting it (full story here) the results did not last long. My chuck started suffering from the “bell effect”, that is when it grips ok the piece with the front of the jaws but it just touches it with the back of the jaws unless you over tight the jaws. So was looking for some time for a quality 4 jaw independent chuck to replace the old horse.
Some time ago I made an inquiry for a 4jaw and I was offered by Rotagrip (no connection with them other than happy customer) a fair price for a 125mm Pratt Burnered chuck made for Hardinge that was “New Old Stock without a chuck key” so I made the brave decision of buying it.

As the cost of it, with postage, turned my budget into cherry red, I decided not to buy a backplate for it but to make my own as I already did for the previous 4jaw chuck.
Unfortunately it did not fit to the backplate I had already made as the old chuck’s recess was 95mm (3.75”) and the new was 69.85mm (2.75”).
To play safe I needed some material 20mm (0.7”) thick for that work that I do not have.
What I have is a piece of steel (I suspect it is hot rolled) 10mm (0.4”) thick 300X 500 mm (11”x20”) that is too thin to make the backplate unless… you make it using two pieces.

I slept on the problem for a couple of nights and the best solution I worked out was to make it modular avoiding any weldings that will warp the backplate.
Ok but it needed to be very accurate and strong… so I decided on an approach I could tackle with my mini lathe. This is the first sketch I made.

Large plate will be connected to the spindle, the small plate will be connected to the chuck and both of them will be connected together.
That means holes for the chuck, holes for the spindle, holes for connection between them and a 30mm hole in the center…

So the connection will be like the following sketch

And the rendering of it

With my dividers I scribed two circles of the appropriate diameter on the material.

And using my angle grinder in 15 minutes I had the material to work with.

First the large plate drilled and taped 10mm to accept a threaded rod so it could be secured on the spindle. The backplate’s side that goes on the spindle was the first to be prepared

Next 4 holes drilled and taped, 4 bolts were screwed and the plate was reversed and bolted to the spindle without the threaded rod to bore the center hole.

Through the center hole, the second plate I have cut, (the small plate) was secured using the same method as before, (threaded rod through the spindle). It was centered and machined to fit the chuck’s back. Moreover I made a recess so the small plate could be accurately centered to the large plate

The small part perfectly fits the back of the new chuck.

Using 8mm center punch I transferred the hole positions through the chuck, drilled and tapped them 8mm.

Then I connected two plates together and drilled the holes for the connection bolts

The recess on the small fits tightly to the center hole of the large plate. This way the two parts were centered when bolted together

So the chuck will be concentric to the backplate (large+small plate bolted together)

Refited the connected parts to the lathe and made the center hole to the small plate.

The chuck fitted on the new backplate.

All is perfect! I have a working backplate for my new chuck

Its a funny thing to have HARDINGE scribed chuck on a inexpensive mini lathe though!!

How accurate it runs?
I read 0.01 mm (0.0004”) near the chuck and 0.02 mm (0.0008”) 5” away from the chuck.
I can’t complain about that!!!!
Thanks for reading
Petros
Last edited by a moderator:
