- Joined
- Dec 29, 2022
- Messages
- 6
I recently found in our local web marketplace site a add of 3 old stationary engines. It was a quite OK deal in my opinion and I hauled home 3 engines and one in crates.
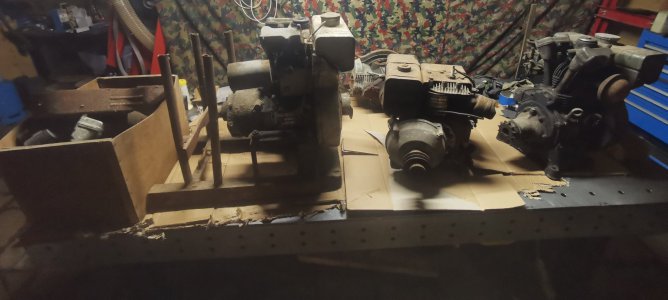
2 x Bernard W110 and one in pieces
1 Briggs and Straton 9R6
Now I have to say that I have not too much experience when it comes to engines. I was doing some work on engines since I was maybe 13. But that was mainly cleaning carburetors and so to make little 50ccm bikes make noise again. Later then fixing stuff on generators, weedwackers, chainsaw and such. Fiddling with motocross bikes or setting the contact gap on my VW Bus was probably the most I did. I did stuff on my street bike, but mainly optical or electric stuff, when it got to the motor I let my brother jump in as he's a trained bike mechanic.
However, I decided that has to change and before I dare to start building a model IC engine from scratch I should maybe attempt to bring something back to live that was already running once in the past.
So I picked now one of these motors to be my first
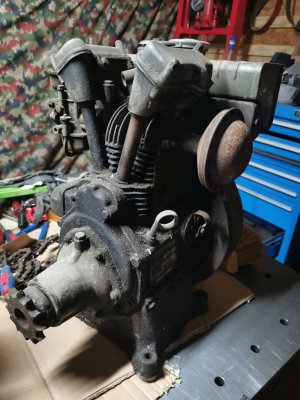
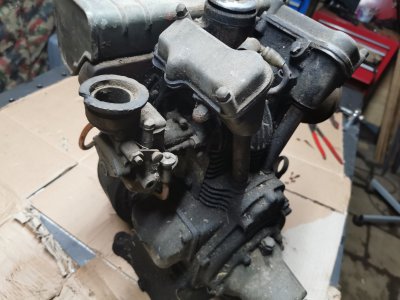
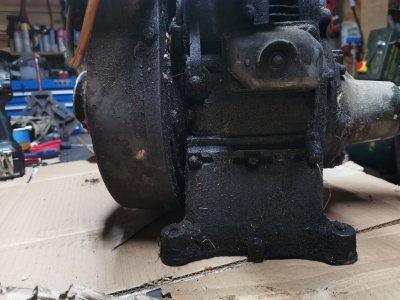
This whole engine looks like it is encrusted with a thick layer of dried up oil.
It turns however over quite nice and if I put my thumb over the spark plug hole it feels like it has at least some compression.
Not having any spark plug laying around that I know works I could not test the ignition, so that will be something I have to cross when re-building everything.
I started this project now with taking the whole thing apart and taking lots and lots of pictures. Hopefully not to much forgetting to snap to many details as there will be for sure enough head scratching on the way back up.
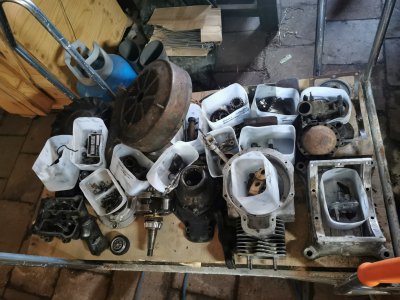
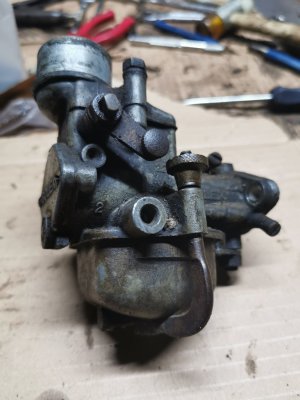
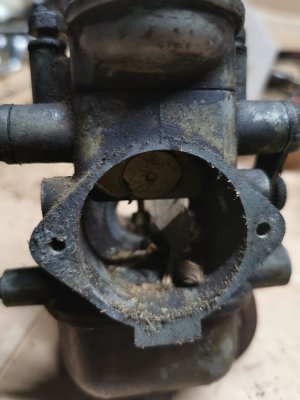
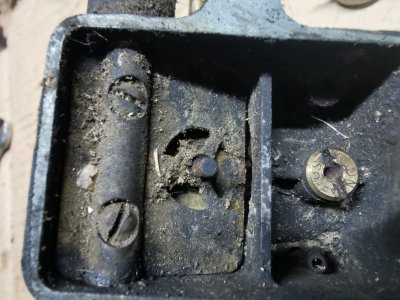
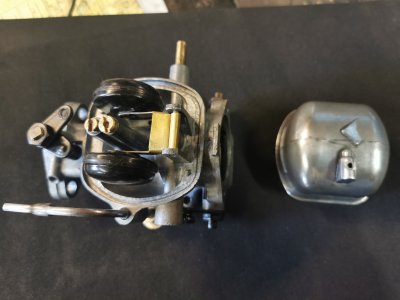
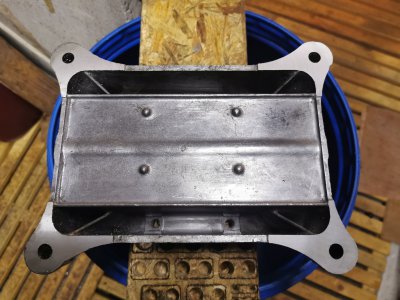
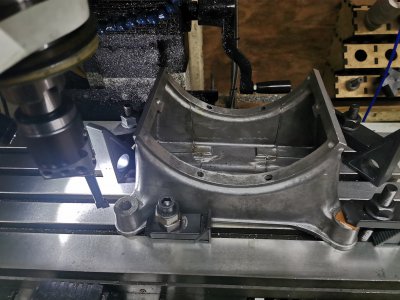
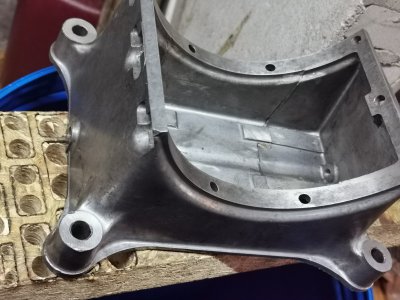
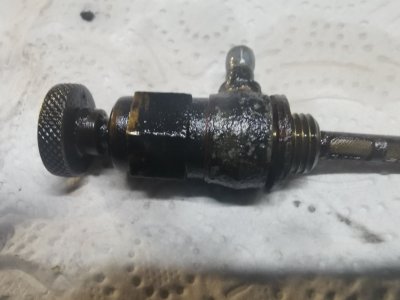
After lots of fun in taking it apart I ended up with a cart full of cleaning work.
Hope the journey will end with a running engine

2 x Bernard W110 and one in pieces
1 Briggs and Straton 9R6
Now I have to say that I have not too much experience when it comes to engines. I was doing some work on engines since I was maybe 13. But that was mainly cleaning carburetors and so to make little 50ccm bikes make noise again. Later then fixing stuff on generators, weedwackers, chainsaw and such. Fiddling with motocross bikes or setting the contact gap on my VW Bus was probably the most I did. I did stuff on my street bike, but mainly optical or electric stuff, when it got to the motor I let my brother jump in as he's a trained bike mechanic.
However, I decided that has to change and before I dare to start building a model IC engine from scratch I should maybe attempt to bring something back to live that was already running once in the past.
So I picked now one of these motors to be my first


This whole engine looks like it is encrusted with a thick layer of dried up oil.
It turns however over quite nice and if I put my thumb over the spark plug hole it feels like it has at least some compression.
Not having any spark plug laying around that I know works I could not test the ignition, so that will be something I have to cross when re-building everything.
I started this project now with taking the whole thing apart and taking lots and lots of pictures. Hopefully not to much forgetting to snap to many details as there will be for sure enough head scratching on the way back up.

After lots of fun in taking it apart I ended up with a cart full of cleaning work.
Hope the journey will end with a running engine


