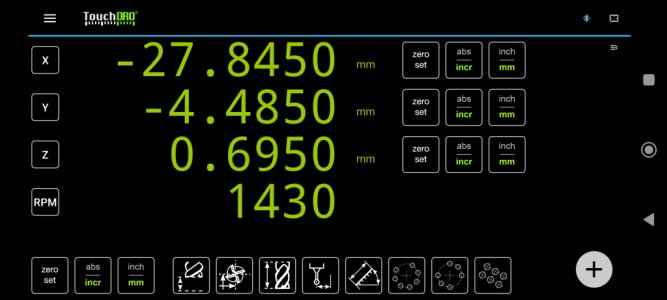
RF30 TouchDRO install

Raizer

Registered
Registered
Joined
Jul 9, 2022
Messages
13
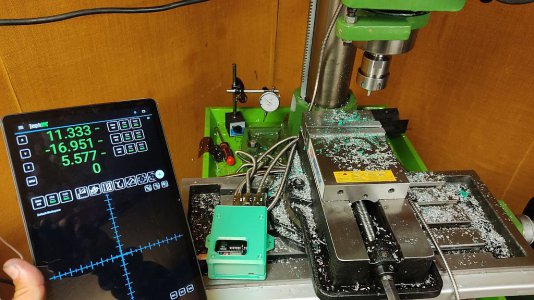
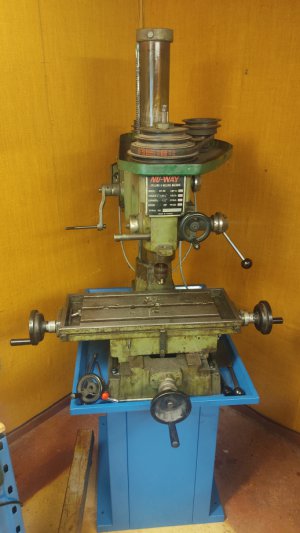
I somewhat recently picked up a deceased estate 1981 RF30 that had never been so much as plugged in, after cleaning off all the very much hardened shipping oil I figured it'd be rude not to add a DRO, so ordered a TouchDRO from Yuriy and some SINO KA500 slimline scales from Amazon.
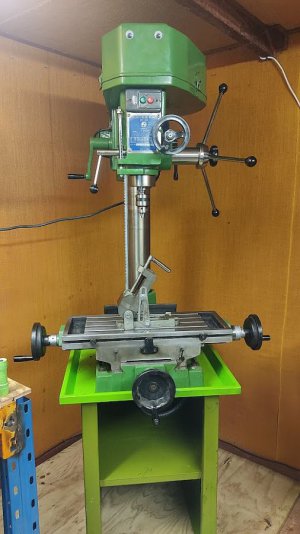
IMG_20230314_183344.jpg

A couple mates of mine modified the .STL files and 3D printed a case for the TouchDRO
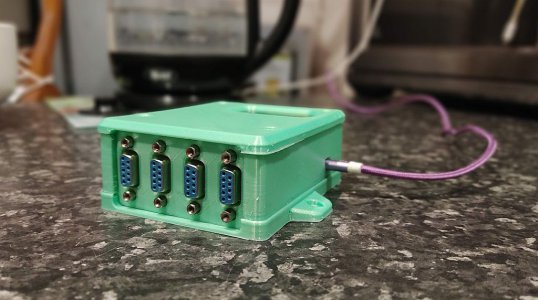
IMG_20230513_194750.jpg

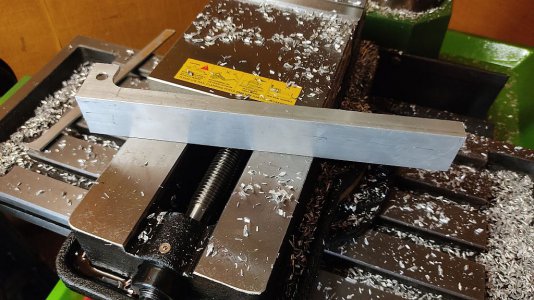
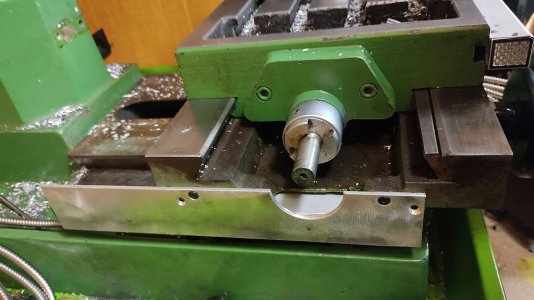
X axis install was as simple as removing the stops and mounting the scales backing plate using the factory dovetail and a little bit of milling to the bracket that came with the scales for the read head
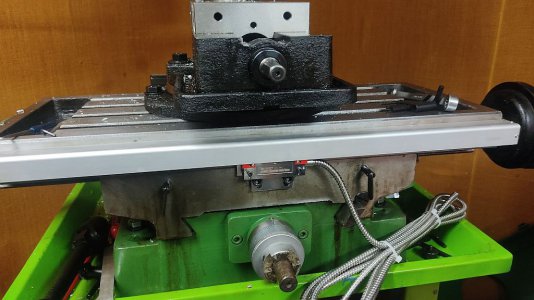
IMG_20230515_182601.jpg

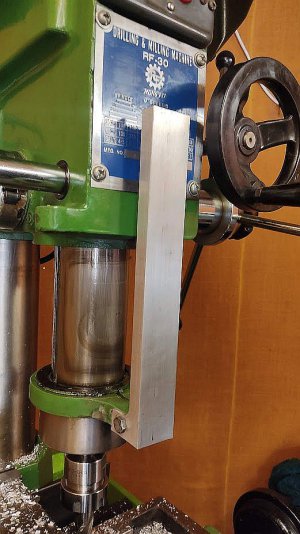
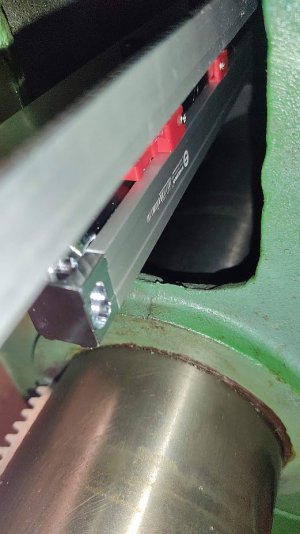
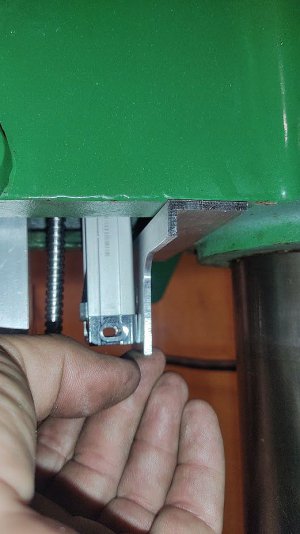
Z axis took a bit more effort

IMG_20230514_124342.jpg
IMG_20230514_124604.jpg
IMG_20230514_171912.jpg
IMG_20230514_172101.jpg
IMG_20230514_172146.jpg
IMG_20230514_174612.jpg

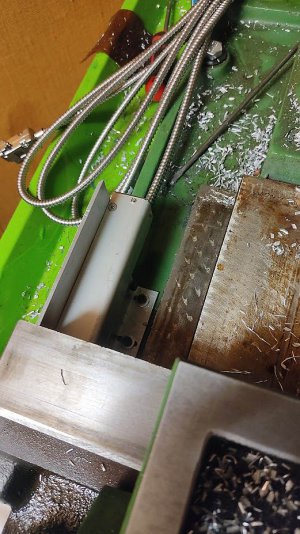
Think I might flip the scale over and run the cable out through the top and out the back of the belt cover yet, just so it's not hanging down by the spindle and the head height crank etc.
 
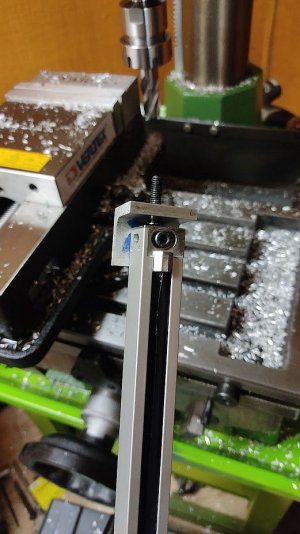
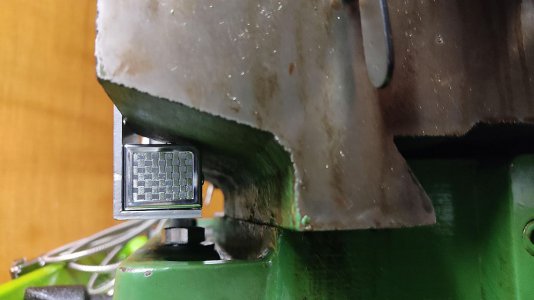
Y axis took a bit more head scratching, but having the slim scales paid off.

IMG_20230518_165720.jpg
IMG_20230518_165714.jpg

IMG_20230518_155645.jpg
IMG_20230518_165727.jpg

I'm pretty happy with that, didn't loose any travel on any axis etc.

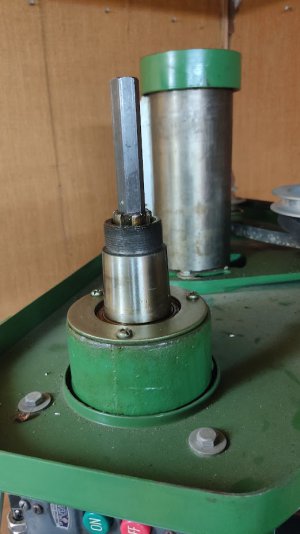
Then popped off the spindle pulley

IMG_20230518_171315.jpg

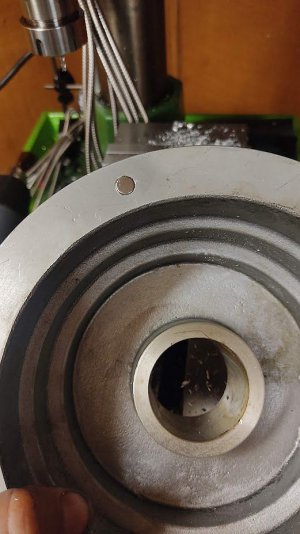
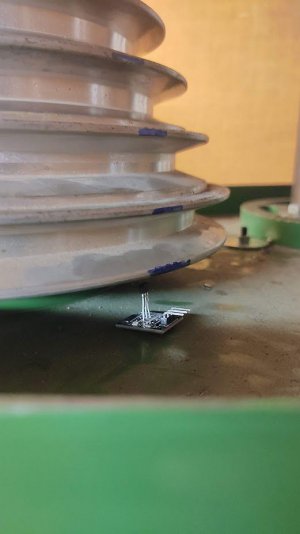
And set an 8mm magnet into the bottom of it

IMG_20230518_172031.jpg

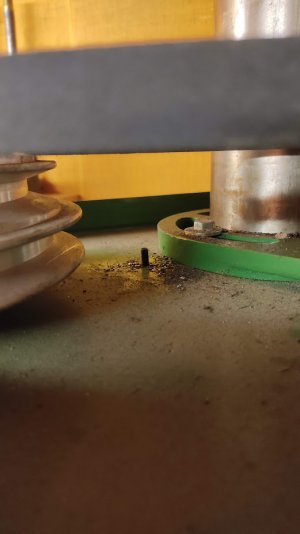
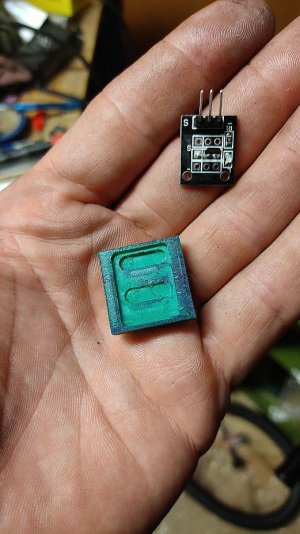
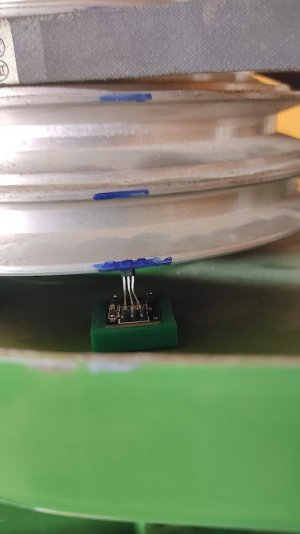
Little $6 Hall effect sensor made for Arduino tucks under nicely, just needed to come up about 7mm

IMG_20230518_172734.jpg

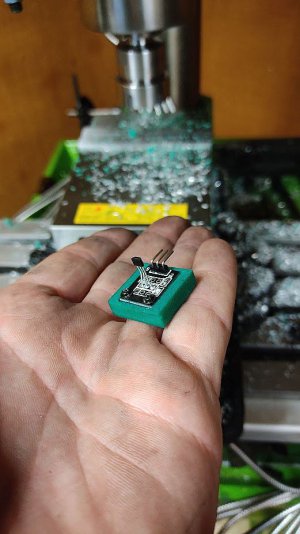
Had a chunk of what I think is green Acetal or possibly nylon kicking about so came up with this

IMG_20230519_160327.jpg
IMG_20230519_161706.jpg
IMG_20230519_161736.jpg

Held in place with some more magnets set into the bottom, meant I didn't have to drill anymore holes in the machine and made alignment a breeze haha

IMG_20230519_163224.jpg

Everything seems to be working well, so time to clean up all the chips, mount the TouchDRO to the wall or somewhere out of the way and do a bit of cable management!
Oh and swap in the 3ph motor and VFD I've got sitting on the shelf...

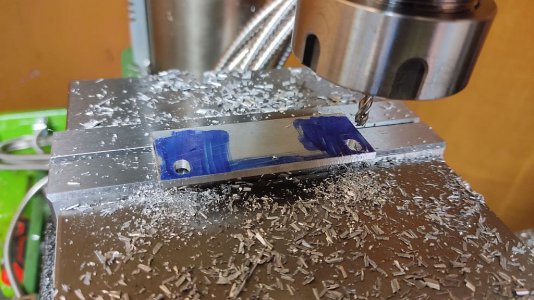
Don't think that came out too badly considering it was the first time I've actually used a mill for anything more than a glorified drill press at my old work.
 
Nice job on the installation and thanks for the detailed photos!
 
Figured I had the tach working, might as well get the 3 phase swap underway while I was at it.
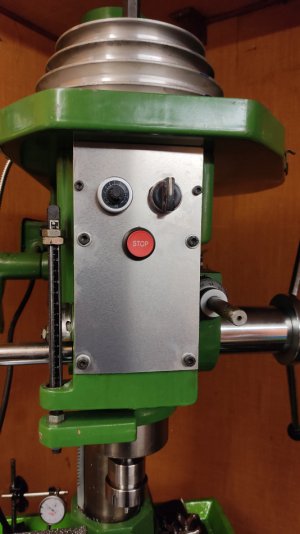
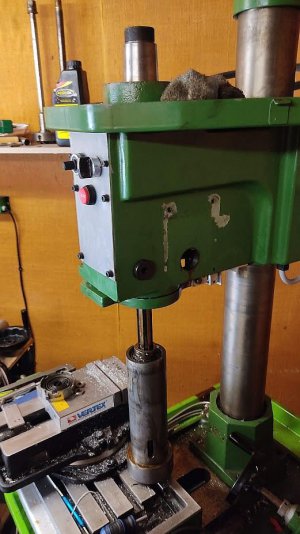
Made up a new front panel and pulled out the single phase wiring, ran some 12 core through the head for the controls.

IMG_20230522_194943.jpg

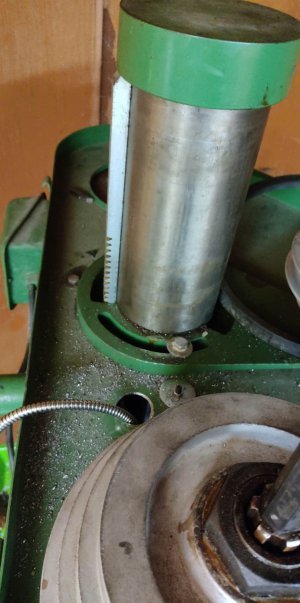
Hole sawed a spot to run the Z scale cable through, will have it come through a gromit right at the back of the belt guard.

received_102966576144070.jpeg

A few weeks before I bought this RF30 I purchased a Nu-Way CF30, it turned out to be an absolute dog of a thing with a snapped spindle.
Only upside was I got to keep the 3ph motor when I sold it off, buyer wanted to go single phase and just use it as a drill press or something.

IMG_20230522_205650.jpg

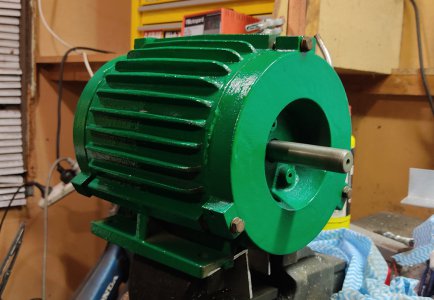
I stripped the motor today and it all looked good, one kinda noisy bearing and just some filth inside from it's 42 years of service.
Gave it a good clean, new bearings and a rattle can rebuild.

IMG_20230522_195016.jpg
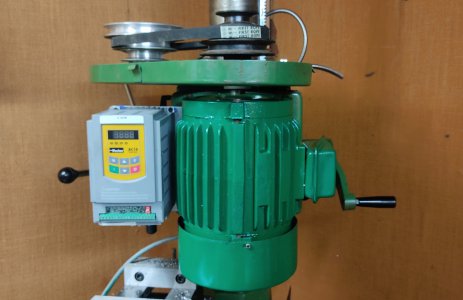
Mounted up with a basic mount for the VFD that should keep it out of the way of chips etc and minimising cable runs.

IMG_20230522_195055.jpg

Couple more hours trimming and running wires etc and it'll be all go.
 
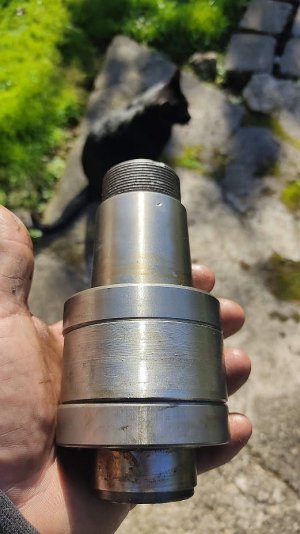
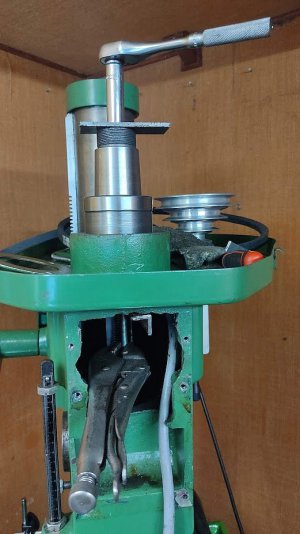
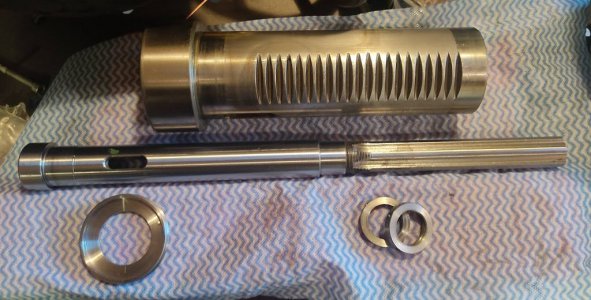
While I was setting up the new motor etc I noticed the middle pulley was very stiff to turn, to the point it was almost locked, bit more investigation showed the spindle was very tight as well.

While the mill is "new", 40odd years of sitting unused really hasn't been good for the grease in the bearings at all, it's gone rock hard.

So there was only one thing for it
IMG_20230526_123420.jpg.0a4bab77a74fc2818740936c9e72b784.jpg
IMG_20230526_124701.jpg.5b899bb442e89a0c6dbe6f7f88204de6.jpg
IMG_20230526_144837.jpg.4ce9ea126c9a953818c7dfa4d79fc4d2.jpg
It almost looks to me like the factory used a cold chisel to make clearance for the original switch, that was done before the factory red primer/green paint was applied!

IMG_20230526_152945.jpg.f580fafb35bc5bda8f9733c342e0ffe4.jpg

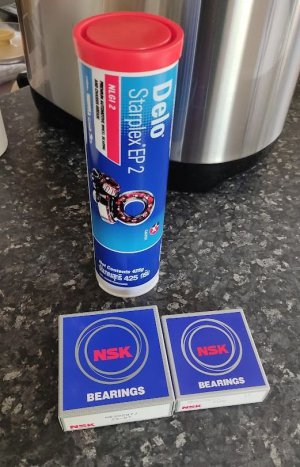
I really wanted to change to sealed angular contact spindle bearings while I was at it, but it seems they simply don't exist in New Zealand.

So it got a fresh pair of tapered rollers for now.
IMG_20230527_123851.jpg.e92198d50e872a3146d6addc5855a715.jpg

All back together and everything is turning super easy and smooth now, success!

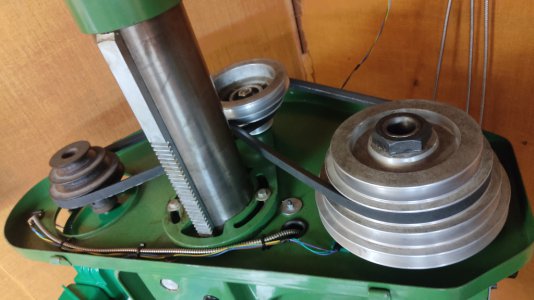
Z axis and tach wiring routed through the belt cover.

IMG_20230528_233232.jpg
IMG_20230528_233312.jpg
TouchDRO seems to be working perfectly, haven't calibrated it yet, but I set the scales to 5080 and they are reading dead on with the scales on the hand wheels.
VFD is awesome to have too, so much so that I've just picked up a .75kw 3ph motor to go in my lathe next.

Set it up with a max of 70hz, been told it should be safe for up to 120hz but I'm going to err on the side of caution I think!

The bigger pulley that came on the 3ph motor gives bang on 1200rpm spindle RPM at 50hz with the belt set where the original motor was giving 1046rpm and the chart said 1110rpm (we've got 50hz supply here).


Oh and a couple hours after getting it back together I came across ZEN bearings, so have the angular contact bearings coming from Ireland now ha
 
Last edited:
Back
Top