2016 POTD Thread Archive

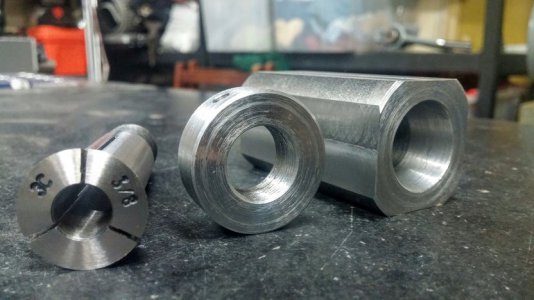
Here you go, the main part of the clamp. The two threaded holes secure the second part of the clamp with a set screw in the center that locks everything down. Basically a jack screw.IMG_1174.JPG
 
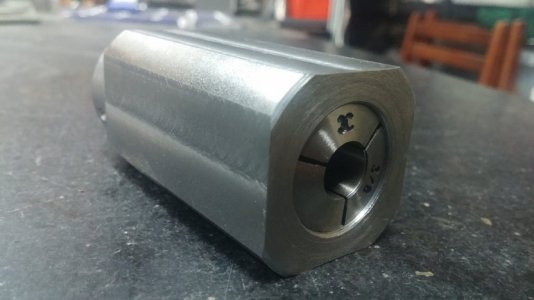
My first POTD contribution. A small thing, but a number of firsts for me. A 3C collet Block. Wanted to get more use of the 3C collet set I have. 4140 steel. Turned out really well. I have roughly a +/- .001 on all sides when gripping a ground shaft in the closed collet. Uses a spanner wrench to tighten the nut. I've since used cold blue as a finish. This is in its just finished state.

1. First successful single point threading.
2. First internal thread.
3. First Non Standard thread. Its .640" x 26 TPI

Going to make a hex version next. The tooling marks in the picture are way more pronounced than in reality. Its very smooth and fits perfectly.


20160116_191641.jpeg 20160116_191510.jpeg
 
Nice job, one thing I would do is face the front so that the collet sits just proud of the block in the closed position.
Is the taper just turned or did you grind it?
 
Chevydyl - I had thought about a face cut like you suggest, and still may. But also thought it might protect the collet a little. It looks a bit more exaggerated in the pic than in use.

I turned the taper using the compound. Set up a dial indicator and did some geometry for compound movement to set the angle of 12 degrees. Collet fit is very tight, and smooth. Still working out my grinding thoughts (posted in a separate thread).
 
Nothing too major last night as I got out of work later than I would have liked.

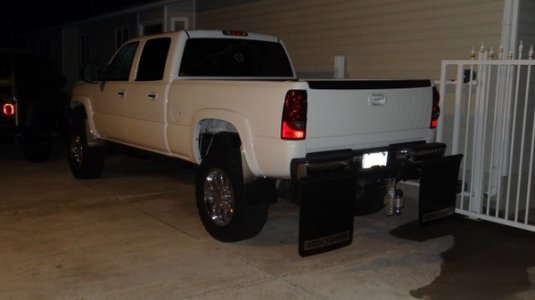
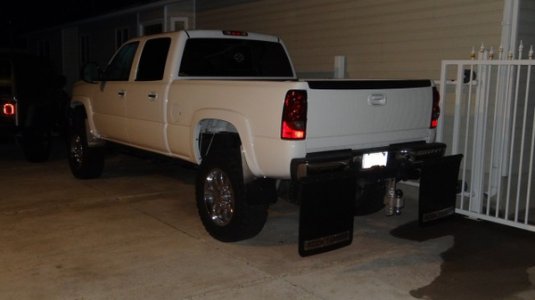
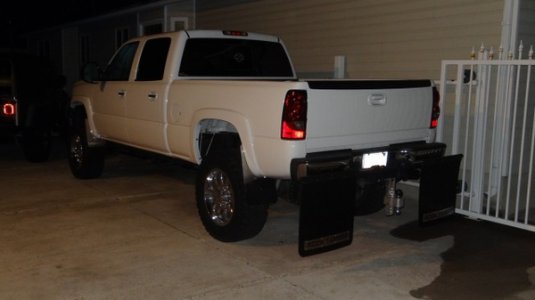
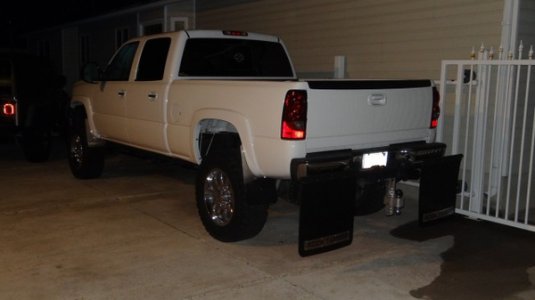
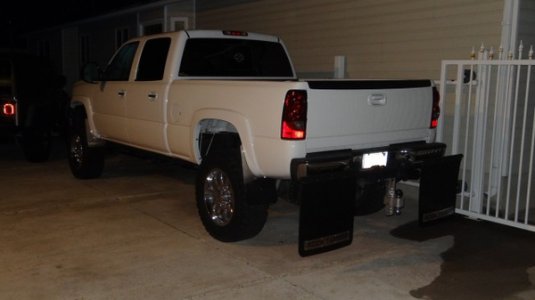
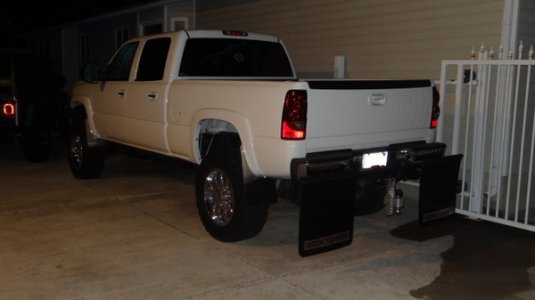
Back-story: I had built a removable mudflap system for my 1986 Suburban about 15+ years ago because I don't care for the looks of large mudflaps on my vehicles, BUT I do like the protection they offer and chips that they prevent to my trailers. The set I built for my Suburban were long before the Rock Tamer branded system came out and was a piece of receiver tubing with only one jam bolt to lock it on the hitch and a piece of 1"x.188" square tubing welded across and the flaps hung from that and capped to prevent corrosion.

The ones I built I keep hanging on the wall in my garage but are a bit too short for my 2006 Duramax with 6" lift and 36" tires. So I purchased a set of the Rock Tamers last week and gave my other set to my son for his Duramax as it is closer in height to what my Suburban was. I was going to build me another set and have them powder coated but powder coating has gone up tremendously lately and the overall cost to build me a set was going to be close to what I could get a set of Rock Tamers for, so I merely ordered a set of Rock Tamers and installed them last night. Tonight I need to fabricate another hanging system to hang them in the garage.

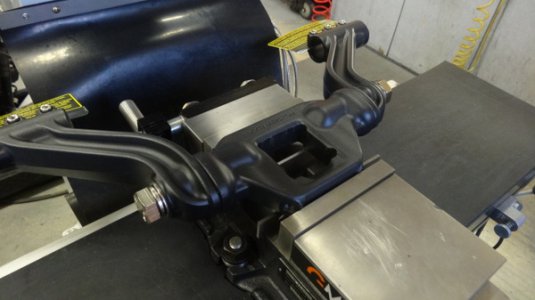
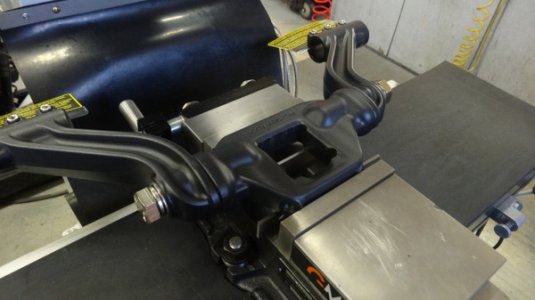
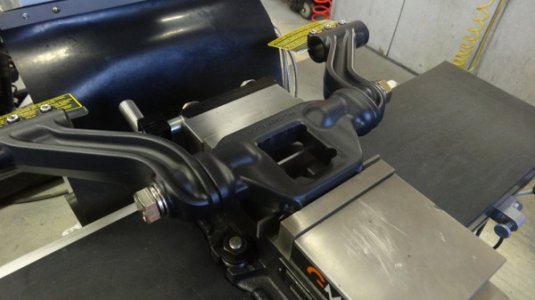
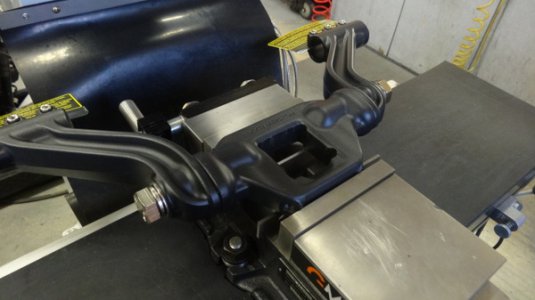
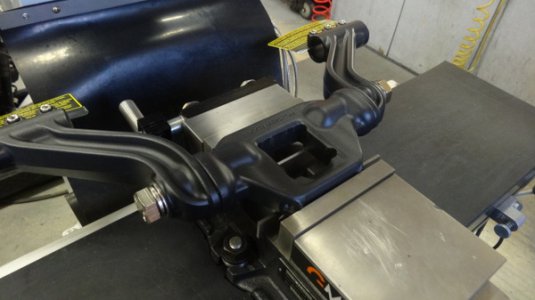
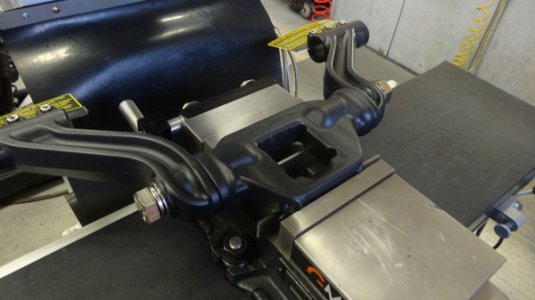
I ran into a small snag right out of the box, literally.:lol: For the Rock Tamers to fit they need 1" of clearance between the receiver and the drop on the hitch. My DT (Diversi-Tech) aluminum hitch system was just shy of the 1" clearance needed. No problem, that is what the mill is for. I opted to remove the needed .090" from the center bracket for the mudflaps vs. compromising the integrity of my hitch.
538kuh.jpg

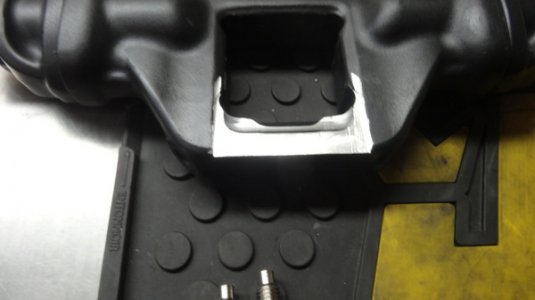
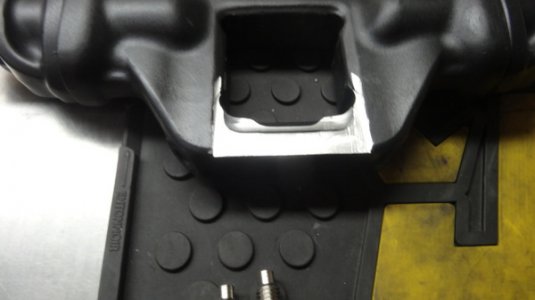
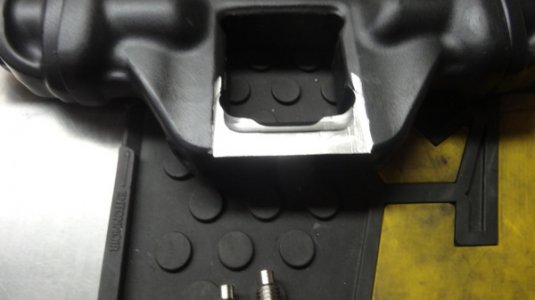
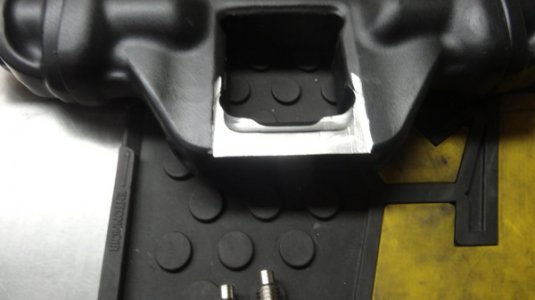
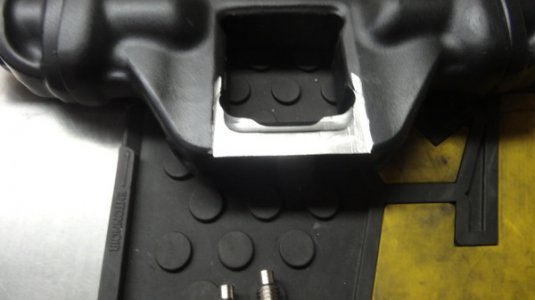
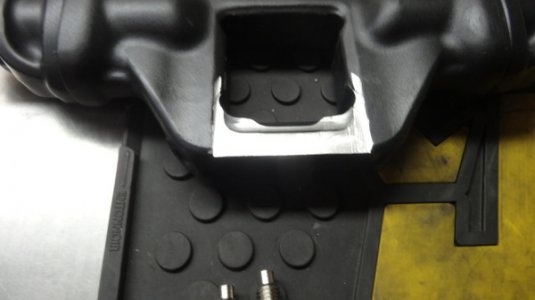
Only needed to remove .090" from the bottom portion and a ball mill to contour the lip so it would sit snugly between the hitch's drop and the receiver.
2cq17ki.jpg

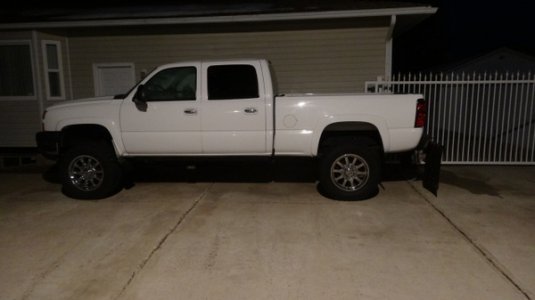
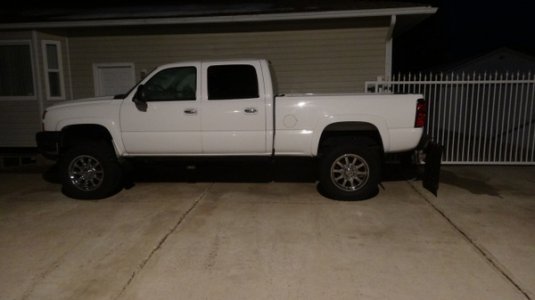
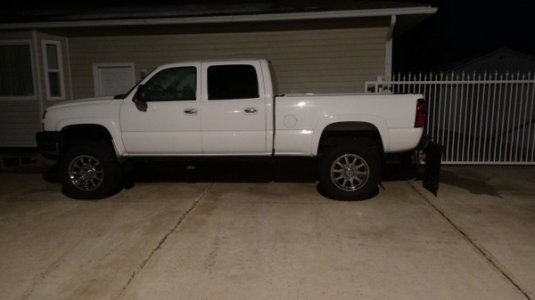
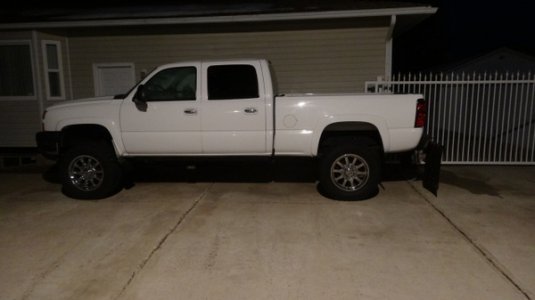
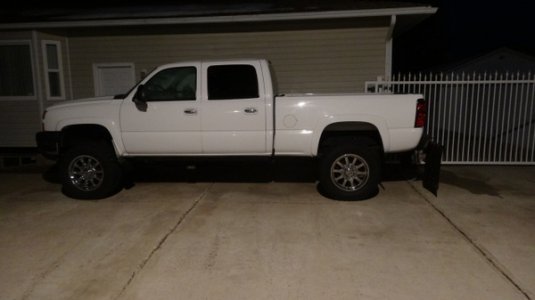
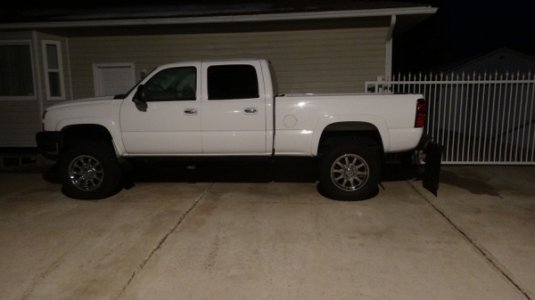
Modification completed and mudflap system installed on my truck.
neu8p4.jpg

20q16d4.jpg

Mike.

538kuh.jpg

2cq17ki.jpg

neu8p4.jpg

20q16d4.jpg

538kuh.jpg

2cq17ki.jpg

neu8p4.jpg

20q16d4.jpg

538kuh.jpg

2cq17ki.jpg

neu8p4.jpg

20q16d4.jpg

538kuh.jpg

2cq17ki.jpg

neu8p4.jpg

20q16d4.jpg

538kuh.jpg

2cq17ki.jpg

neu8p4.jpg

20q16d4.jpg
 
I started on a "socket caddie" during Thanksgiving weekend, but smoked the. .25 hp motor on my mickey mouse drill press.
I got the go ahead to get a replacement drill press for Christmas, so I did some serching.
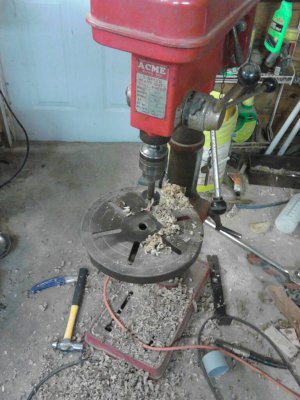
On Craigslist about 35 minutes from me was this.
uploadfromtaptalk1453518819970.jpg

The owner said it was his late fathers, and it hadent drilled a straight hole in 20 years. He went on to say it had a bent spindel. I set up a time to eyeball it and negotiated him down to $50.
2 weeks ago I got a chance to really clean it up, it needed a new cord, and a switch.
The morse 2 to jt3 chuck adapter had about 15 thousants run out, so a new one was ordered.
This evining the family was still out and about when I got home sooooooo.
The chuck now has .003" run out.
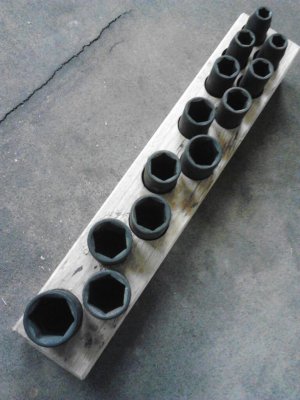
The holes were finished (I lacked the 3 biggest ones)
and the 1/2" drive impact sockets now have a non plastic resting place.
uploadfromtaptalk1453519211562.jpg
:D

Sent from somewhere in East Texas Jake Parker
 
Storing Metal Sockets in a Wooden holder may not be the best idea. Wood will absorb moisture and they may rust.
I see they are oxide coated but is no guarantee for protection.
 
Storing Metal Sockets in a Wooden holder may not be the best idea. Wood will absorb moisture and they may rust.
I see they are oxide coated but is no guarantee for protection.

That's definitely a possibility, but a few coats of polyurethane would look good and address the moisture issue. You could pour some directly into the holes and let it soak in good and thoroughly coat the sides with a small brush . Mike
 
Back
Top