2013 POTD Thread Archive

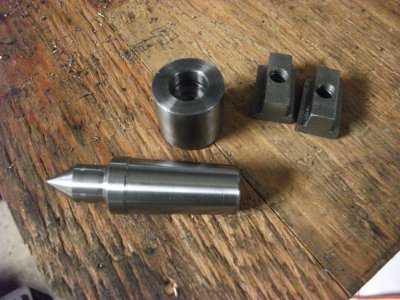
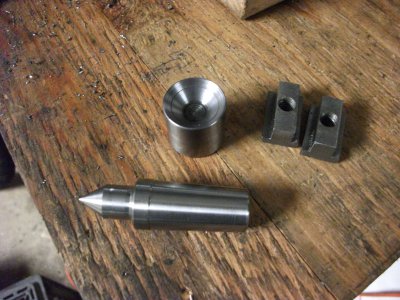
Made a couple of tools, the first is a tool for quick aligning my rotary table. It also works as a 60 deg. center. By mounting the shaft below the center in a 1/2" collet and then aligning the MT-2 taper in the hole of the rotary table I get REALLY close to centered. (close enough for most work, Rounding corners, or curved slots)
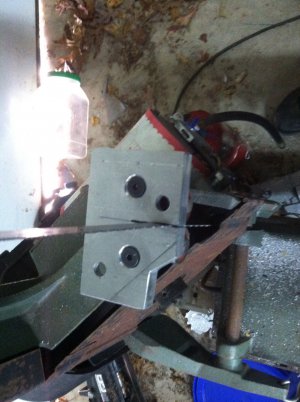
The other tool is for a friend and is for use with a hammer drill to drive in masonry anchors. The bored to .502" will get a .5 hammer drill bit welded into it. the cone bored on the other end is to keep the tool from sliding of the anchor as it is hammered in by the drill. It should work for 1/4" -7/8" anchors. the T-nuts I made a while back are for my Jet mill and just happen to be close when I was taking the pic so I added them. (Some new guy may not have thought of making these so it may help)
Hope some of you find these interesting,
Mark


003.JPG004.JPG

003.JPG 004.JPG
 
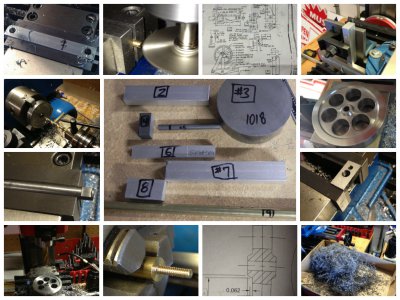
I've been working on a Christmas present for my dad. Didn't get it done in time, but put a few of the pictures together to put in a card with an I-O-U. His birthday's in Feb, maybe I'll have it done by then.
engine1.jpg

engine1.jpg
 
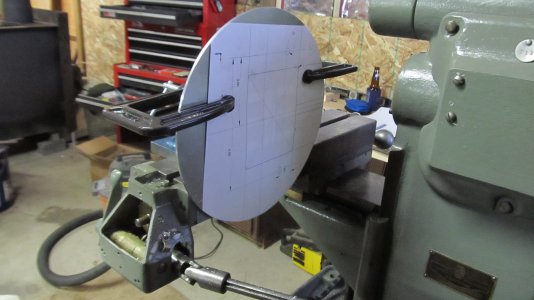
I spent the last week or so designing and building an extended base plate for my wife's Longarm quilting machine. I based it on a similar design she saw online, but would not fit her machine. It was the first project I have used my new Burke #4 milling machine on.
IMG_2360.JPG
I drew the plate layout in CAD, then printed it out full size and used a glue stick to attach to the aluminum plate. Bought the 1/8" x10" dia. plate on Ebay.
IMG_2361.JPG
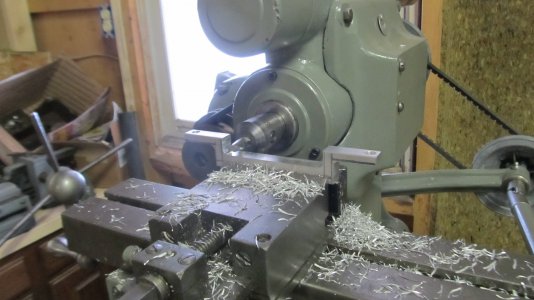
I started out trying to use a piece of 3/4" square tube I had laying around for the clamp arm, but there was not enough clearance to use a straight piece, so I had to make this one with a dog leg in it. (you'll see what I mean in the final pictures). I ran into interference issues between the tool holder and the vise, so couldn't make the offset large enough. Instead of refixturing it on the angle plate, I decided to turn down the plastic knobs to get the clearance.
IMG_2365.JPG
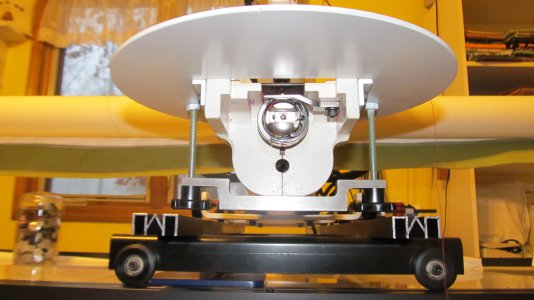
You can see the clearance issues I had in this picture. I also had to make and mount a small angle plate on each side to support the extended base plate. These stay on the longarm machine.
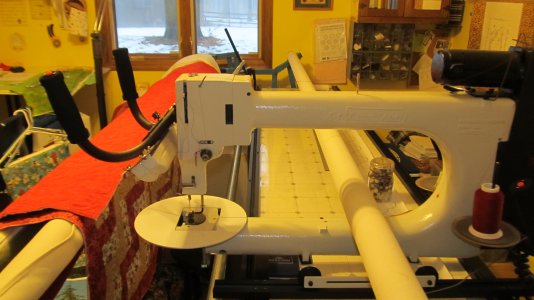
IMG_2366.JPG
Another view with it mounted on her longarm machine. I painted it so the aluminum won't make dark marks on the fabric. It can be mounted and removed with no tools required.

She seems happy...... and if momma's happy, everyone is happy!

Doing this project with the idea of posting it, I still didn't take enough pictures. My compliments to all who post with such good documentation. It's not as easy as it looks.

IMG_2360.JPG IMG_2361.JPG IMG_2365.JPG IMG_2366.JPG
 
I don't knowifI am more impressed with your work or her machine. Nice build!
 
Nice work! I was playing with my Burke #4 today as well, fun little mill, I was using the vertical attachment on mine though.
 
Thanks for the kind words aRM. I do all my work on a Myford super 7.

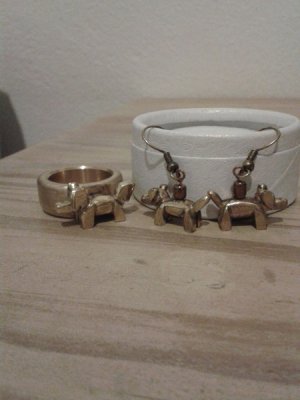
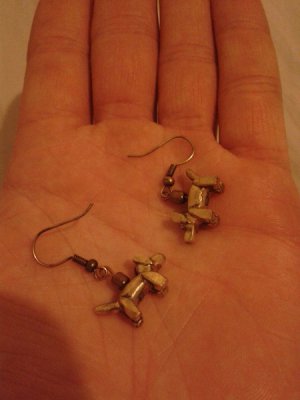
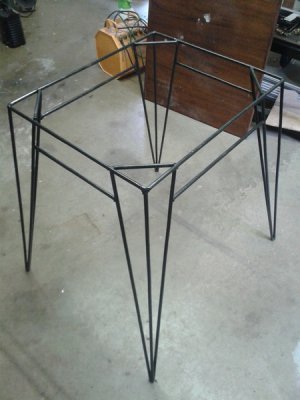
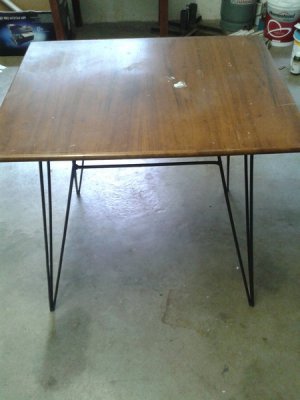
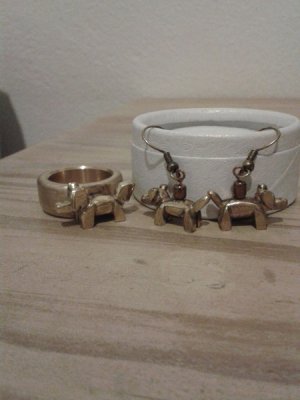
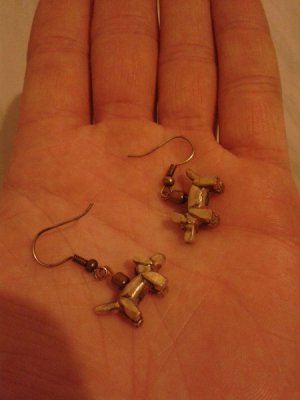
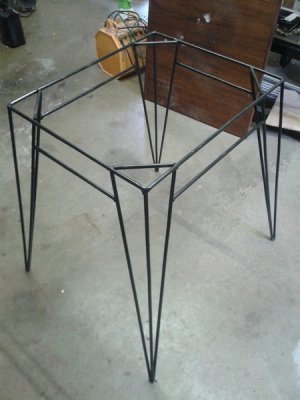
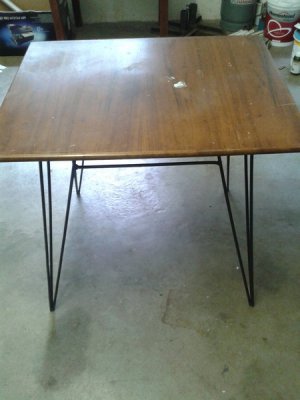
I've been working on some gifts for Christmas. The brass dog jewelery I did with files, and the table I welded up for my girlfriend.

20131225_085331_zps78f5ad0e.jpg

20131225_084912_zps2859ce1d.jpg

20131225_143532_zpse940c22c.jpg

20131225_143445_zps7854dae5.jpg

Not quite done with the table, going to add a shelf to it.

Carlos.

20131225_085331_zps78f5ad0e.jpg

20131225_084912_zps2859ce1d.jpg

20131225_143532_zpse940c22c.jpg

20131225_143445_zps7854dae5.jpg
 
Last edited:
Have a GS550L that had a rear sprocket so worn it would barely pull itself so I went to tractor Supply and bought a sprocket 3" smaller than the one I had (all they had) drilled the bolt hole pattern, opened the center dia. the same as the old one and was back on the road this morning. The smaller sprocket suits this bike well as it is a 6 speed and it was geared too low. Love having my machines
Charley...you must change both sprockets and chain too, let me explain...the distance among all pins in the chain increases with wear, thus concentrating the stress of pull on the last theeth of the rear sprocket and the first teeth of the front sproccket instead of spreading the stress on all teeth touched by the chain, wearing the sprocket fast....still have some work to do.
 
Charley...you must change both sprockets and chain too, let me explain...the distance among all pins in the chain increases with wear, thus concentrating the stress of pull on the last theeth of the rear sprocket and the first teeth of the front sproccket instead of spreading the stress on all teeth touched by the chain, wearing the sprocket fast....still have some work to do.

X2

Syaminab must be a bicycle tech!
 
Started cleaning the garage for the next project. Then decided to make the new tables for my 4 by 6 s. Not much, but should make the saws much more useful.
dave

image.jpg image.jpg
 
Back
Top