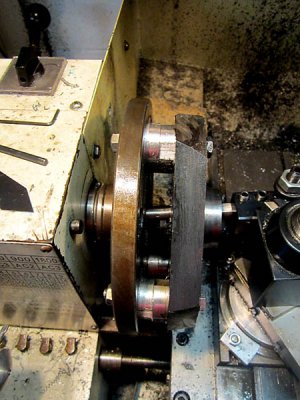
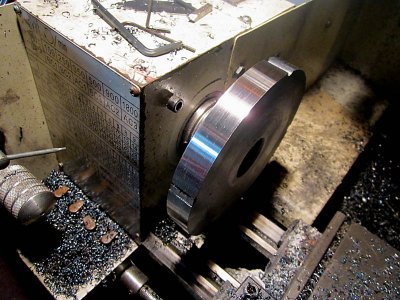
aligning the holes in the back of a chuck.

good to see progress made Charles. Presumably you have the register as a nice fit to locate the chuck and not overly close tolerance?
Ink up the back plate with bearing blue and put it on the chuck. If you can fit it together and get it apart without needing to rotate the parts then the bearing blue will leave impressions where the holes need to be. The holes should be drilled slightly oversized anyway so the screws dont try to apply any lateral force to the assembly.

Cheers Phil
 
good to see progress made Charles. Presumably you have the register as a nice fit to locate the chuck and not overly close tolerance?

:lmao: no he hasnt, still have the test bits to turn first but the nice fit rather than very close tolerance on the register sounds easier.

Ink up the back plate with bearing blue and put it on the chuck. If you can fit it together and get it apart without needing to rotate the parts then the bearing blue will leave impressions where the holes need to be.

I think I prefer the transfer screws idea as a first attempt. I didnt think that the bluing would transfer that well, nice to know.

The holes should be drilled slightly oversized anyway so the screws dont try to apply any lateral force to the assembly.

Cheers Phil

More important info, thanks Phil.
 
My new 4 jaw chuck has 4 8mm fixing bolts on the back but the holes do not go all the way through so I cannot use a transfer punch.
I need to transfer the hole centres on the chuck to the back plate so I can drill them.

1) How can I do this accurately?

My first thought (only one actually) is to turn down some 8mm bolts to a sharp point and hope they are centered, screw them into the chuck, ensure they only protrude sufficiently to touch the plate after the back register engages, say 1mm.
Give a light tap of the chuck body so they mark the soft plate. BUT, how can I get them out again?
File 2 flats and hope a pair of needle nose pliers can grip them?

2) Do the socket bolts securing the chuck to the back plate have to be counter bored to sink the heads flush or can they be left proud?

I used transfer screw set # 3086 from LittleMachineShop.com Look at this picture and it comes complete with removal tool.
http://www.littlemachineshop.com/products/product_view.php?ProductID=3109&category=
 
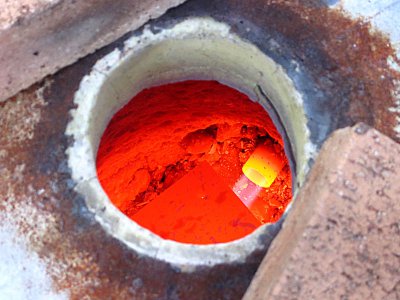
Hmm, I think it got warm enough.
red hot.jpg
A quick peek into the furnace. I left it to slowly cool down inside.

red hot.jpg
 
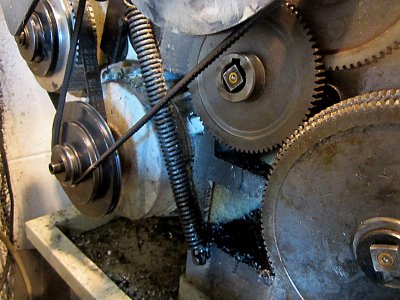
Started the test spindle today, to cut the 39x4mm thread needs an 80 tooth wheel, the only one I had has a boss so I cant fit the clip to hold it on to the shaft.
39x4 gear setup.jpg

As I will be turning the lathe by hand I thought a close eye should be sufficient to stop it from falling off. Such turned out to be the case.
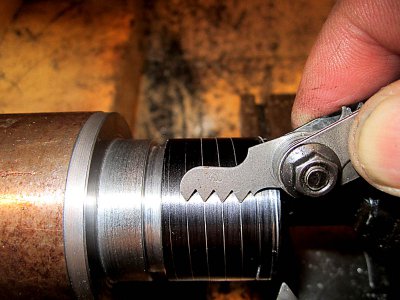
First test cut, looks good as long as you dont notice the dual start. (I forgot to back out before reversing direction setting up)
test cut.jpg

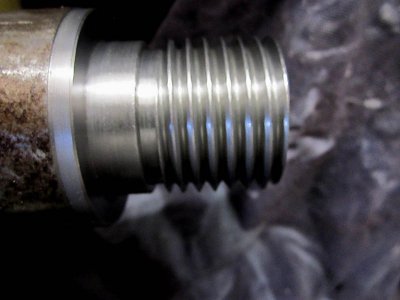
And here is the finished thread. If only it was as quick as that.

test spindle.jpg
92'F 80% humidity and 3 hours later, I was knackered, I cant believe how fast that beer went down.


screwed to face plate.jpg
But it fit great, screwed into the supplied face plate as a test.
And up flush the other side.

screwed to face plate2.jpg

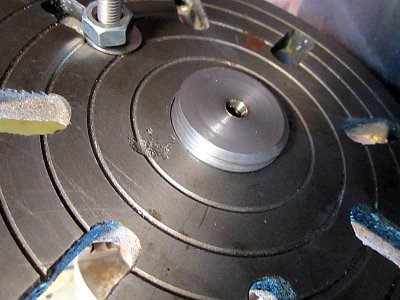
The back plate is mounted onto the face plate ready for boring and cutting the internal thread tomorrow,

39x4 gear setup.jpg screwed to face plate.jpg screwed to face plate2.jpg test cut.jpg test spindle.jpg
 
Nice work Charles, glad its coming together for you. Yeah the temp/humidity has been pretty bad of late

Cheers Phil
 
:lmao: no he hasnt, still have the test bits to turn first but the nice fit rather than very close tolerance on the register sounds easier.


I think I prefer the transfer screws idea as a first attempt. I didnt think that the bluing would transfer that well, nice to know.


More important info, thanks Phil.


Cut yourself some soft rubber plugs to fit in the chuck threaded holes so when the back plate is fitted on the chuck they will leave marks on the blueing, alternatively put the blueing on the plugs rather than on the back plate.. As mentioned the holes can be oversize to allow for fitting assuming the register is accurate it will not matter. Step out your PCD pop marks with a divider to confirm correct position. You should have cut a circle PCD on the lathe so your divider will register accurately.
 
What with the heat and humidity plus the interminable list of "honey do's" (how come they never get any shorter?) I havnt got very far.
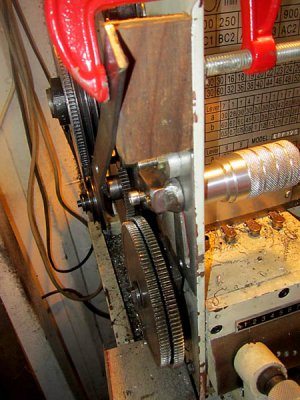
For the internal threading I needed a high tech solution to prevent the 80T gear from sliding off the shaft as I couldnt see the threading and that gear so I used a bent bit of 3mm steel and a "G" clamp
holding 80 tooth.jpg

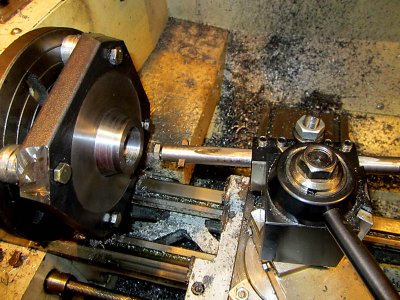
I then bolted the plate to a faceplate using 16mm spacers, turned the boss to size and bored it out, ground a threading bit and set it up in my trusty old boring bar. I used the upside down method to cut the threads as suggested above and threaded under power.
internal threading 1.jpg
The spacers allowed me to see when the bit had passed through the hole leaving plenty of time to stop the lathe.
internal threading 2.jpg
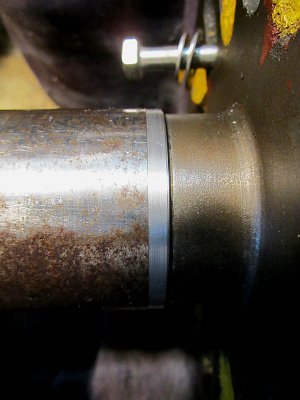
Once the thread was cut I then cut the register and checked it all with the mandrel. It felt very good so I then removed the plate from the face plate and screwed it onto the lathe spindle and started reducing the diam.
turning down.jpg
Thats a hell of a load of blue chips so far, pity these ones are worthless.
Tomorow is finish the tiling, do the grouting then hope I can get some my time in the shop.

holding 80 tooth.jpg internal threading 1.jpg internal threading 2.jpg turning down.jpg
 
Like your set up. A little crude but ,gets the job done!:))
 
2) Do the socket bolts securing the chuck to the back plate have to be counter bored to sink the heads flush or can they be left proud?

I've done it both ways. I guess there's a slight safety factor involved - if the bolt heads are proud, and something gets behind the chuck, there can be a collision. Can't think of any other factors, as long as the back plate is thick enough that the counterbores won't compromise its strength - yours looks plenty thick.

If you do counterbore, it's best to use socket head screws.
 
Back
Top