- Joined
- Dec 29, 2012
- Messages
- 394
I have SIEG X2 PLUS mini mill that I have converted to CNC (full story here). For the electronics part I made a 3 axis cnc controller for it using a Chinese 3 axis “all in one” PCB that worked flawlessly for years (full story here). As I considered it a temporary solution I decided to build something more robust and reliable to upgrade my 3 axes machine to a 4 axes one.
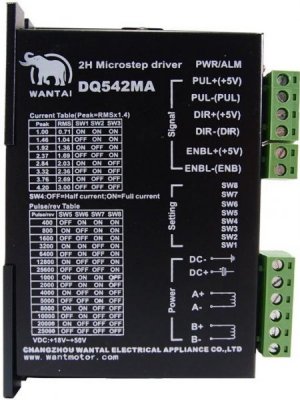
I ordered the electronic parts for it. That was 4 DQ542MA controllers capable of handling 18 to 50VDC @ 4 Amps for $30 each
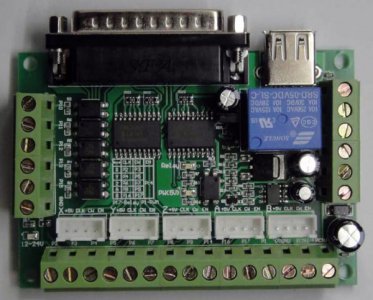
And I also got a DB-25 BoB (Breakout Board) for free with my order.
Next I needed a box to place them in together with the transformer and wiring.
As I do not own (yet) a metal sheet bender I thought I must use something readymade, convert it and make a box out of it. The best candidate I found was my old broken microwave that donated the cover for the job.
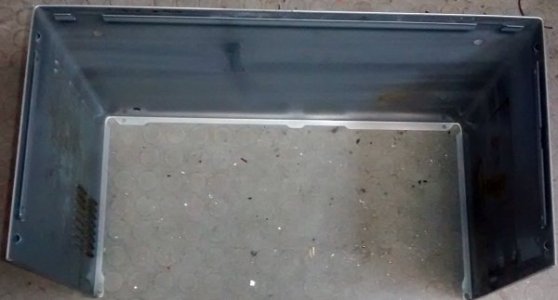
It could be used as the base of the box but it was too large. It was easy though to make it smaller by cutting and riveting it. First I marked it.
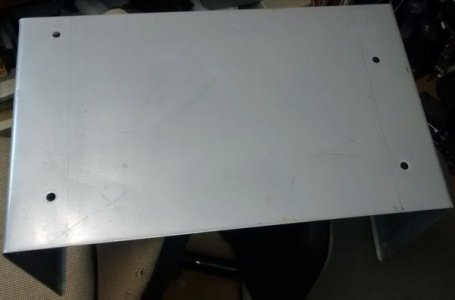
Then I cut it.
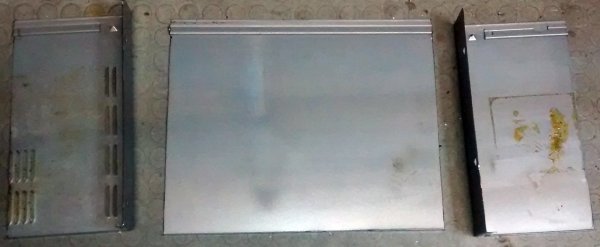
Then I riveted it and made it smaller. Now the parts fit inside it nicely.
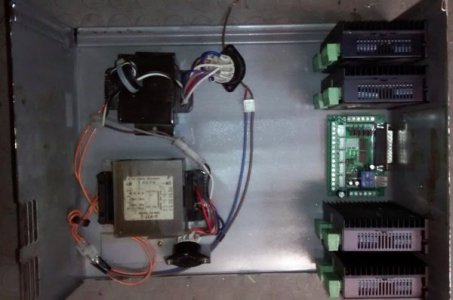
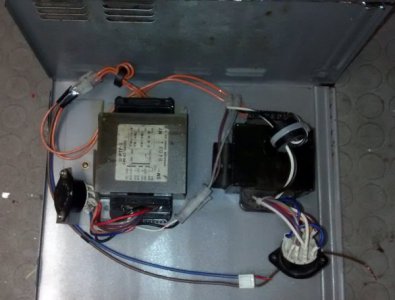
You noticed that I used two transformers. This served the purpose of using parts I already own. In that case instead of buying a single transformer that could give me 30V @ 6A I used two 28 V 2.8A transformers that I had, connected in parallel to get the 5.6 Amps I needed.
A few gadgets, switches and connectors needed to the front of the box.
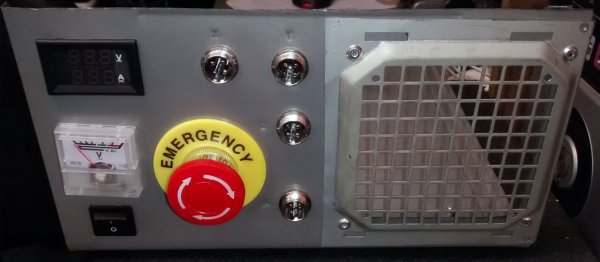
All these needed holes, openings and, as you noticed, a nice grille (from the donor microwave) for cooling.
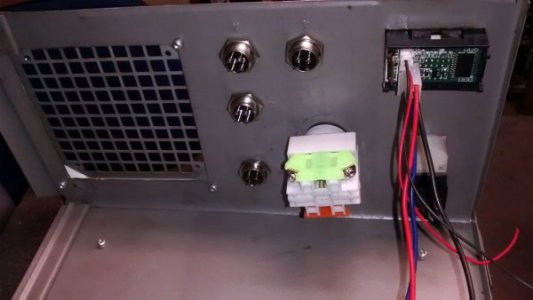
Now all parts fit in place and a mains fan (from the donor microwave) provides the air circulation needed for long life of all the components.
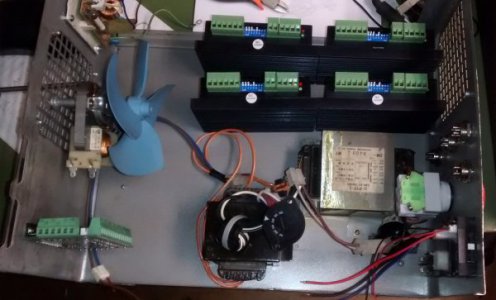
And now it is time for the wiring!!!
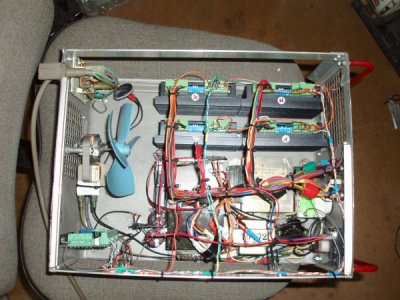
For power lines to and from the controllers I used thick cables and for the signals thin telephone wires.
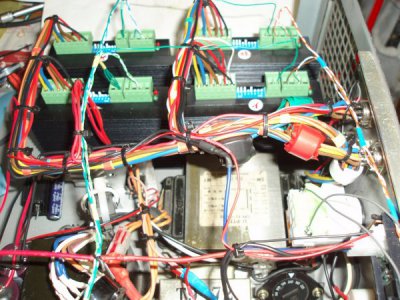
To make the box stronger two side bars were riveted to front and back panels. Two shop made handles provided easier handling and rubber feet made it standing nicely.
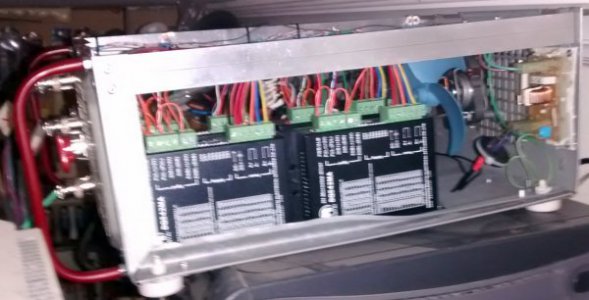
It was time for a cover. As I do not own a sheet bender (I already stated that didn’t I?) I used simple tools to get the job done. Two steel bars, my vise and a few C clamps to make the cover from a copper sheet that I had.
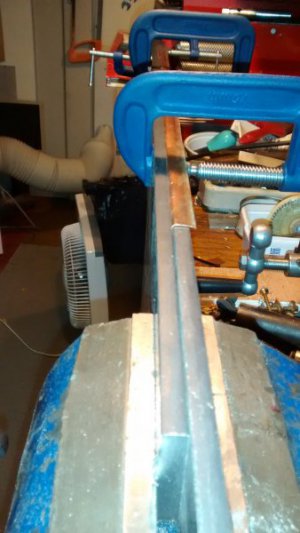
First the edges were bent and folded to have a smooth finish to the exposed sides (front and back).
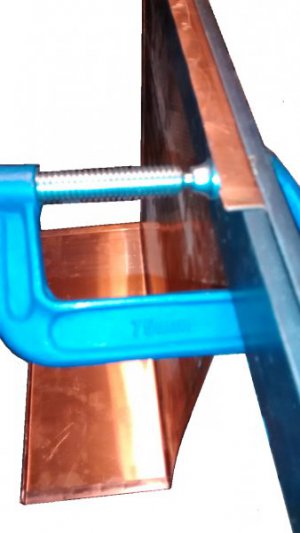
Next the parts that goes under the box.
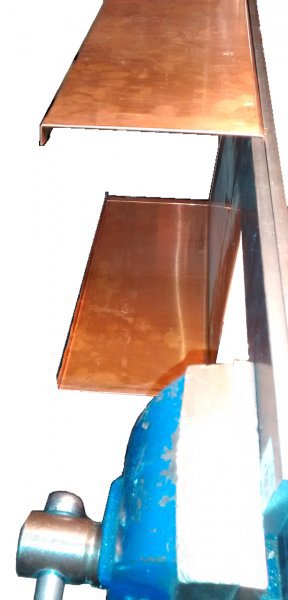
An finally the sides.
The cover was ready.
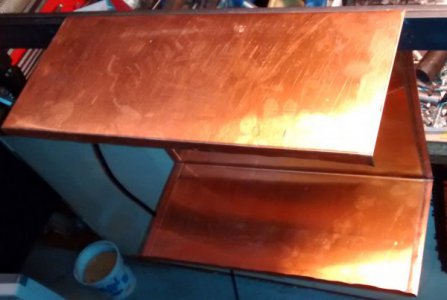
It fits nicely to the box.
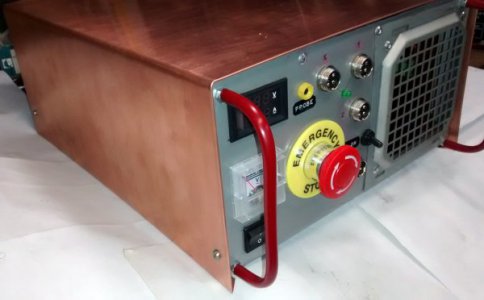
And makes it very shiny and "professional".
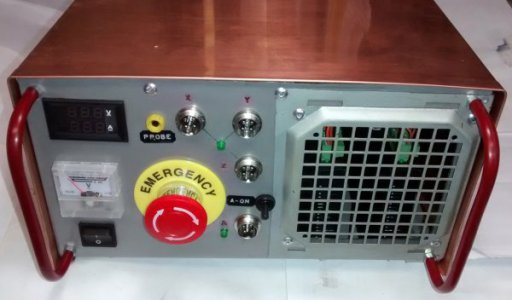
Time to connect it to the mill.
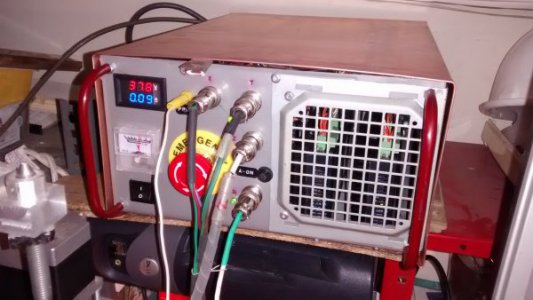
And to the computer.
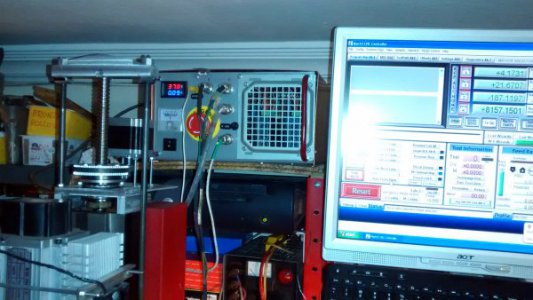
It works flawlessly!
Thanks for reading.
Petros
I ordered the electronic parts for it. That was 4 DQ542MA controllers capable of handling 18 to 50VDC @ 4 Amps for $30 each

And I also got a DB-25 BoB (Breakout Board) for free with my order.

Next I needed a box to place them in together with the transformer and wiring.
As I do not own (yet) a metal sheet bender I thought I must use something readymade, convert it and make a box out of it. The best candidate I found was my old broken microwave that donated the cover for the job.

It could be used as the base of the box but it was too large. It was easy though to make it smaller by cutting and riveting it. First I marked it.

Then I cut it.

Then I riveted it and made it smaller. Now the parts fit inside it nicely.

You noticed that I used two transformers. This served the purpose of using parts I already own. In that case instead of buying a single transformer that could give me 30V @ 6A I used two 28 V 2.8A transformers that I had, connected in parallel to get the 5.6 Amps I needed.

A few gadgets, switches and connectors needed to the front of the box.

All these needed holes, openings and, as you noticed, a nice grille (from the donor microwave) for cooling.

Now all parts fit in place and a mains fan (from the donor microwave) provides the air circulation needed for long life of all the components.

And now it is time for the wiring!!!

For power lines to and from the controllers I used thick cables and for the signals thin telephone wires.

To make the box stronger two side bars were riveted to front and back panels. Two shop made handles provided easier handling and rubber feet made it standing nicely.

It was time for a cover. As I do not own a sheet bender (I already stated that didn’t I?) I used simple tools to get the job done. Two steel bars, my vise and a few C clamps to make the cover from a copper sheet that I had.
First the edges were bent and folded to have a smooth finish to the exposed sides (front and back).

Next the parts that goes under the box.

An finally the sides.

The cover was ready.

It fits nicely to the box.

And makes it very shiny and "professional".

Time to connect it to the mill.

And to the computer.

It works flawlessly!
Thanks for reading.
Petros
