- Joined
- Dec 29, 2012
- Messages
- 394
Since I bought my mini lathe, a decade ago, I had never managed to make a decent parting-off procedure.
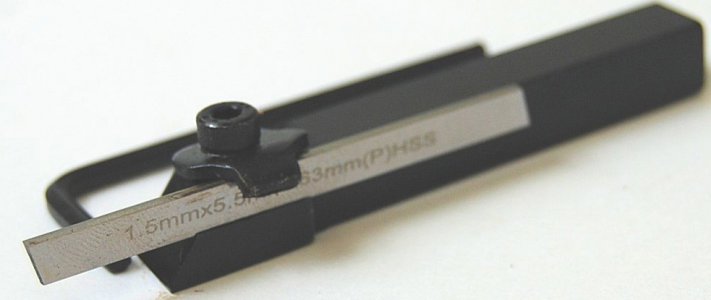
I always put the blame on the tool so I moved from a simple blade tool (like the one in the next picture) that I have bought with my lathe...
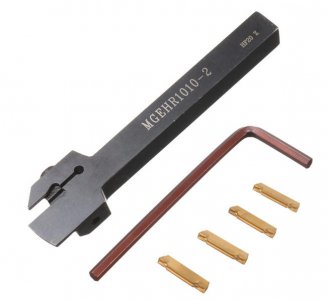
..to a more sophisticated one with inserts.
No matter what tool I used the results were always similar. It was not a matter of “if” the blade digs in, but more “when” is it going do dig in. As a result, the whole process either stopped or the material ruined.
Needless to say that both tools were damaged in the process...
Researching the subject, I found out that the problem is very common even to larger lathes and many people suggested either a rear mount parting tool holder
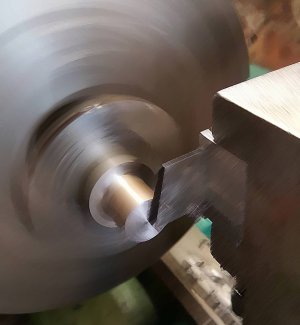
...or to fix the parting tool upside down and run the lathe in reverse.
As I’m not convinced that the toolpost of my mini lathe were designed to work this way (i.e to accept forces that try to lift the tool up) I looked for something better.
My research lead me to the following article from Popular Mechanic magazine published in November 1944!.
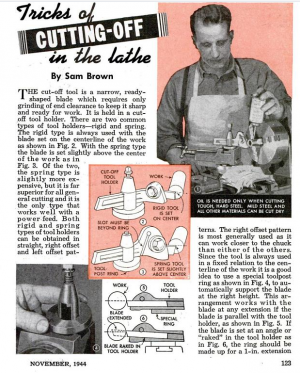
The author claims that the best tool for the job is the “Spring-type tool” that works far better for the cutting process.
The working principal of the tool is that it works by flexing downward and away from the work as the loads change from the tool digging into the work, relieving the pressure momentarily.
As I could not find a ready-made one I decided to design mine from scratch.
I designed the tool based on my mini lathe capabilities and the blade I already owned from my first “commercial” tool.
Using eMachineshop (the simplest free-cad program) it was a matter of minutes to design it.
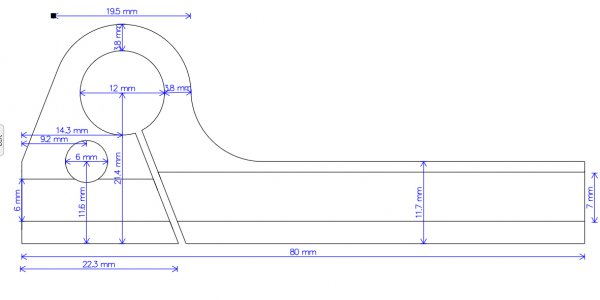
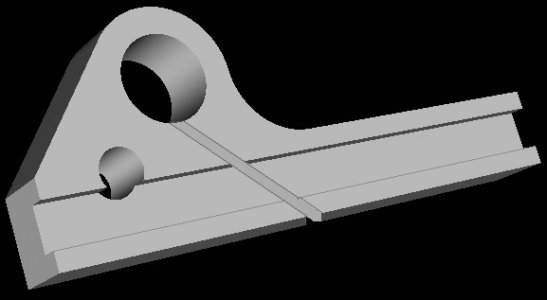
The basic shape will be as below.
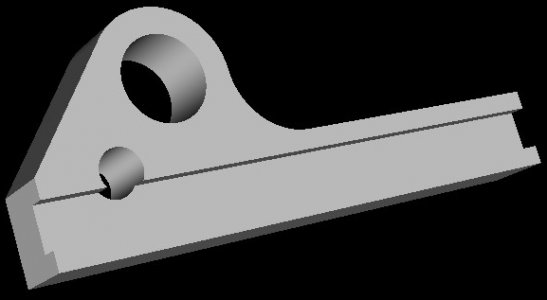
With a cut from bottom to the large hole the tool will have the flexibility needed
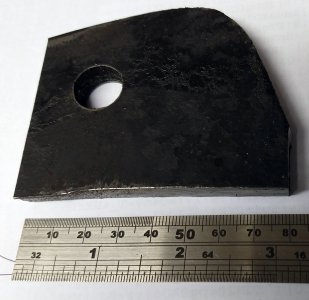
A piece of scrap metal volunteered to provide the flesh for the tool. The rest was just fun!
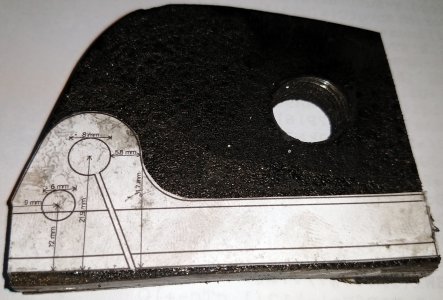
A printout of the design on the metal helped to decide the cuts needed.
All necessary cuts were made on the band saw.
(A sharp eye will notice that the initial hole of my design was 8mm and the filal was made 12 mm! That change gave me the needed flexibility for this small blade I use)
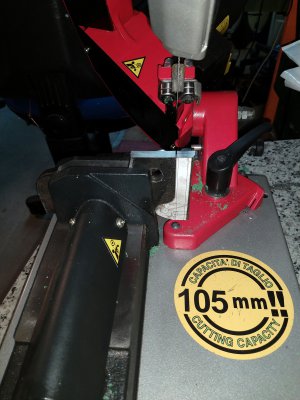
The tool gradually took it’s shape.
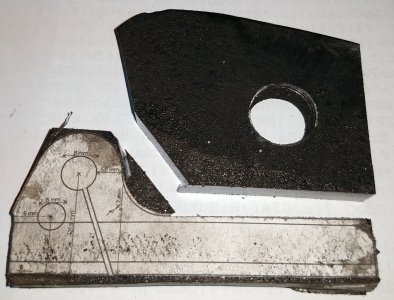
Next step involved some cleaning and drilling on the mill.
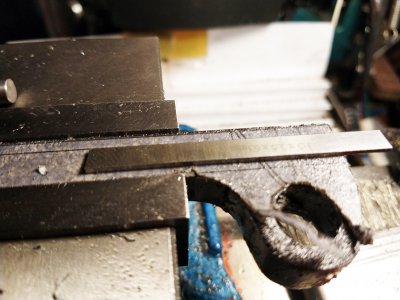
After a final visit to the band saw for the last cut, the basic tool is ready.
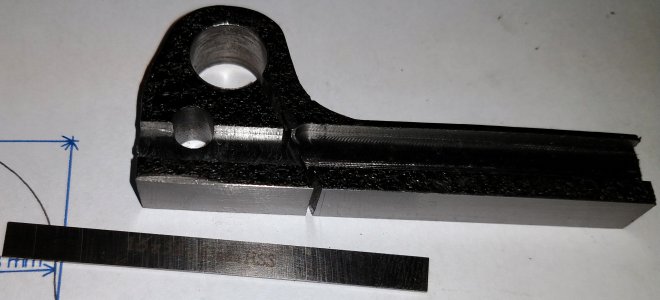
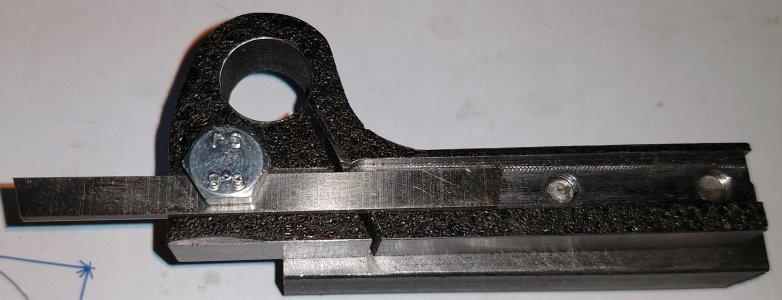
A bar to the side needed to hold the tool to the tool post and a bolt to secure the blade.
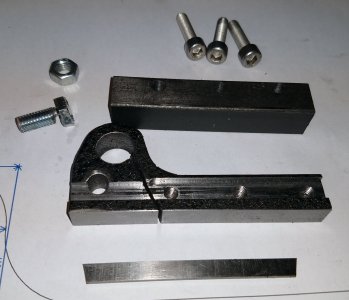
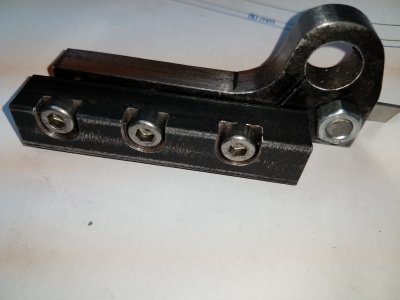
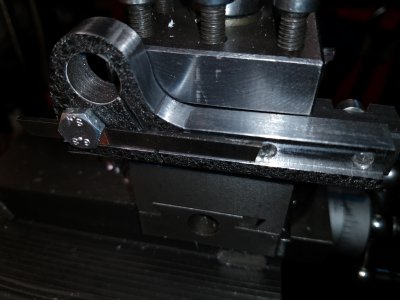
With all parts in place the spring tool looks promising…
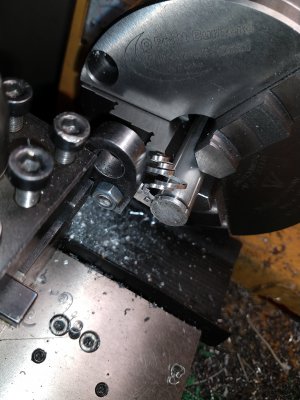
A test cut on the lathe proved its potential! No bites anymore! It cuts as it should!!!
Thanks for visiting
Petros
I always put the blame on the tool so I moved from a simple blade tool (like the one in the next picture) that I have bought with my lathe...

..to a more sophisticated one with inserts.

No matter what tool I used the results were always similar. It was not a matter of “if” the blade digs in, but more “when” is it going do dig in. As a result, the whole process either stopped or the material ruined.
Needless to say that both tools were damaged in the process...
Researching the subject, I found out that the problem is very common even to larger lathes and many people suggested either a rear mount parting tool holder

...or to fix the parting tool upside down and run the lathe in reverse.
As I’m not convinced that the toolpost of my mini lathe were designed to work this way (i.e to accept forces that try to lift the tool up) I looked for something better.
My research lead me to the following article from Popular Mechanic magazine published in November 1944!.

The author claims that the best tool for the job is the “Spring-type tool” that works far better for the cutting process.
The working principal of the tool is that it works by flexing downward and away from the work as the loads change from the tool digging into the work, relieving the pressure momentarily.
As I could not find a ready-made one I decided to design mine from scratch.
I designed the tool based on my mini lathe capabilities and the blade I already owned from my first “commercial” tool.
Using eMachineshop (the simplest free-cad program) it was a matter of minutes to design it.

The basic shape will be as below.

With a cut from bottom to the large hole the tool will have the flexibility needed

A piece of scrap metal volunteered to provide the flesh for the tool. The rest was just fun!

A printout of the design on the metal helped to decide the cuts needed.

All necessary cuts were made on the band saw.
(A sharp eye will notice that the initial hole of my design was 8mm and the filal was made 12 mm! That change gave me the needed flexibility for this small blade I use)

The tool gradually took it’s shape.

Next step involved some cleaning and drilling on the mill.

After a final visit to the band saw for the last cut, the basic tool is ready.

A bar to the side needed to hold the tool to the tool post and a bolt to secure the blade.

With all parts in place the spring tool looks promising…

A test cut on the lathe proved its potential! No bites anymore! It cuts as it should!!!

Thanks for visiting
Petros
Last edited:

