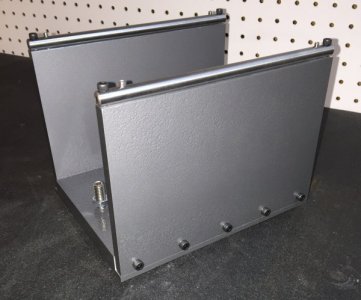
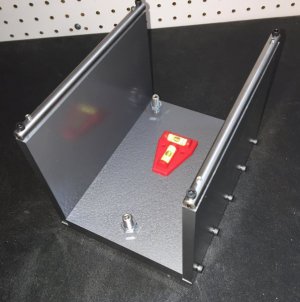
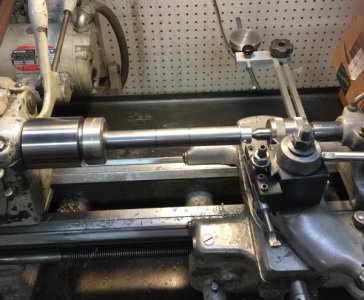
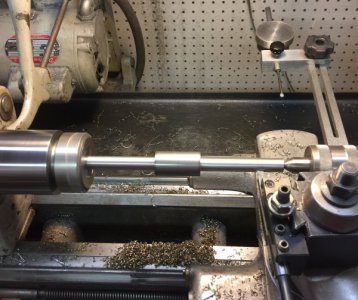
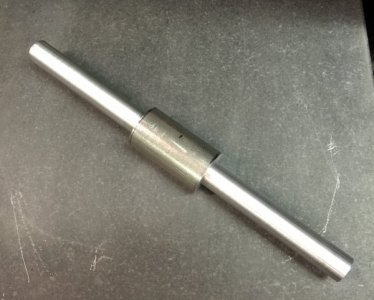
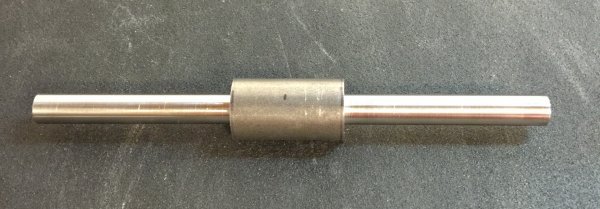
I whipped this up this afternoon. It will be useful when the surface grinder is built. It is a balancing fixture to balance wheels. I just make an arbor for each wheel type.
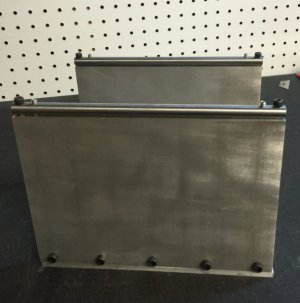
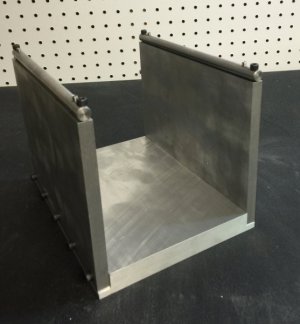
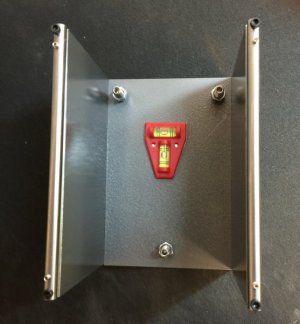
The base is made from .750 thick mic-6 aluminum plate. It is stable and very flat as it is actually cast. The sides are .375 aluminum plate. Everything was machined as accurately as possible. The top rails are made from ground drill rod. There is a jack screw and a clamp screw on each end to fine adjust the bars to be perfectly parralell and level with one another. This will be calibrated by setting on the granite surface plate and leveling the bars using an indicator.There will be three leveling feet put in the base after it is calibrated to level the unit where it is set to use.


The base is made from .750 thick mic-6 aluminum plate. It is stable and very flat as it is actually cast. The sides are .375 aluminum plate. Everything was machined as accurately as possible. The top rails are made from ground drill rod. There is a jack screw and a clamp screw on each end to fine adjust the bars to be perfectly parralell and level with one another. This will be calibrated by setting on the granite surface plate and leveling the bars using an indicator.There will be three leveling feet put in the base after it is calibrated to level the unit where it is set to use.

