Hendey Gearhead Lathes

The last few days, I've been getting ready to make a few chips with the '44...

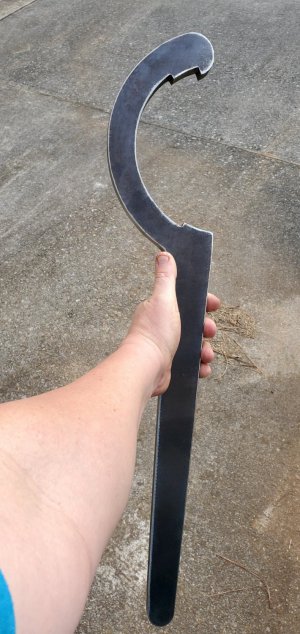
I ordered an L-1 spanner from a guy on P-M who makes these...
20230311_181048.jpg

I was planning to make one, but it was only $53 to buy one... it is cut from 5/8" plate.

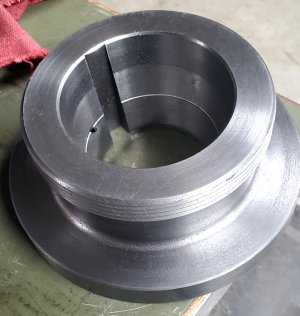
I also ordered an 8" L-1 backplate...
20230310_083029.jpg

...that I plan to fit to a 10" Buck Set-Tru chuck that I bought for the Hendeys...
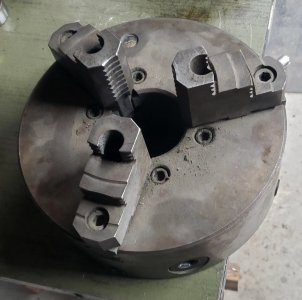
20230307_093344.jpg

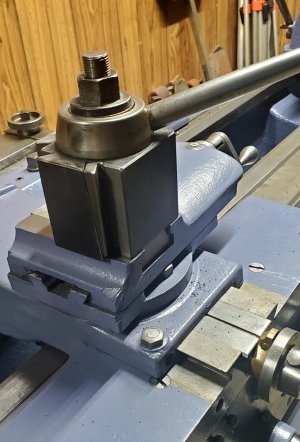
And today, the mailman brought a package with an Aloris CXA toolpost in it...
20230313_195246.jpg

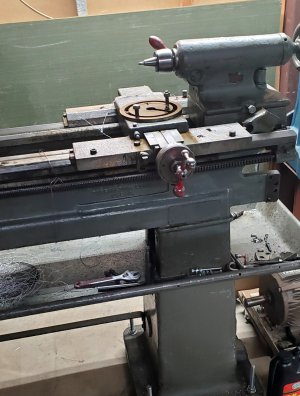
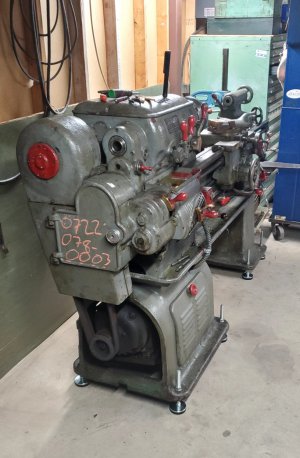
I spent the morning setting the '44 up and leveling it...
20230313_211508.jpg

...which reminded me how much I dislike leveling machines... I did manage to get it done, though.

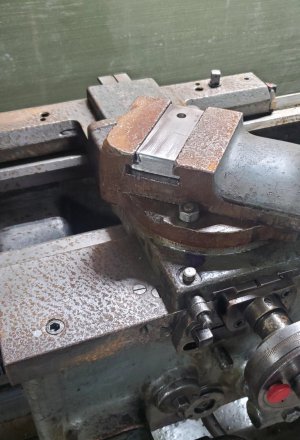
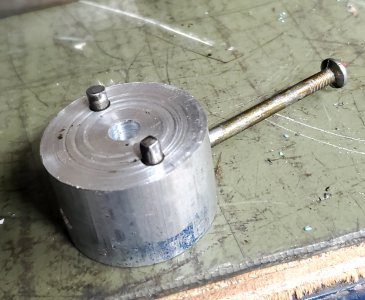
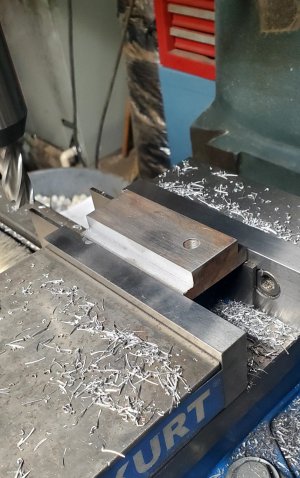
This afternoon, I began machining a t-nut to mount the toolpost to the compound...
20230313_211414.jpg

20230313_211454.jpg

I still need to drill and tap it... I'll do that tomorrow.

-Bear
 
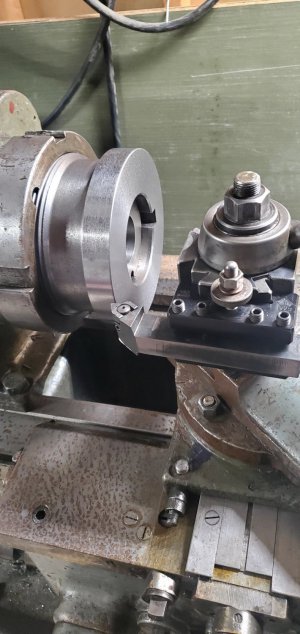
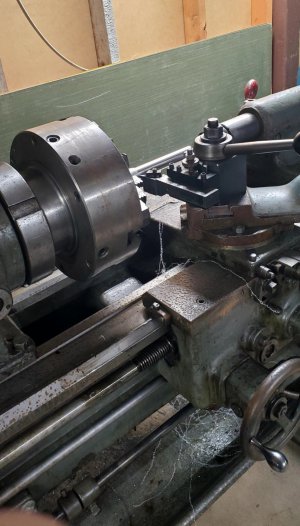
I finished the T nut this morning and mounted the toolpost, then began setting up to machine the backplate.

I finally made some chips with this lathe... cast iron chips. While machining, I held the end of my shop vac hose over the tool to collect as many of the chips as possible, hoping to get all of the fine dust. That must have worked, I machined 1.650" off the diameter and faced the plate, and I'm not tasting cast iron.

20230314_114757.jpg

Anyway, this old junk lathe runs and machines beautifully! It's actually a lot better than I was hoping for! I'm pretty excited about it...

After turning the plate, I set it up on the milling machine and drilled and tapped the bolt circle for the chuck, then assembled it and started mounting it on the lathe... that's when I discovered a new problem...

I've had some elbow and shoulder issues with my right arm for years... and I just about can't lift the chuck up to the spindle. I ended up placing a piece of 2x6 across the ways and setting the chuck on that, then working it up on the spindle. I'm going to have to figure out a better way to lift these chucks...

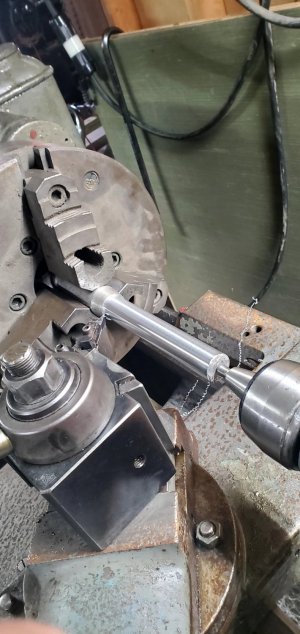
I did get it on, though... so I set up a test piece of aluminum and took a skim cut on it using a live center in the tailstock... 0.030" taper over a 6" cut...

I adjusted the tailstock, and took another cut... 0.005" taper...

I then backed the tailstock away, and took a light skim cut without it... 0.0004" taper over 6"... it looks like I need to do a little more adjusting on the tailstock.

20230314_140116.jpg

20230314_140127.jpg

I think this lathe is a 'good-un'...

-Bear
 
I finished the T nut this morning and mounted the toolpost, then began setting up to machine the backplate.

I finally made some chips with this lathe... cast iron chips. While machining, I held the end of my shop vac hose over the tool to collect as many of the chips as possible, hoping to get all of the fine dust. That must have worked, I machined 1.650" off the diameter and faced the plate, and I'm not tasting cast iron.

View attachment 441106

Anyway, this old junk lathe runs and machines beautifully! It's actually a lot better than I was hoping for! I'm pretty excited about it...

After turning the plate, I set it up on the milling machine and drilled and tapped the bolt circle for the chuck, then assembled it and started mounting it on the lathe... that's when I discovered a new problem...

I've had some elbow and shoulder issues with my right arm for years... and I just about can't lift the chuck up to the spindle. I ended up placing a piece of 2x6 across the ways and setting the chuck on that, then working it up on the spindle. I'm going to have to figure out a better way to lift these chucks...

I did get it on, though... so I set up a test piece of aluminum and took a skim cut on it using a live center in the tailstock... 0.030" taper over a 6" cut...

I adjusted the tailstock, and took another cut... 0.005" taper...

I then backed the tailstock away, and took a light skim cut without it... 0.0004" taper over 6"... it looks like I need to do a little more adjusting on the tailstock.

View attachment 441107

View attachment 441108

I think this lathe is a 'good-un'...

-Bear

What sort of spindle runout do you generally see in your old Hendys?


Sent from my iPhone using Tapatalk
 
What sort of spindle runout do you generally see in your old Hendys?

My 14x8 tie bar was less than a half thousandth, IIRC... I've checked the '40 model gearhead, the runout on the inner taper was too little to make the indicator needle move. I have not checked the '44 model gearhead.

-Bear
 
I've determined that this old lathe runs and machines nicely... but it does have a few issues that need to be addressed.

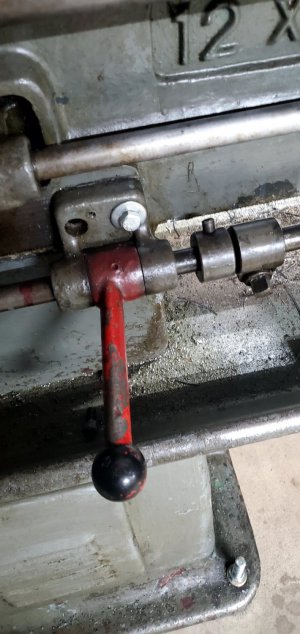
I noticed as I was unloading the lathes from the trailer that the '40 had apparently been picked up with a forklift under the bed... and under the lower shaft. The shaft was bent and the pivot bracket that it swivels in was broken. Last week, before I machined the backplate, I realized that the '44 had been picked up the same way.

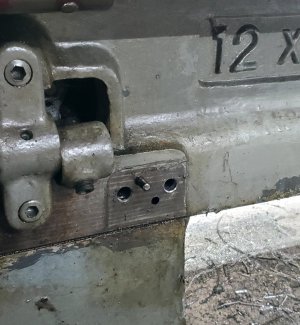
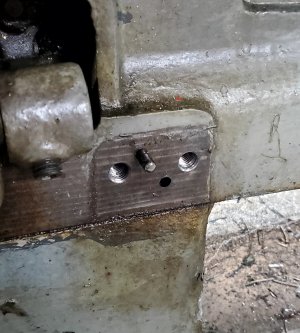
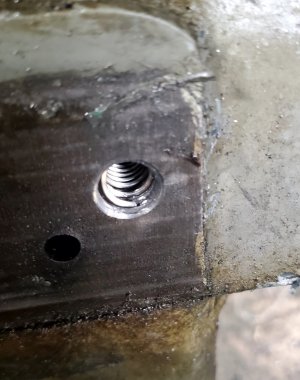
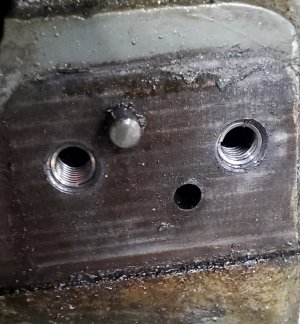
Again, the lower shaft was bent... but instead of breaking the pivot bracket, it had simply ripped the two bolts that mount the pivot out of the bed, stripping the threads from the holes. I used a longer hex head bolt to hold the bracket while I did my test drive...

20230320_081923.jpg

I also used a pry bar to straighten the shaft enough to prevent it from binding on the apron as the carriage approached the chuck. I'll have to straighten it as well as I can, and install helicoils in the bolt holes.

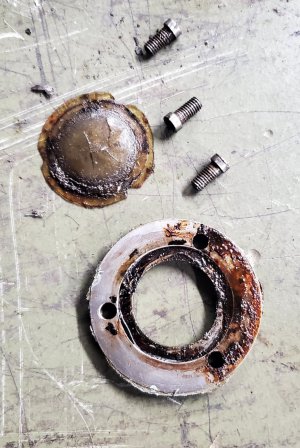
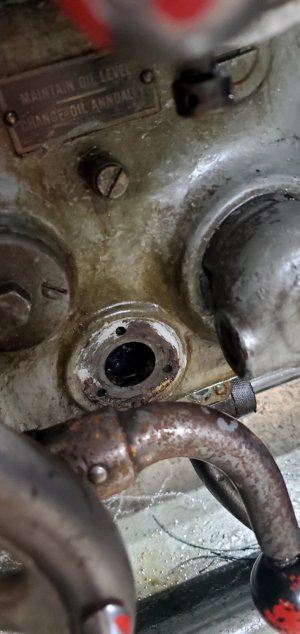
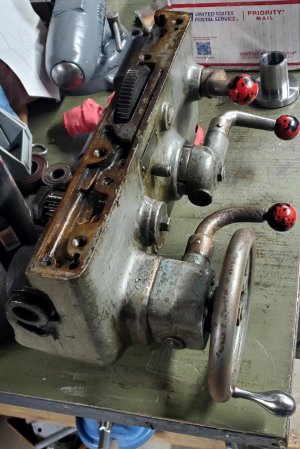
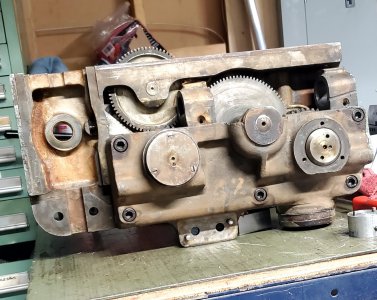
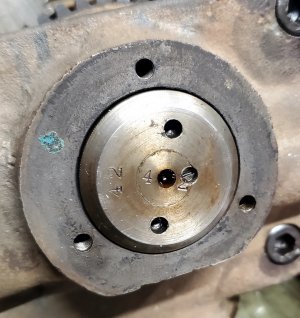
The apron has an oil reservoir and pump in it... the pump operates from a cam on the carriage handwheel and oils the bed ways, cross slide ways, and all moving parts in the apron. There is a plastic 'sight glass' in the apron to check the oil level in the reservoir. On the '44, this sight glass is broken, so I knew there couldn't be much oil in the reservoir... after removing the sight glass, I found there was no oil at all, just a thick layer of goo in the reservoir.

20230320_081851.jpg

20230320_081902.jpg

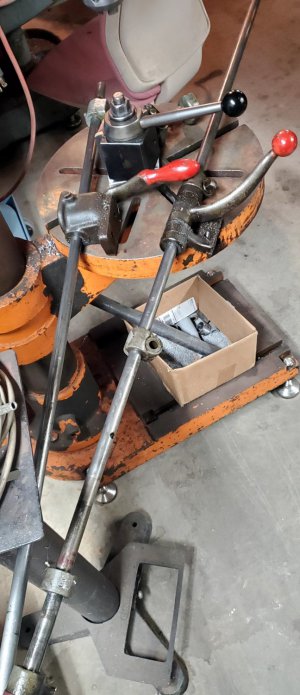
This morning, I removed both lower shafts...

20230320_094250.jpg

...then removed the apron...

20230320_094300.jpg

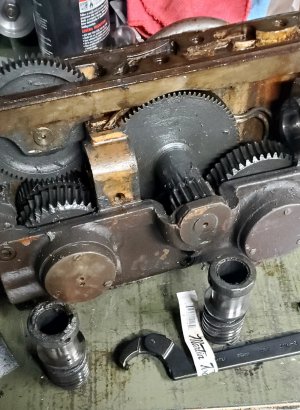
...by sliding it off the end of the lead screw. I'm planning to thoroughly clean out the apron, clean the goo out of the pump, and make sure the oil passages are not clogged. I set it on the workbench and began to disassemble it...

20230320_094310.jpg

20230320_094743.jpg

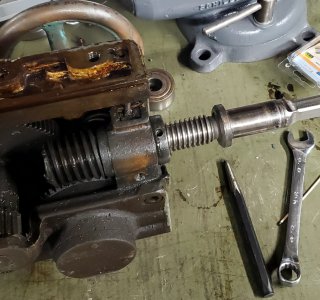
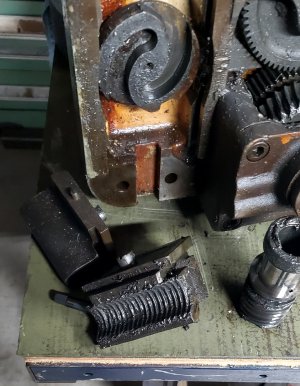
That is when I ran into a problem. I didn't have any way of holding the feed worms while I removed their retaining collars. I had previously machined a bar to fit the worms on the 14" Hendeys, but it was too big for the 12"... I needed a 1" diameter bar.

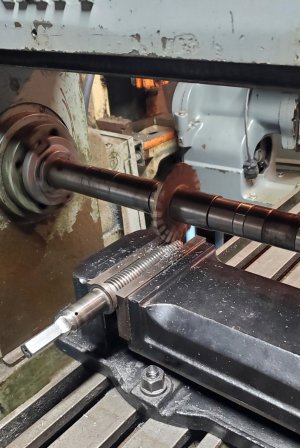
I found a 1" Bridgeport vise screw in my junk drawer that had been cut off too short to close the vise, so I set it up on the horizontal mill and milled a keyway in it to engage the keys inside the worms...

20230320_100844.jpg

It fits perfectly...

20230320_103255.jpg

Now I can hold the worm retaining collar with a pin spanner while I turn the worm with the vise screw.

That's when I discovered another problem... I don't have a pin spanner small enough to fit the collar.

I've ordered one from McMaster-Carr... it should be here tomorrow...

Until then, I'll have to find something else to tinker with.

-Bear
 
This morning, I decided while I wait for the spanner to arrive, I'll go ahead and install helicoils in the two stripped holes.

I checked my stash of helicoil tools to see if I have what I need... I have a set of installers in every size from #10 to 7/16, in both course and fine thread... except for the 3/8-16... geez...

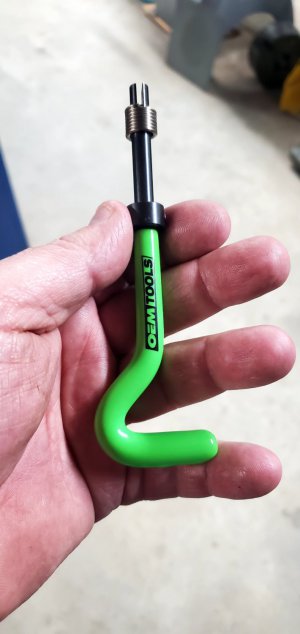
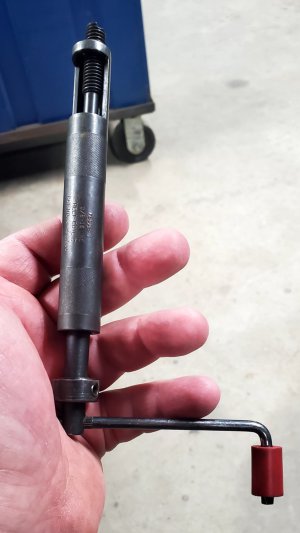
I had to run down to Autozone to get some helicoils anyway, so while I was there, I picked up this installer...

20230321_085811.jpg

I've never used one of these 'cheapie' installers... but how difficult can it be, right?

When I got back home, I drilled the holes with a letter 'X' drill...

20230321_085050.jpg

...then tapped them with a 3/8-16 STI tap...

20230321_085634.jpg

...then tried out the new installer.

What a piece of crap...

You have to use a certain amount of inward pressure on the tool to get the first thread started... the problem is, that first thread starts 3-4 threads down in the hole. Then each following thread follows it... the threads don't seat in the threads in the hole...

20230321_090650.jpg

Or maybe I just haven't figured out the right combination yet... or it may be an issue with cheap inserts, IDK.

Anyway, after screwing up 6 helicoils, I filed this installer away in the round file. Life is way too short to waste time on that sort of junk.

I'll see if I can borrow a real installer to put these in.

-Bear
 
I have a 3/8-16 installer ordered... it was an ebay find, for $18 plus shipping... it should be here Friday.

The pin spanner arrived yesterday afternoon, so this morning I removed the worms...

20230322_080541.jpg

...then the half nuts...

20230322_080549.jpg

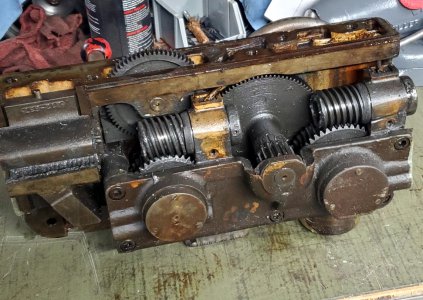
At this point I started completely disassembling the apron. It comes apart very differently than the conehead aprons. I was so wrapped up in trying to figure it all out, I had a bad case of tunnel vision and neglected to take any pictures...

I now have it completely disassembled and the castings soaking in the degreasing tank.

Everything seems to be in very good condition, just nasty.

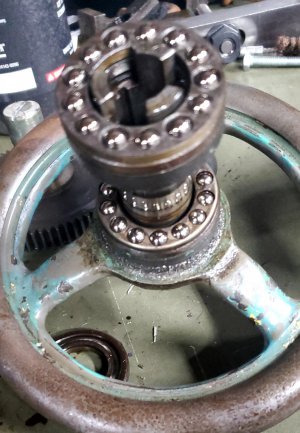
I was surprised to find that everything in the apron runs in ball bearings...

20230322_102409.jpg

I guess that is why it all works so smoothly... Hendey paid a lot of attention to details when they designed and built these.

-Bear
 
The helicoil installer arrived yesterday afternoon...

20230324_073814.jpg

It is in excellent condition... $18 was a very good price on this... it is the better quality steel bodied one. The plastic ones are $154.00 from McMaster-Carr...

This morning, I installed both helicoils in the lathe...

20230324_074524.jpg

It took less than a minute to do both.

Having the correct tool for a job makes things easier... having the correct, quality tool makes things a LOT easier...

I've installed tens of thousands of helicoils in the last 25 years at work... it's been years since I screwed up six in a row... I was a little frustrated with that...

-Bear
 
I finally found time to work on the Hendey this morning...

I've been reassembling the apron... I have it mostly assembled...

20230404_091824.jpg

...but needed to figure out how to tighten this nut...

20230404_091829.jpg

I grabbed a piece of scrap aluminum and a couple of nails and quickly put together this...

20230404_091835.jpg

The pins are the ends of the nails with the point ground off... the handle is the rest of one of the nails. It worked pretty well.

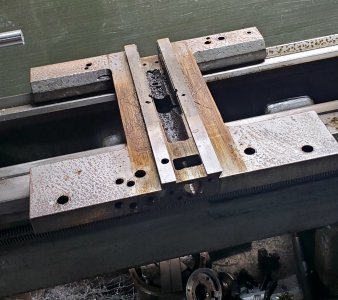
Now that I have the oiling system in the apron cleaned out and hopefully working, I need to clean out the oil passages in the carriage. I tried to do that without removing the carriage from the lathe, but realized that's not going to work. I disassembled the carriage...

20230404_120432.jpg

...and have it ready to go soak in the cleaning tank.

As I was stripping the carriage, I noticed there are several parts missing... mostly screws, but the front gib is missing, also. I'll have to see if I can machine one.

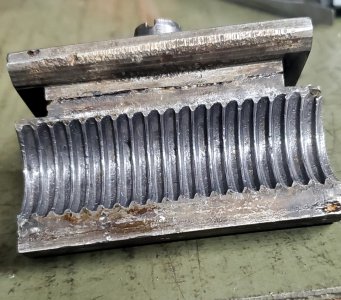
As I was cleaning the apron parts, I discovered something interesting... the half nuts in these lathes are cast iron with a poured babbit insert that is cast around a mandrel to form the threads. The babbit in the upper half is well worn, but still intact...

20230404_114619.jpg

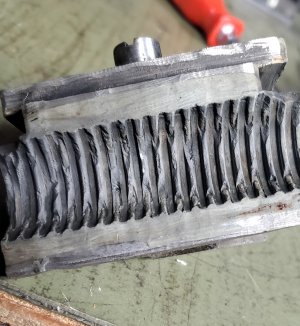
The babbit in the lower has been replaced. It looks like it was cast from a synthetic material... maybe JB Weld...?

20230404_114637.jpg

It's in rough shape... it may be useable, but for how long? I'll have to do some thinking/ researching about this...

Both of the half nut cam pins were very loose... actually, when I took the half nuts out, the upper pin had backed out too far to clear the apron casting. I had to use a thin screwdriver to (very slowly) turn it back in to slide the upper half out of the apron. I cleaned the threaded pins and holes and reassembled with loctite.

This project just keeps getting more involved... just like all my projects tend to do.

-Bear
 
I had previously disassembled the compound and put it in the cleaning tank to soak. This afternoon, I decided to finish it.

I set the top slide on the surface grinder and cleaned up the top where the tool post sits... it had a few dents and dings, but I only had to grind off about 0.005" to get it flat... I was expecting more wear than that.

20230404_145049.jpg

I did leave all the battle scars on the corner... I figure this lathe has earned the right to display them with pride...

I've finished the reassembly...

20230404_145100.jpg

The gib had about an inch broken off of the handcrank end... I may have to make another gib later. I'll try it as-is... if it was broke on the tool end it probably wouldn't work, but it doesn't look like losing an inch on the handle end will affect it much.

Other than that and a little slightly-worn paint, it seems to be in pretty good condition.

I'll also have to work on the tailstock... the quill lock doesn't hold very tight. I'm guessing that either the end of the lock is worn or there is enough crud packed under it to keep it from moving down far enough to lock... I'll figure it out.

-Bear
 
Back
Top