-
Welcome back Guest! Did you know you can mentor other members here at H-M? If not, please check out our Relaunch of Hobby Machinist Mentoring Program!
You are using an out of date browser. It may not display this or other websites correctly.
You should upgrade or use an alternative browser.
You should upgrade or use an alternative browser.
Homemade vertical mill/drill CNC project
- Thread starter matthewsx
- Start date
- Joined
- Jan 2, 2019
- Messages
- 7,115
- Joined
- Jan 2, 2019
- Messages
- 7,115
- Joined
- Jan 2, 2019
- Messages
- 7,115
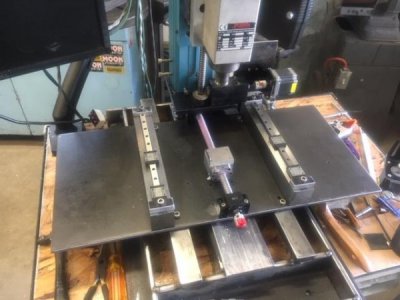
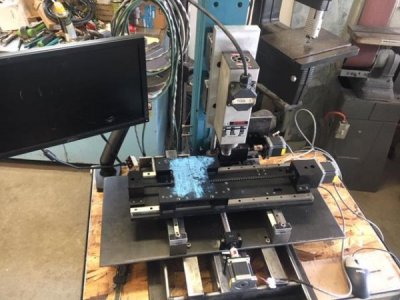
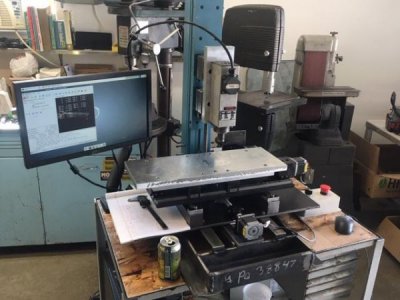
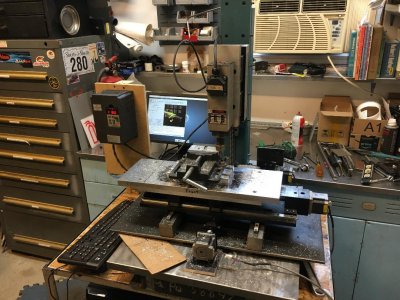
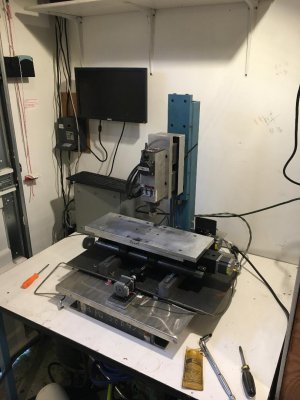
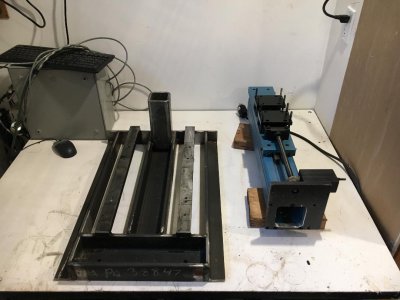
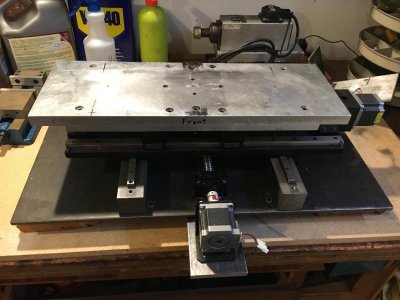
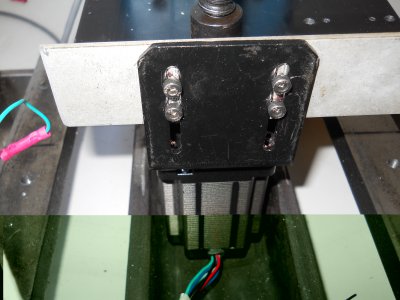
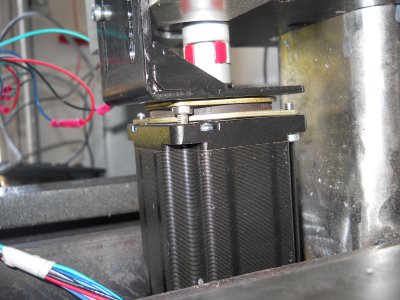
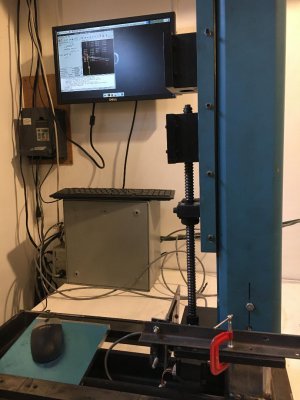
I re-arranged the ballscrew and head mounting, then mocked up a direct drive from underneath to test capacity. I'll definitely have to go to a NEMA 34 stepper motor but was planning on doing that anyway (I already have the drives). Also I ordered some epoxy so I can start building the mold for the epoxy/granite base I had planned originally.
John

John
- Joined
- Jan 2, 2019
- Messages
- 7,115
- Joined
- Jan 2, 2019
- Messages
- 7,115
How did you determine the appropriate center screw size for optimal bed size/weight/travel?
Hi and welcome to the forum.
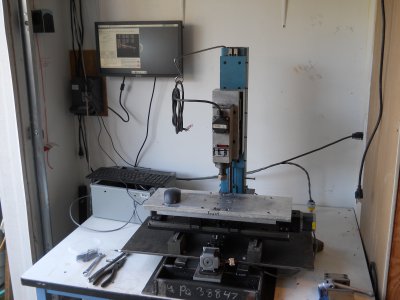
That's a great question but one I really don't have an answer for. When I bought the X-Y stage off ebay it had a little bitty thing for the Y-axis.

Homemade vertical mill/drill CNC project
I'm sure some of you have seen my posts in the general section about this project. https://www.hobby-machinist.com/threads/homemade-vertical-mill-drill.77611/page-3#post-664686 But now that I'm ready to start on the controls I figured it would fit better here (mods please let me know if...
 www.hobby-machinist.com
I knew it probably wouldn't work but set it up anyway to make sure. I already had a 1605 ballscrew and some linear rail so that's what I went with. The new Y-axis was really just a SWAG on what I thought would work but there was a lot of trial and error in getting everything lined up right.
There are a bunch of guys on here who can probably give a more scientific answer, and there are books with calculations + manufacturers documentation to go on if you are designing from scratch. My project is really a design as you go exercise more than anything else.
Hope that helps, let us know what your goals are and maybe we can give specific advice.
Cheers,
John
- Joined
- Jan 2, 2019
- Messages
- 7,115
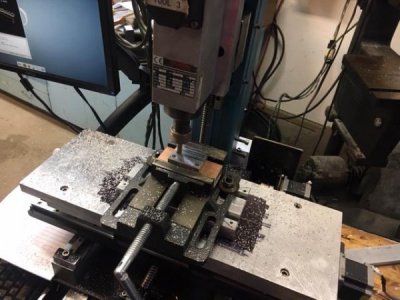
I've been using this Teknomotor ER20 spindle on my project since starting out. It always got hot when running at lower RPM's and the way I had it mounted was pretty clumsy with a lot of hidden fasteners that made it difficult to put on and take off.
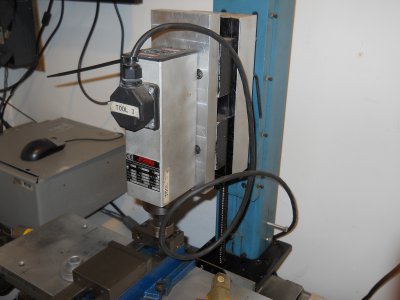
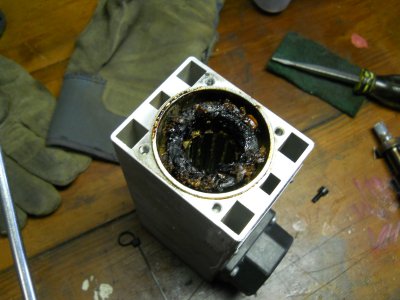
Several weeks back I was using it to enlarge a BXA toolholder and it overheated and stopped. This has happened before and I was able to let it cool down and use it again. Not this time....
I found this little Sherline upgrade spindle from GlockCNC. I bought a factory second with more runout than usual and some blemishes, I think I can live with it and if not I'll look into getting the taper ground. It's ISO 20.
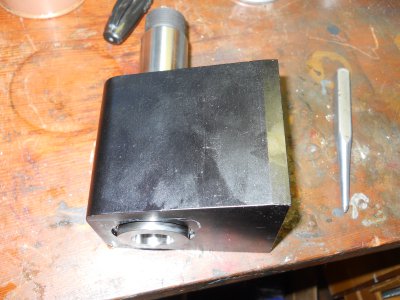
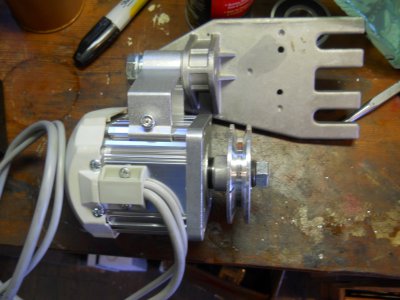
I ordered one of these sewing machine servo motors from eBay, it should have enough power for my needs right now.
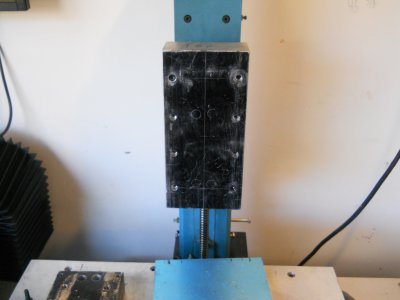
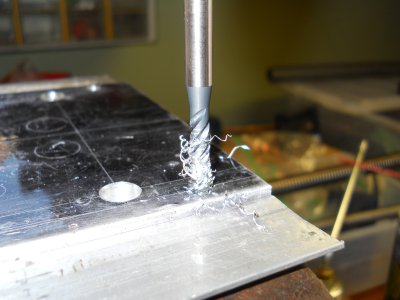
Counter-bored this block of aluminum I was already using so I can fasten from the front with locknuts.
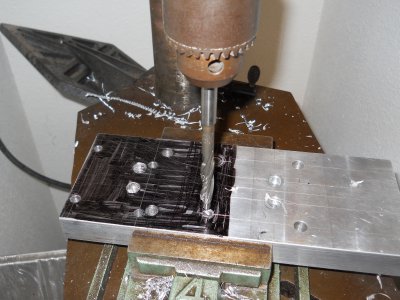
Re-drilled this other piece so I could turn it 90 degrees.
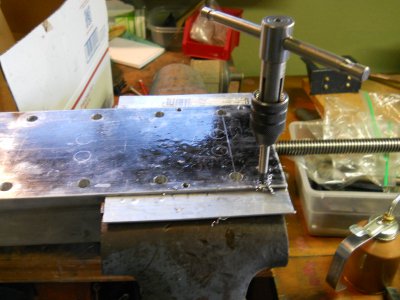
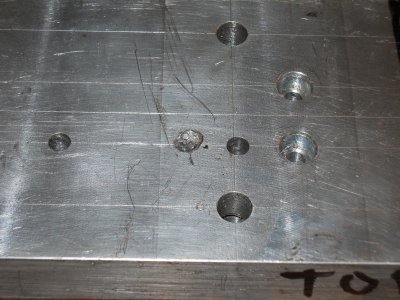
Broke a cheap tap while getting the motor mounting situated, fortunately I had an easy workaround with drilling another spot and through bolting.
Decided to change to a metric fastener for attaching the two pieces of aluminum since I have a really nice 6mm bottoming tap.
Bolted up the spindle and motor mount.
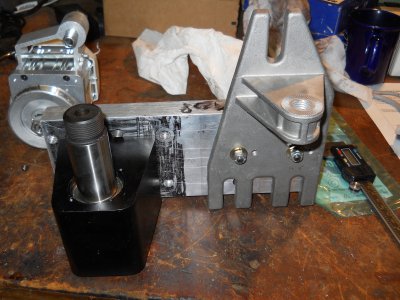
Need to make some pulleys but I'm pretty happy with my day's work....
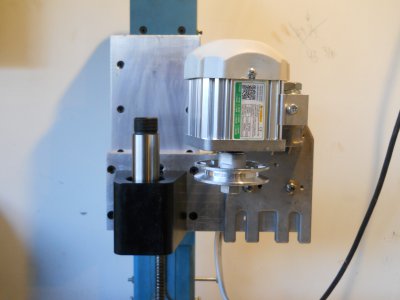
Thanks for looking.
John

Several weeks back I was using it to enlarge a BXA toolholder and it overheated and stopped. This has happened before and I was able to let it cool down and use it again. Not this time....

I found this little Sherline upgrade spindle from GlockCNC. I bought a factory second with more runout than usual and some blemishes, I think I can live with it and if not I'll look into getting the taper ground. It's ISO 20.

I ordered one of these sewing machine servo motors from eBay, it should have enough power for my needs right now.

Counter-bored this block of aluminum I was already using so I can fasten from the front with locknuts.

Re-drilled this other piece so I could turn it 90 degrees.

Broke a cheap tap while getting the motor mounting situated, fortunately I had an easy workaround with drilling another spot and through bolting.

Decided to change to a metric fastener for attaching the two pieces of aluminum since I have a really nice 6mm bottoming tap.

Bolted up the spindle and motor mount.

Need to make some pulleys but I'm pretty happy with my day's work....

Thanks for looking.
John
Attachments
- Joined
- Jan 2, 2019
- Messages
- 7,115

