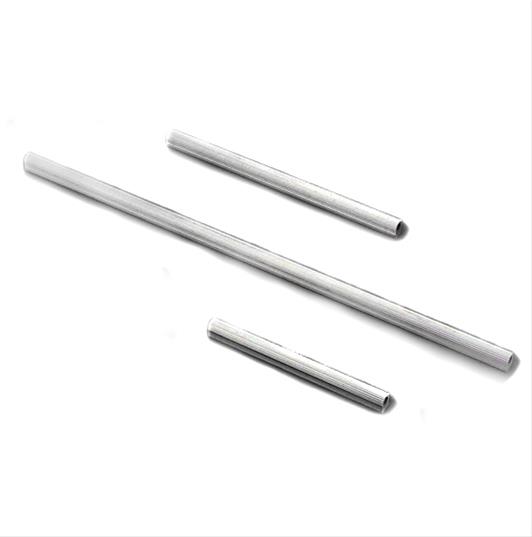
Is this the type of fuel rail stock you are looking at?
Free Shipping - Holley EFI Fuel Rails with qualifying orders of $109. Shop Fuel Rails at Summit Racing.

www.summitracing.com

My first fuel rail attempt was soldered together brass and copper fittings. BAD IDEA!

I can't believe I am actually showing this photo!
Then I switched to the aluminum fuel stock above and it worked very well. Being a V8 I needed two pieces. I used AN6 (-6 AN) fittings for the hoses. The hardest part was measuring the fuel injector hole spacing on the manifold perfectly so I could transpose them to the fuel rail stock (I did NOT get it right on the first try with the aluminum rail stock). I forget what the diameter the fuel injector bungs/port holes need to be but I recall it being just over a half inch. I predrilled then used a specified size reamer to get them perfect. I found that I needed a pretty good bell on the end of each bung to compress the o-rings on the top of the injector. I found a 1/2" round over woodworking router bit made the perfect bell. Then I used a lot of Flitz metal polish to smooth everything out.

The injectors sit so deep into the head I wasn't able to measure the hole spacing accurately. So I put the new electronic injectors in which seated very firmly and measured them for spacing. In the picture you can see the holes for retaining the mechanical fuel injectors... with U shaped bolt on clips (clips not shown). Down lower you will see I reused these bosses to mount my home made fuel rail retaining straps.
Honestly, if I were doing it now I would just purchase the proper fuel rail bung hole reamer:
https://rossmachineracing.com/products/14mm-o-ring-fuel-injector-port-tool
Purchase Tool, Injector Drill Bit Domestic 14mm or shop other FUEL RAILS - Aluminium and Racetronix products.

www.racetronix.biz
It is expensive but will be much easier than chasing high pressure fuel leaks because you don't have the bung/port hole geometry perfect. (Wow, I found a second one for $80... DEFINITELY worth it at that price!)
I threaded the ends of the fuel rails with 1/2" (I think) NTP and used 1/2" to -6 AN fittings for the hoses. My local Napa had a good supply of -6 AN fittings... but I think they called them AN6 fittings.
Here is a picture of one of the fuel rails DURING the install (you can actually see the second rail at the bottom of the picture and the interconnect hoses)... I cleaned everything up considerably by the time I was finished.


When I installed this MegaSquirt II was pretty new. It did not support sequential injection. So I didn't bother using a missing tooth wheel to time the engine cycle, just simple batch injection. I used the tach signal from the original harness to trigger the MS. Then I used the timing adjusted spark signal out from the MS to trigger a MSD ignition which then went through the factory distributor. I considered upgrading to a Ford EDIS ignition with a missing tooth wheel but it ran so well as is I decided to keep it simple.
My injectors are junk yard injectors that I cleaned thoroughly in a ultrasonic cleaner. I put each injector in a tupperware container filled with injector cleaner and activated the injector manually (12v) while the tupperware was in the ultrasonic cleaner. They all worked fine. I actually have 2 sets of injectors, a set of single pintle and a set with 4 jets on each injector which atomizes better... I can tell no difference between the two sets. Neither can the MS as swapping them doesn't change the fuel table at all.
In finding these EFI pictures I discovered I did the conversion 18 years ago. Here is a picture of my 19 year old daughter interspersed with the EFI pictures I found:

I just happened to find this first fuel rail attempt in a desk I was cleaning out earlier this week. It was doomed by the second pilot hole when the bit broke off. I finished it for practice anyway... and yes it leaked at the injector with the offset hole from the broken bit.

What kind of engine are you injecting? What is it going into?