[SOLVED] Re: Need help: square hole in plastic
I solved my square hole problem.
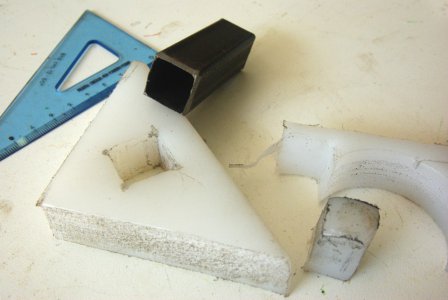
Here is a first version I made with 4 holes in the corners (the plastic was too hard to use a scroll saw) and a straight wood router.
Then I made a square punch using a piece of iron pipe and the result on a piece of scrap is the small block: far better.
To give you an idea of the scope of this piece, it is the screen support for a garden lamp post I made some years ago with an aluminum square pipe and those waterproof LED strips used to be placed below cars: here it's horizontal, but imagine it vertical, in the middle of a red lilies flowerbed.
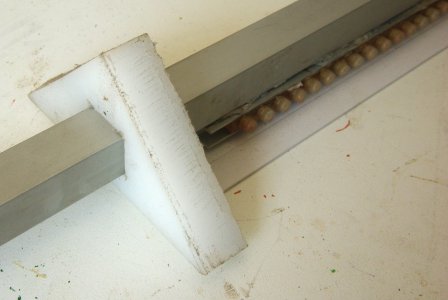
Two curious ladies destroyed it trying to look for a small tree frog hiding inside the lamp, so I decided to make it more robust (in the first version the plastic glasses were kept together with just some silicone).
I had to made two other supports because the first ones, cut with the Cheapex miter saw, had the sides with just a bit of leaning… 2.5 mm over a 20 mm thickness.
At least with a bandsaw the sides now are better.
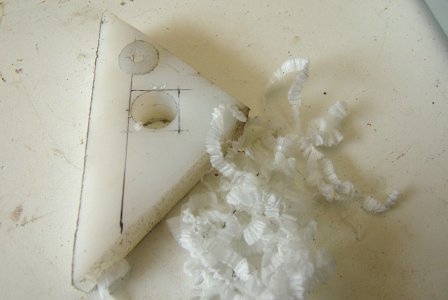
To make the 20 mm hole I made a 18 mm bore with a spade drill bit. To avoid to have the exit point too far from the starting point (with my drill press this is not a remote possibility) I drilled half a hole from both sides.
I got some fancy shavings (thinking to keep them as a Christmas decoration)
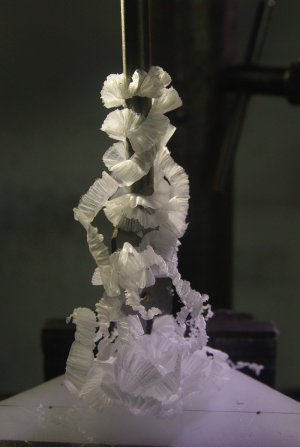
and even a free washer:
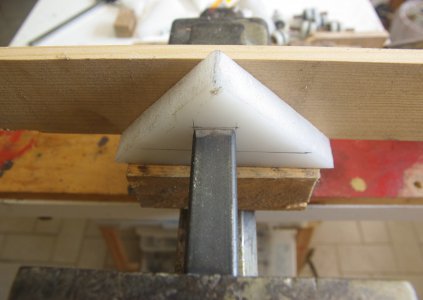
After this I put the plastic and the punch into my bench vise
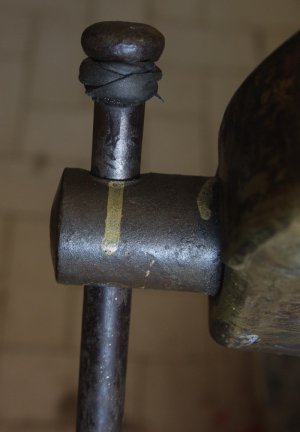
Hint: to avoid blood blisters add some turns of inner tube around the bulb of the vise handle (my dad-in-law used this vise for more than 35 years and always swore about that… but he didn't had the Internet to learn tricks!)
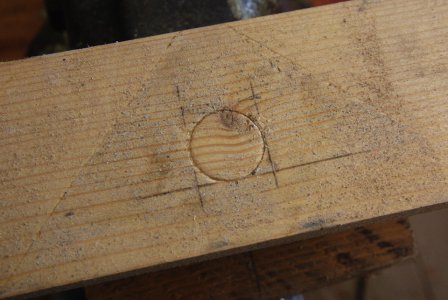
Oh, look! The felt-tip ink passed from the plastic to the wood on the back! Interesting trick, maybe I can patent it… I'll call this method
print press :lmao:
Anyway…
IT WORKED!
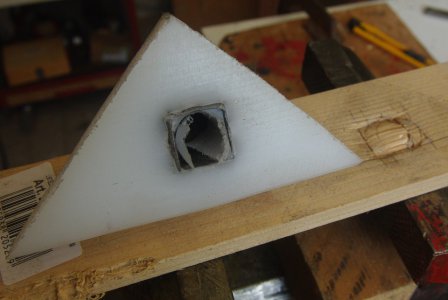
I guess I can sell the round holes to Swiss cheesemakers…
For the second piece (no photos) I started the square hole from both sides, and it worked far better.
To remove the punch from the plastic drill a hole through the iron, insert a bolt and put a metal bar in the hole, plastic side. Then hammer as hard as you can (plastic has elasticity, and "hugs" the punch very strictly).
The main trick is to have a
very sharp punch.
Thanks everybody for all the suggestions!


