Pratt & Whitney #3 benchtop miller

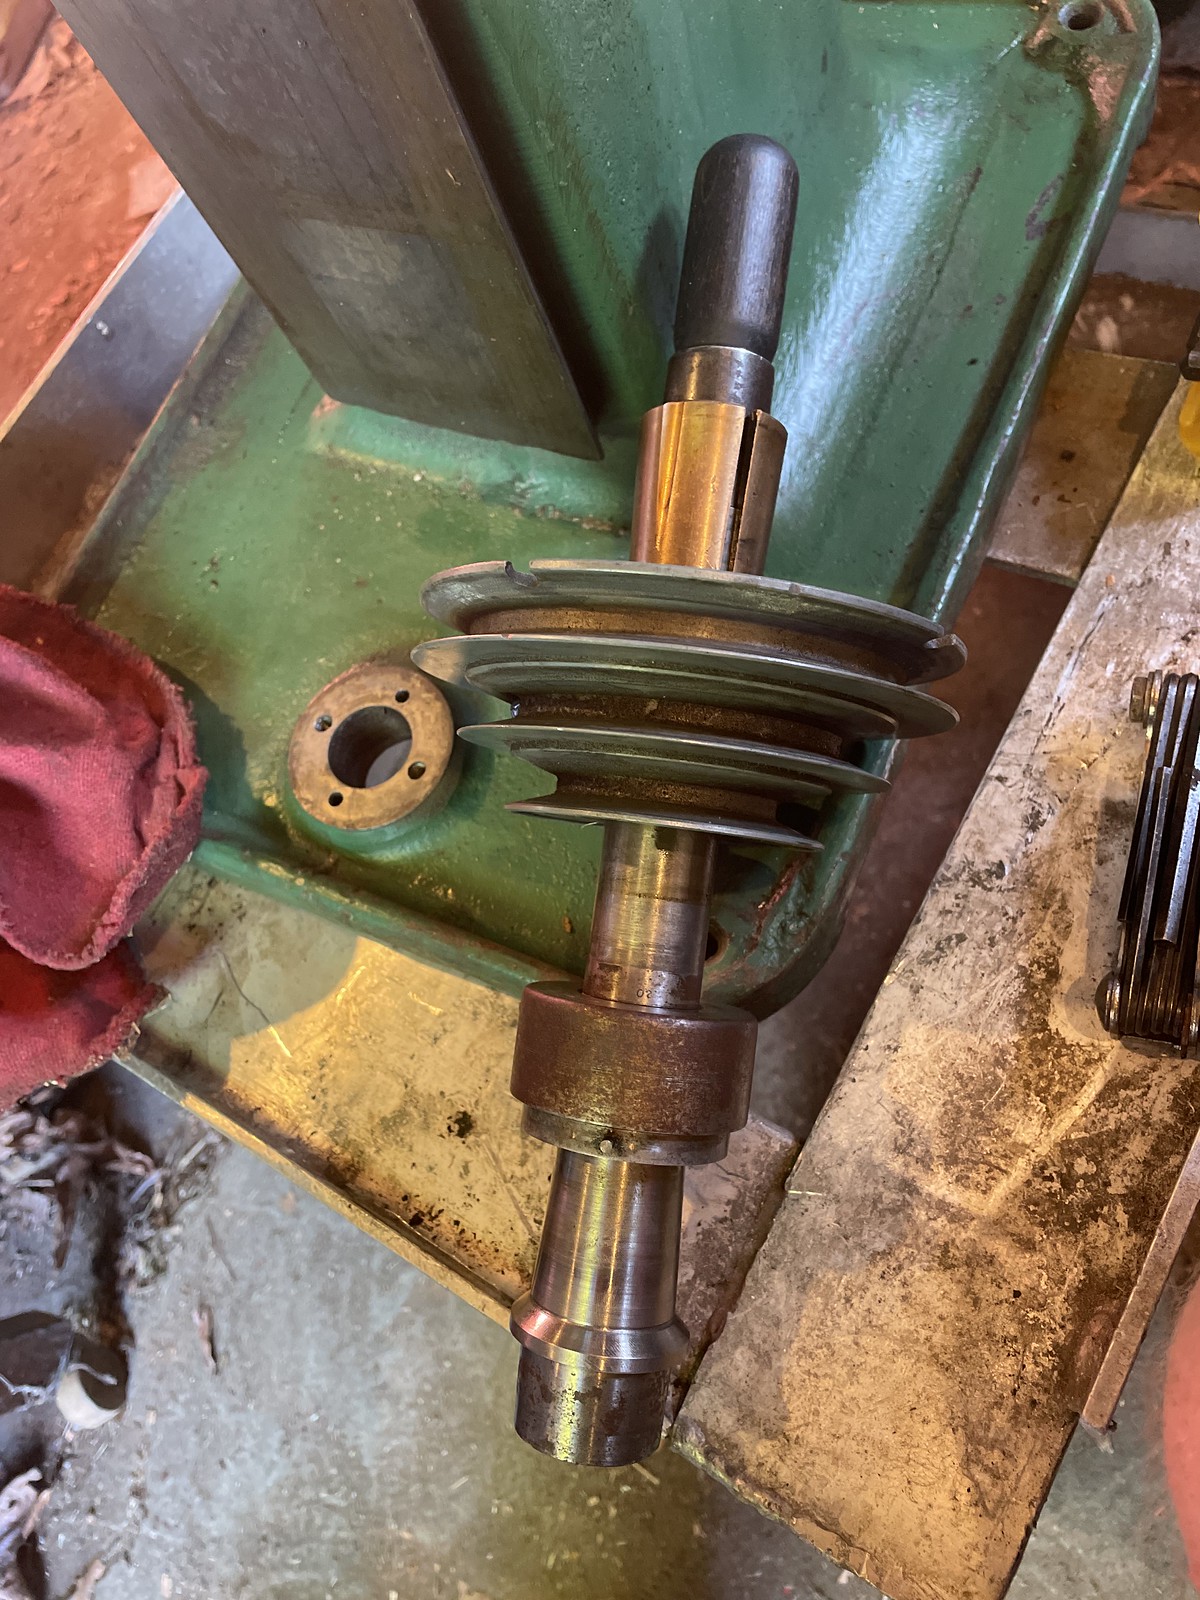
The mill uses 4PN collets, not the easiest to find. But they do pop up on eBay, so I will keep my eyes open.
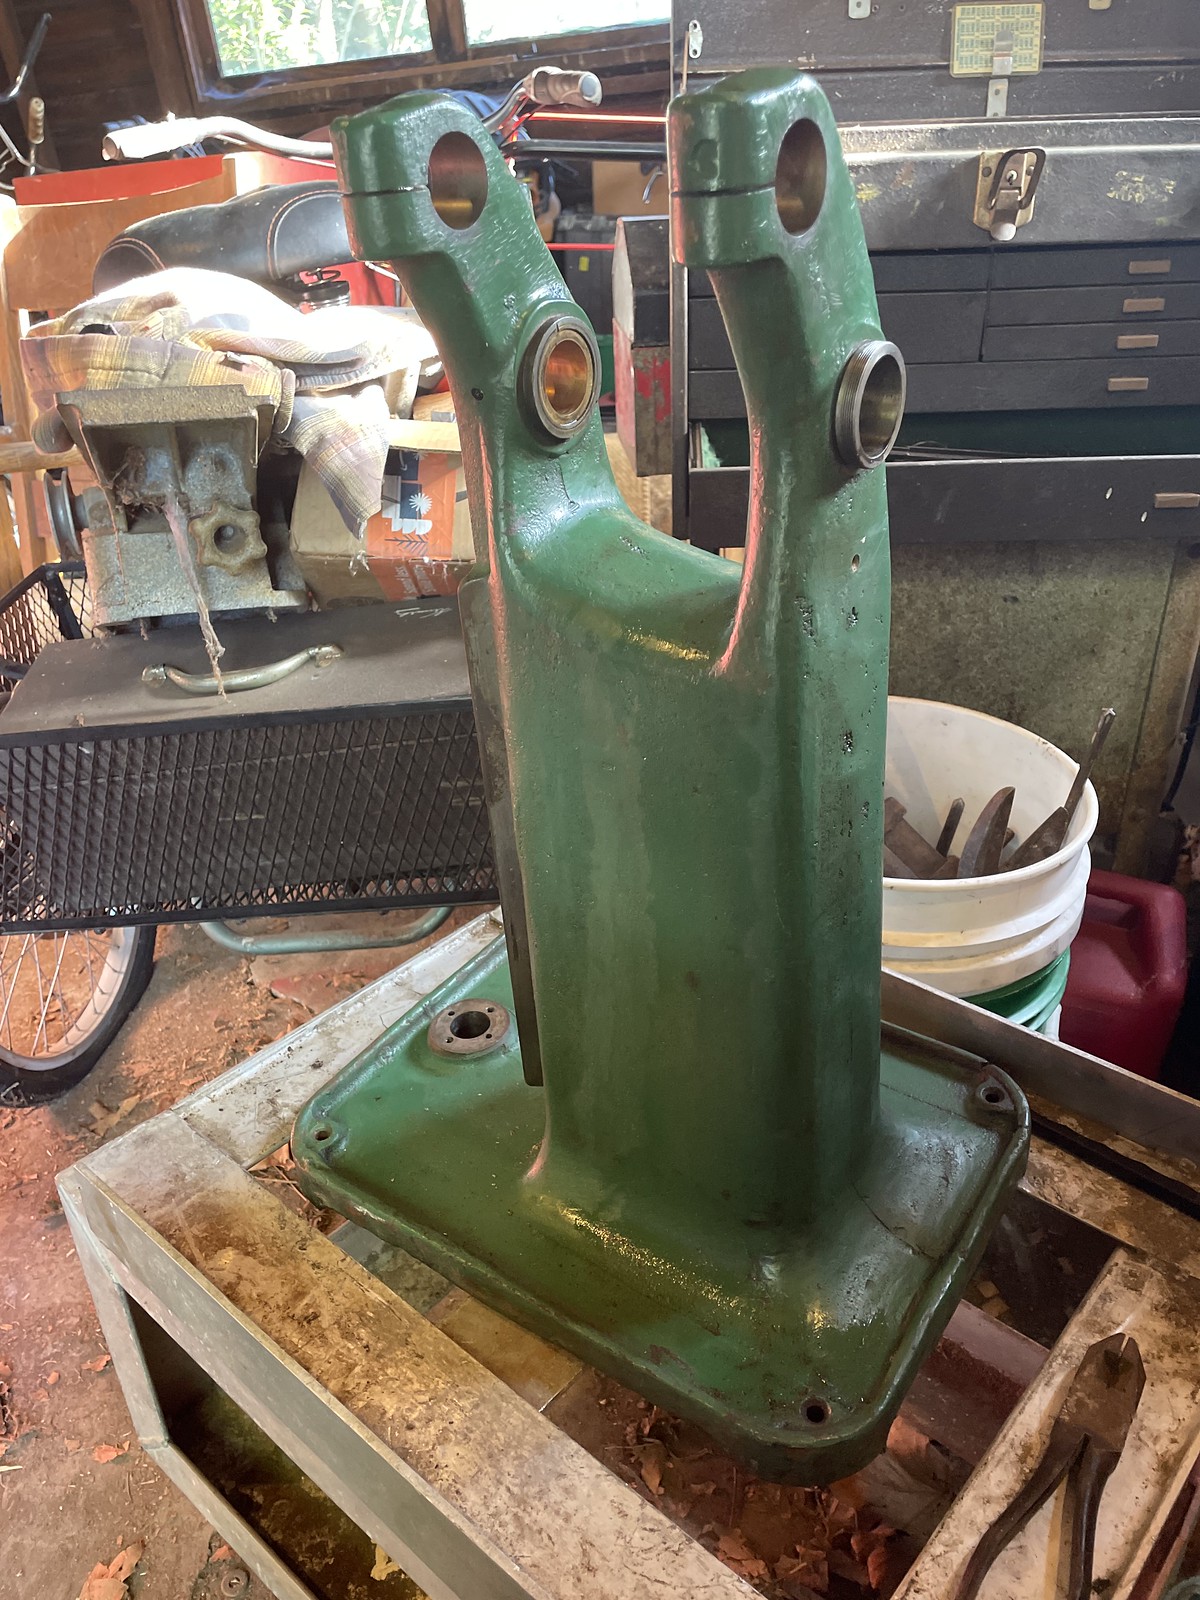
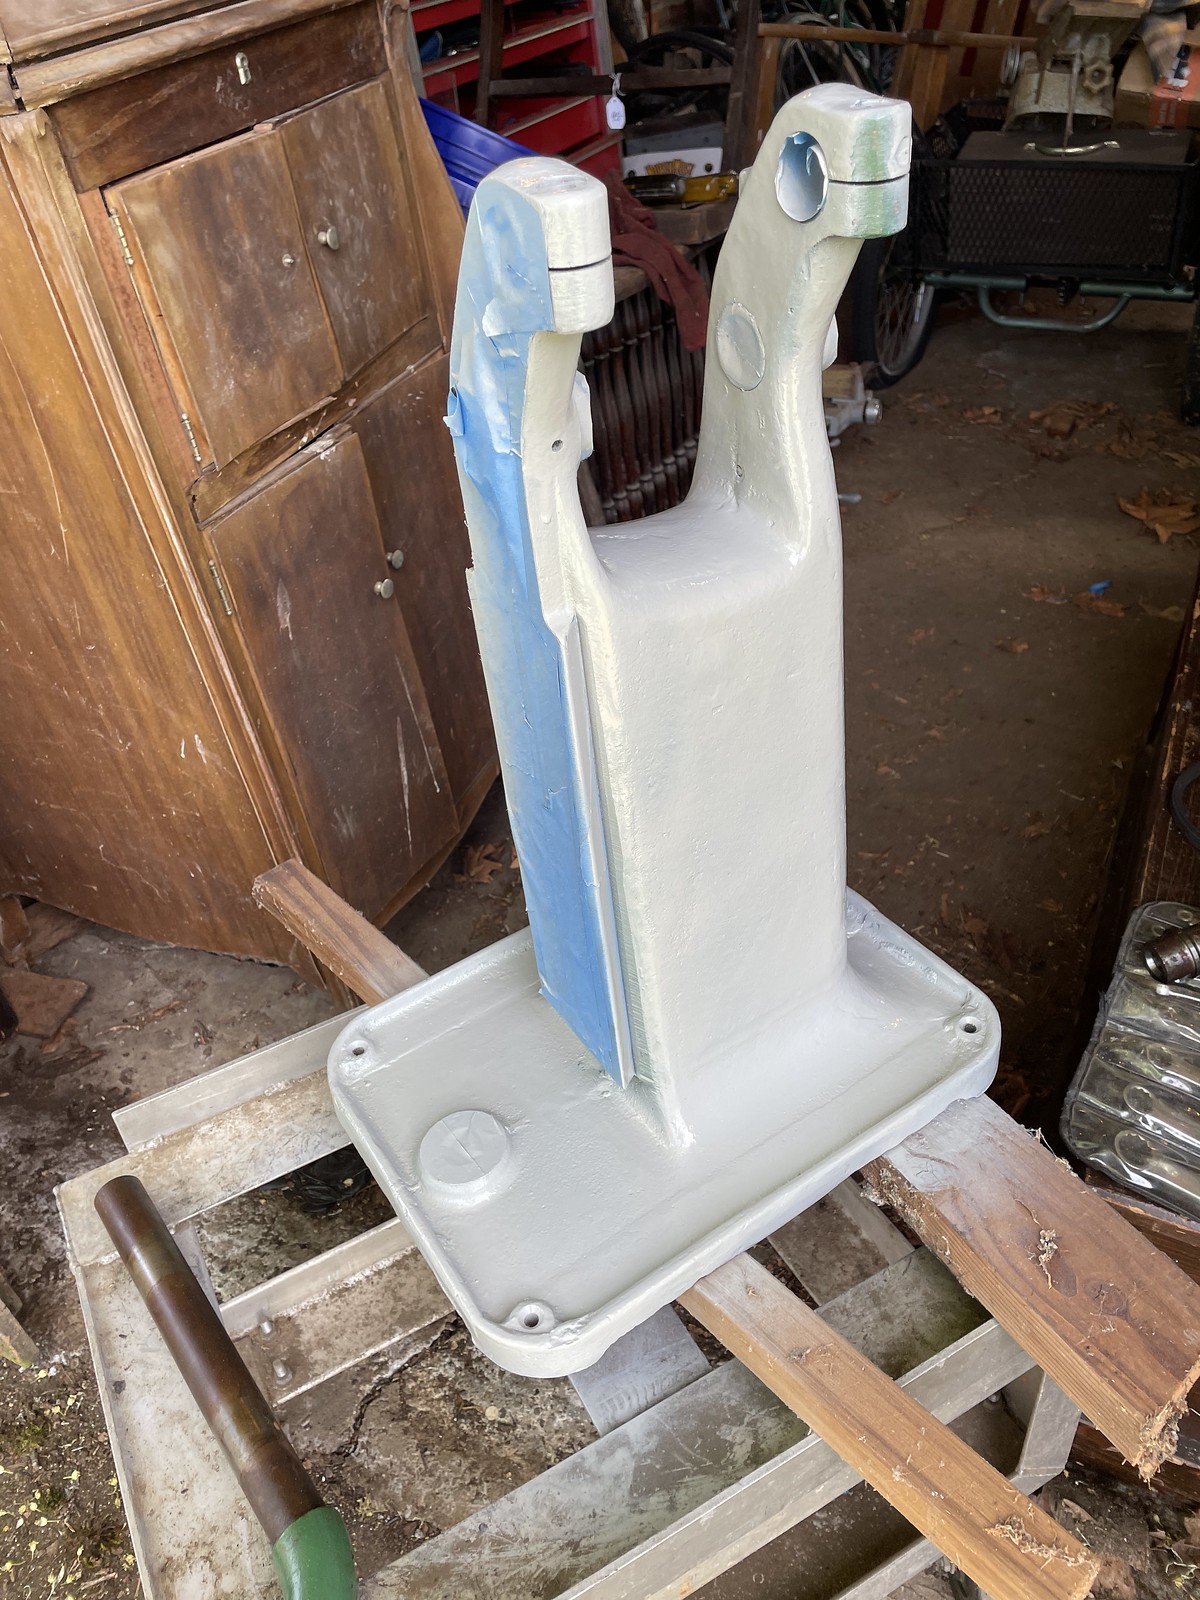
I decided to just remove the whole knee, and bring that into my shop for further disassembly, as it is easier if I can see from all angles how some parts of it will disassemble.

and another angle


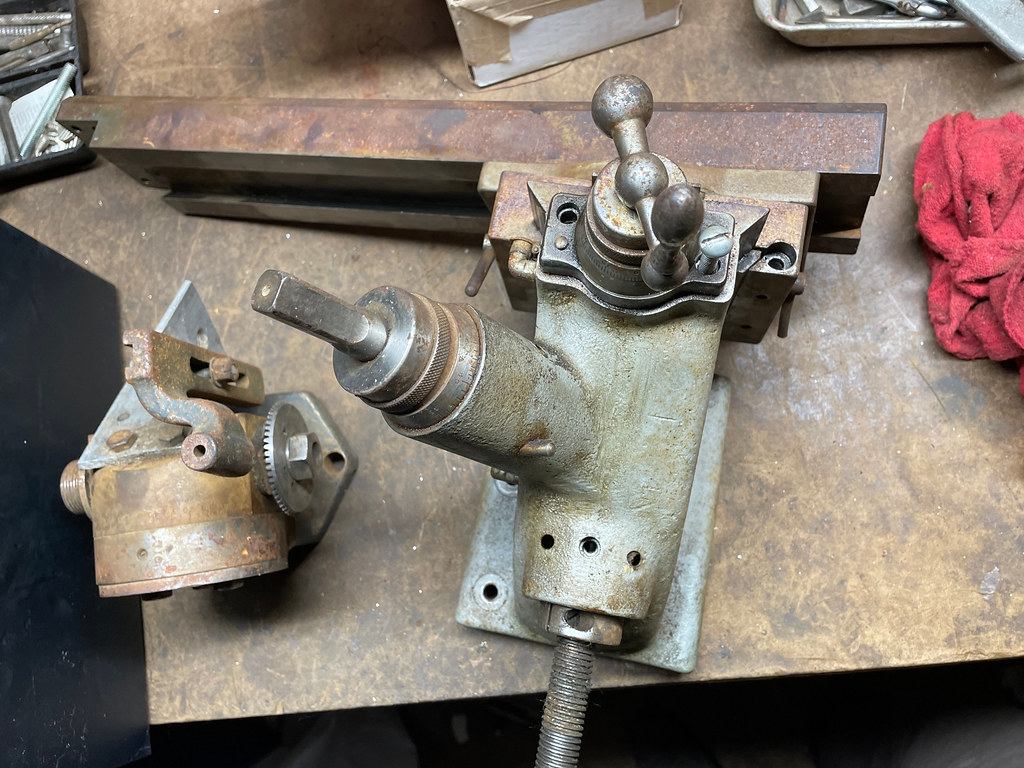
The object to the left of it came with it when purchased, and I thought it was the original dividing head, but now I am not so sure, as it isn't set up to fit in the table's slot.

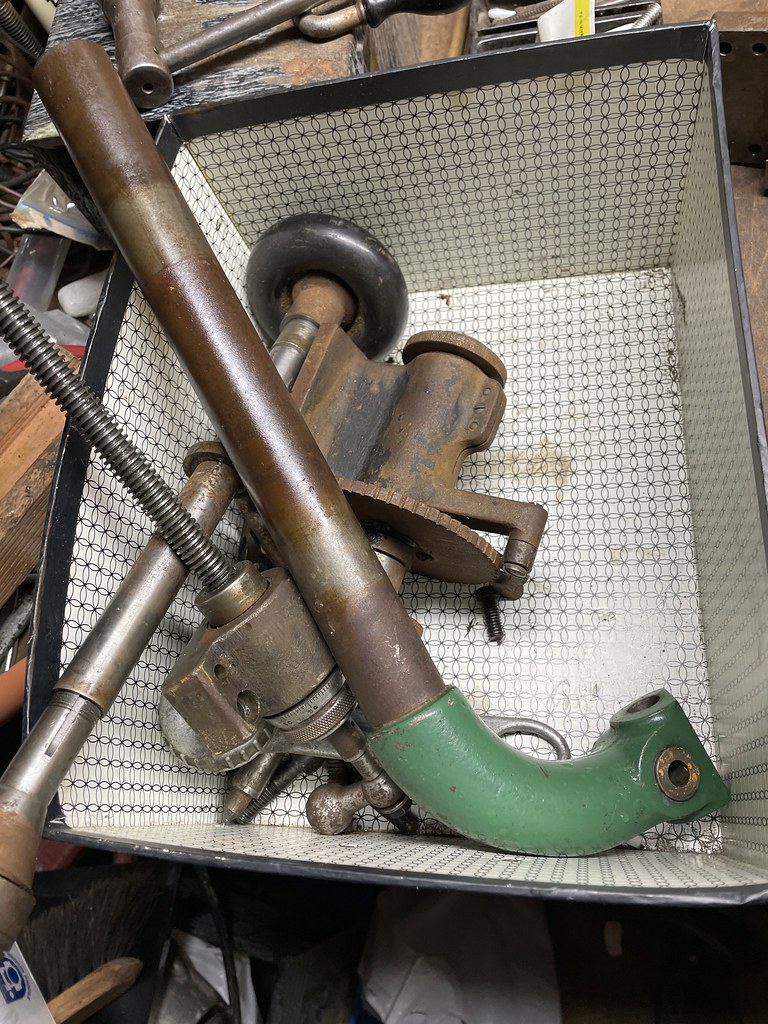
And here is all the parts I have already removed

I have the feeling that there is no parts interchange between the 3 and 3C models of this, and I really wish I had some sort of parts diagram.
 
The knee and table are apart now, at least down to the level I plan to take it. And, boy, she was a puzzle. Also, some of the finest machining I have seen. Blows my South Bend out of the water. Everything is pinned as well as screwed in place, and all the pieces are numbered 20, to keep the individually machined parts together, presumably. Speaks volumes about it.

A little ingenuity getting things apart.

Here is the underside of the table, and you can see the light corrosion and plumerized oil.

and here it is, cleaned, albeit stained a bit by the corrosion.


the side of the table as it is being cleaned.

Once I get everything cleaned off I will lay it all out and show all the pieces, along with (hopefully) giving a tutorial on how to put it back together. I am very glad that I took the knee off, as being able to see the parts from every angle really helped in disassembly. For instance, the gibs for the X and Y axis movements both were tapered, which would have been impossible to figure out if I was trying to do this the conventional way. Here is a shot of them:
 
Success!


After a week of jury duty along with assorted other annoyances, I found enough time to apply generous amounts of Kroil, precise applications of my Proto persuader, some mechanical advantage, and was finally able to get the spindle free. The biggest hold up was the sheeve, which was held on by who knows how old dried oil and a very tight slip fit.


Here are the pieces of the spindle with the rear bronze bushing included. It is a very interesting system of adjusting the bushings, which are feed by two small glass oilers, shown in the original pictures.


I was also able to remove the brass tag, and clean up underneath. Next up is to finish cleaning 90 years of grease and oil, tape off the machined parts, and paint.
 
Great progress!

Are you going to use something like Evaporust to get rid of the rust?

Also, I found Boeshield rust and stain remover to work great cleaning the table surface. It got rid of most stains on my table and some of the chucks.

Boeshield RustFree Rust and Stain Remover, 8 oz
https://a.co/d/j17Dae5
 
All of the misc. parts will get an Evaporust bath, which will take care of that end of things, and the cast iron will get a good scrub with 3in1 oil, which I have found does wonders.

But, I might order up some Boeshield, and give that a try.
 
All taped up and ready to paint:

And first coat down:

I should be able to get a second coat down tomorrow afternoon, giving it 24 hours to set up. And, yes, I see the greenish spot up top. Already took care of it.

This is Krylon Glacier Grey Matt. I looked to be the closest match for the original paint that the knee still had. Here's hopping.
 
The No. 3 mill should use the 3PN collet. The 3C uses the 4PN. Luckily for you, the 3PN is more common on eBay.
 
The No. 3 mill should use the 3PN collet. The 3C uses the 4PN. Luckily for you, the 3PN is more common on eBay.
Thanks for that info. I had been searching for 4PNs with no luck, but already picked up two 3PNs.
 
All taped up and ready to paint:

And first coat down:

I should be able to get a second coat down tomorrow afternoon, giving it 24 hours to set up. And, yes, I see the greenish spot up top. Already took care of it.

This is Krylon Glacier Grey Matt. I looked to be the closest match for the original paint that the knee still had. Here's hopping.
Krylon is NOT a durable paint.
 
Back
Top