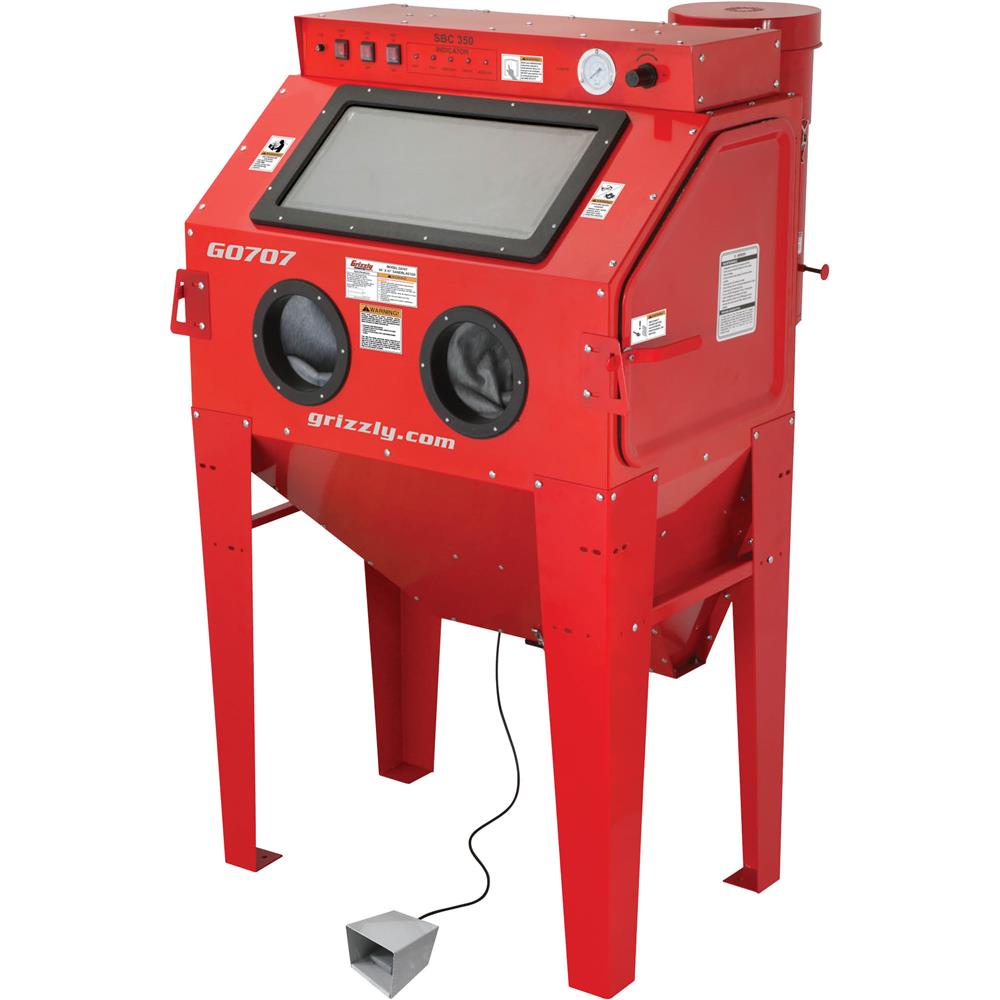
So here's some shots of what I did. Some of this is my own twist on things but most of it is how Mike recommends setting it up.
My shop is small and I need everything that can be to be on wheels. This also put the cabinet up higher, which for me was necessary as I am 6'1" and the height without the wheeled base would have me stooping the entire time to blast. I put some padded foam in the glove openings to lean my elbows on as I blast, very comfortable!

This shows a closer view of the uptake valve for the media at the bottom of the hopper and the foot pedal. Both part of Mikes kit. It's easy to pull the plastic plug from the bottom of the valve to dump media for a change out.

I chose to mount my pressure regulator in this spot and tee'd off for an air hose to the inside of the cabinet. Just put it where it's convenient for your use.

The lights and wiring are up to you, there's lot's of ideas out there on that. This photo shows the vacuum meter that Mike makes. It's not necessary but I like having a means of knowing what my overall negative pressure in the cabinet is in case my vac starts backing up or whatever else may cause an issue.

This was my own idea to use a cyclone separator before the shop vac. I made a contraption to hold a mason jar as my dust bin. This keeps a lot of the fines out of the vac, making the vac bags last a lot longer. What gets to this point in the system is pretty much very fine dust. The heavier bits of the blasting media of course fall back to the bottom of the cabinet.
The vent you see here is from Mike as well. It meters the incoming air to the cabinet so you can fine tune the amount of negative pressure you have.

This is the outgoing air port for the cabinet. There is a baffle on the inside of the cabinet that is part of the original design that prevents large particles from entering the air flow. There is another metering valve on the top of this if you need to further reduce the vac flow if even with the other vent all the way open you have too much suction. I don't need to open this with the little vac I have on the cart as it is not too powerful. The size vac that I am using is perfect for this setup.

Here's the gun that Mike makes and you can see the sheet metal parts he fabricates to alleviate the ledges inside the cabinet that hold media. I find it very handy having the airgun in the cabinet to blow residual media down to the bottom of the cabinet before I do a media change out.

This shows you the parts from Mike that go on the inside of the door. This helps to keep media from piling up so that you don't have a bunch of media falling out into the shop when you open the door.

Here you can see the baffle that Mike makes that prevents the incoming air from being a blast straight into the area that you are working in.

Hope this all helps!