Surface Plate Squareness Comparator Rig

A

Andre

Forum Guest
Register Today
Made this little bit for measuring squareness. It bolts to my cast iron plate and holds a piece of steel washer, simple but effective.
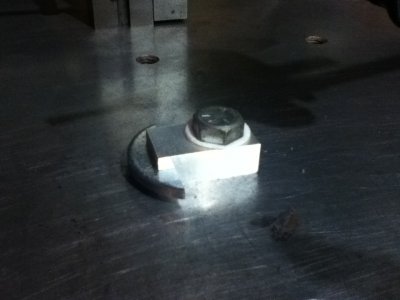
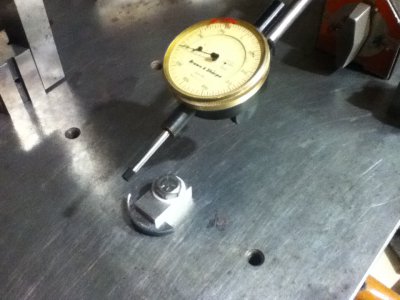
photo 1 (33).JPG

photo 2 (34).JPG

And here it is measuring the angle plate I built in this thread.
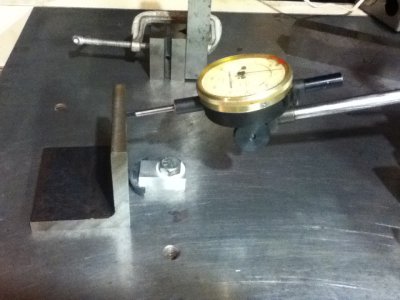
photo 3 (27).JPG

My angle plate ended up about a thou out.

Hope you guys find this interesting, and no I did not drill and tap a hole in the surface plate, it already has a pattern of tapped holes in it.

photo 1 (33).JPG photo 2 (34).JPG photo 3 (27).JPG
 
Your theory is good. However, what do you use for a master square? I see a bar clamped to a V-block in the background of the pic. If that's your master how square is it? The best master squares I know of are cylindrical. You know it's square when it's checked with readings 180 degs. apart. As I said your theory is good. Commercial squareness gages incorporate a compound radiused piece in the bottom of an upright indicator holder and it's rolled against the master square and then the workpiece for comparison. You're incorporating all the right elements, just need a little refinement.
ronzo

Thank you for the comments, that square is a Starrett V block with a Taft Pierce parallel bar lightly clamped to it. It's square enough for what I need to do, but not perfect.
I wonder if I could make a half decent cylindrical square carefully on my tiny lathe :thinking:
 
Find a wrist pin from a large engine. New pistons always come with new wrist pins so mechanics often have old ones that are unworn.
 
Thank you for the comments, that square is a Starrett V block with a Taft Pierce parallel bar lightly clamped to it. It's square enough for what I need to do, but not perfect.
I wonder if I could make a half decent cylindrical square carefully on my tiny lathe :thinking:

Wondering if you can do it will not give you a proper answer. Only trying it will tell. Have at it and let us know the outcome please. I like your approach.

"Billy G"
 
Wondering if you can do it will not give you a proper answer. Only trying it will tell. Have at it and let us know the outcome please. I like your approach.

"Billy G"

Thank you, Bill.

A friend has a small surface grinder, and I have a piece of square steel tubing so I was thinking if I grind the faces of the tubing parallel to each other, I can make a half decent cylindrical square.....wait....it would technically be a square square wouldn't it? LOL
I'll report back on my findings.
 
how does this interesting tool work?

It's a very simple device, the tool simply clamps to the plate and an indicator is held over it. You set it with a reference square against the circular part, and place an indicator set to "0" held above it. The indicator reads any tilt in the suspect part when held against the round piece on the plate.

Basically the part I made was a reference stop, then the indicator reads the amount of out of squareness.

The square I used was a parallel block attached to a v block. Earlier today I cleaned the mating surface very well and it is much truer, turns out my angle plate was about .0003 out. 3 tenths, not bad. I checked it in another manner also, and it read the same 3 tenths, so I'm confident the rigged square is accurate for what I need it for. Still going to make a cylindrical square though, would be a good project.
 
Back
Top