- Joined
- Mar 10, 2012
- Messages
- 125
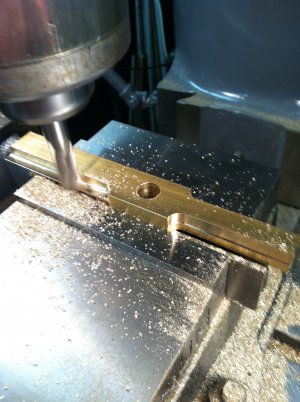
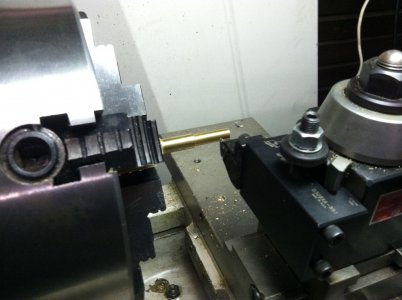
I decided to make a straight tap handle a few weeks ago after drooling over the Starrett ones I saw in the showcase of a local tool supply house. I bought some brass and stainless stock that was about the size I thought would work for the project, and decided to go with the brass first for the ease in machining. I started by machining the outside dimensions with a 1/2 inch end mill. Then I chucked it up in the four jaw and turned the tapered handle on one end.
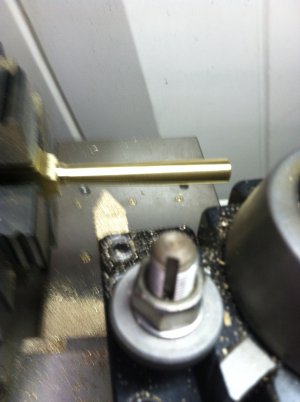
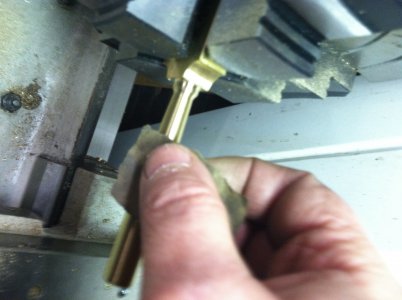
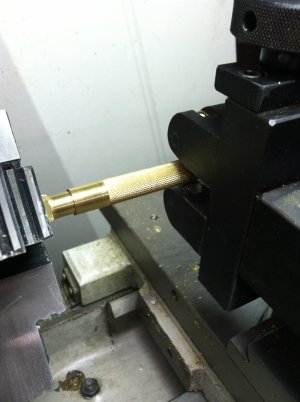
Then I touched it up with some emery cloth and 1200 grit sandpaper. Next I reversed the handle in the chuck and drilled it for the 1/4" through rod, and turned that end with a step for the handle and threaded portion. Yes that's frost on the chuck after several nights in a row in single digits and below zero temps.
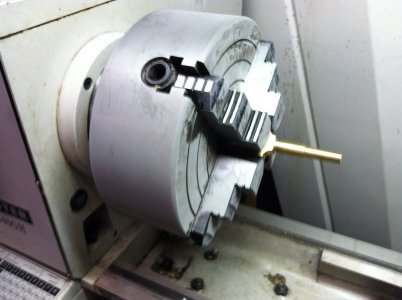
The step was turned to .010 under 7/16 to allow the handle to just clear, and the outer end turned and threaded for 3/8 x 32. Next I chucked a piece of 3/4 brass round and drilled and threaded the female portion of the handle before knurling and parting it off.
I had a few problems with the calculation and execution of the "V" groove in the body that would accept the square tap end. My solution/repair was to drill two 1/8th inch holes and then mill a square end in the body to accept a stainless insert with a "V" milled in it for the tap end.
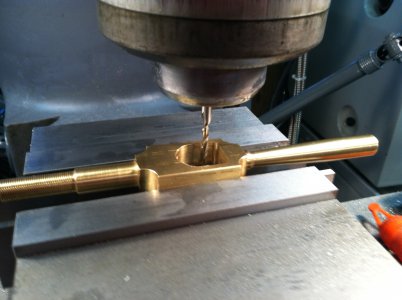
My next step was to mill the necessary "V" in the through rod for the other angle on the tap end, and mill a flat on the other end of the rod so I can drill and pin the rod in place inside a slot in the threaded part of the handle (yet to be milled. This will keep the rod's "V" perpendicular to the tap end as it's tightened in the handle. That's how Starrett does it, so..... Anyway, I used the aluminum machinist's vise I made last summer locked in my angle vise to hold the rod as I made it. That's it so far. I need to corner round two edges on the stainless insert so that it fits flush with the handle, cut the "V" in it, and then drill and tap both so I can fix the insert in place with screws. The through rod needs to have the flat drilled for the set pin, and the end tapped for a retainer collar to keep the spring in place and slightly compressed.
View attachment 96124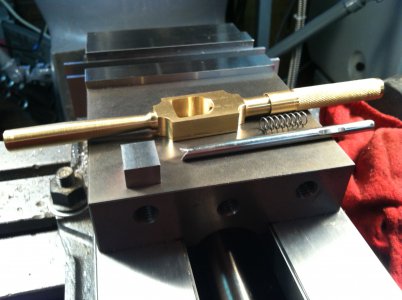
I will take pics of the portions I just described as I do them so this will make more sense. More to follow as the weather improves. Thanks for viewing.


Then I touched it up with some emery cloth and 1200 grit sandpaper. Next I reversed the handle in the chuck and drilled it for the 1/4" through rod, and turned that end with a step for the handle and threaded portion. Yes that's frost on the chuck after several nights in a row in single digits and below zero temps.


The step was turned to .010 under 7/16 to allow the handle to just clear, and the outer end turned and threaded for 3/8 x 32. Next I chucked a piece of 3/4 brass round and drilled and threaded the female portion of the handle before knurling and parting it off.


I had a few problems with the calculation and execution of the "V" groove in the body that would accept the square tap end. My solution/repair was to drill two 1/8th inch holes and then mill a square end in the body to accept a stainless insert with a "V" milled in it for the tap end.

My next step was to mill the necessary "V" in the through rod for the other angle on the tap end, and mill a flat on the other end of the rod so I can drill and pin the rod in place inside a slot in the threaded part of the handle (yet to be milled. This will keep the rod's "V" perpendicular to the tap end as it's tightened in the handle. That's how Starrett does it, so..... Anyway, I used the aluminum machinist's vise I made last summer locked in my angle vise to hold the rod as I made it. That's it so far. I need to corner round two edges on the stainless insert so that it fits flush with the handle, cut the "V" in it, and then drill and tap both so I can fix the insert in place with screws. The through rod needs to have the flat drilled for the set pin, and the end tapped for a retainer collar to keep the spring in place and slightly compressed.
View attachment 96124

I will take pics of the portions I just described as I do them so this will make more sense. More to follow as the weather improves. Thanks for viewing.

