-
Welcome back Guest! Did you know you can mentor other members here at H-M? If not, please check out our Relaunch of Hobby Machinist Mentoring Program!
You are using an out of date browser. It may not display this or other websites correctly.
You should upgrade or use an alternative browser.
You should upgrade or use an alternative browser.
Tool and cutter grinder build
- Thread starter Mark_f
- Start date
I spent the last week in bed sick. My system shut down again . I wish they would get this figured out. But, I felt good enough today to go to the shop for a couple hours. I got the air bearing mounted on the grinder. It is a simple mount. One bolt removes and installs it.
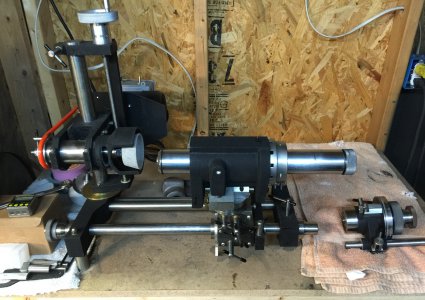
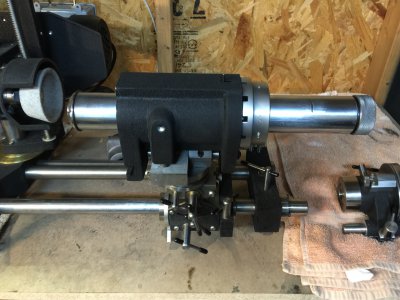
I also started making the finger support bracket. I made a T but and the angle piece.
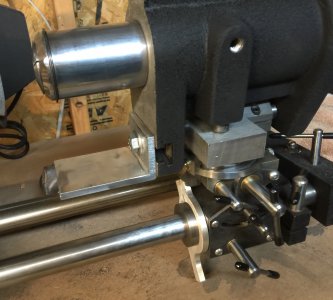
Next is to make the finger support and micrometer adjustable finger.
Hopefully I can get to it this weekend.


I also started making the finger support bracket. I made a T but and the angle piece.

Next is to make the finger support and micrometer adjustable finger.
Hopefully I can get to it this weekend.
- Joined
- Jul 31, 2013
- Messages
- 314
Hi
Great work, Hope you get better.
Great work, Hope you get better.
Today I finished up the flute rest for the air bearing. It is made from aluminum with the black wrinkle finish and the stylus is made from drill rod. The stylus is angled towards the tip such that it will easily work on a .250" end mill. It may work on a smaller end mill, but I think anything smaller can be replaced instead of grinding.
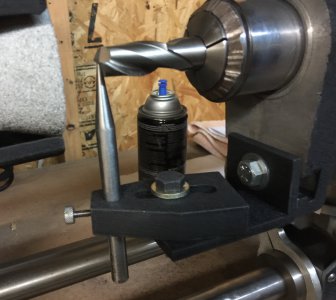
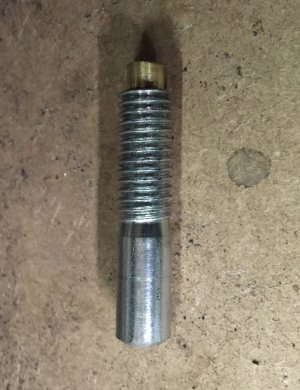
This bolt has had a brass tip added and will get a small T handle. It is to tighten the index collar shown in the last photo, so as to protect the air bearing spindle from gouges.
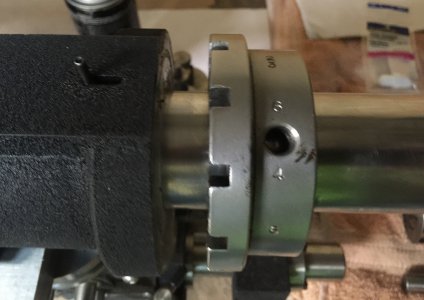
Once this spindle is setup it can also be used to grind the ends of the end mill as well as the flutes. The stylus rest is used to follow the flutes. The index collar has 12 notches and is numbered to correspond to the number of flutes ( eg. 2, 3, 4, 6 ) . The above photo shows a sliding pin used to engage the notches. The pin is a close fit in the notches to eliminate any side play.
Next is to make the handle for the air bearing and connect an air supply to it. I think a small compressor such as an air brush compressor may supply adequate volume to the bearing. If this is so, I can use it instead of running my big compressor and also make this a self contained unit.

This bolt has had a brass tip added and will get a small T handle. It is to tighten the index collar shown in the last photo, so as to protect the air bearing spindle from gouges.


Once this spindle is setup it can also be used to grind the ends of the end mill as well as the flutes. The stylus rest is used to follow the flutes. The index collar has 12 notches and is numbered to correspond to the number of flutes ( eg. 2, 3, 4, 6 ) . The above photo shows a sliding pin used to engage the notches. The pin is a close fit in the notches to eliminate any side play.
Next is to make the handle for the air bearing and connect an air supply to it. I think a small compressor such as an air brush compressor may supply adequate volume to the bearing. If this is so, I can use it instead of running my big compressor and also make this a self contained unit.
I have been making a few changes on my Bonelle Grinder. It worked well for end mills and milling cutters but to do rough grinding on lathe tools , I was lacking some power. My motor had about the equivalent of a 1/3 hp bench grinder. It worked good but I could stall it without too much difficulty. Well, I came across a 1/2 hp . 3450 rpm capacitor start motor in a 42 frame , which makes it kind of smaller in size and ideal for a grinder. So , I changed out the motor and now it has so much power , it takes a LOT of force to stall it.
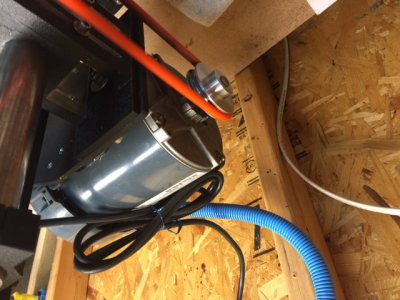 I don't know why but all the photos load upside down.
I also made up a new switch center as the other one was mounted on the motor I like this setup much better.
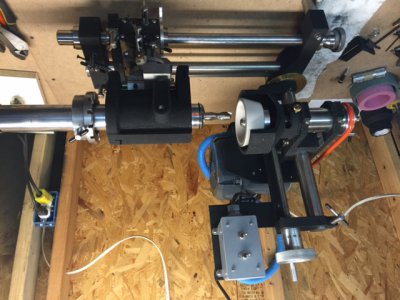
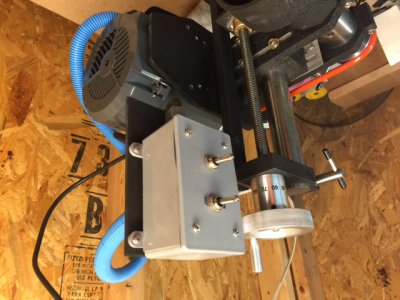
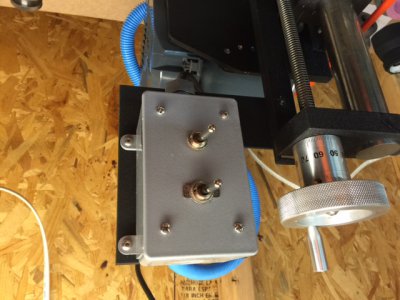
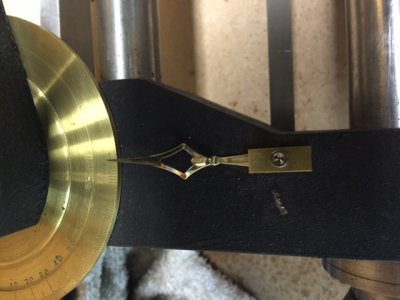
I have a dial at the base of the column to indicate the column position in 1 degree increments but it needed a pointer made, so today I finally got around to making up a pointer. It is needed for the spindle inversion function. I will be trying that setup for the first time this week. The grinder is really coming together as I get all the fixtures and details finished up. The photos below show the pointer.
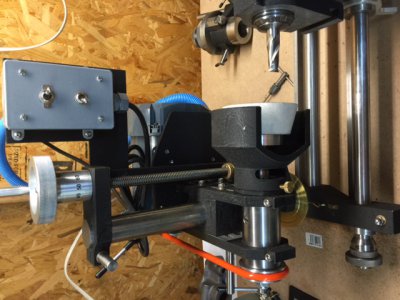
This is frustrating. The first photos loaded upside down and the last to loaded 90 degrees out of orientation. Oh well, I hope you get the picture....no pun intended.
 I don't know why but all the photos load upside down.
I also made up a new switch center as the other one was mounted on the motor I like this setup much better.


I have a dial at the base of the column to indicate the column position in 1 degree increments but it needed a pointer made, so today I finally got around to making up a pointer. It is needed for the spindle inversion function. I will be trying that setup for the first time this week. The grinder is really coming together as I get all the fixtures and details finished up. The photos below show the pointer.


This is frustrating. The first photos loaded upside down and the last to loaded 90 degrees out of orientation. Oh well, I hope you get the picture....no pun intended.
- Joined
- Mar 3, 2014
- Messages
- 634
Great way to use your space-Mount half the equipment on the ceiling. Now ya got twice the working room.
Don't know what happened but it is nice that the photos are not upside down now.
I have ordered a new drive belt for a better fit and taking a break for a couple weeks I think. Not feeling very well the last couple days, but will start back again soon.
I have ordered a new drive belt for a better fit and taking a break for a couple weeks I think. Not feeling very well the last couple days, but will start back again soon.


