-
Welcome back Guest! Did you know you can mentor other members here at H-M? If not, please check out our Relaunch of Hobby Machinist Mentoring Program!
You are using an out of date browser. It may not display this or other websites correctly.
You should upgrade or use an alternative browser.
You should upgrade or use an alternative browser.
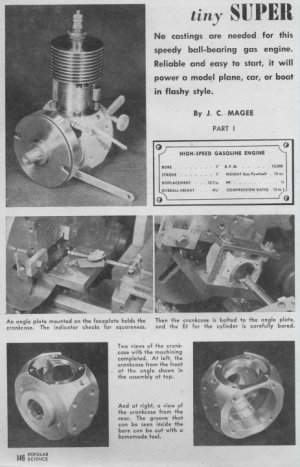
Tiny Super
- Thread starter Ghosty
- Start date
- Joined
- Apr 16, 2019
- Messages
- 745
I hunted down the three issues of Popular Science that your following and glanced over them .I might print those pages just to help me follow along . Will be reading your build thread , looks like a nice project! Good Luck !
Hi All,
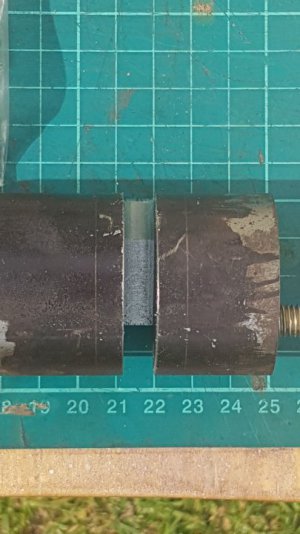
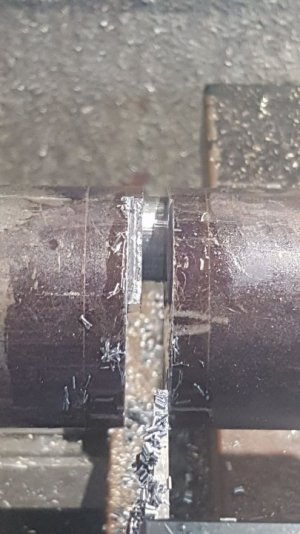
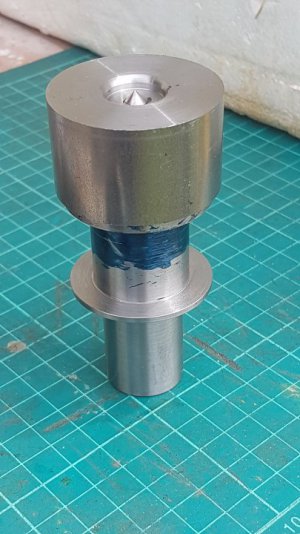
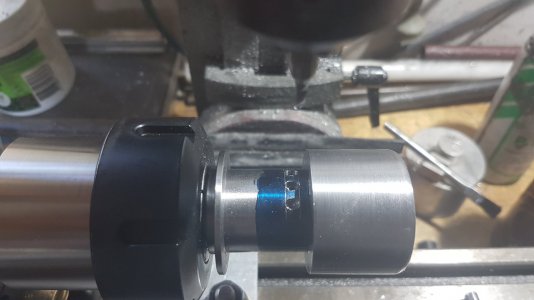
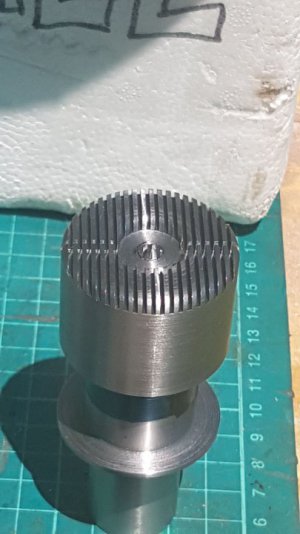
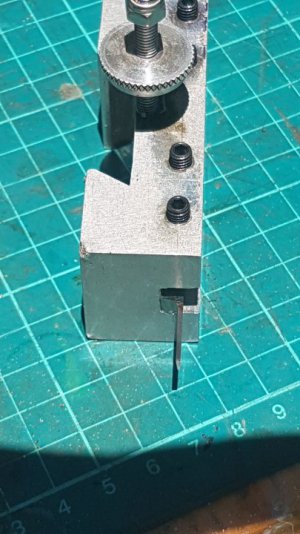
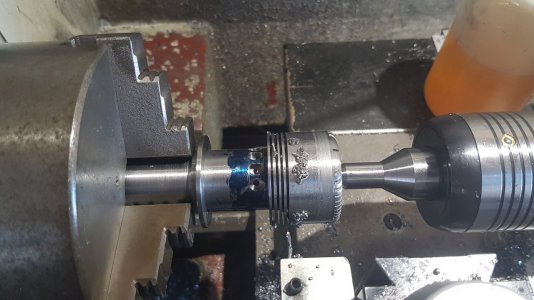
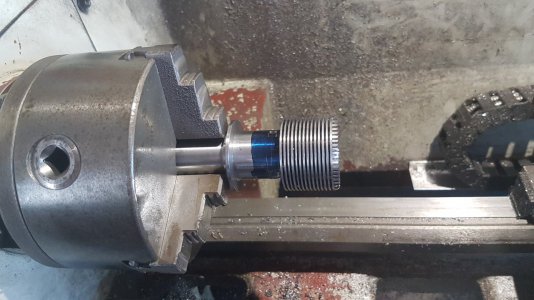
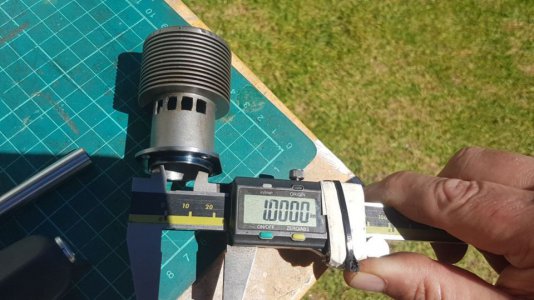
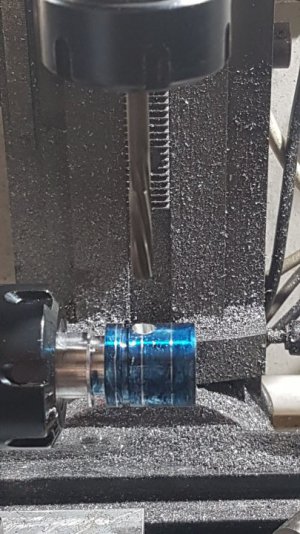
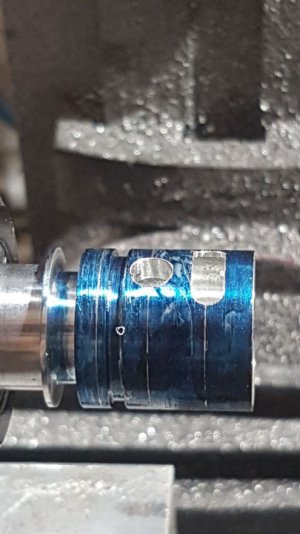
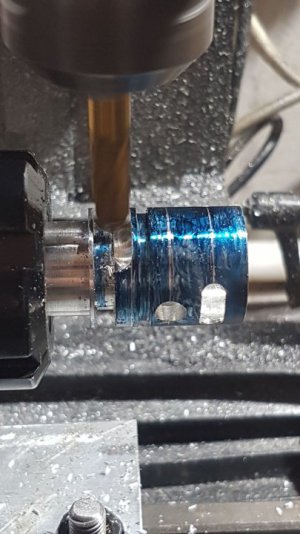
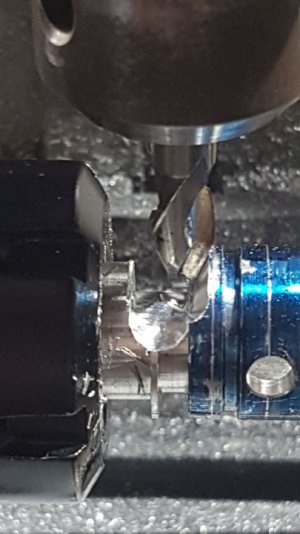
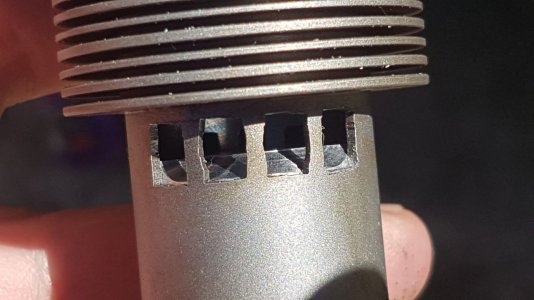
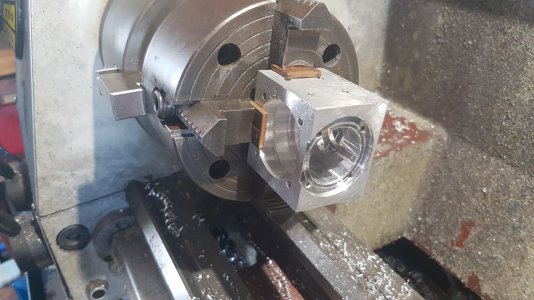
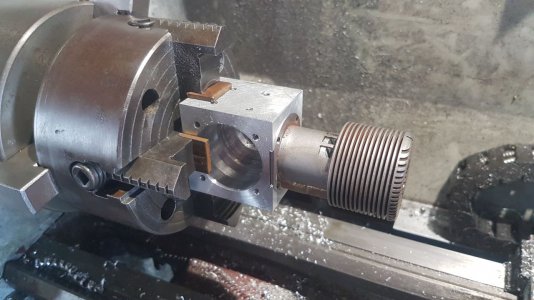
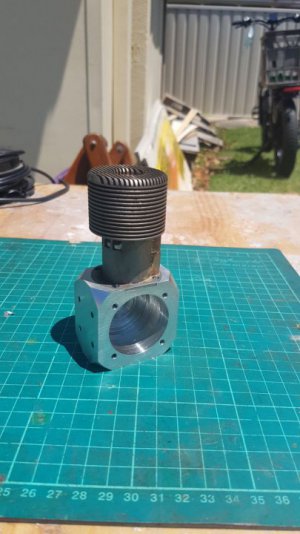
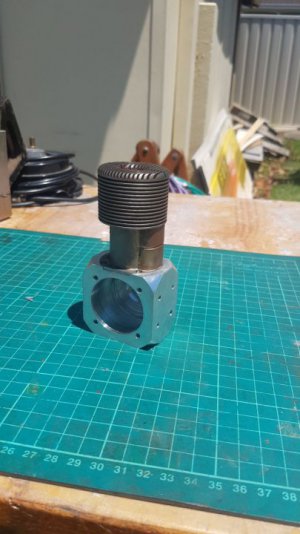
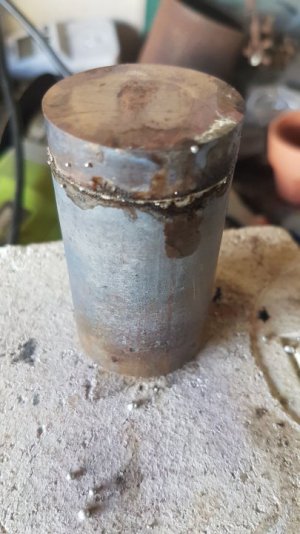
Got some more of the cylinder done today.
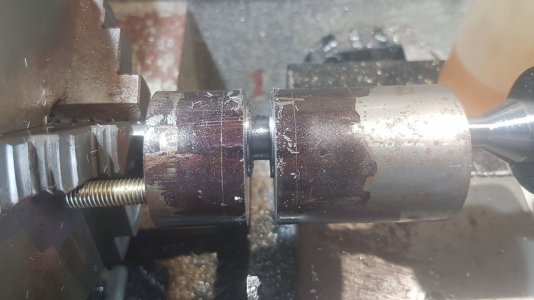
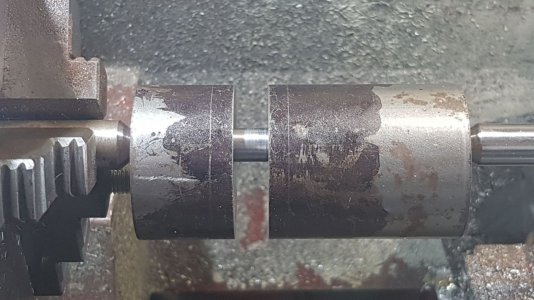
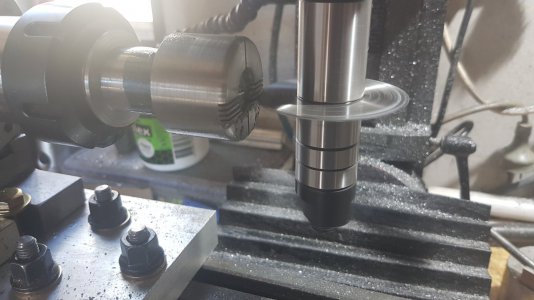
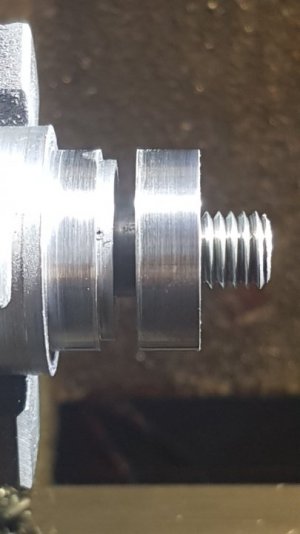
Used an arbour to hold the cylinder, uses a 1/4" bolt with a 1/4x32 thread for the plug hole. I went with a 1/4" plug as the 3/8" plugs are getting harder to get, the 1/4" ones are readily available.
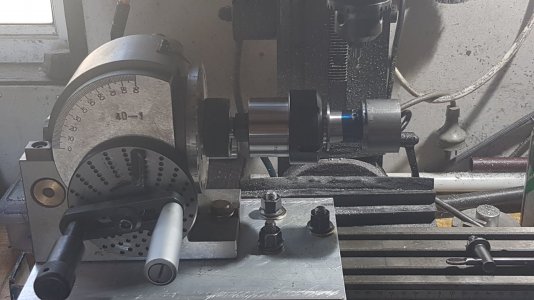
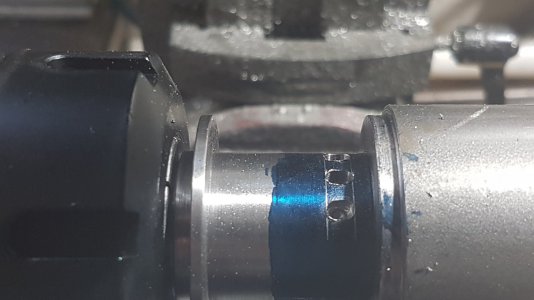
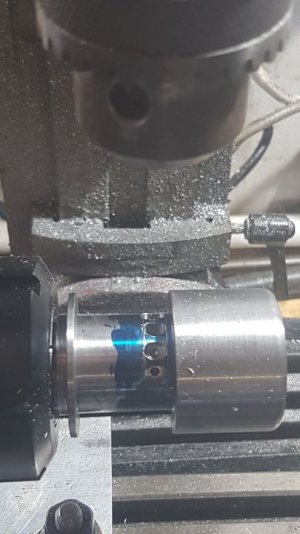
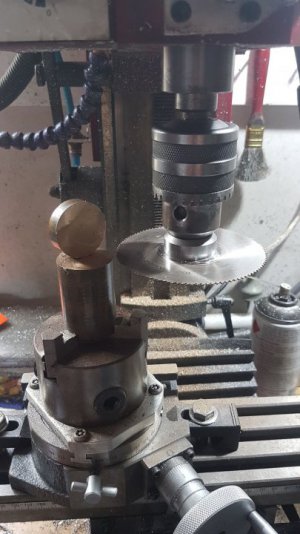
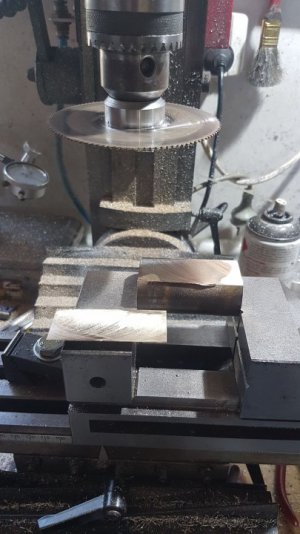
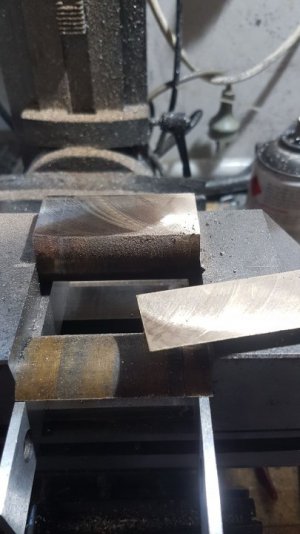
Machined the ports for exhaust and inlet. Set up in dividing head for the correct spacing.
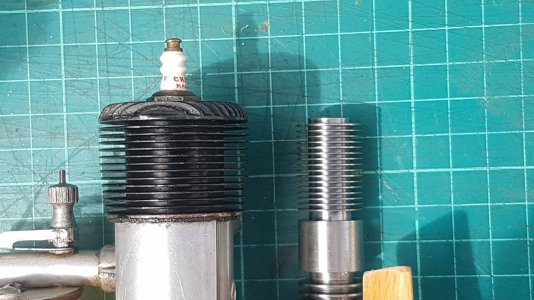
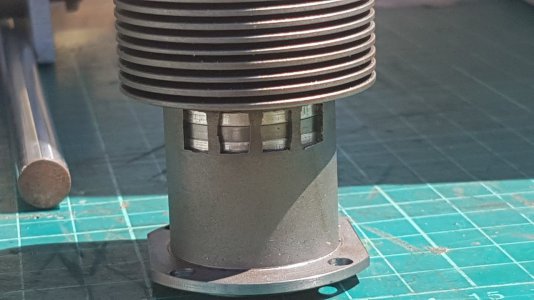
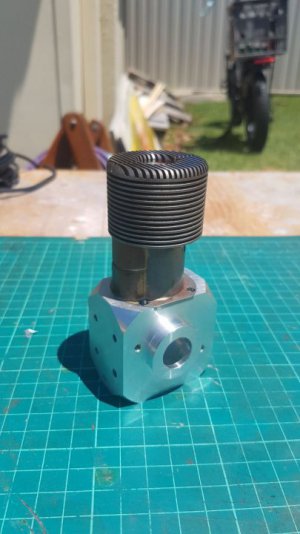
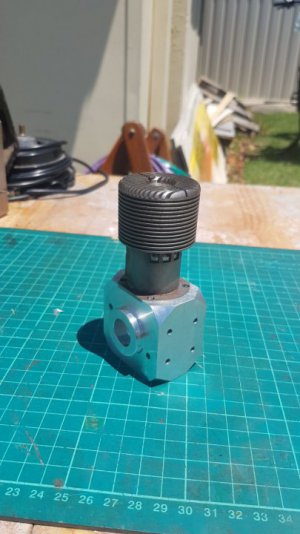
Also machined the cooling fins, I like the look of the fins on the O&R engines, so I reconfigured the fins to suite.
The top of the head were machined with a 0.8mm slitting saw, and the cylinder fins with a 0.9mm HSS tool. Had to grind this one up.
Hope to get more done tomorrow.
Cheers
Andrew
Got some more of the cylinder done today.
Used an arbour to hold the cylinder, uses a 1/4" bolt with a 1/4x32 thread for the plug hole. I went with a 1/4" plug as the 3/8" plugs are getting harder to get, the 1/4" ones are readily available.
Machined the ports for exhaust and inlet. Set up in dividing head for the correct spacing.
Also machined the cooling fins, I like the look of the fins on the O&R engines, so I reconfigured the fins to suite.
The top of the head were machined with a 0.8mm slitting saw, and the cylinder fins with a 0.9mm HSS tool. Had to grind this one up.
Hope to get more done tomorrow.
Cheers
Andrew
Attachments
-
 19.jpg167 KB · Views: 58
 -
 20.jpg114.8 KB · Views: 42
 -
 21.jpg144 KB · Views: 36
 -
 22.jpg97.3 KB · Views: 31
 -
 23.jpg54.6 KB · Views: 31
 -
 12.jpg181.5 KB · Views: 28
 -
 24.jpg133.1 KB · Views: 27
 -
 25.jpg50.2 KB · Views: 28
 -
 30.jpg69.5 KB · Views: 28
 -
 26.jpg149.1 KB · Views: 28
 -
 27.jpg171.7 KB · Views: 25
 -
 28.jpg66.3 KB · Views: 27
 -
 29.jpg66.7 KB · Views: 31
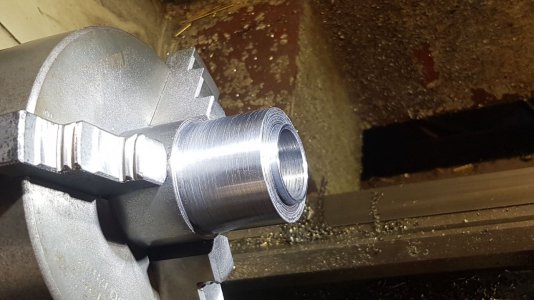
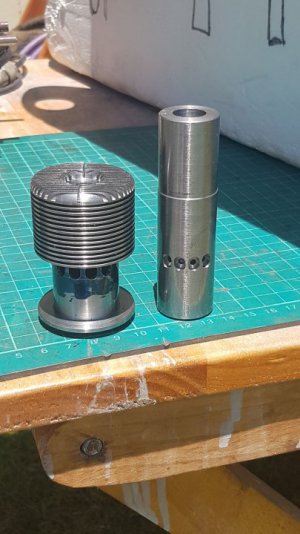
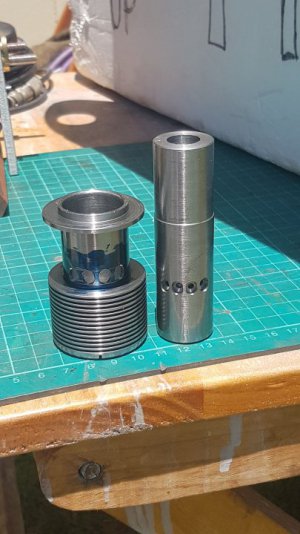
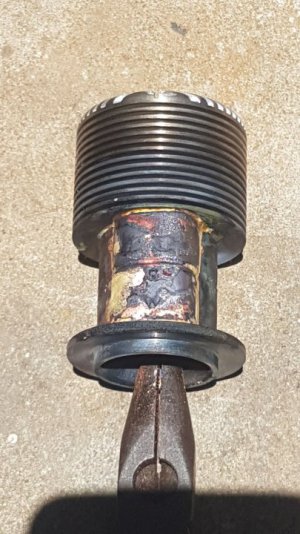
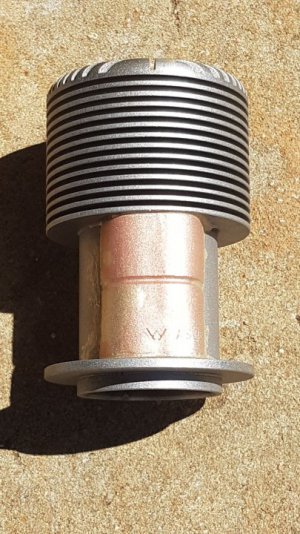
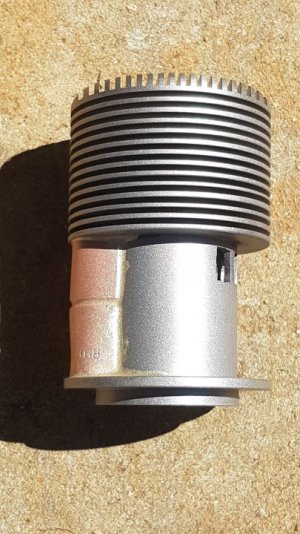
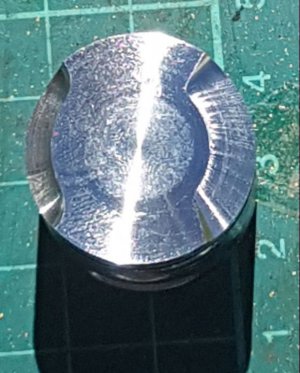
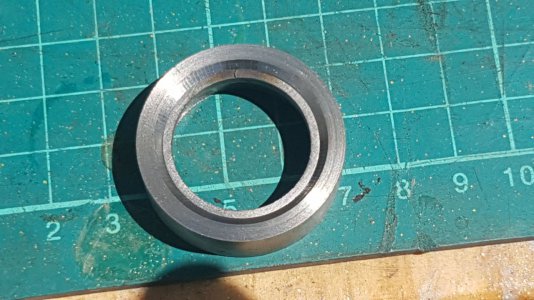
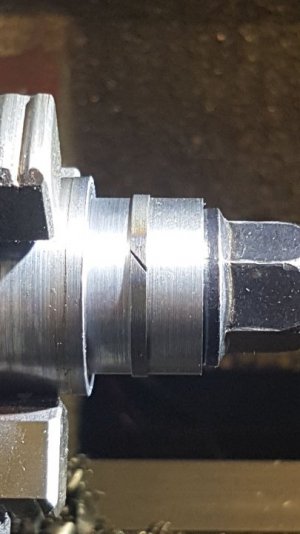
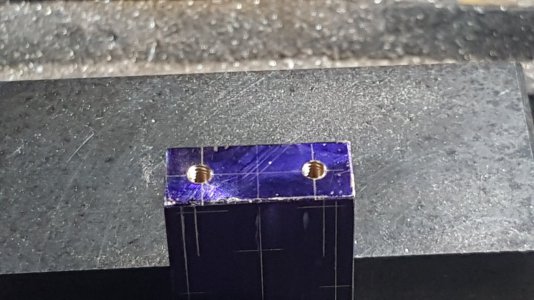
Hi All,
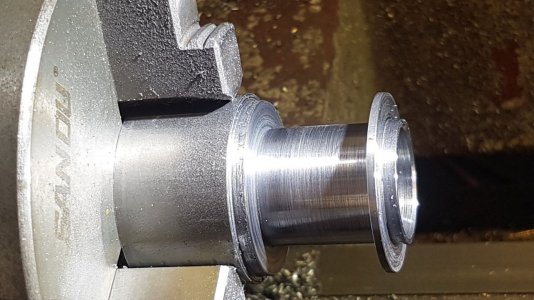
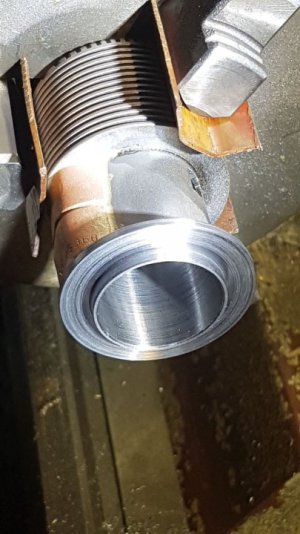
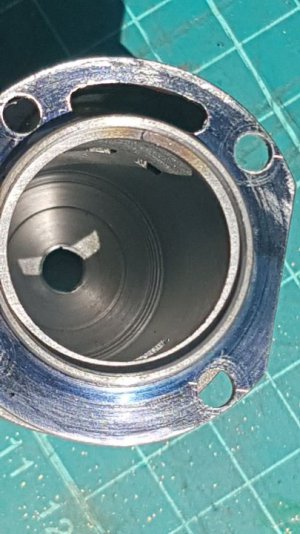
Done more, I do not have any black iron for the transfer port, had a 3/4" copper fitting, good enough, formed up and silver soldered to cylinder, then cleaned up.
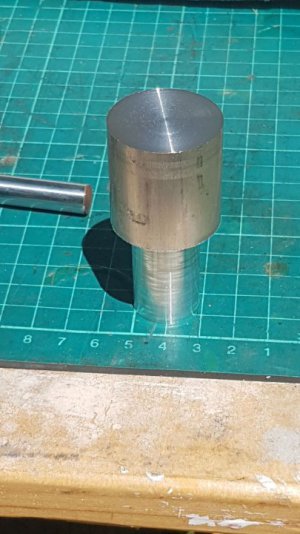
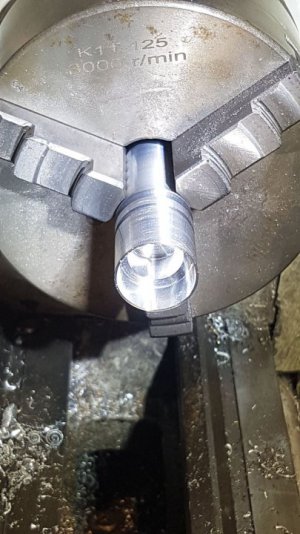
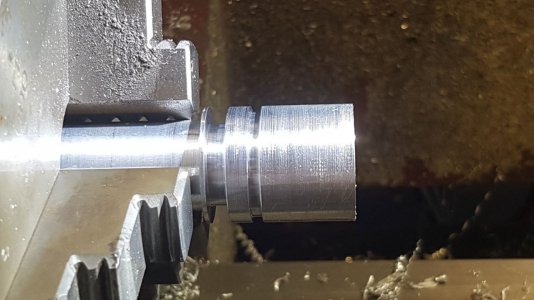
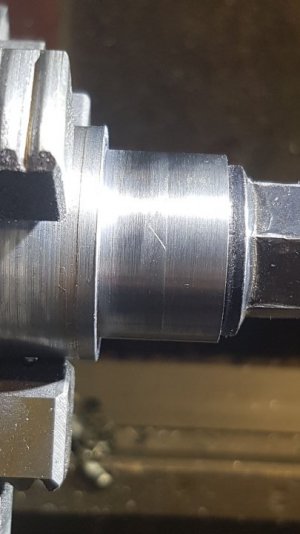
Remounted the cylinder in the lathe and machined a couple of thou under sized.
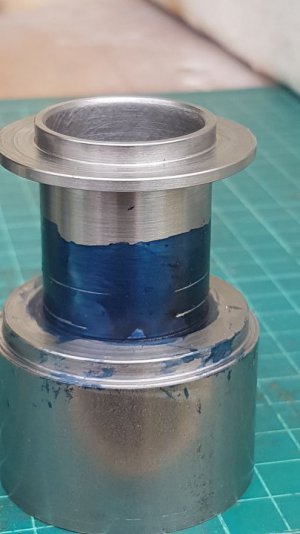
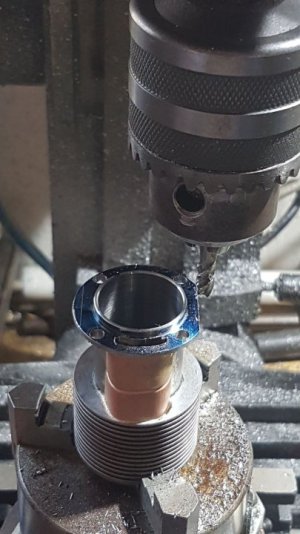
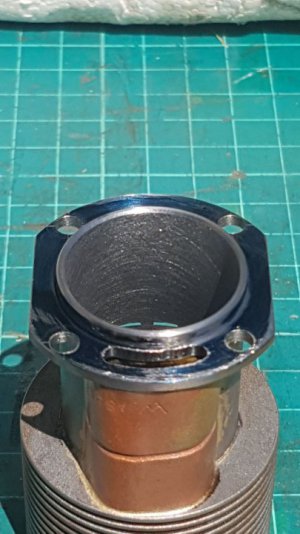
Mounted in mill and machined cylinder flange, drilled mount holes, and machined out transfer port.
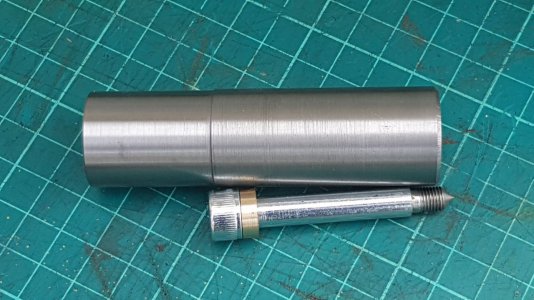
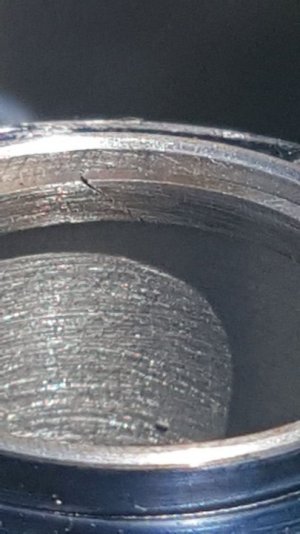
Then lapped and honed cylinder to size.
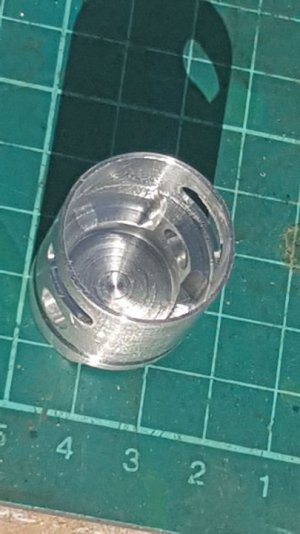
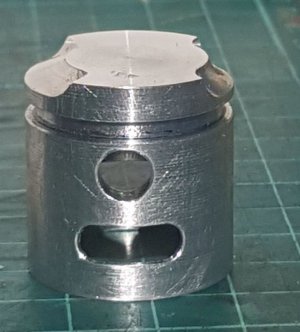
Mounted piston blank in lathe and machined to size, and cut ring grove.
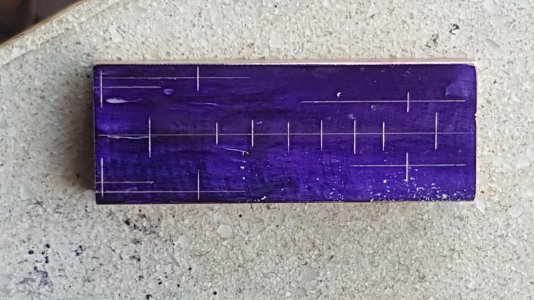
Marked out positions for milling. Mounted in mill, drilled and reamed piston pin hole, machined transfer port, machined transfer and exhaust deflector's, machined piston internals.
Cheers
Andrew
Done more, I do not have any black iron for the transfer port, had a 3/4" copper fitting, good enough, formed up and silver soldered to cylinder, then cleaned up.
Remounted the cylinder in the lathe and machined a couple of thou under sized.
Mounted in mill and machined cylinder flange, drilled mount holes, and machined out transfer port.
Then lapped and honed cylinder to size.
Mounted piston blank in lathe and machined to size, and cut ring grove.
Marked out positions for milling. Mounted in mill, drilled and reamed piston pin hole, machined transfer port, machined transfer and exhaust deflector's, machined piston internals.
Cheers
Andrew
Attachments
-
 31.jpg83.3 KB · Views: 25
 -
 32.jpg99.5 KB · Views: 24
 -
 33.jpg91.5 KB · Views: 24
 -
 34.jpg64.9 KB · Views: 23
 -
 35.jpg62.6 KB · Views: 21
 -
 36.jpg58.3 KB · Views: 21
 -
 37.jpg97.9 KB · Views: 21
 -
 38.jpg65 KB · Views: 21
 -
 39.jpg73.4 KB · Views: 21
 -
 40.jpg137.7 KB · Views: 21
 -
 41.jpg87.2 KB · Views: 21
 -
 42.jpg54.4 KB · Views: 21
 -
 43.jpg62.2 KB · Views: 21
 -
 44.jpg52.7 KB · Views: 20
 -
 45.jpg78.2 KB · Views: 19
 -
 46.jpg143.8 KB · Views: 20
 -
 47.jpg46.7 KB · Views: 20
 -
 48.jpg53.7 KB · Views: 19
 -
 49.jpg67.9 KB · Views: 25
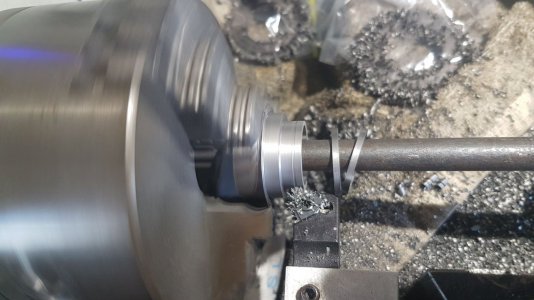
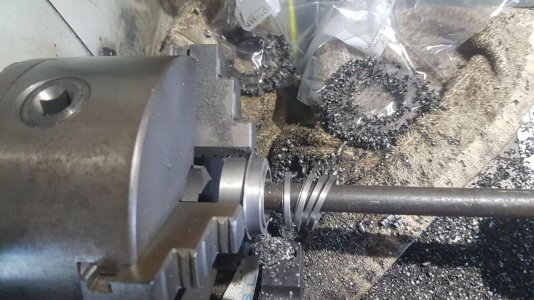
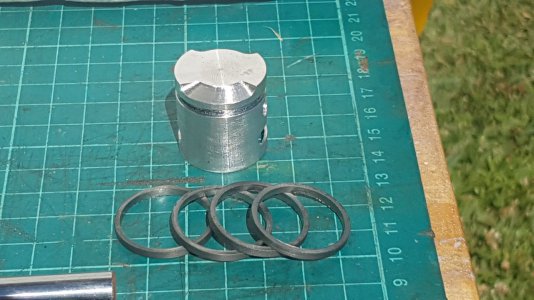
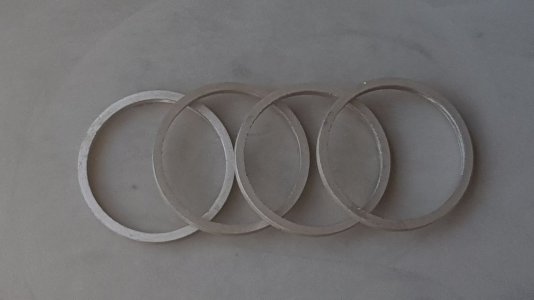
Hi All,
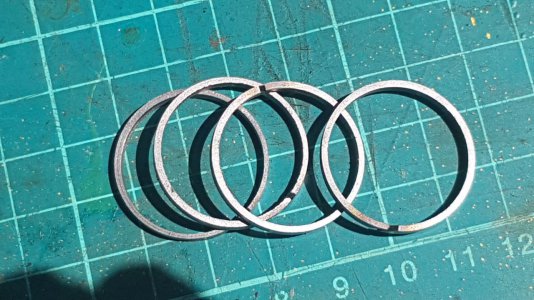
Not a lot done today, machined up the ring blanks and tooling to finish of the rings. Got several done.
Cheers
Andrew
Not a lot done today, machined up the ring blanks and tooling to finish of the rings. Got several done.
Cheers
Andrew
Attachments
-
 50.jpg136.9 KB · Views: 18
 -
 51.jpg196.3 KB · Views: 18
 -
 52.jpg170.9 KB · Views: 18
 -
 53.jpg90.3 KB · Views: 17
 -
 54.jpg188 KB · Views: 17
 -
 55.jpg134.7 KB · Views: 16
 -
 56.jpg47.3 KB · Views: 16
 -
 57.jpg45.1 KB · Views: 15
 -
 58.jpg51 KB · Views: 16
 -
 59.jpg68.3 KB · Views: 16
 -
 60.jpg34.9 KB · Views: 15
 -
 62.jpg207.7 KB · Views: 15
 -
 63.jpg148.5 KB · Views: 15
 -
 64.jpg140 KB · Views: 20
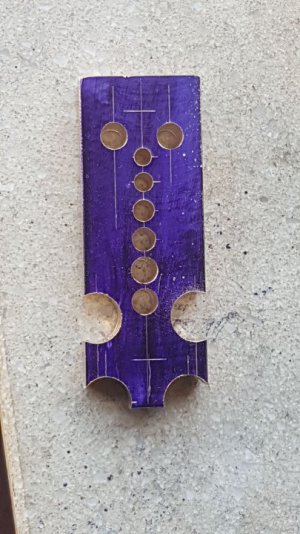
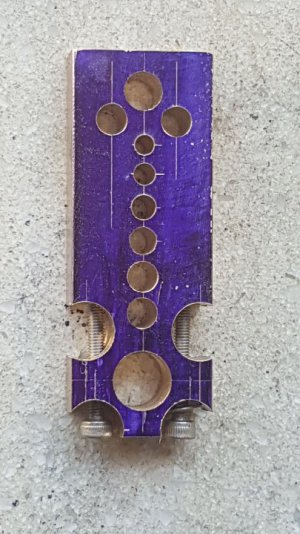
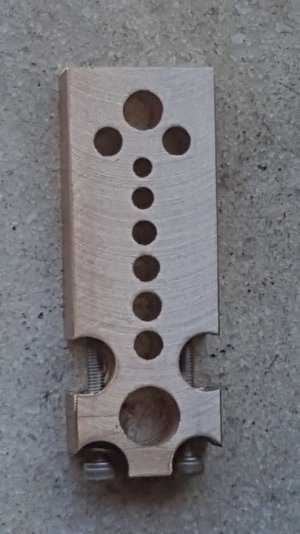
Hi All,
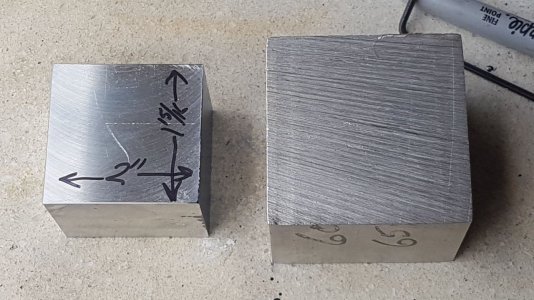
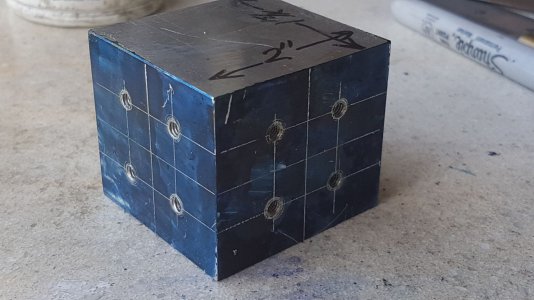
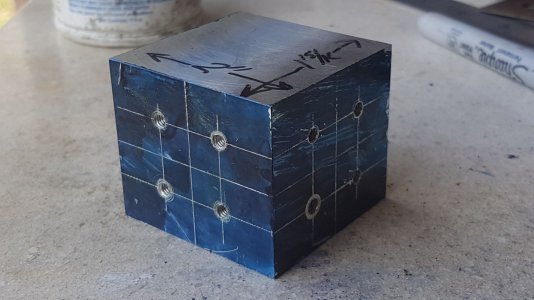
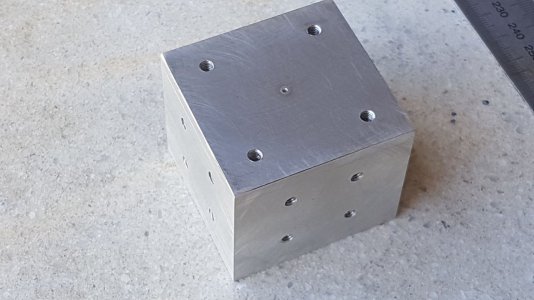
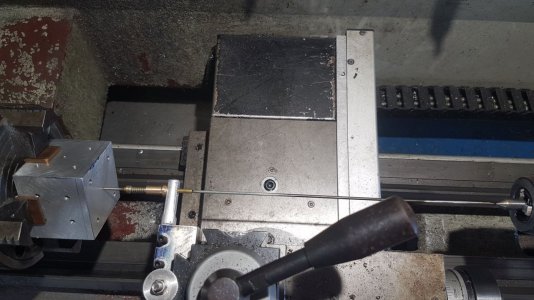
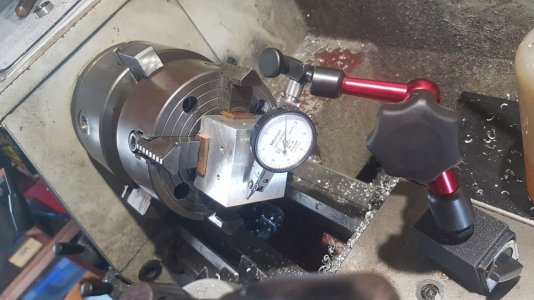
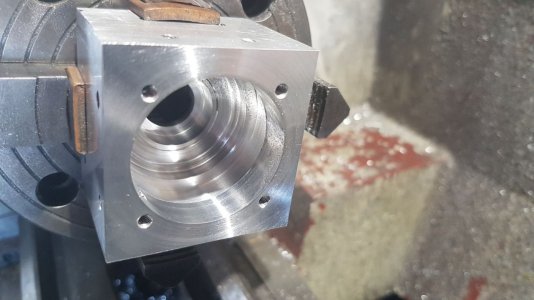
Got into the crankcase today, machined to size, marked out, drilled and tapped mounting holes, set in 4 jaw chuck and machined.
Cheers
Andrew
Got into the crankcase today, machined to size, marked out, drilled and tapped mounting holes, set in 4 jaw chuck and machined.
Cheers
Andrew
Attachments
-
 67.jpg187.4 KB · Views: 15
 -
 68.jpg128.9 KB · Views: 14
 -
 69.jpg117.6 KB · Views: 15
 -
 70.jpg131.6 KB · Views: 15
 -
 71.jpg135.8 KB · Views: 19
 -
 72.jpg181.9 KB · Views: 23
 -
 73.jpg169.9 KB · Views: 20
 -
 74.jpg106.8 KB · Views: 22
 -
 75.jpg142.6 KB · Views: 21
 -
 76.jpg134.5 KB · Views: 19
 -
 77.jpg51.6 KB · Views: 19
 -
 78.jpg56.5 KB · Views: 18
 -
 79.jpg58.5 KB · Views: 17
 -
 80.jpg57.6 KB · Views: 19
Hi All,
Had a big day today.
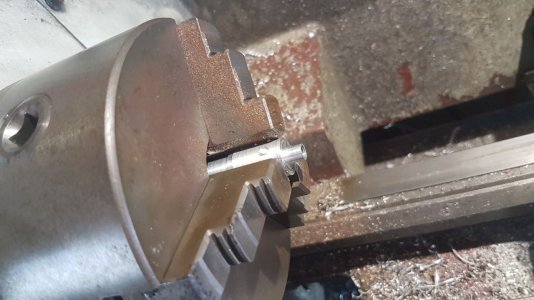
I could not get any bronze flat bar, so made some.
Cut a piece of round bar over length, cut of the big end cap piece, faced both and soft soldered together. Set in mill and using a slitting saw I got two pieces for con-rods.
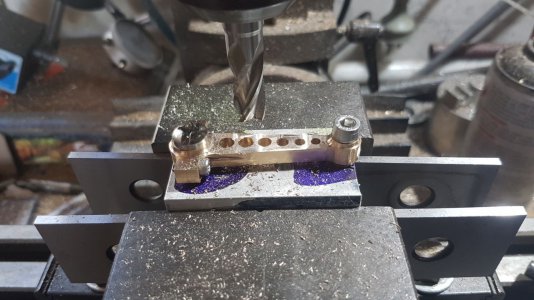
Marked out, then drilled and tapped for big end cap bolts.
Drilled out holes and reamed big and little ends.
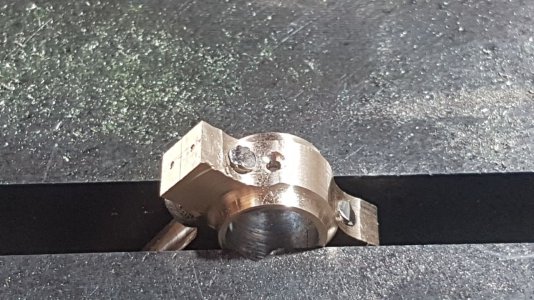
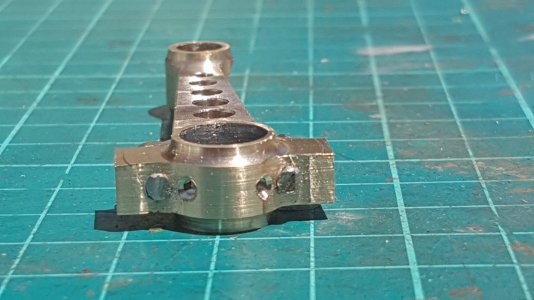
Turned up some arbours to hold the con-ron, mounted in mill and machined both ends and sides.
Swapped to lathe and machined both ends, then back to mill to finish the sides.
Drilled and cleaned up the oil holes in both ends of the rod.
Cheers
Andrew
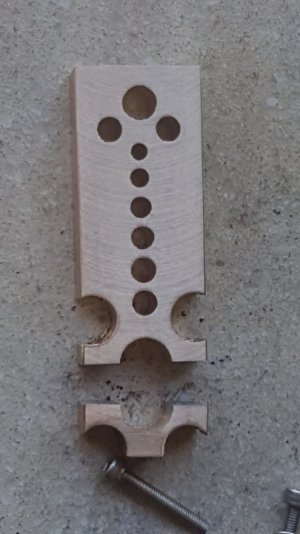
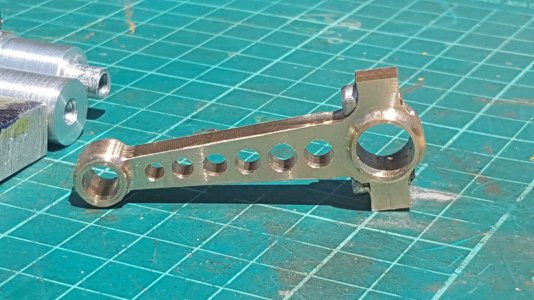
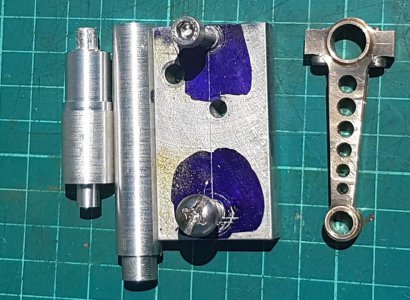
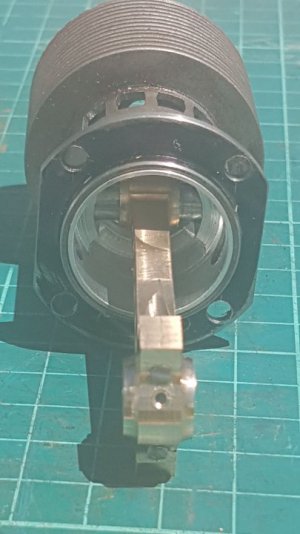
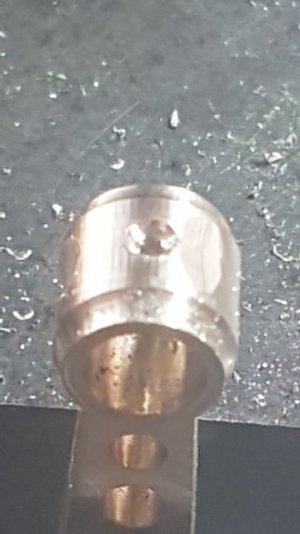
Had a big day today.
I could not get any bronze flat bar, so made some.
Cut a piece of round bar over length, cut of the big end cap piece, faced both and soft soldered together. Set in mill and using a slitting saw I got two pieces for con-rods.
Marked out, then drilled and tapped for big end cap bolts.
Drilled out holes and reamed big and little ends.
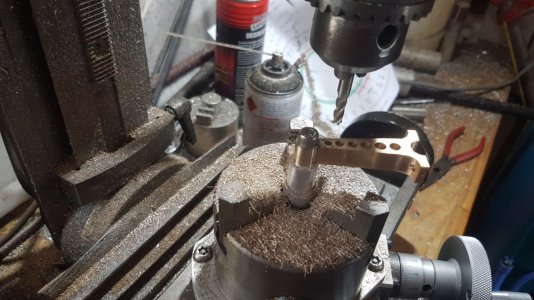
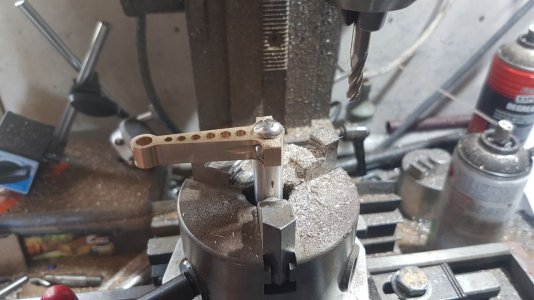
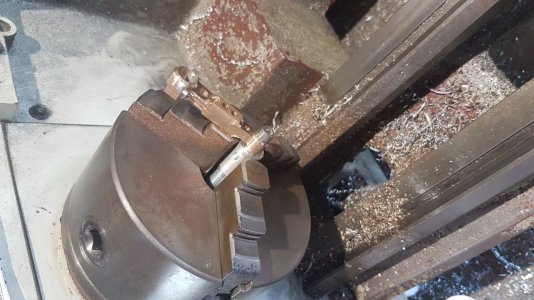
Turned up some arbours to hold the con-ron, mounted in mill and machined both ends and sides.
Swapped to lathe and machined both ends, then back to mill to finish the sides.
Drilled and cleaned up the oil holes in both ends of the rod.
Cheers
Andrew
Attachments
-
 93.jpg139.7 KB · Views: 13
 -
 94.jpg63.8 KB · Views: 13
 -
 95.jpg63.6 KB · Views: 13
 -
 96.jpg63.3 KB · Views: 10
 -
 97.jpg52.8 KB · Views: 10
 -
 98.jpg144.4 KB · Views: 12
 -
 99.jpg179.9 KB · Views: 11
 -
 100.jpg155.3 KB · Views: 11
 -
 101.jpg82.8 KB · Views: 11
 -
 102.jpg82.8 KB · Views: 12
 -
 103.jpg54.1 KB · Views: 12
 -
 104.jpg53.6 KB · Views: 13
 -
 105.jpg168.7 KB · Views: 13
 -
 106.jpg127 KB · Views: 12
 -
 107.jpg159.6 KB · Views: 12
 -
 108.jpg120.7 KB · Views: 14
 -
 109.jpg147.6 KB · Views: 15
 -
 110.jpg139.5 KB · Views: 15
 -
 111.jpg187.5 KB · Views: 16
 -
 112.jpg142.5 KB · Views: 16
Hi All,
Started on the crank today, cut piece to length, center drilled for crank and big-end center's, mounted in mill and hogged out big end.
Mounted on lathe between center's and machined big end.
Cheers
Andrew
Started on the crank today, cut piece to length, center drilled for crank and big-end center's, mounted in mill and hogged out big end.
Mounted on lathe between center's and machined big end.
Cheers
Andrew